


最近快要交付项目了,有个要求是30%的注释量,所以用node.js写了一个脚本自动生成。接下来看代码吧。
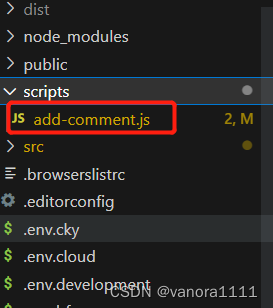
一、新建文件夹
我这里是新建scripts,跟src同级,在里面放了一个js文件
二、 add-comment.js内容
这里是匹配src下的views里的文件夹和文件里的.vue后缀,在el-button上新增一行注释;
const fs = require("fs");
const path = require("path");

const viewsDir = path.resolve(__dirname, "../src/views"); // views 文件夹路径
const commentText = "这是一个功能按钮;"; // 要添加的注释内容

// 遍历 views 文件夹下的所有文件和文件夹
fs.readdir(viewsDir, { withFileTypes: true }, (err, entries) => {
  if (err) {
    console.error(err);
    return;
  }

  entries.forEach((entry) => {
    const entryPath = path.join(viewsDir, entry.name);

    if (entry.isFile() && path.extname(entry.name) === ".vue") {
      // 如果是 .vue 文件
      const filePath = entryPath;

      // 读取文件内容
      fs.readFile(filePath, "utf8", (err, data) => {
        if (err) {
          console.error(err);
          return;
        }

        // 在 <el-button> 标签上方添加注释
        const regex = /(<el-button[\s\S]*?>)/g;
        const lines = data.split("\n");
        let updatedData = data;
        let offset = 0;
        let lastLineIndex = -1;

        for (let i = 0; i < lines.length; i++) {
          const line = lines[i];
          const match = regex.exec(line);
          if (match && !/<!--.*?-->/.test(line)) {
            lastLineIndex = i;
            break;
          }
        }

        if (lastLineIndex !== -1) {
          const insertPos = lines.slice(0, lastLineIndex + 1).join("\n").length;

          updatedData = data.slice(0, insertPos) + `\n<!-- ${commentText} -->` + data.slice(insertPos);

          // 将注释添加到文件中
          fs.writeFile(filePath, updatedData, (err) => {
            if (err) {
              console.error(err);
              return;
            }

            console.log(`已为 ${filePath} 添加注释`);
          });
        }
      });
    } else if (entry.isDirectory()) {
      // 如果是文件夹,则遍历文件夹内的 .vue 文件
      fs.readdir(entryPath, (err, files) => {
        if (err) {
          console.error(err);
          return;
        }

        files.forEach((file) => {
          if (path.extname(file) === ".vue") {
            const filePath = path.join(entryPath, file);

            // 读取文件内容
            fs.readFile(filePath, "utf8", (err, data) => {
              if (err) {
                console.error(err);
                return;
              }

              // 在 <el-button> 标签上方添加注释
              const regex = /(<el-button[\s\S]*?>)/g;
              const lines = data.split("\n");
              let updatedData = data;
              let offset = 0;
              let lastLineIndex = -1;

              for (let i = 0; i < lines.length; i++) {
                const line = lines[i];
                const match = regex.exec(line);
                if (match && !/<!--.*?-->/.test(line)) {
                  lastLineIndex = i;
                  break;
                }
              }

              if (lastLineIndex !== -1) {
                const insertPos = lines.slice(0, lastLineIndex + 1).join("\n").length;

                updatedData = data.slice(0, insertPos) + `\n<!-- ${commentText} -->` + data.slice(insertPos);

                // 将注释添加到文件中
                fs.writeFile(filePath, updatedData, (err) => {
                  if (err) {
                    console.error(err);
                    return;
                  }

                  console.log(`已为 ${filePath} 添加注释`);
                });
              }
            });
          }
        });
      });
    }
  });
});
三、配置命令
在package.json里
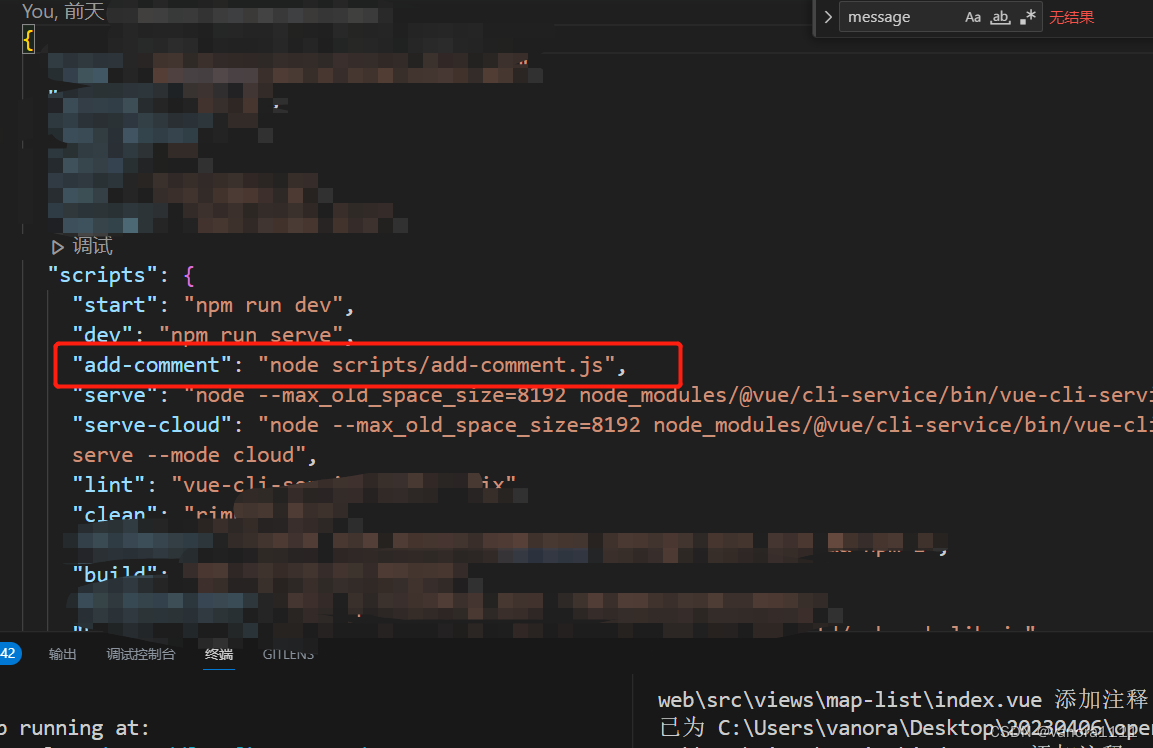
最后,在控制台输入
npm run add-comment
就能得到注释啦。
你还可以任意发挥


 3万+
3万+


 被折叠的 条评论
为什么被折叠?
被折叠的 条评论
为什么被折叠?
 到【灌水乐园】发言


