


一、概述
最近在研究recyclerview,正好可以把自己学到的总结一下,本篇博客主要讲解recyclerview的基本使用,基本使用主要包括自定义Adapter以及recyclerview的三种适配样式。
1、新建一个工程,创建一个activity_main.xml
代码如下:
<?xml version="1.0" encoding="utf-8"?>
<RelativeLayout xmlns:android="http://schemas.android.com/apk/res/android"
    xmlns:tools="http://schemas.android.com/tools"
    android:layout_width="match_parent"
    android:layout_height="match_parent"
    android:paddingBottom="@dimen/activity_vertical_margin"
    android:paddingLeft="@dimen/activity_horizontal_margin"
    android:paddingRight="@dimen/activity_horizontal_margin"
    android:paddingTop="@dimen/activity_vertical_margin"
    tools:context="com.example.myapplication.MainActivity">

    <TextView
        android:id="@+id/hello"
        android:layout_width="wrap_content"
        android:layout_height="wrap_content"
        android:layout_centerHorizontal="true"
        android:text="RecyclerView!" />
    <android.support.v7.widget.RecyclerView
        android:id="@+id/recyclerview"
        android:layout_width="match_parent"
        android:layout_height="wrap_content"
        android:layout_below="@+id/hello">
    </android.support.v7.widget.RecyclerView>
</RelativeLayout>
这里主要放了一个textview和一个RecyclerView
2、新建子Item的布局文件
子Item的布局如下:
recyclerview_item.xml
<?xml version="1.0" encoding="utf-8"?>
<RelativeLayout xmlns:android="http://schemas.android.com/apk/res/android"
    android:layout_width="match_parent" android:layout_height="wrap_content"

    android:padding="10dp"
    >
    <TextView
        android:id="@+id/text"
        android:background="@drawable/recyclerview_item_back"
        android:layout_width="match_parent"
        android:layout_height="50dp"
        android:gravity="center"
        android:layout_centerInParent="true"/>
</RelativeLayout>
自定义了一个drawable作为TextView的背景:
recyclerview_item_back.xml
<?xml version="1.0" encoding="utf-8"?>
<selector xmlns:android="http://schemas.android.com/apk/res/android">
    <item android:state_pressed="true" android:drawable="@drawable/pressshape"/>
    <item android:drawable="@drawable/normalshape"/>
</selector>
这里我自定义了两个shape,主要是为了后续点击时,与用户有个良好的交互
normalshape.xml
<?xml version="1.0" encoding="utf-8"?>
<shape xmlns:android="http://schemas.android.com/apk/res/android">
    <solid
        android:color="#00ffff"/>
</shape>
pressshape
<?xml version="1.0" encoding="utf-8"?>
<shape xmlns:android="http://schemas.android.com/apk/res/android">
    <solid
        android:color="#00ff00"/>
</shape>
3、新建一个adapter
新建一个继承自RecyclerView.Adapter的Adapter,在代码中主要是创建viewholder以及解析数据源,之后显示相应的数据,主要实现3个方法:
①得到要显示的条目数量
public int getItemCount()②创建ViewHolder
public RecyclerView.ViewHolder onCreateViewHolder(ViewGroup parent, int viewType)③这里的传入的holder是onCreateViewHolder返回的ViewHolder,得到ViewHolder后让控件进行相应的内容显示
public void onBindViewHolder(RecyclerView.ViewHolder holder, int position)④此外我们肯定还要新建一个adapter的构造方法
public MyAdapter(Context context, List<Map<Object,String>> data)⑤我们需要自定义一个ViewHolder的类,其中包括自定义我们所需要包含的控件
Adapter整体代码如下MyAdapter.java:
package com.example.myapplication;

import android.content.Context;
import android.support.v7.widget.RecyclerView;
import android.view.LayoutInflater;
import android.view.View;
import android.view.ViewGroup;
import android.widget.TextView;

import org.w3c.dom.Text;

import java.util.List;
import java.util.Map;

/**
 * Created by Administrator on 2016/10/9 0009.
 */
public class MyAdapter  extends RecyclerView.Adapter{
    private Context context;
    private List<Map<Object,String>> data;
    public MyAdapter(Context context, List<Map<Object,String>> data){
        this.context = context; //获取上下文对象
        this.data = data;   //获得数据源
    }
    @Override
    public RecyclerView.ViewHolder onCreateViewHolder(ViewGroup parent, int viewType) {
        /*创建ViewHolder,主要是加载我们的子Item的布局*/
        MyViewHolder myViewHolder = new MyViewHolder(LayoutInflater
                .from(context).inflate(R.layout.recyclerview_item,parent,false));
        return myViewHolder;
    }

    @Override
    public void onBindViewHolder(RecyclerView.ViewHolder holder, int position) {
        /*这里的传入的holder是onCreateViewHolder返回的ViewHolder*/
        MyViewHolder myViewHolder = (MyViewHolder)holder;
        /*解析数据源,并显示*/
        myViewHolder.text.setText(data.get(position).get("text"));
    }

    @Override
    public int getItemCount() {
        return data.size();
    }
    private class MyViewHolder extends RecyclerView.ViewHolder{
        private TextView text;   //定义了ViewHolder中包含一个TextView控件
        private MyViewHolder(View v){
            super(v);
            text = (TextView)v.findViewById(R.id.text);

        }
    }
}
4、MainActivity中操作
这里主要包括数据源的准备,为recyclerview设置适配样式,为recyclerview设置Adapter
①准备数据源
②RecyclerView的适配样式
主要有三种适配样式:
- LinearLayoutManager
线性布局
LinearLayoutManager(Context context, int orientation, boolean reverseLayout)| 参数 | 意义 |
|---|---|
| context | 上下文对象 |
| orientation | 排列方式 LinearLayoutManager.VERTICAL 竖直 LinearLayoutManager.HORIZONTAL 水平 |
| reverseLayout | 是否反转布局,指item显示的顺序,比如我们设置为true,在水平显示上,就会在最左边显示数据源的最后一个,最右边显示数据源的第一个 |
- GridLayoutManager
网格布局
GridLayoutManager(Context context, int spanCount, int orientation, boolean reverseLayout)| 参数 | 意义 |
|---|---|
| context | 上下文对象 |
| spanCount | 当排列方式是水平时,指的是行数,垂直时指的是列数 |
| orientation | 排列方式 LinearLayoutManager.VERTICAL 竖直 LinearLayoutManager.HORIZONTAL 水平 |
| reverseLayout | 是否反转布局,指item显示的顺序,比如我们设置为true,在水平显示上,就会在最左边显示数据源的最后一个,最右边显示数据源的第一个 |
- StaggeredGridLayoutManager
瀑布流布局
StaggeredGridLayoutManager(int spanCount, int orientation)| 参数 | 意义 |
|---|---|
| spanCount | 当排列方式是水平时,指的是行数,垂直时指的是列数 |
| orientation | 排列方式 LinearLayoutManager.VERTICAL 竖直 LinearLayoutManager.HORIZONTAL 水平 |
③设置适配器
MainActivity代码如下:
package com.example.myapplication;
import android.support.v4.util.ArrayMap;
import android.support.v7.app.AppCompatActivity;
import android.os.Bundle;
import android.support.v7.widget.GridLayoutManager;
import android.support.v7.widget.LinearLayoutManager;
import android.support.v7.widget.RecyclerView;
import android.support.v7.widget.StaggeredGridLayoutManager;
import java.util.ArrayList;
import java.util.List;
import java.util.Map;
public class MainActivity extends AppCompatActivity {
private RecyclerView recyclerView;
private List<Map<Object,String>> data;
private MyAdapter myAdapter;
@Override
protected void onCreate(Bundle savedInstanceState) {
super.onCreate(savedInstanceState);
setContentView(R.layout.activity_main);
recyclerView = (RecyclerView) findViewById(R.id.recyclerview);
data = new ArrayList<>();
/*准备数据源*/
for (int i = 0; i < 80; i++) {
Map map = new ArrayMap();
map.put("text", "Test " + i);
data.add(map);
}
/*新建适配器*/
myAdapter = new MyAdapter(this,data);
/*适配样式*/
recyclerView.setLayoutManager(new LinearLayoutManager(this,
LinearLayoutManager.VERTICAL,false));
/*recyclerView.setLayoutManager(new GridLayoutManager(this,3,GridLayoutManager.VERTICAL,false));
recyclerView.setLayoutManager(new StaggeredGridLayoutManager(4,StaggeredGridLayoutManager.VERTICAL));*/
/*设置适配器*/
recyclerView.setAdapter(myAdapter);
}
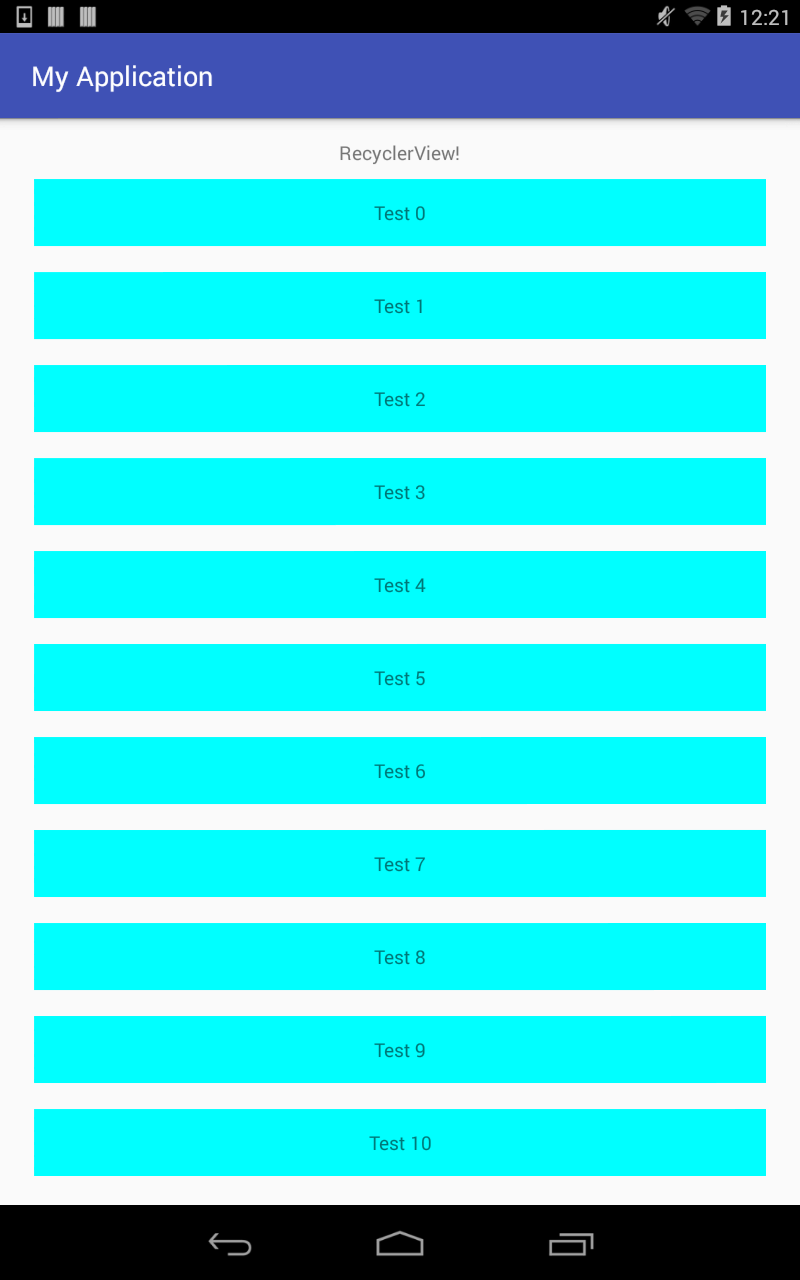
}效果展示:
下一篇博客我会总结一下分割线的自定义


 429
429

 被折叠的 条评论
为什么被折叠?
被折叠的 条评论
为什么被折叠?
 到【灌水乐园】发言


