


1.创建新工程点击plantform plugin(什么也不用选择),并选择工程名和工程目录
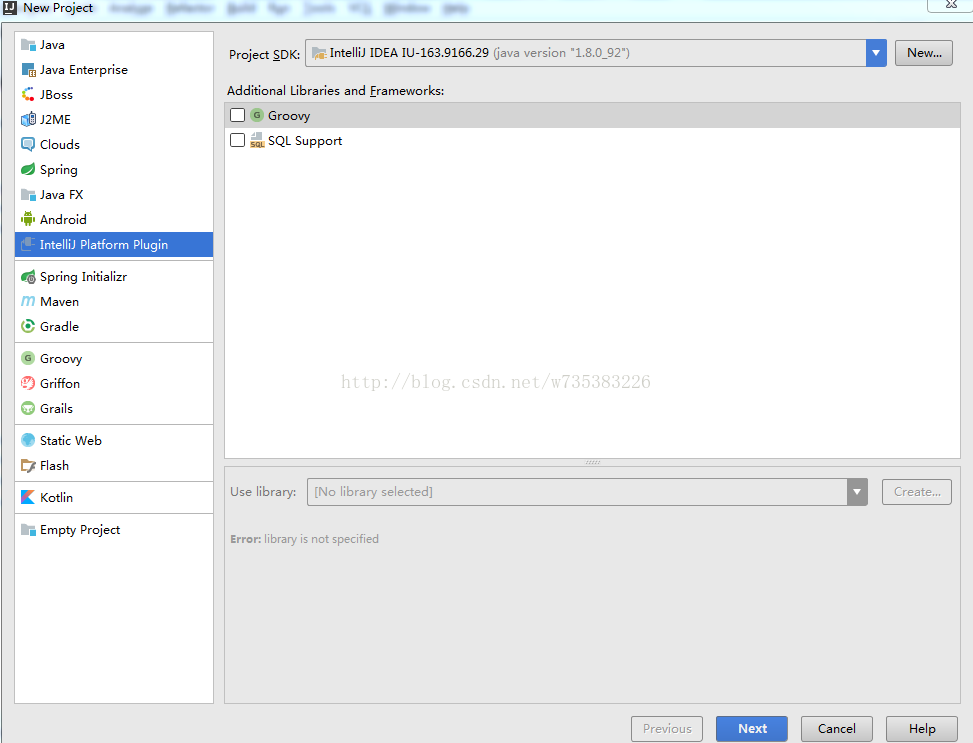
2.finish完成创建
3.创建action。在scr下面创建包名,我的为com.dyc.test.然后添加如下action类。
public class TextBoxes extends AnAction {
    // If you register the action from Java code, this constructor is used to set the menu item name
    // (optionally, you can specify the menu description and an icon to display next to the menu item).
    // You can omit this constructor when registering the action in the plugin.xml file.
    public TextBoxes() {
        // Set the menu item name.
        super("Text _Boxes");
        // Set the menu item name, description and icon.
        // super("Text _Boxes","Item description",IconLoader.getIcon("/Mypackage/icon.png"));
    }

    public void actionPerformed(AnActionEvent event) {
        Project project = event.getData(PlatformDataKeys.PROJECT);
        String txt= Messages.showInputDialog(project, "What is your name?", "Input your name", Messages.getQuestionIcon());
        Messages.showMessageDialog(project, "Hello, " + txt + "!\n I am glad to see you.", "Information", Messages.getInformationIcon());
    }
}<actions>
<!--
group id="MyPlugin.SampleMenu" text="_Sample Menu"
text是显示在工具栏的那个标题
-->
<group id="MyPlugin.SampleMenu" text="_Sample Menu" description="Sample menu">
<!--
<add-to-group group-id="MainMenu" anchor="last"
group-id指的是子action要加入的gruop类型,这个是api自带的名称,有很多种,MainMenu只是其中一种
anchor 指的是子菜单显示位置
一个action,表示一个选项,class是对应的类名,text是要展示的子菜单名字
-->
<add-to-group group-id="MainMenu" anchor="last" />
<action id="Myplugin.Textboxes" class="com.dyc.test.TextBoxes" text="Text _Boxes" description="A test menu item" />
</group>
</actions>5.点击运行,可以看到工具栏多了一个选项。其实是执行了actionPerformed.
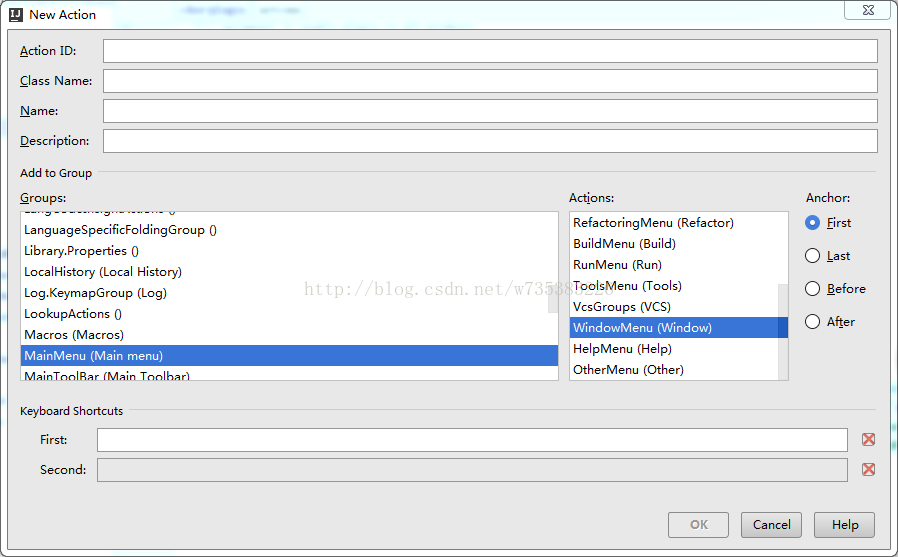
6.action也可以通过new->action的方式进行创建
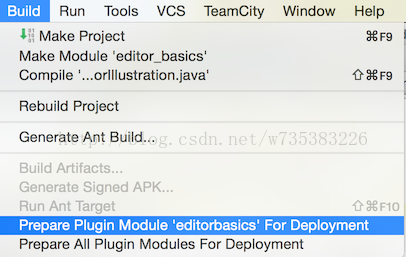
7.打包插件
a.build->buildproject
b.build->prepare plugin modle for"xxxxxx" .....
8.使用
在idea,或android studio,或其他idea安装目录下面,进入plugin文件夹,然后 创建文件夹myplugin,进入myplugin,创建lib,将上面生成的jar包放入lib里面,重启idea就可以使用插件包了


 4252
4252


 被折叠的 条评论
为什么被折叠?
被折叠的 条评论
为什么被折叠?
 到【灌水乐园】发言


