


上次我们已经搭建好了onlyoffice的服务,不知道如何搭建的伙伴可以看看上篇文章。
以下是springboot和前端web简单集成的页面,亲测jdk8和jdk17都适用。
结构
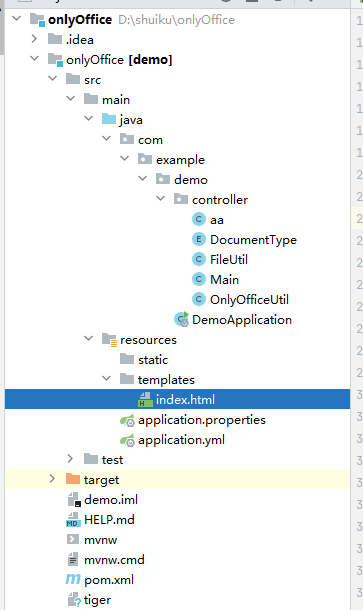
前端页面
index.html
<!DOCTYPE html>
<html lang="en" xmlns:th="http://www.thymeleaf.org">
<head>
<meta charset="UTF-8">
<title th:text="${title}"></title>
</head>
<body>
<div id="fileEdit"></div>
<!--// 页面引入document的api.js-->
<script type="text/javascript" src="http://192.168.188.38:8088/web-apps/apps/api/documents/api.js"></script>
<script>
// 调用js创建预览对象
// new DocsAPI.DocEditor("fileEdit", // 元素id
// {
// "document": {
// "permissions": {
// "edit": true,
// },
// "fileType": "docx", // 展示文件的类型
// "title": "页面展示的文件名称",
// "url":"http://192.168.124.99/static/alllink/111.docx" //读取文件进行展示
// },
// "documentType": "text",
// "editorConfig": {
// "lang" : "zh-CN",
// // 回调接口,用于编辑后实现保存的功能,(关闭页面5秒左右会触发)
// "callbackUrl": "http://192.168.124.37:8080/docx/save?path=C:\\Users\\hdx\\Desktop\\111.docx" //保存文件的接口?path=告诉保存接口需要覆盖的文件
// },
// "height": "1000px",
// "width": "100%"
// })
// new DocsAPI.DocEditor("fileEdit", // 元素id
// {
// "document": {
// "permissions": {
// "edit": true,
// },
// "fileType": "[[${type}]]", // 展示文件的类型 "xlsx"
// "title": "页面展示的文件名称",
// // "url":"http://192.168.100.104:9090/test/111.docx" //读取文件进行展示 http://192.168.124.99/static/alllink/file/039adc7b92ce1000/039adc7b92ce1000.xlsx
// "url":"http://192.168.100.133:8080/d" //读取文件进行展示 http://192.168.124.99/static/alllink/file/039adc7b92ce1000/039adc7b92ce1000.xlsx
// },
// // "key":'',
// "documentType": "word",//
// "editorConfig": {
// "lang" : "zh-CN",
// // 回调接口,用于编辑后实现保存的功能,(关闭页面5秒左右会触发)
// "callbackUrl": "http://192.168.100.133:8080/docx/save?id="+[[${id}]],//保存文件的接口?path=告诉保存接口需要覆盖的文件
// "user":{
// "id":"1111",
// "name":"hdx"
// }
// },
// "height": "1000px",
// "width": "100%"
// })
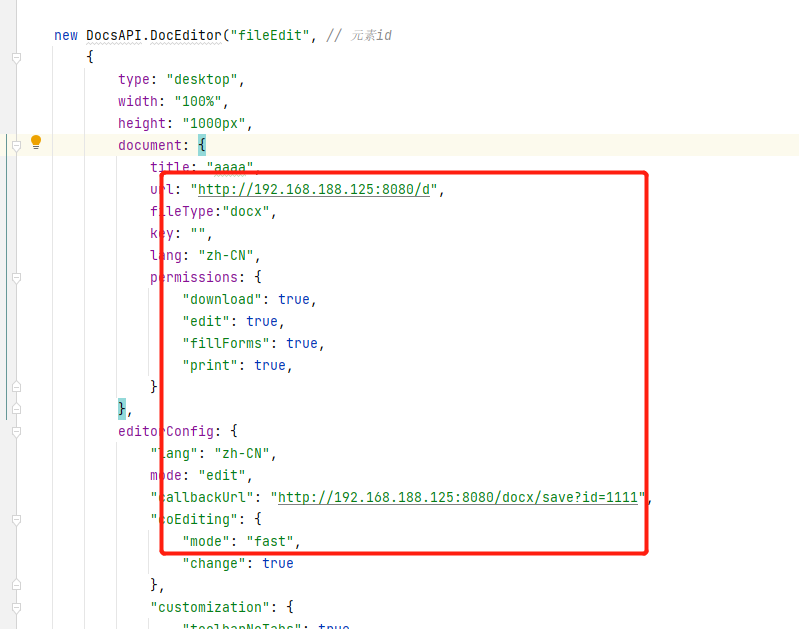
new DocsAPI.DocEditor("fileEdit", // 元素id
{
type: "desktop",
width: "100%",
height: "1000px",
document: {
title: "aaaa",
url: "http://192.168.188.125:8080/d",
fileType:"docx",
key: "",
lang: "zh-CN",
permissions: {
"download": true,
"edit": true,
"fillForms": true,
"print": true,
}
},
editorConfig: {
"lang": "zh-CN",
mode: "edit",
"callbackUrl": "http://192.168.188.125:8080/docx/save?id=1111",
"coEditing": {
"mode": "fast",
"change": true
},
"customization": {
"toolbarNoTabs": true,
"autosave": true,
"forcesave": true,
"hideRightMenu": true,
},
//用户信息
"user": {
"id": "001", //用户ID
"name": "测试" //用户全名称
}
}
});
</script>
</body>
</html>
就是引入了onlyoffice的api

将地址改为自己搭建的onlioffice服务地址
改为相应的本机地址
springboot
文档下载
 @RequestMapping("/d")
    public String downExcel(HttpServletResponse response) throws UnsupportedEncodingException {
        File file = new File("F:\\Desktop\\111.docx");
        // 如果文件存在,则进行下载
        if (file.exists()) {
            // 配置文件下载
            response.setHeader("content-type", "application/octet-stream");
            response.setContentType("application/octet-stream");
            // 下载文件能正常显示中文
            response.setHeader("Content-Disposition", "attachment;filename=" + URLEncoder.encode("aaa.doc", "UTF-8"));
            // 实现文件下载
            byte[] buffer = new byte[1024];
            FileInputStream fis = null;
            BufferedInputStream bis = null;
            try {
                fis = new FileInputStream(file);
                bis = new BufferedInputStream(fis);
                OutputStream os = response.getOutputStream();
                int i = bis.read(buffer);
                while (i != -1) {
                    os.write(buffer, 0, i);
                    i = bis.read(buffer);
                }
                System.out.println("Download  successfully!");
                return "successfully";

            } catch (Exception e) {
                System.out.println("Download  failed!");
                return "failed";

            } finally {
                if (bis != null) {
                    try {
                        bis.close();
                    } catch (IOException e) {
                        e.printStackTrace();
                    }
                }
                if (fis != null) {
                    try {
                        fis.close();
                    } catch (IOException e) {
                        e.printStackTrace();
                    }
                }
            }
        }
        return "";
    }
保存修改
/**
     * 保存修改后的
     * @param request
     * @param response
     */
    @PostMapping("/docx/save")
    public void saveWord(HttpServletRequest request, HttpServletResponse response) {
        try {
            PrintWriter writer = response.getWriter();
            String body = "";
            try {
                Scanner scanner = new Scanner(request.getInputStream());
                scanner.useDelimiter("\\A");
                body = scanner.hasNext() ? scanner.next() : "";
                scanner.close();
            } catch (Exception ex) {
                writer.write("get request.getInputStream error:" + ex.getMessage());
                return;
            }
            if (body.isEmpty()) {
                writer.write("empty request.getInputStream");
                return;
            }
            JSONObject jsonObj = JSON.parseObject(body);
            int status = (Integer) jsonObj.get("status");
            int saved = 0;
            if (status == 2 || status == 3)//MustSave, Corrupted
            {
                String downloadUri = (String) jsonObj.get("url");
                try {
                    URL url = new URL(downloadUri);
                    java.net.HttpURLConnection connection = (java.net.HttpURLConnection) url.openConnection();
                    InputStream stream = connection.getInputStream();
                    if (stream == null) {
                        throw new Exception("Stream is null");
                    }
                    // 从请求中获取要覆盖的文件参数定义"path"
//                    String path = request.getParameter("path");
                    String path = "F:\\Desktop\\111.docx";
                    System.err.println("====路径:"+path);
                    File savedFile = new File(path);
                    try (FileOutputStream out = new FileOutputStream(savedFile)) {
                        int read;
                        final byte[] bytes = new byte[1024];
                        while ((read = stream.read(bytes)) != -1) {
                            out.write(bytes, 0, read);
                        }
                        out.flush();
                    }
                    connection.disconnect();
                } catch (Exception ex) {
                    saved = 1;
                    ex.printStackTrace();
                }
            }
            System.out.print("编辑完成--------------11111");
            writer.write("{\"error\":" + saved + "}");
        } catch (IOException e) {
            e.printStackTrace();
        }

    }
也就是给个基础的demo,更多的操作参考官网api哈


 1348
1348


 被折叠的 条评论
为什么被折叠?
被折叠的 条评论
为什么被折叠?
 到【灌水乐园】发言


