


springboot 集成ollama 及 本地 webUI部署
前提:本地已运行ollama,这个不在这里细讲。
一、springboot 集成ollama
1.创建一个简单的spring项目
添加依赖
 <dependency>

    <groupId>io.springboot.ai</groupId>

    <artifactId>spring-ai-ollama-spring-boot-starter</artifactId>

    <version>1.0.0</version>

</dependency>
完整的XML:
<?xml version="1.0" encoding="UTF-8"?>
<project xmlns="http://maven.apache.org/POM/4.0.0" xmlns:xsi="http://www.w3.org/2001/XMLSchema-instance"
         xsi:schemaLocation="http://maven.apache.org/POM/4.0.0 https://maven.apache.org/xsd/maven-4.0.0.xsd">
    <modelVersion>4.0.0</modelVersion>
    <parent>
        <groupId>org.springframework.boot</groupId>
        <artifactId>spring-boot-starter-parent</artifactId>
        <version>3.2.5</version>
        <relativePath/> <!-- lookup parent from repository -->
    </parent>
    <groupId>com.example</groupId>
    <artifactId>testOllama2</artifactId>
    <version>0.0.1-SNAPSHOT</version>
    <name>testOllama2</name>
    <description>testOllama2</description>
    <url/>
    <licenses>
        <license/>
    </licenses>
    <developers>
        <developer/>
    </developers>
    <scm>
        <connection/>
        <developerConnection/>
        <tag/>
        <url/>
    </scm>
    <properties>
        <java.version>17</java.version>
    </properties>
    <dependencies>
        <dependency>
            <groupId>org.springframework.boot</groupId>
            <artifactId>spring-boot-starter-web</artifactId>
            <version>3.2.5</version>
        </dependency>
        <dependency>
            <groupId>io.springboot.ai</groupId>
            <artifactId>spring-ai-ollama-spring-boot-starter</artifactId>
            <version>1.0.0</version>
        </dependency>
        <dependency>
            <groupId>org.springframework.boot</groupId>
            <artifactId>spring-boot-starter</artifactId>
        </dependency>
        <dependency>
            <groupId>org.springframework.boot</groupId>
            <artifactId>spring-boot-starter-test</artifactId>
            <scope>test</scope>
        </dependency>
        <dependency>
            <groupId>org.springframework.boot</groupId>
            <artifactId>spring-boot-starter-web</artifactId>
        </dependency>
    </dependencies>
    <build>
        <plugins>
            <plugin>
                <groupId>org.springframework.boot</groupId>
                <artifactId>spring-boot-maven-plugin</artifactId>
            </plugin>
        </plugins>
    </build>
</project>
2.在 application.yml 中添加配置:
server:
  port: 9090
spring:
  application:
    name: testOllama2
  ai:
    ollama:
      base-url: http://localhost:11434
      chat:
        options:
          model: qwen
3.编写controller 接口:
  @GetMapping("/ollama/chat/v5")

    public Flux<String> getOllameByStreamV2(String msg) {

        Prompt prompt = new Prompt(msg);

        Flux<ChatResponse> stream = ollamaChatClient.stream(prompt);

        //将 stream 中的 result下的output下的content 提取出来

        Flux<String> result = stream.map(a -> {

            return a.getResult().getOutput().getContent();

        });

        return result;

    }
这里使用Flux流式输出
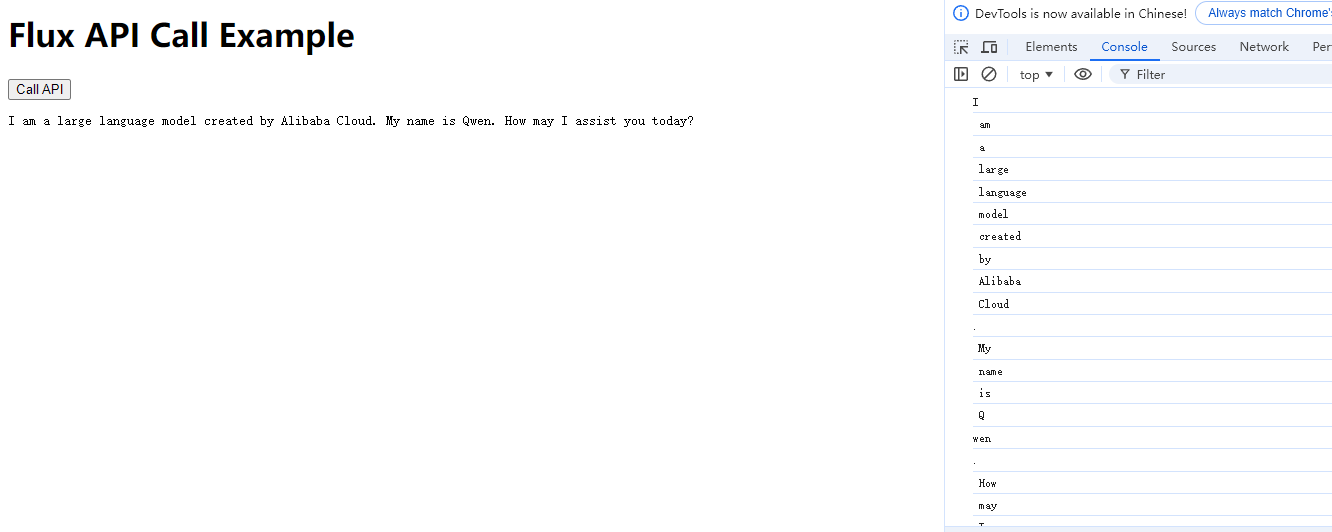
4.来一个简单的HTML页面来验证接口
    <!DOCTYPE html>
<html lang="en">
<head>
    <meta charset="UTF-8">
    <meta name="viewport" content="width=device-width, initial-scale=1.0">
    <title>Flux API Call</title>
</head>
<body>
    <h1>Flux API Call Example</h1>
    <button id="callApi">Call API</button>
    <pre id="responseData"></pre>
    <script>
        document.getElementById('callApi').addEventListener('click', async function() {
            const response = await fetch('http://localhost:9090/ollama/chat/v5?msg=who are you?');
            const reader = response.body.getReader();
            let result = '';
            try {
                while (true) {
                    const {done, value} = await reader.read();
                    if (done) {
                        break;
                    }
                    const temp = new TextDecoder().decode(value);
                    console.log(temp);
                    result += temp;
                }
            } catch (error) {
                console.error('Error reading the response:', error);
            } finally {
                reader.releaseLock();
            }
            document.getElementById('responseData').textContent = result;
        });
    </script>
</body>
</html>
5.效果
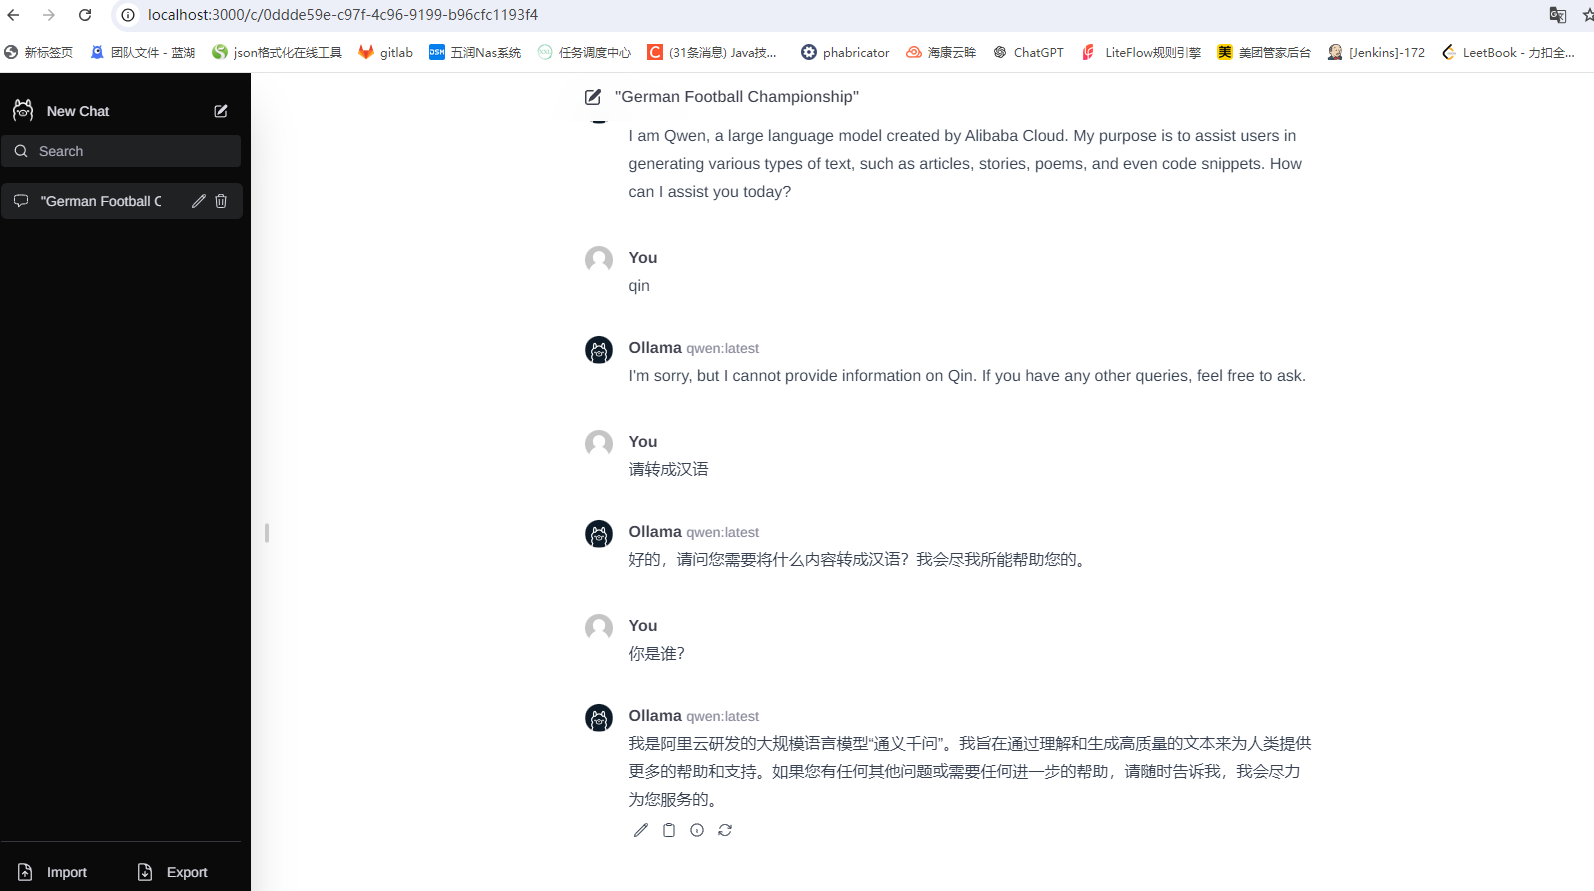
二、本地部署webui
1.下载并安装 Node.js 工具:https://nodejs.org/zh-cn
2.下载ollama-webui工程代码:git clone https://github.com/ollama-webui/ollama-webui-lite ollama-webui
3.切换ollama-webui代码的目录:cd ollama-webui
4.设置 Node.js 工具包镜像源(下载提速):npm config set registry http://mirrors.cloud.tencent.com/npm/
5.安装 Node.js 依赖的工具包:npm install
6.最后,启动 Web 可视化界面:npm run dev


 8572
8572

 被折叠的 条评论
为什么被折叠?
被折叠的 条评论
为什么被折叠?
 到【灌水乐园】发言


