


启动:
Edit->settings->Keys

点击“Generate New”->重复点下一步
接着先要用“密码认证方式登录一下”
登录后,再到Edit->Settings->key下,选择”upload”按钮,这步简单吧!
接着需要把windows生成的pub文件转为Linux的文件:
ssh-keygen -i -f hadoop.pub >>/root/.ssh/authorized_keys
再Edit->Settings->Authenticactio,只选择下面两个,就可以了。

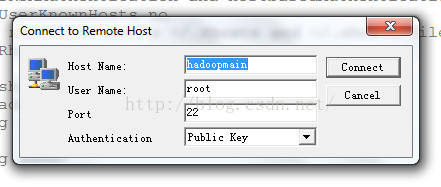
点击“ok”,进入主界面,点击“quick connect”
点击“connect”

输入key的密码后,便可以了。
注意,你应该在server的ssh开启public认证服务,关闭password认证服务,方法如下
输入命令:vi /etc/ssh/sshd_config
修改这几项内容:
PubkeyAuthentication yes
AuthorizedKeysFile .ssh/authorized_keys
PasswordAuthentication no
再输入命令:service sshd restart
OK!成功了!


 1万+
1万+

 被折叠的 条评论
为什么被折叠?
被折叠的 条评论
为什么被折叠?
 到【灌水乐园】发言


