


ios metal相机
We’ve all seen custom cameras in one form or another in iOS. Normally you’d want to implement your own to wrap a personal UI around it rather than using Apple’s baked-in camera option. But how do we take a custom camera one step further? Filters! Many apps use filters on their cameras for extended functionality.
我们都曾在iOS中以一种或另一种形式看到过自定义相机。 通常,您希望实现自己的包装以围绕其包装个人UI,而不是使用Apple的内置摄像头选项。 但是,我们如何将定制相机更进一步呢? 过滤器! 许多应用程序在其相机上使用滤镜以扩展功能。
In this tutorial, we’ll be going over how to add filters to your camera. This tutorial is meant to expose you to a fast and efficient way to filter your camera live video feed and the pictures it takes.
在本教程中,我们将介绍如何向相机添加滤镜。 本教程旨在向您展示一种快速有效的方法来过滤相机实时视频源和所拍摄的照片。
This tutorial assumes you have a working understanding of how to set up a camera in iOS. Not the case? No worries, you can read my previous tutorial. In fact, this tutorial builds directly on the finished code from that tutorial: “Making A Custom Camera In iOS.”
本教程假定您对如何在iOS中设置相机有一定的了解。 不是这样吗 不用担心,您可以阅读我以前的教程。 实际上,本教程直接基于该教程的完成代码:“ 在iOS中制作自定义相机 ”。
入门代码 (Starter Code)
The starter code can be found on my GitHub: barbulescualex/iOSMetalCamera.
入门代码可以在我的GitHub上找到: barbulescualex / iOSMetalCamera 。
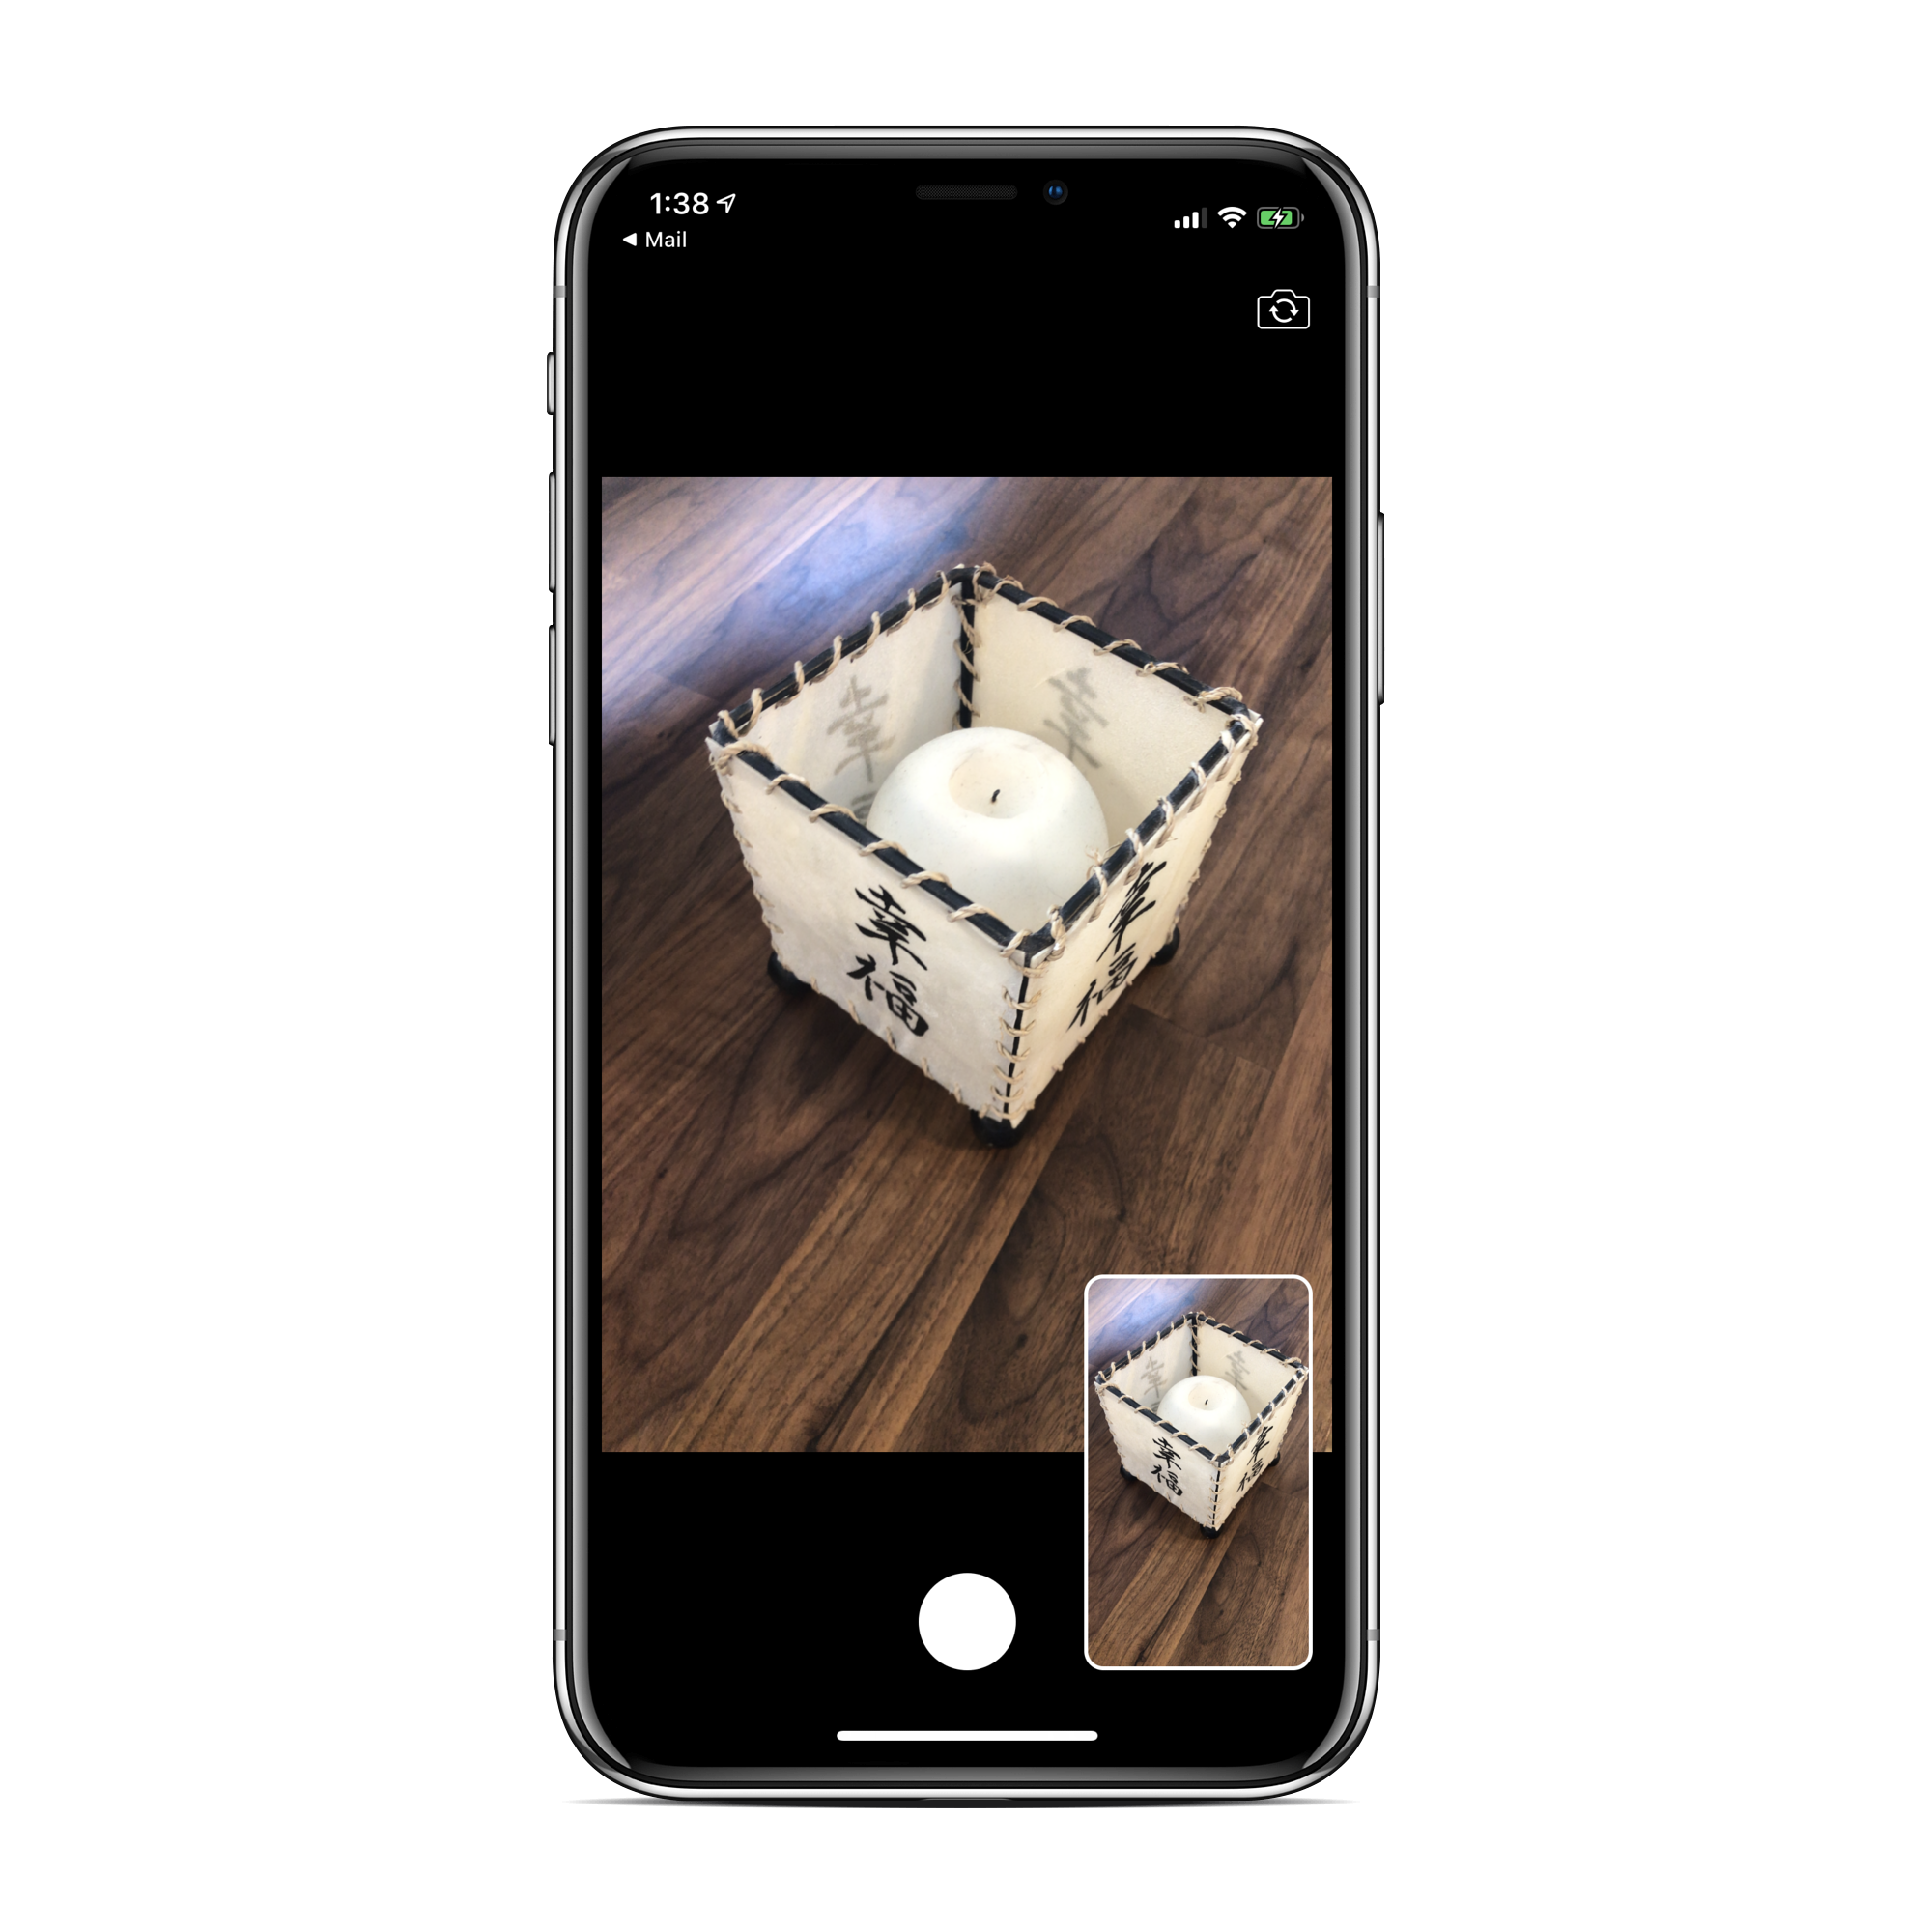
If you run the app, you’ll see that we have a very basic camera setup. We use the standard wideAngleCamera for both front and back cameras. The capture session uses the photo preset, and there are no configurations on the capture devices themselves. We use a preview layer to display the live feed from the capture session. Finally, we take the picture using video frames we get back from the video data output object.
如果您运行该应用程序,将会看到我们有一个非常基本的相机设置。 我们对前置和后置摄像头均使用标准的wideAngleCamera 。 捕获会话使用照片预设,并且捕获设备本身没有任何配置。 我们使用预览层来显示捕获会话中的实时提要。 最后,我们使用从视频数据输出对象返回的视频帧拍摄图片。
If you’ve never used AVCaptureVideoDataOutput, all it does is return video frames from the capture session, which you can use to convert to a UIImage when the user takes a picture.
如果您从未使用过AVCaptureVideoDataOutput ,它所做的就是从捕获会话返回视频帧,您可以在用户拍照时将其转换为UIImage 。
The UI setup takes place in ViewController+Extras.swift, and all the main logic takes place in ViewController.swift. Take a few minutes to play around with it and look at the code setup.
UI设置在ViewController+Extras.swift ,所有主要逻辑在ViewController.swift 。 花几分钟时间试用它,然后看一下代码设置。
背景思维 (Background Thinking)
There are two ways to take a picture from a capture session. The first way is to use AVPhotoCaptureOutput, an output object which makes it really easy to take a picture from the camera. And the second way is to use an AVCaptureVideoDataOutputwhere we get the raw video data from which we can take a picture, i.e., capture one frame.
从捕获会话中拍照有两种方法。 第一种方法是使用AVPhotoCaptureOutput ,这是一个输出对象,可以非常轻松地从相机拍摄照片。 第二种方法是使用AVCaptureVideoDataOutput ,从中获取原始视频数据,从中可以拍摄图片,即捕获一帧。
Now let’s think for a second. The current setup uses the AVCaptureVideoDataOutput to get back the raw video data, and we also use an AVCaptureVideoPreviewLayer to show the user what the camera is seeing.
现在让我们考虑一下。 当前设置使用AVCaptureVideoDataOutput取回原始视频数据,我们还使用AVCaptureVideoPreviewLayer向用户显示摄像机所看到的内容。
In this tutorial, we are looking to apply custom filters to the camera. This, of course, can be done after the user presses the camera button, but you want the user to be able to see the effects through the camera. Our only option here is that instead of relying on the AVCaptureVideoPreviewLayer, we rely on the AVCaptureVideoDataOutput to process the frames with our effects and present them to the user in real time.
在本教程中,我们希望将自定义滤镜应用于相机。 当然,这可以在用户按下相机按钮之后完成,但是您希望用户能够通过相机看到效果。 我们唯一的选择是,我们不依赖AVCaptureVideoPreviewLayer ,而是依赖AVCaptureVideoDataOutput处理具有效果的帧,并将其实时呈现给用户。
So the standard preview layer + photo capture output is good for when all you really need is a custom camera UI. But using the video data output to take over both of those roles is good for when you need to actually process and apply effects to the camera.
因此,当您真正需要的只是自定义相机UI时,标准预览层+照片捕获输出非常有用。 但是,当需要实际处理并将效果应用于摄像机时,使用视频数据输出来接管这两个角色非常有用。
CIFilters + Metal与全金属 (CIFilters+Metal vs. all Metal)
If you’re unfamiliar with Metal, it’s the framework for using the GPU on Cocoa devices. A metal view can be thought of as a view that displays what the GPU renders. Now, all views on iOS are rendered using the GPU, but a metal view is special because you control what’s rendered at a much lower level.
如果您不熟悉Metal ,那么它是在Cocoa设备上使用GPU的框架。 金属视图可以认为是显示GPU渲染的视图。 现在,iOS上的所有视图都是使用GPU渲染的,但是金属视图是特殊的,因为您可以在更低的级别上控制渲染的内容。
If you’re unfamiliar with CIFilters, they’re literally just objects that apply filters to an image (yes, it’s that easy!).
如果你不熟悉CIFilter 小号 ,他们认为使用过滤器,图像字面上只是对象(是的,就是这么简单!)。
So how do we apply effects? There are multiple ways of doing this.
那么我们如何应用效果呢? 有多种方法可以做到这一点。
Use the predefined
CIFilters. These are the baked-in plug-and-chug objects.使用预定义的
CIFilter。 这些是烘焙的即插即用对象。Create your own
CIFilterusing the Metal Shading Language. This is the same as the baked-in filters, except you actually write the code for the filter yourself. The Metal Shading Language is how you write your own instructions for use by the GPU in the Metal framework.使用Metal Shading Language创建自己的
CIFilter。 除了您自己编写过滤器的代码外,这与内置过滤器相同。 Metal着色语言是您编写自己的指令的方式,以供Metal框架中的GPU使用。- Make your own textures using Metal. It’s the same concept as above, but you can do more things as your scope is broadened beyond just adding filters. 使用金属制作自己的纹理。 与上面的概念相同,但是随着范围的扩大,您不仅可以添加过滤器,还可以做更多的事情。
Both ways (CIFilters or Metal) leverage rendering textures into a metal view. The difference is how you process the images. CIFilters is an easier higher-level abstraction that comes prebaked-in with a ton of filters. But as I mentioned, you can create your own. Using all Metal will give you more flexibility and can be more useful in applications where you need to render stuff on top of the image itself (rather than solely adding a filter to the image).
两种方法( CIFilter或Metal)都将渲染纹理利用到金属视图中。 不同之处在于您如何处理图像。 CIFilter是一个更容易的高级抽象,它带有大量的过滤器。 但是正如我提到的,您可以创建自己的。 使用所有Metal可以为您提供更大的灵活性,并且在需要在图像本身之上渲染内容(而不是仅向图像添加滤镜)的应用程序中更加有用。
Performance-wise, what do we want out of this? We want all the processing to take place on the GPU. It should be obvious that the all-Metal approach inherently gives us this, but the CIFilters+Metal approach will give us nearly the same performance.
在性能方面,我们要从中得到什么? 我们希望所有处理都在GPU上进行。 显而易见,全金属方法固有地为我们提供了此功能,但是CIFilter s + Metal方法将为我们提供几乎相同的性能。
第1部分。通过MetalKit显示框架 (Part 1. Display the Frames Through MetalKit)
In this first part, we’re going to move away from the AVCaptureVideoPreviewLayer and display the result ourselves.
在第一部分中,我们将离开AVCaptureVideoPreviewLayer并AVCaptureVideoPreviewLayer显示结果。
First, let’s think about what we’re doing with these data frames. When the user presses the camera button, we create a UIImage out of that frame. A naive approach for displaying the frames is to have a UIImageView in which you update the image each frame. Now this obviously is terrible for performance. The display pipeline this way goes CPU (frame we got back) -> GPU (CIImage) -> CPU (UIImage). This is why a MetalKit view is the best way to handle this.
首先,让我们考虑一下我们如何处理这些数据帧。 当用户按下相机按钮时,我们会在该框架之外创建一个UIImage 。 一种简单的显示框架的方法是拥有一个UIImageView ,您可以在其中更新每个框架的图像。 现在,这显然对性能造成了可怕的影响。 显示管道以这种方式进入CPU(我们返回的帧)-> GPU( CIImage )-> CPU( UIImage )。 这就是为什么MetalKit视图是处理此问题的最佳方法的原因。
I won’t be explaining Metal super in-depth here because I already have a tutorial for that if you’re interested in learning more: “How to Make Your First Circle Using Metal Shaders.”
我不会在这里深入解释Metal super,因为如果您有兴趣学习更多信息,那么我已经有一个教程供您参考:“ 如何使用Metal Shaders制作第一个圆 。”
部分1.设置金属视图 (Section 1. Set up the metal view)
We have a basic template for a camera app using the standard preview layer. We now want to remove that for a different type of view we’ll be using, a MTKView.
我们有一个使用标准预览层的相机应用程序的基本模板。 现在,我们要针对将要使用的另一种视图类型MTKView删除该视图。
“The
MTKViewclass provides a default implementation of a Metal-aware view that you can use to render graphics using Metal and display them onscreen.”“
MTKView类提供了金属感知视图的默认实现,可用于使用金属渲染图形并将其显示在屏幕上。”
As you can infer from the description, we’ll essentially be rendering the filtered frames into this view.
从描述中可以推断出,我们实际上是将过滤后的帧渲染到该视图中。
In ViewController.swift, we’ll be removing the setupPreviewLayer() and adding in an instance variable to store our metal view. And finally, to use Metal inside of an application, you need to import MetalKit.
在ViewController.swift ,我们将删除setupPreviewLayer()并添加一个实例变量以存储金属视图。 最后,要在应用程序内部使用Metal,您需要导入MetalKit 。
In ViewController.swift+Extras.swift, we just add the metal view to the view hierarchy and made it span the whole screen.
在ViewController.swift+Extras.swift ,我们仅将金属视图添加到视图层次结构中,并使其覆盖整个屏幕。
Notice how it is just a subclass of UIView. There’s no special considerations needed to add it to the UI.
注意它只是UIView的子类。 将其添加到UI不需要任何特殊的考虑。
At this point, if you run the app, you can still take pictures as everything works; we just don’t have a preview layer anymore.
此时,如果您运行该应用程序,则可以在一切正常的情况下拍照。 我们只是没有预览层了。
Now we need to actually set up the metal view itself.
现在,我们需要实际设置金属视图本身。
Connect to the device’s GPU
连接到设备的GPU
The first step is that the metal view works by rendering content, and that content is rendered to the screen using a GPU. A GPU in the MetalKit framework is represented by a MTLDevice, similar to how a camera or a microphone is represented by an AVCaptureDevice in the AVFoundation framework.
第一步是金属视图通过渲染内容来工作,然后使用GPU将内容渲染到屏幕上。 在A GPU MetalKit框架由a表示MTLDevice ,类似于如何照相机或麦克风由表示AVCaptureDevice在AVFoundation框架。
Tell the MTKView how to update itself
告诉MTKView如何自我更新
This can be found underneath “Configuring the Drawing Behaviour” in the documentation for MTKView. We want to update the MTKView every time there’s a new frame to display. So we’ll be going with the “explicit drawing” option.
可以在“ 配置绘图行为 ”下面找到 在MTKView的文档中。 每当有新的框架要显示时,我们都希望更新MTKView 。 因此,我们将使用“显式绘图”选项。
Create a command queue
创建命令队列
To send instructions to the GPU for processing, we need a pipeline to send instructions down. This pipeline is created by a MTLCommandQueue.
要将指令发送到GPU进行处理,我们需要一个管道来向下发送指令。 该管道由MTLCommandQueue创建。
“A
MTLCommandQueueobject is used to queue an ordered list of command buffers for aMTLDeviceto execute.”“
MTLCommandQueue对象用于将命令缓冲区的有序列表排队,以使MTLDevice执行。”
You create this command queue from the MTLDevice object.
您从MTLDevice对象创建此命令队列。
Send instructions to the GPU
将指令发送到GPU
Now that we have a queue directly to the GPU, how do we send commands to it? Where do we send commands to it? Well, the MTKView has a MTKViewDelegate whose purpose is to respond to the view’s drawing events. It’s in here that we actually send off the commands.
现在我们有直接进入GPU的队列,我们如何向它发送命令? 我们在哪里向它发送命令? 嗯, MTKView有一个MTKViewDelegate其目的是响应视图的绘图事件。 我们实际上是在这里发出命令的。
The first function we conform to tells us our metal view’s drawable has changed. What’s a drawable?
我们遵循的第一个功能告诉我们金属视图的可绘制对象已更改。 什么是绘画?
“A displayable resource that can be rendered or written to … capable of showing content onscreen. You use drawable objects when you want to render images using Metal and present them onscreen.”
“可以呈现或写入的可显示资源……能够在屏幕上显示内容。 当您想使用Metal渲染图像并将其显示在屏幕上时,可以使用可绘制对象。”
The metal view is going to have a default drawable object attached to it, as we will soon see we can render our CIImage (that we make out of the video frame we get back from our camera) into it.
金属视图将附加一个默认的可绘制对象,因为我们很快就会看到可以将我们的CIImage (从摄像机返回的视频帧中绘制出来)渲染到其中。
Now if you have any experience using Metal, usually the next step would be to make a pipeline with a render pass descriptor and command encoder to be able to encode instructions into the buffer. Since we’re working with CIImages, we can use a CIContext to write commands into the buffer instead, yay!
现在,如果您有使用Metal的经验,通常下一步就是使用渲染过程描述符和命令编码器来制作流水线,以便能够将指令编码到缓冲区中。 由于我们正在使用CIImage ,因此可以使用CIContext将命令写入缓冲区,是的!
第2部分。通过MTKView显示摄像机源 (Section 2. Display the camera feed through the MTKView)
This brings back memories. I had made this post on Stack Overflow back in 2018 when I was using a UIImageView to display the camera feed and using the CIFilters incorrectly: “Confusion About CIContext, OpenGL and Metal (SWIFT). Does CIContext use CPU or GPU by default?”
这带回了回忆。 我早在2018年就在Stack Overflow上发表了这篇文章,当时我使用UIImageView来显示相机提要并错误地使用了CIFilter :“ 关于CIContext,OpenGL和Metal(SWIFT)的困惑。 CIContext默认使用CPU还是GPU? ”
As the stack overflow user DFD mentioned in his answer, a CIImage (that thing we create out of the video frame) is just a recipe for an image, whenever we transform to CGImage and UIImage we’ve run into the CPU, so we want to do that only if necessary. For us, that’s only necessary when the user actually takes the image. We’ll be storing a reference to the CIImage we’ve already created and call draw on our metal view to take over and render the image inside the metal view.
正如堆栈溢出用户DFD在他的回答中提到的那样, CIImage (我们在视频帧之外创建的东西)只是图像的配方,每当我们转换为CGImage和UIImage时,我们CGImage进入CPU,因此我们想要仅在必要时才这样做。 对于我们来说,只有在用户实际拍摄图像时才需要这样做。 我们将存储对已经创建的CIImage的引用,并在金属视图上调用draw来接管并在金属视图内渲染图像。
CoreImage is an image processing and analysis framework. It has its own image representation called CIImage, which is a recipe for an image. On this image recipe, you can apply CIFilters, which we will be doing in the next part. The third fundamental class of the CoreImage framework is CIContext.
CoreImage是图像处理和分析框架。 它具有自己的图像表示形式CIImage ,它是图像的配方。 在这一形象的配方,你可以申请CIFilter 小号 ,我们将在接下来的部分做的事情。 CoreImage框架的第三个基本类是CIContext 。
“An evaluation context for rendering image processing results and performing image analysis.”
“用于渲染图像处理结果和执行图像分析的评估环境。”
That first key point is what we’re really interested in, that is, rendering the image. And as it turns out, we can render directly to a metal texture. What is a metal texture? We’ll cover that shortly.
第一个关键点是我们真正感兴趣的,即渲染图像。 事实证明,我们可以直接渲染为金属纹理。 什么是金属质感? 我们会尽快介绍。
First let’s create one. There are multiple ways to initialize a CIContext. One of those ways is using Metal. This essentially tells it what GPU device to use for its built-in processing and evaluation functions.
首先让我们创建一个。 有多种初始化CIContext 。 这些方法之一是使用Metal。 这从本质上告诉它使用什么GPU设备来进行内置处理和评估功能。
Next we need to store a reference to each frame in our class so that when we call draw on the metal view, it knows what frame it needs to use.
接下来,我们需要在类中存储对每个框架的引用,以便在金属视图上调用draw时,它知道需要使用哪个框架。
How do we render a CIImage into our metal view? CIContext has a whole group of functions for rendering images, and among them, we encounter one that we can use.
如何将CIImage渲染到金属视图中? CIContext具有一整套用于渲染图像的功能,在其中,我们遇到了可以使用的功能。
func render(_ image: CIImage,
         to texture: MTLTexture,
      commandBuffer: MTLCommandBuffer?,
             bounds: CGRect,
         colorSpace: CGColorSpace)
Let’s dissect its parameters so we know how to continue.
让我们剖析其参数,以便我们知道如何继续。
image— That’s simple; that’s theCIImagewe create for each frame.image-很简单; 那就是我们为每一帧创建的CIImage。texture— I said we’re rendering it to the screen through the metal view and mentioned we’ll be using it’s drawable. What we’re actually “drawing” to is the texture of the drawable that the metal view is housing. A texture in a GPU sense is an image that’s used to map onto an object. Think about texture packs in video games.texture-我说过我们要通过金属视图将其渲染到屏幕上,并提到我们将使用它的可绘制特性。 我们实际上要绘制的是金属视图所容纳的可绘制纹理。 GPU意义上的纹理是用于映射到对象上的图像。 考虑一下视频游戏中的纹理包。commandBuffer— Earlier we created a command queue so we could send instructions to the GPU. These “instructions” are represented as command buffers and are created from the command queue.commandBuffer—之前我们创建了命令队列,以便可以将指令发送到GPU。 这些“指令”表示为命令缓冲区,并从命令队列中创建。bounds— This is theGCRectto draw the image into on the texture.bounds—这是GCRect,用于在纹理上绘制图像。colorSpace— This tells theCIContexthow to interpret the color information from theCIImage. For us, it’s just the standard RGB colors.colorSpace—告诉CIContext如何从CIImage解释颜色信息。 对我们来说,这只是标准的RGB颜色。
There’s quite a bit going on here.
这里有很多事情。
First of all, in our output capture where we get back the video frames, instead of returning right away if the user has not pressed the camera button, we instead store the CIImage first and then call draw on our metal view.
首先,在输出捕获中,我们返回视频帧,而不是如果用户未按下摄像机按钮就立即返回,而是先存储CIImage ,然后在金属视图上调用draw。
In the draw function, we do exactly what we talked about before. We make a command buffer from the command queue to encode the instructions into. We make sure that we have a an image and the metal view’s drawable to work with. We then call the render function on the context passing in the necessary parameters. After that, we tell the command buffer where to present its results and commit it for execution.
在draw函数中,我们所做的正是我们之前提到的。 我们从命令队列中创建一个命令缓冲区,以将指令编码到其中。 我们确保有图像和可以使用的金属视图的可绘制对象。 然后,我们在传递必要参数的上下文上调用render函数。 之后,我们告诉命令缓冲区在哪里显示其结果并将其提交执行。
Lastly, inside setup metal, we set a property framebufferOnly to true, which allows us to write directly to the metal view’s drawable object’s texture.
最后,在设置金属内部,将属性framebufferOnly设置为true ,这使我们可以直接写入金属视图的可绘制对象的纹理。
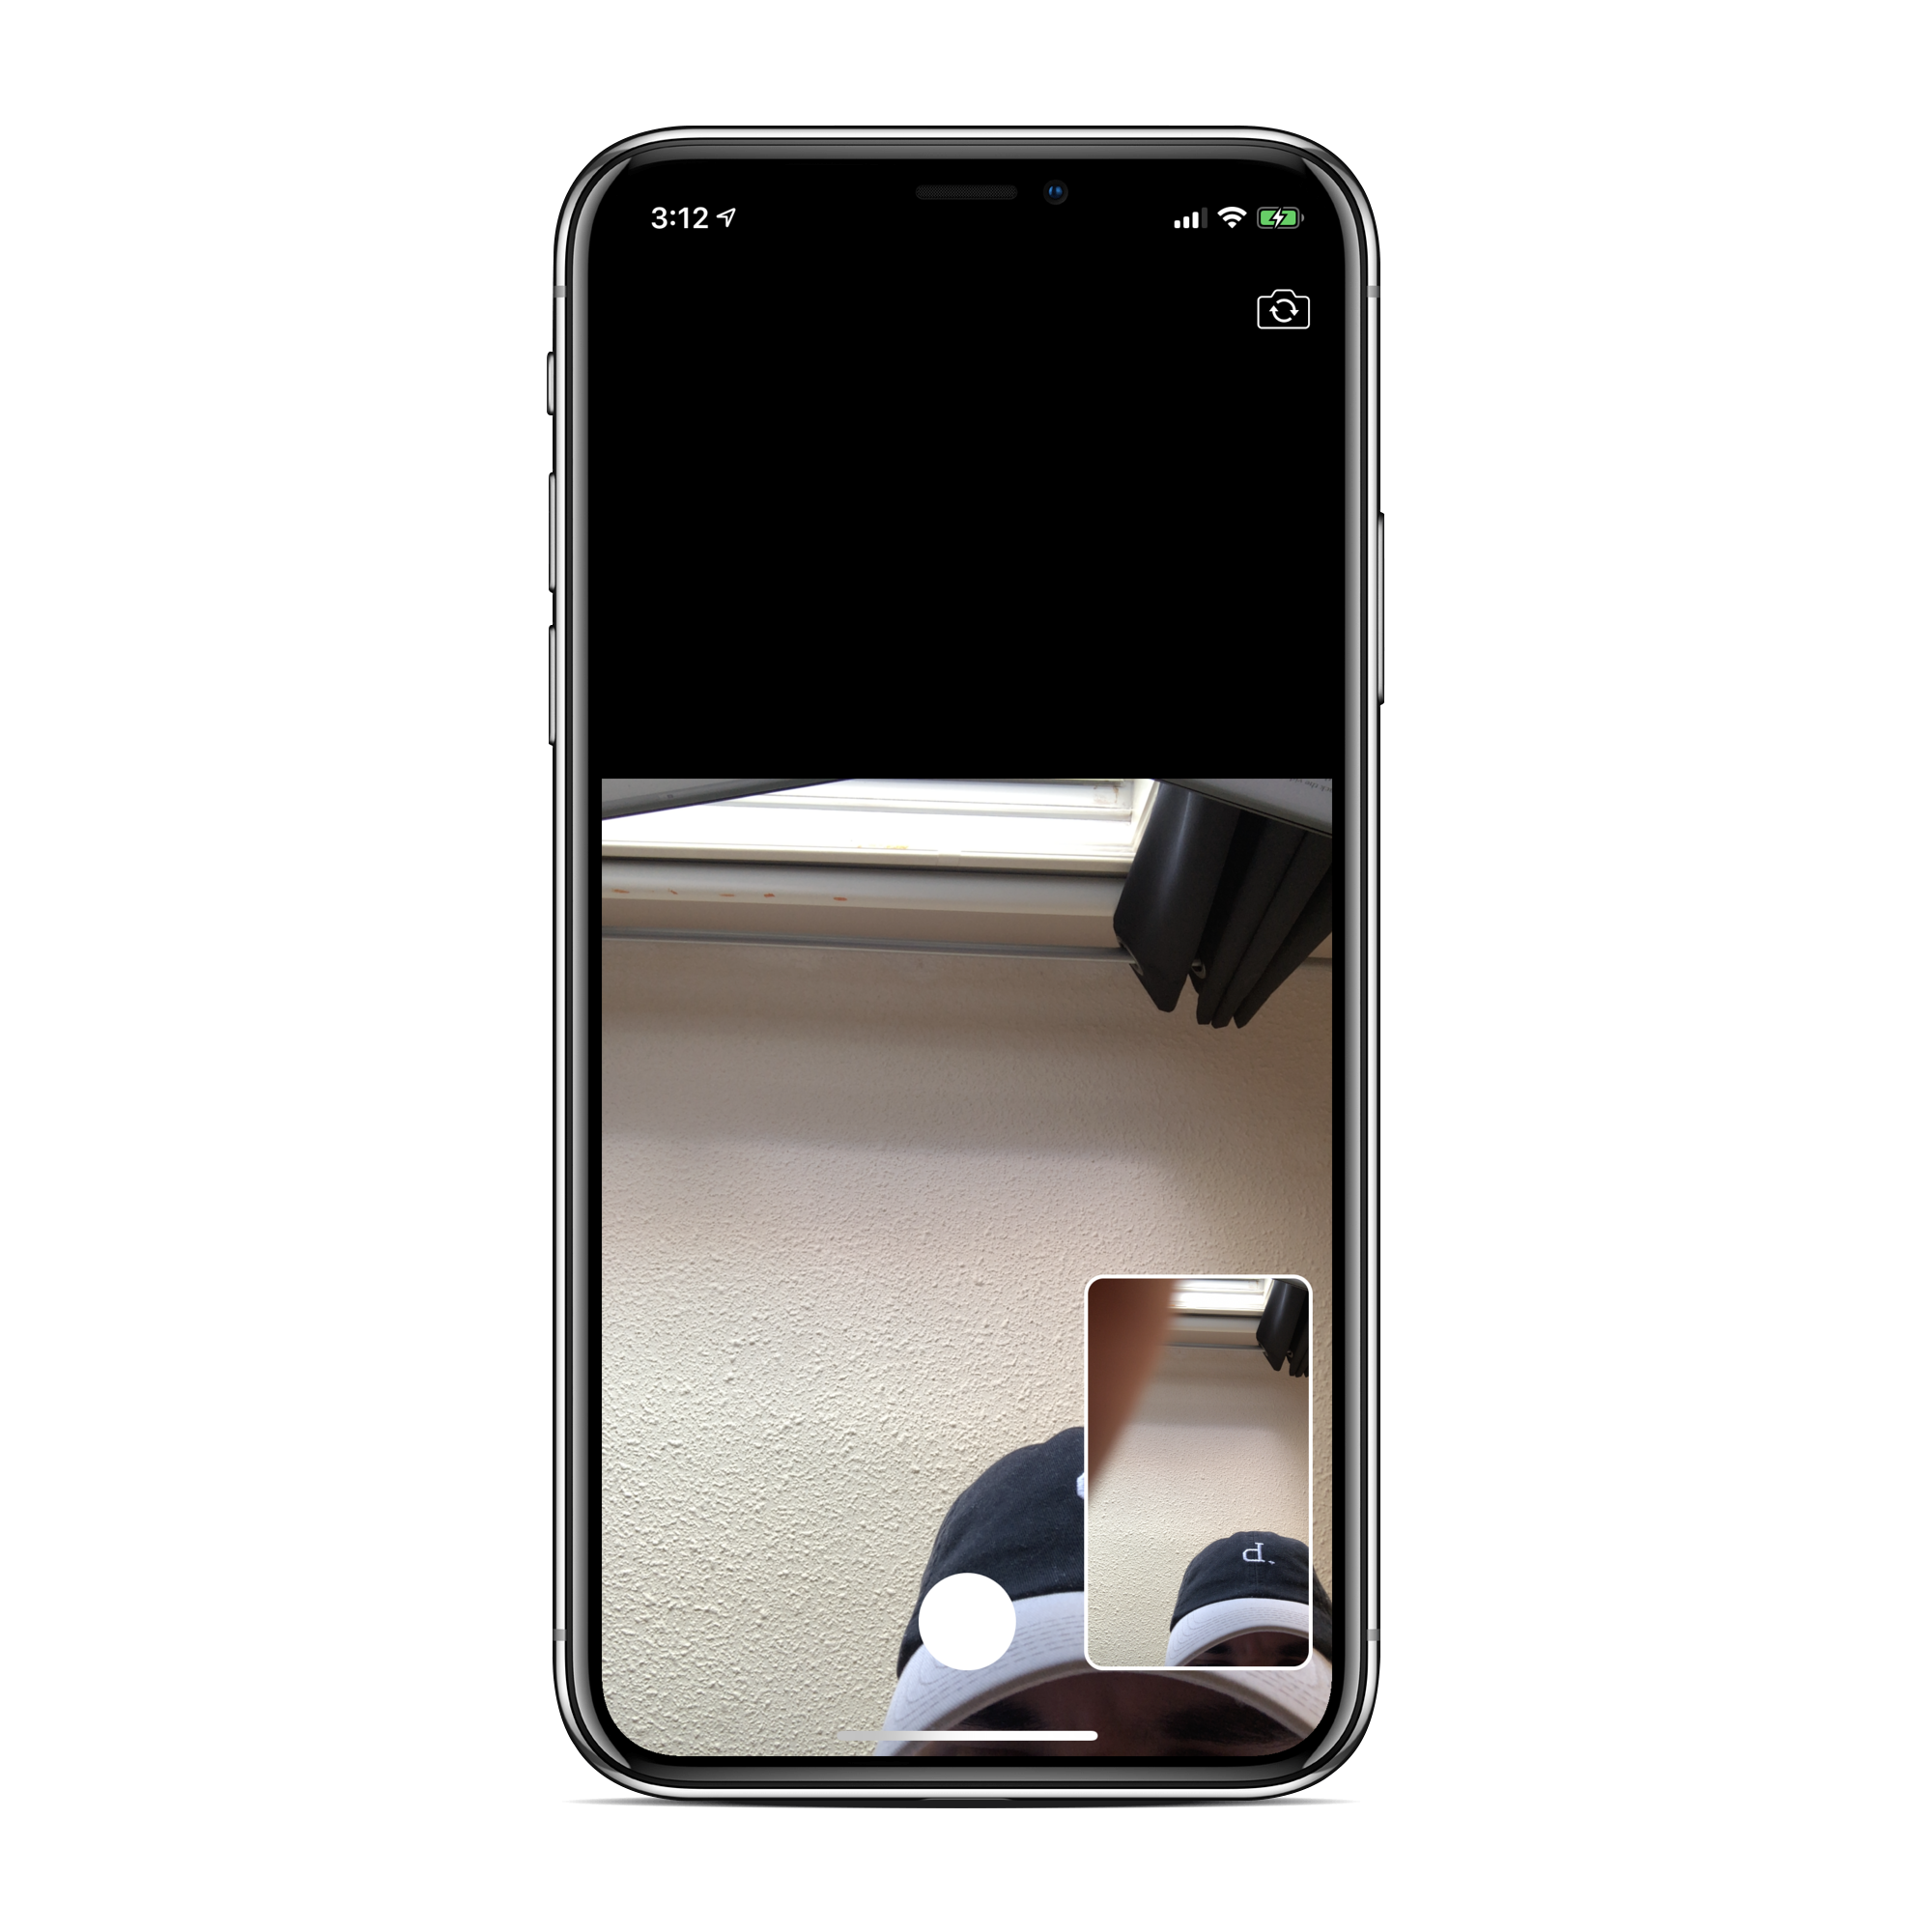
Now if we run it, we will get our frames rendered to the screen, and the best part is that it’s fast! Looking at the resource utilization, we see that it performs really well. There’s a small UI issue: The video stream is not centered properly. It’s stuck to the bottom. This can easily be changed by moving up the origin y point so that it’s centered.
现在,如果我们运行它,我们将把帧渲染到屏幕上,最好的部分是它很快! 查看资源利用率,我们发现它的性能非常好。 用户界面存在一个小问题:视频流未正确居中。 它陷在底部。 可以通过向上移动原点y使其居中来轻松地进行更改。
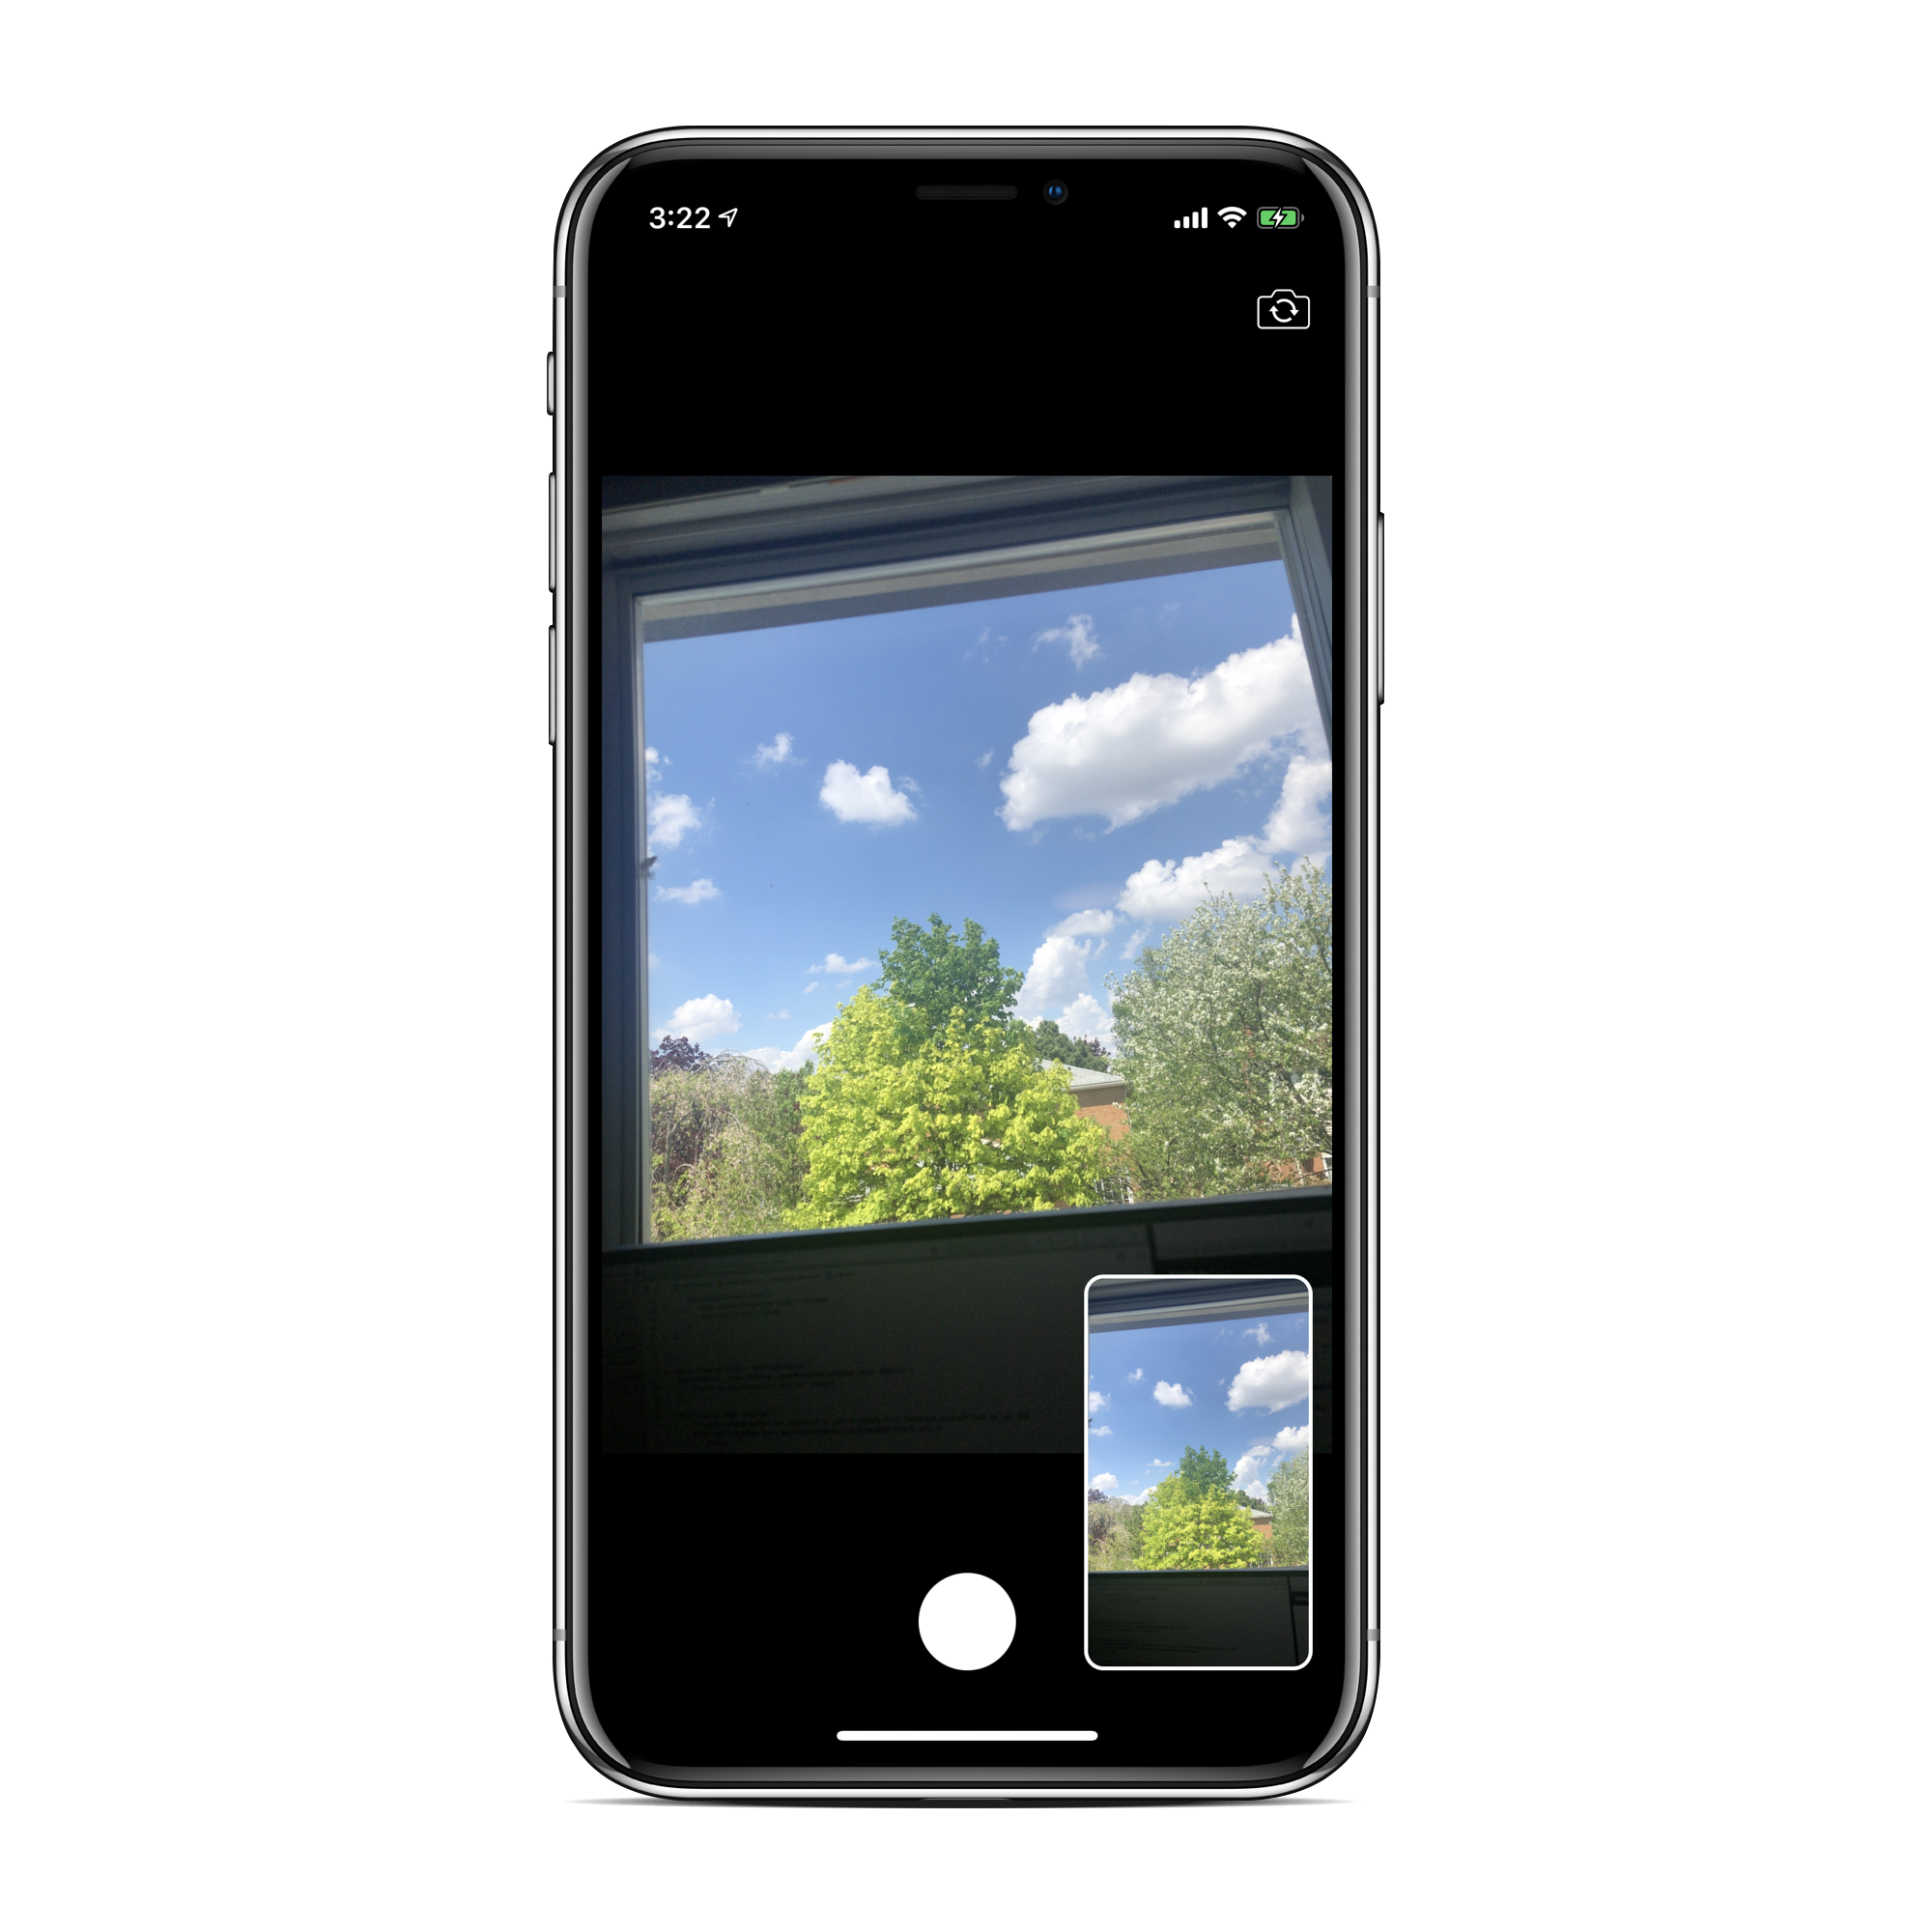
We now have perfectly replicated the AVVideoPreviewLayer using Metal, without compromising any performance.
现在,我们已经使用Metal完美地复制了AVVideoPreviewLayer ,而不会影响任何性能。
第2部分。添加CIFilters (Part 2. Add the CIFilters)
This next part is rather short — setting up the metal view is the hardest part. Our steps to get the frame from the camera to the screen so far have been CMSampleBuffer(from the AVVideoCaptureDateOutput callback) -> CIImage -> MTLTexture.
下一部分相当短-设置金属视图是最困难的部分。 我们的步骤来从相机帧画面至今令人CMSampleBuffer (从AVVideoCaptureDateOutput回调) - > CIImage - > MTLTexture 。
The CIImage we create from the video frame is used both for our own custom video preview using Metal and for saving the image that the user takes. If we want to apply the filters, all we have to do is apply them before we use the CIImage to render onto the screen and/or before saving it when the user takes a picture.
我们从视频帧创建的CIImage既用于我们自己的使用Metal的自定义视频预览,也用于保存用户拍摄的图像。 如果要应用滤镜,我们要做的就是在使用CIImage渲染到屏幕上之前和/或在用户拍照时保存之前应用它们。
“An image processor that produces an image by manipulating one or more input images or by generating new image data.
“通过处理一个或多个输入图像或通过生成新图像数据来生成图像的图像处理器。
“The
CIFilterclass produces aCIImageobject as output.”“
CIFilter类产生一个CIImage对象作为输出。”
This step could not be any easier. CIFilters are high-level abstraction classes for adding filters to images, and there are a ton of pre-baked options already!
这一步再简单不过了。 CIFilter是用于向图像添加过滤器的高级抽象类,并且已经有大量的预烘焙选项!
Each filter takes in at least one parameter (a CIImage). Some filters have additional input parameters such as intensity, radius, etc. Since these filters have so many options, all of the parameters take in strings describing which filter to use and what inputs you want to change.
每个过滤器至少接受一个参数( CIImage )。 一些过滤器具有其他输入参数,例如强度,半径等。由于这些过滤器具有很多选项,因此所有参数都包含字符串,这些字符串描述了要使用的过滤器以及要更改的输入。
Core Image Filter Reference contains all the information you need. It has all the available pre-defined filters, so you can create the filters by name. It also has all the input options for each filter so you can set them up.
核心图像过滤器参考 包含您需要的所有信息。 它具有所有可用的预定义过滤器,因此您可以按名称创建过滤器。 它还具有每个过滤器的所有输入选项,因此您可以进行设置。
To show you how easy it is, there will be only one code snippet, and then we’re done!
为了向您展示它有多么简单,只有一个代码片段,然后就完成了!
As you can see, we’ve made very few changes. We declared two filters and set them up when we set up our CIContext. We then declared a new function that takes in a CIImage and chains together two filters by setting the image as an input on the filter and then getting the filtered image out from the filter. And inside the captureOutput callback, we replace the CIImage we were using before with a filtered one.
如您所见,我们所做的更改很少。 我们声明了两个过滤器,并在设置CIContext时对其进行了设置。 然后,我们声明一个新函数,该函数接受CIImage并将两个滤镜链接在一起,方法是将图像设置为滤镜的输入,然后从滤镜中取出滤镜图像。 在captureOutput回调内部,我们将之前使用的CIImage替换为已过滤的CIImage 。
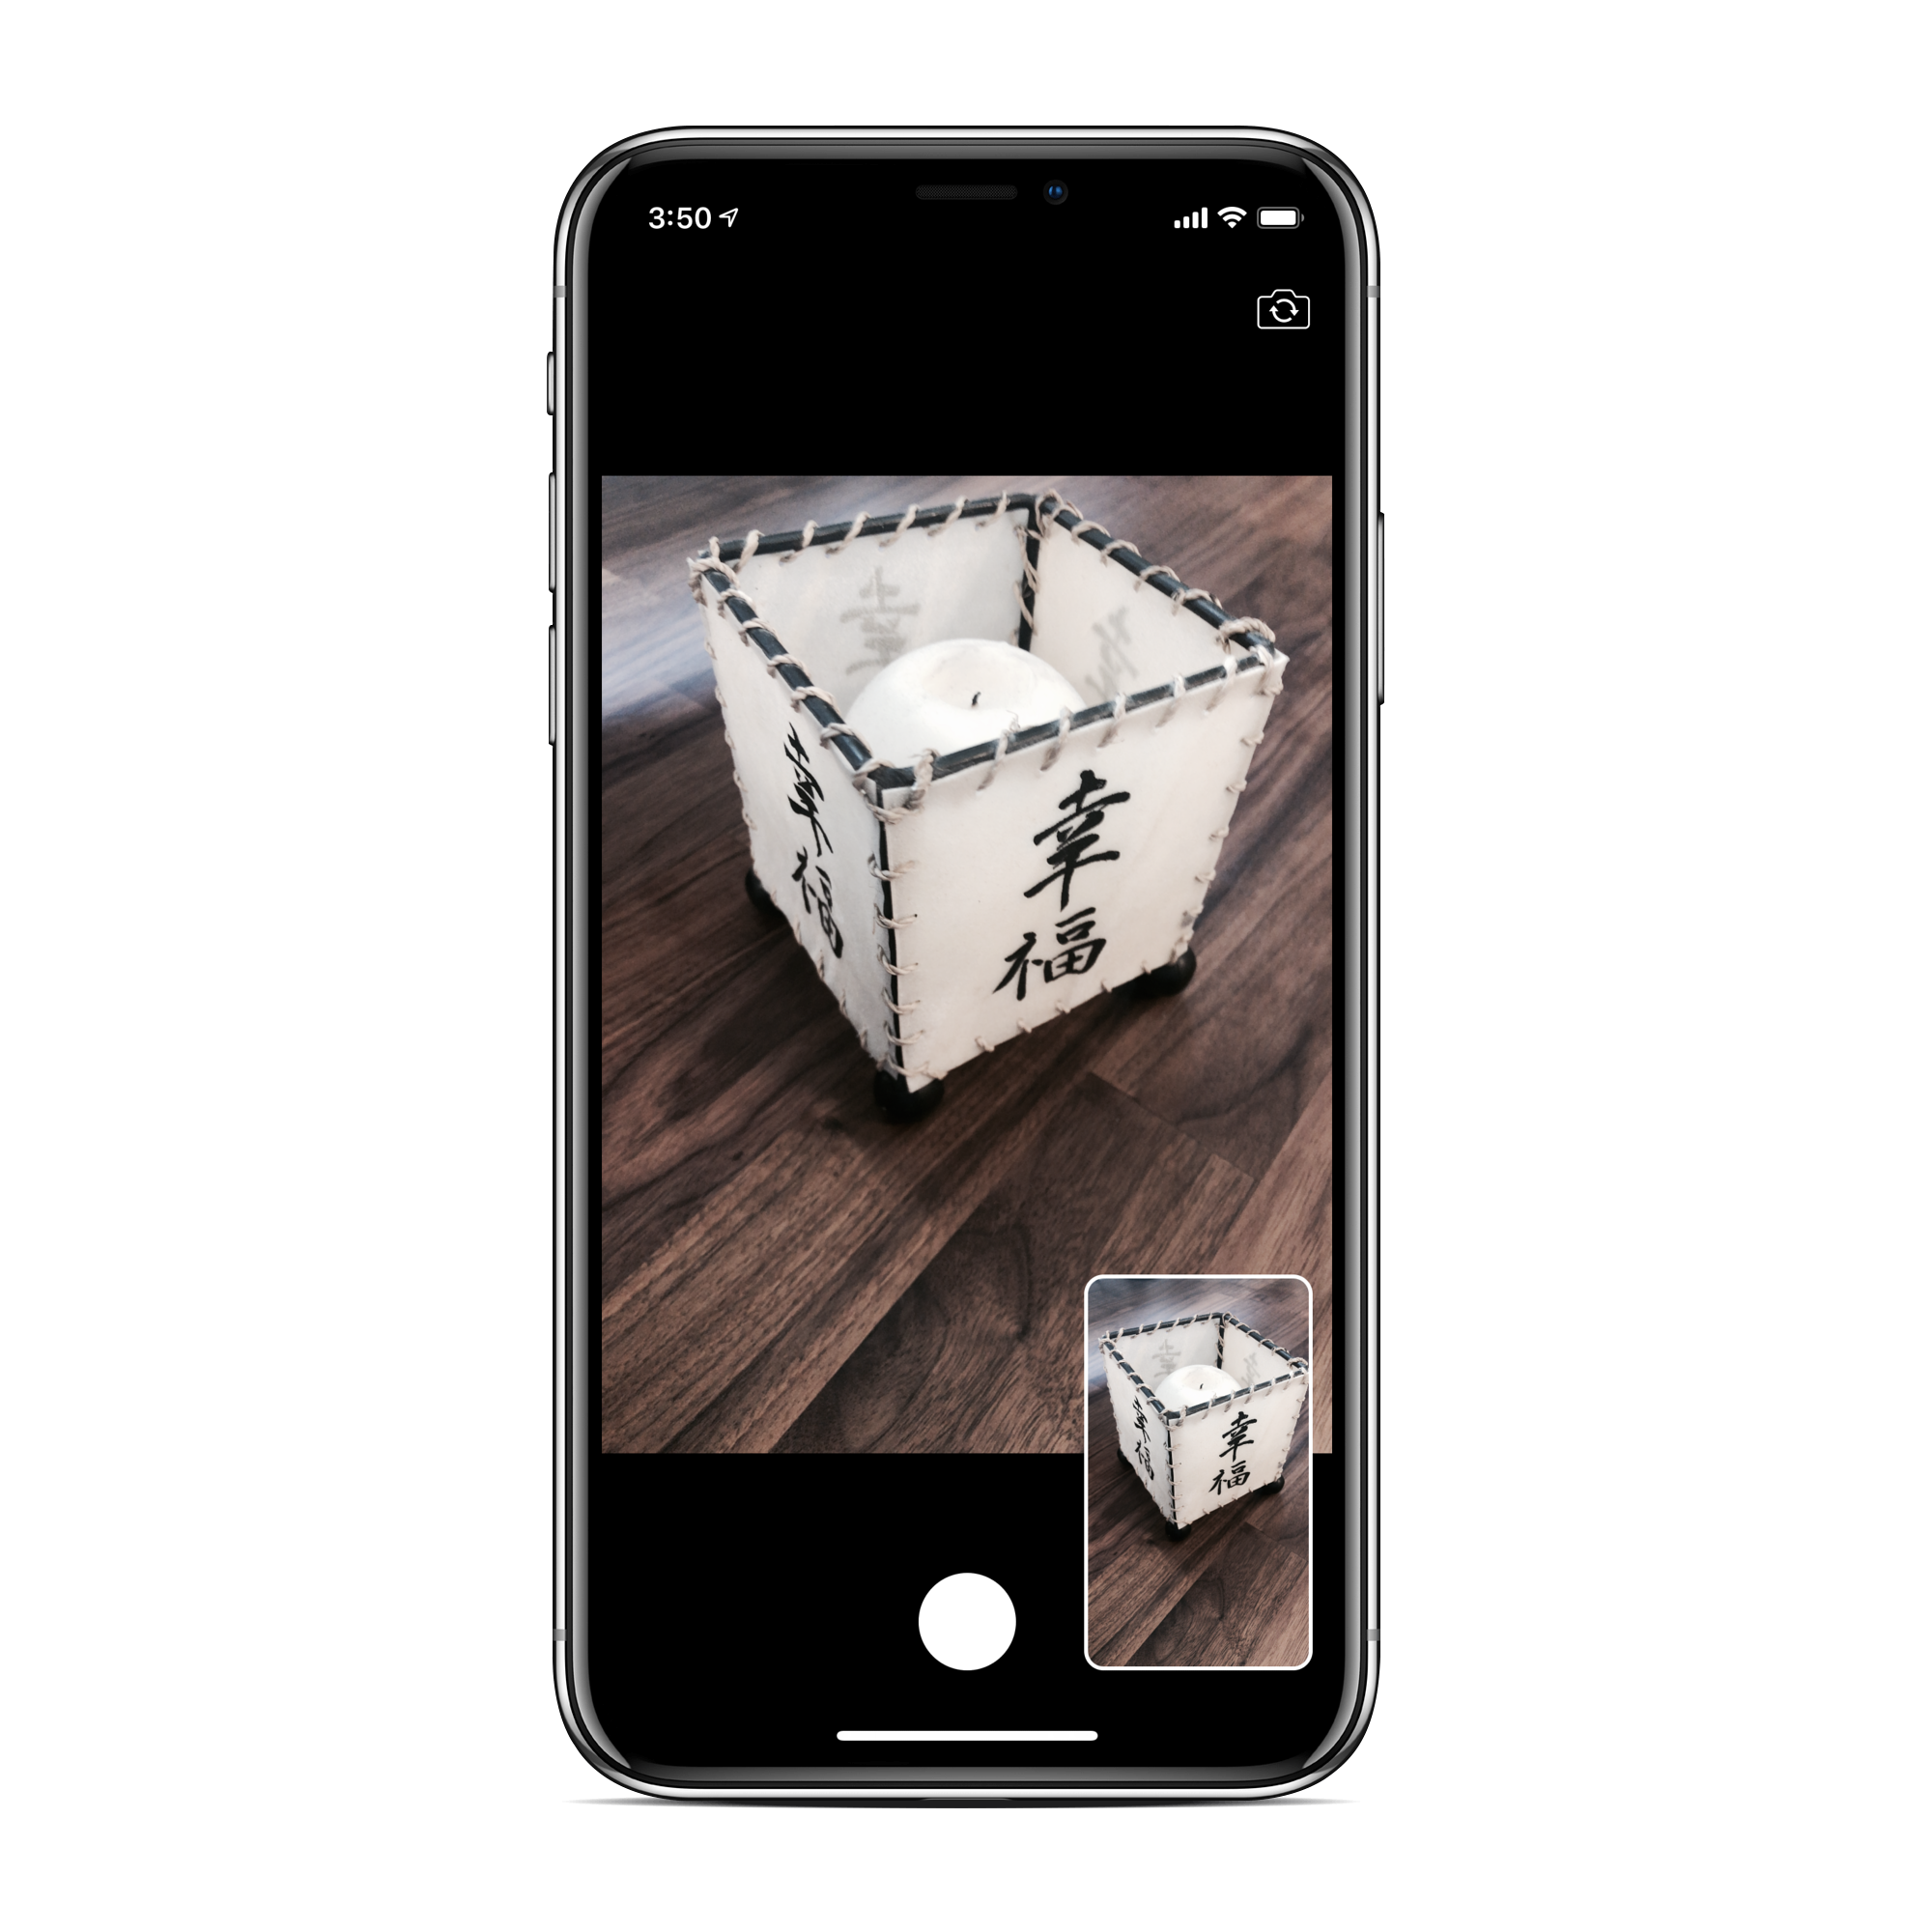
I chose to combine a fade filter and a sepia filter to create a nice vintage tone.
我选择结合使用淡入淡出滤镜和棕褐色滤镜以营造出不错的复古色调。
If you run the app, you now have your own, fast and efficient, custom camera in iOS.
如果您运行该应用程序,则现在在iOS中拥有自己的快速高效的自定义相机。
The complete part code can be found on my GitHub: barbulescualex/iOSMetalCamera.
完整的零件代码可以在我的GitHub上找到: barbulescualex / iOSMetalCamera 。
下一步 (Next Steps)
Where can you go from here?
你可以从这里去哪里?
- Build in a UI for changing the filters. This can be anything from selecting different filters with predefined input parameters to having sliders to be able to change the filter parameters. 内置用于更改过滤器的UI。 从选择具有预定义输入参数的不同过滤器到使滑块能够更改过滤器参数,这可以是任何东西。
- Videos! Each frame we get back from the camera, we filter and display it in the metal view. Capturing video, while not trivial, is not too difficult either. All it implies is that you bundle together the video frames into a file. This is also a great opportunity to explore using audio devices in iOS. 影片! 我们从相机取回的每一帧,我们都会进行过滤并将其显示在金属视图中。 捕捉视频虽然不容易,但也不太困难。 这意味着将视频帧捆绑在一起成为一个文件。 这也是探索在iOS中使用音频设备的绝佳机会。
Custom
CIFilters. If you’re not satisfied with Apple’s offerings, why not make your own?自定义
CIFilter。 如果您对Apple的产品不满意,为什么不自己做?
结论 (Conclusion)
If you’ve enjoyed this tutorial and would like to learn more about Metal, check out my introduction to using Metal shaders, “How to Make Your First Circle Using Metal Shaders.”
如果您喜欢本教程,并且想了解有关Metal的更多信息,请查看我对Metal着色器的介绍,“ 如何使用Metal Shaders制作第一个圆 ”。
Already familiar with Metal, but want to see how you can leverage it to do some cool things? Check out my tutorial on audio visualization, “Audio Visualization in Swift Using Metal and Accelerate (Part 1).”
已经熟悉Metal,但想了解如何利用它来完成一些很酷的事情? 查看我有关音频可视化的教程,“ 使用Metal和Accelerate在Swift中进行音频可视化(第1部分)” 。
As always, if you have any question or comments, feel free to leave them below.
与往常一样,如果您有任何问题或意见,请随时将其留在下面。
ios metal相机


 被折叠的 条评论
为什么被折叠?
被折叠的 条评论
为什么被折叠?
 到【灌水乐园】发言


