mfc 3d绘图
A few weeks ago, I wrote an article in which I explored the advanced 3D view modifier for rotating objects in SwiftUI. It was well received and I thought I would do a short follow-up to explore the subject a little more.
几周前,我写了一篇文章 ,探讨了在SwiftUI中旋转对象的高级3D视图修改器。 这很受欢迎,我想我会做一个简短的后续研究以进一步探讨该主题。
Let’s do a nano review before I do. I put together the 3D object below near the end of that article:
让我们先做一个纳米审查。 我将3D对象放在该文章结尾附近的下面:

It is basically four squares that we slowly warp across 90 degrees in parallel. We added a couple more visual clues to fool our brain into thinking it is a 3D object — namely numbers that turn inside out as the cube twists and changes to the opacity.
我们基本上是四个正方形,它们平行于90度缓慢地翘曲。 我们添加了更多视觉线索来欺骗我们的大脑,使他们认为这是3D对象-即当立方体扭曲并变为不透明度时,数字会向内翻转。
Let’s do some more exploring. There are two parameters I touched on but didn’t really look into in the previous article: perspective and anchorZ.
让我们做更多的探索。 我接触了两个参数,但是在上一篇文章中没有真正研究过:Perspective和anchorZ 。
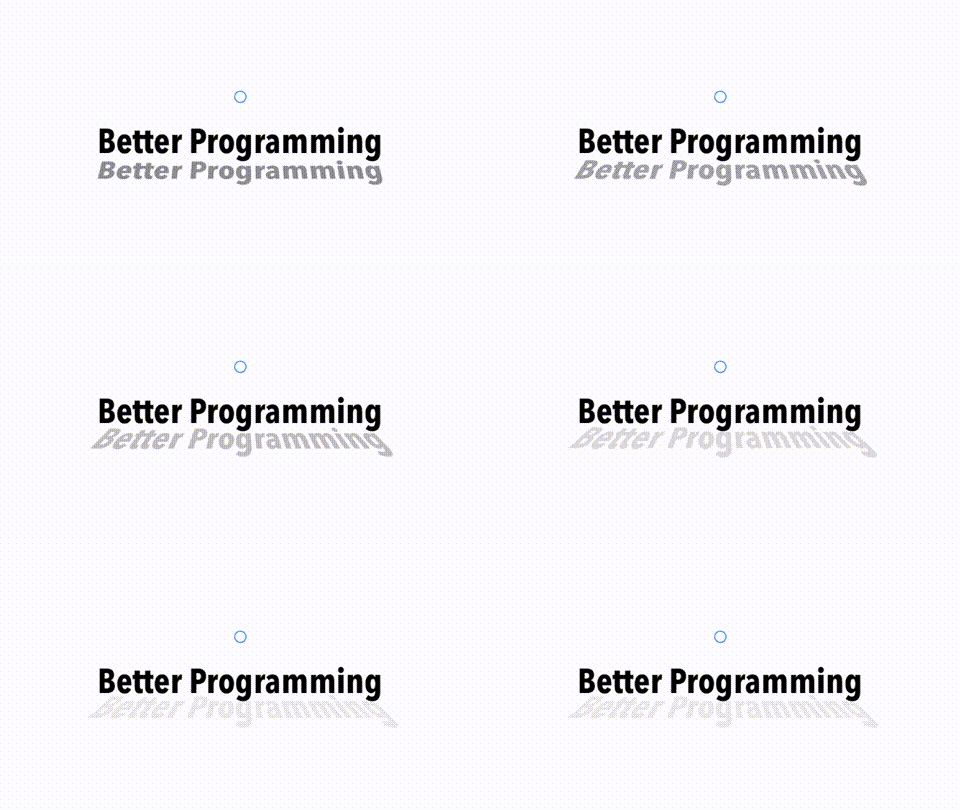
Now, one of the things 3D objects have that 2D ones normally don’t is shadows, and there is a view modifier for that very property in SwiftUI. It’s called shadow — no surprise there. Sadly, it doesn’t really live up to its name and I fear it should actually be called smudge. You can get a much better shadow using the perspective in the rotate command. Beyond that, you can animate your shadow.
现在,3D对象具有2D对象通常不具有的东西之一就是阴影,并且SwiftUI中有一个用于该属性的视图修改器。 这就是shadow -在那里不足为奇。 可悲的是,它并没有真正名副其实,我担心它实际上应该被称为smudge 。 使用rotate命令中的透视图可以获得更好的阴影。 除此之外,您还可以设置阴影动画。

Here is the code behind this subtle effect:
这是此微妙效果背后的代码:
The other attribute I hardly mentioned was anchorZ. Let’s stay on the subject of text and use anchorZ to turn said text on a globe as we rotate it. We’ll add some colored shading to help out on the image trickery:
我几乎没有提到的另一个属性是anchorZ 。 让我们继续关注文本的主题,并使用anchorZ在旋转文本时将其在地球仪上旋转。 我们将添加一些彩色阴影以帮助解决图像欺骗问题:

I am sure you agree it looks great. We have a spinning globe that looks 3D-ish. But wait, let’s continue with the globe theme and look at how we can create a wireframe globe.
我相信您同意它看起来很棒。 我们有一个看起来像3D立体的旋转地球仪。 但是,等等,让我们继续使用Globe主题,看看如何创建线框地球。
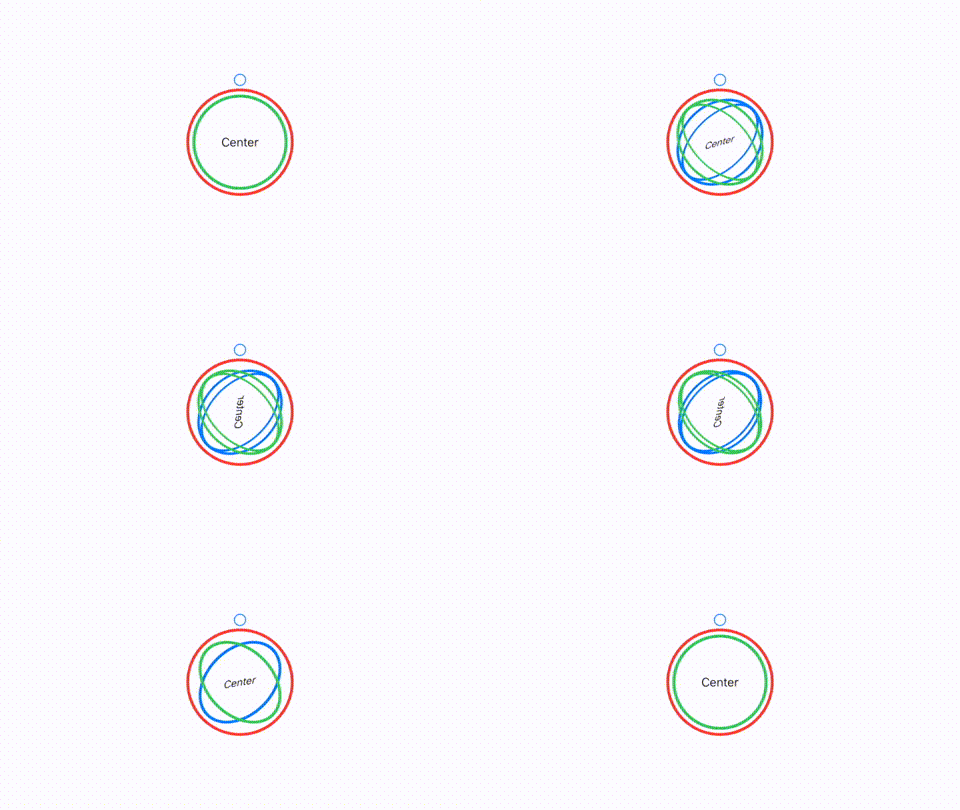
As you might expect, this was far harder to do than our solid cube. To make it work, we can use one of the lesser-known shapes in SwiftUI, the ellipse. This looks like a classic case of “Less is more.” Using just four ellipses that I rotate on the x- and y-axes, we can get a mesmerizing view. The text in the center helps out again. It looks like it is suspended on a flat circular disk within our globe and provides a focus for our eyes as the lines go in all directions.
如您所料,这比我们的立体立方体要难得多。 为了使它起作用,我们可以使用SwiftUI中鲜为人知的形状之一椭圆。 这看起来像是“少即是多”的经典案例。 仅使用我在x轴和y轴上旋转的四个椭圆,就可以得到令人着迷的视图。 中间的文字再次帮助您。 看起来好像它悬挂在地球仪内的圆形圆形磁盘上,并且线条向各个方向延伸,为我们的眼睛提供了焦点。

Here is the code behind the view above:
这是上面视图背后的代码:
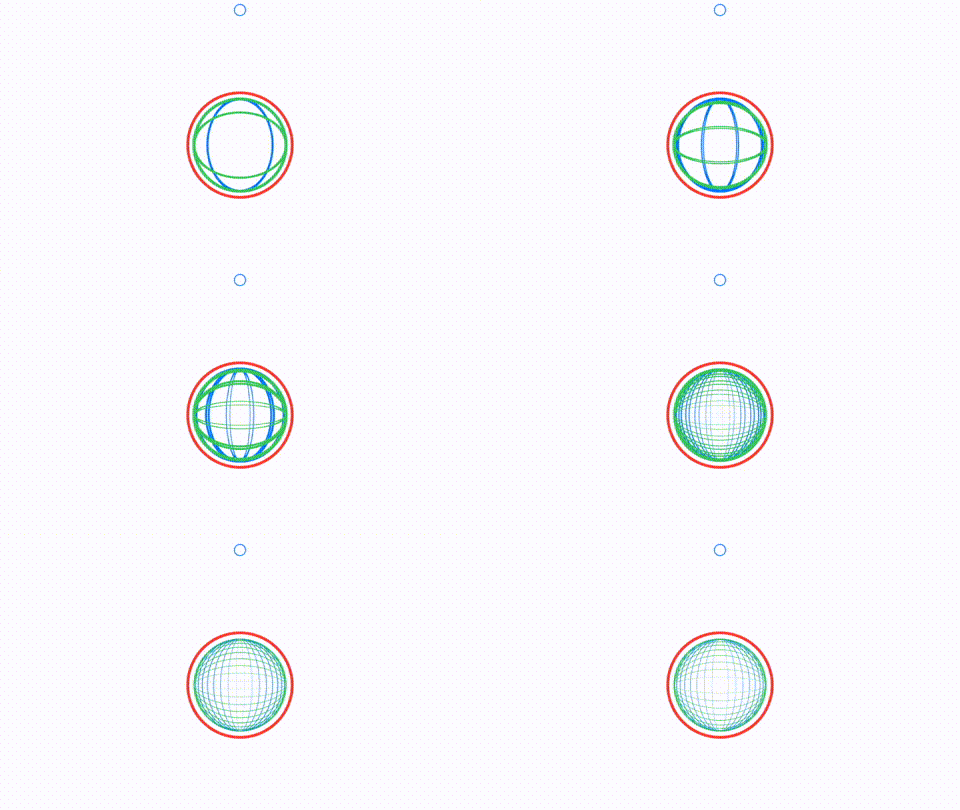
But I think we can do better. To do so, we need to delve into custom drawing primitives in SwiftUI — addArc in particular. Using it, we can create a 3D globe by using semi-circles that I’ll draw and then animate on both the x- and y-axes. The basic code for addArc looks like this:
但我认为我们可以做得更好。 为此,我们需要深入研究addArc中的自定义绘图基元-特别是addArc 。 使用它,我们可以使用我将绘制的半圆形然后在x轴和y轴上设置动画的方式来创建3D地球。 addArc的基本代码如下所示:
I then draw arcs using the code shown to get rings running north-south and then rotate by 90 degrees to get rings running east-west.
然后,使用所示代码绘制圆弧,以使环向南北运行,然后旋转90度以使环向东西向运行。

In the animation shown, we start with just four rings set at 90 degrees. We then go to six rings at 45 degrees. We then move to 12 rings at 30 degrees, 24 rings at 15 degrees, and then finally 36 rings at ten degrees.
在所示的动画中,我们仅以设置为90度的四个环开始。 然后,我们以45度转到六个环。 然后,我们以30度移动到12个环,以15度移动到24个环,然后最终以10度移动到36个环。
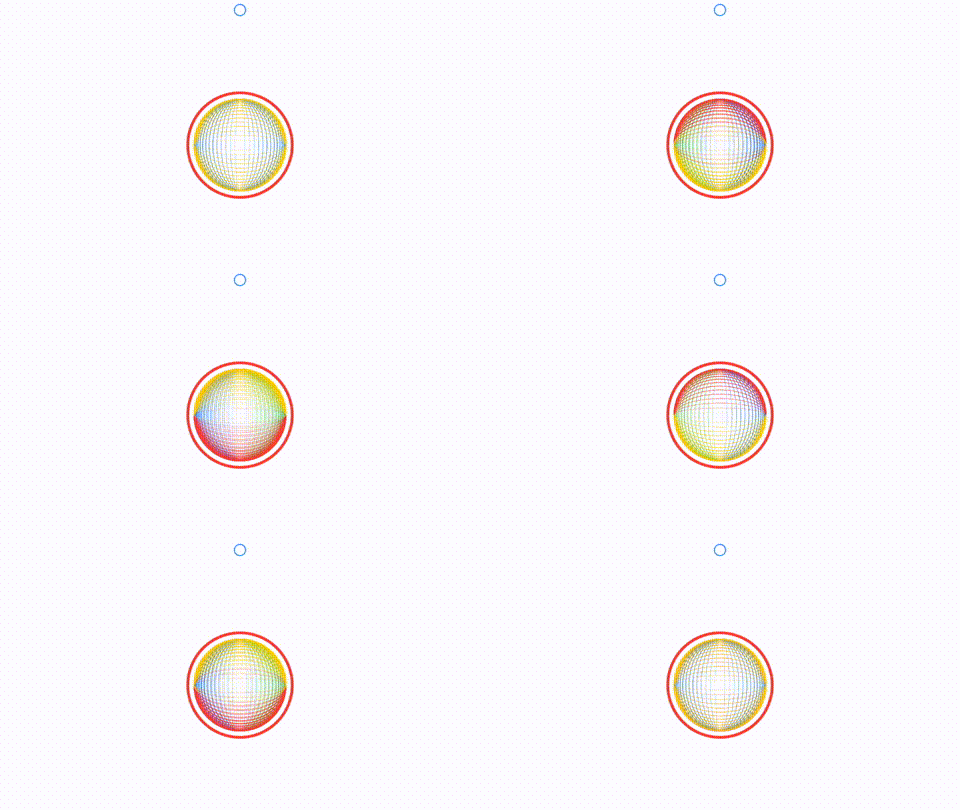
You can make up your own mind as to which works best. Here is the code for the above, with the exception that it has been tuned to do no less than 60 rings at six-degree angles using four colors — not just two:
您可以决定哪种方法最有效。 这是上面的代码,不同之处在于它已被调整为使用四种颜色(不只是两种颜色)以六度角不少于60个环:
Which looks like this. You can play around with changing the colors, the opacity, the number of arcs, the thickness of lines, and the timing of the animation for hours. Tell me in the comments if you come across a combination that works well or surprises you.
看起来像这样。 您可以更改颜色,不透明度,弧数,线的粗细以及动画的时间,以玩几个小时。 在评论中告诉我,如果您遇到有效的组合或使您感到惊讶的组合。

This brings me to the end of the article. I hope you have enjoyed reading this as much as I enjoyed writing it. Keep calm and keep coding.
这使我结束了本文的结尾。 希望您喜欢阅读并喜欢阅读。 保持冷静并保持编码。
翻译自: https://medium.com/better-programming/drawing-in-3d-using-swiftui-ed211d7c2c91
mfc 3d绘图


 本文介绍了如何在MFC中进行3D绘图,并引用了一篇关于使用SwiftUI进行3D绘图的文章,提供了从Python到SwiftUI的视角转换。


 461
461

 被折叠的 条评论
为什么被折叠?


