


素描滤镜
Keyboard shortcuts can play a major role to boost your productivity in Sketch. Since you save a couple of seconds for each action, this starts to compound, saving precious time otherwise wasted on mundane tasks.
ķeyboard快捷键可以起到提高生产力在素描中起主要作用。 由于您为每个操作节省了几秒钟,所以这开始变得复杂,节省了宝贵的时间,否则会浪费在平凡的任务上。
检验员 (Inspector)
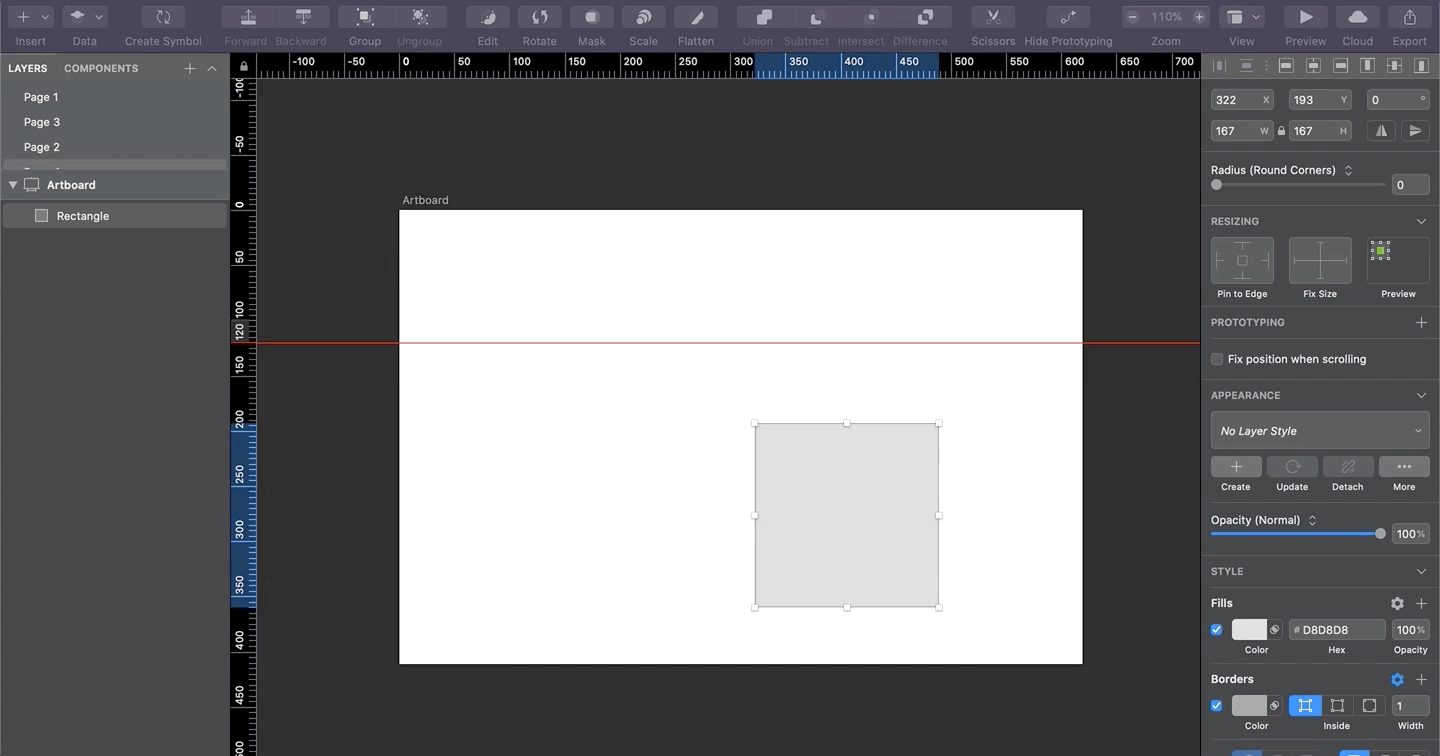
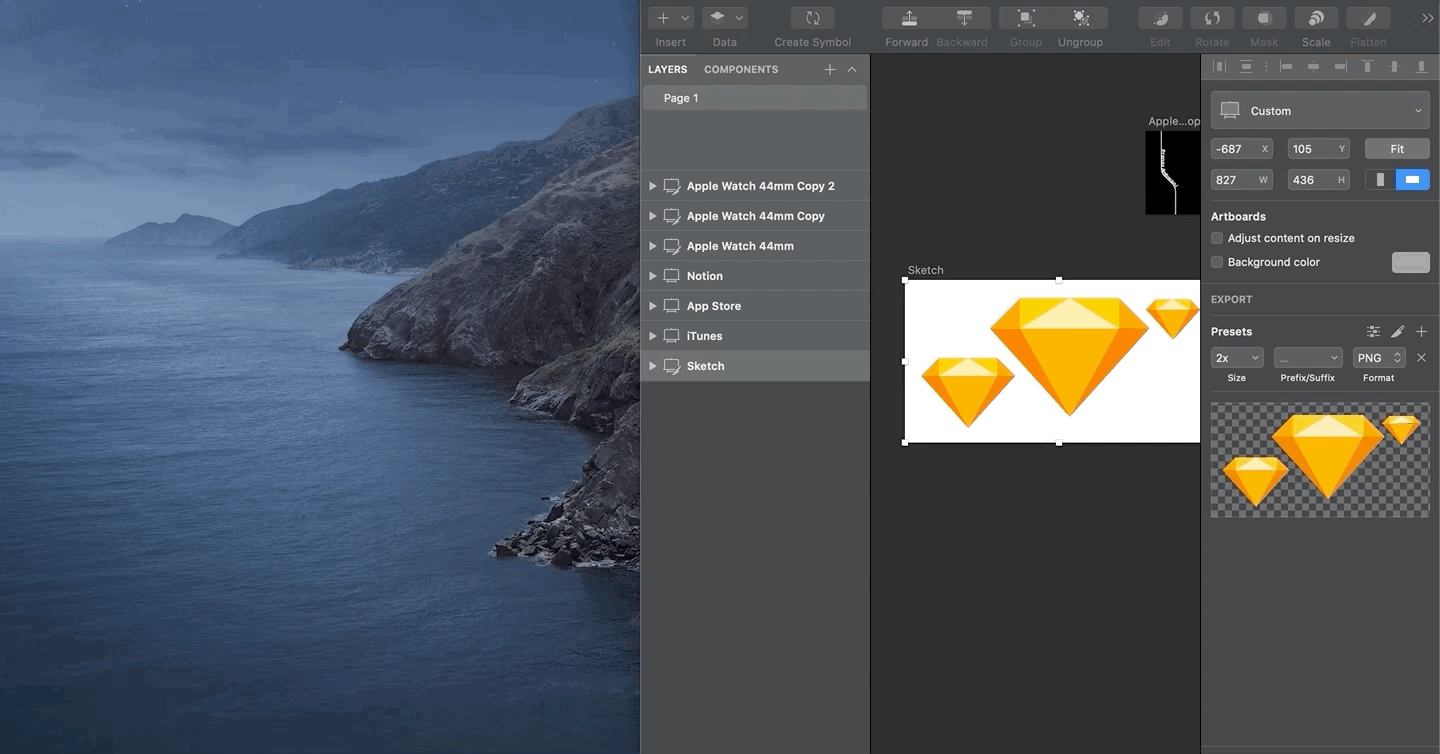
When working with many pixel densities (1x, 2x, 500w, 200h, etc.), designers need to be able to swiftly convert the units.
在处理许多像素密度(1x,2x,500w,200h等)时,设计人员需要能够快速转换单位。
Sketch allows you to not only edit the position and size values via the Up (↑) and Down (↓) arrow keys but also using arithmetic operations such as addition, subtraction, multiplication, and division within the Inspector.
通过Sketch,您不仅可以通过向上(↑)和向下(↓)箭头键编辑位置和尺寸值,还可以使用诸如Inspector中的加,减,乘和除等算术运算。
Consequently, you can easily convert from, say 1x to 2x, by simply multiplying the numbers by 2.
因此,您只需将数字乘以2,就可以轻松地从1x转换为2x。
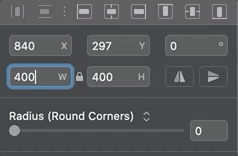
You can also use percentages. If you were to set the width as 100%, the shape would resize to the full-width of the parent container, be it the Artboard or the group that shape is a part of.
您也可以使用百分比。 如果将宽度设置为100%,则形状将调整为父容器的全宽,无论是画板还是该形状所属的组。

So, to recap, here are the shortcuts packaged with Sketch’s powerful Inspector:
因此,回顾一下,以下是Sketch强大的Inspector打包的快捷方式:
- Math (+, -, *, /) and percentage (%) in fields 字段中的数学(+,-,*,/)和百分比(%)
Tab (repeated): Focus on the next field
标签(重复) :关注下一个字段
↑ or ↓: Increase/decrease the value by 1px
↑或↓ :将值增加/减少1像素
Shift + ↑ or ↓: Increase/decrease the value by 10px
Shift +↑或↓ :将值增加/减少10px
Option (⌥) + ↑ or ↓: Increase/decrease the value by 0.1px
选项(⌥)+↑或↓ :将值增加/减少0.1px
Drag Left or Right: Increase/decrease the number respectively by hovering over, then dragging the label
向左或向右拖动 : 将鼠标悬停在上面,然后拖动标签,分别增加/减少数字

使用Tab聚焦 (Focus using Tab)
Selecting a layer and pressing Tab will focus on the first property. As you continue to press Tab while the layer is selected, it’ll keep switching to the next property.
选择一个图层并按Tab键将专注于第一个属性。 在选定图层的同时继续按Tab键 ,它将继续切换到下一个属性。
比例工具 (Scale Tool)
The Scale tool is one of my favorite and most utilized tools. The shortcut for the Scale tool is Command (⌘)+ K.
缩放工具是我最喜欢且使用最多的工具之一。 缩放工具的快捷方式是Command(⌘)+ K。
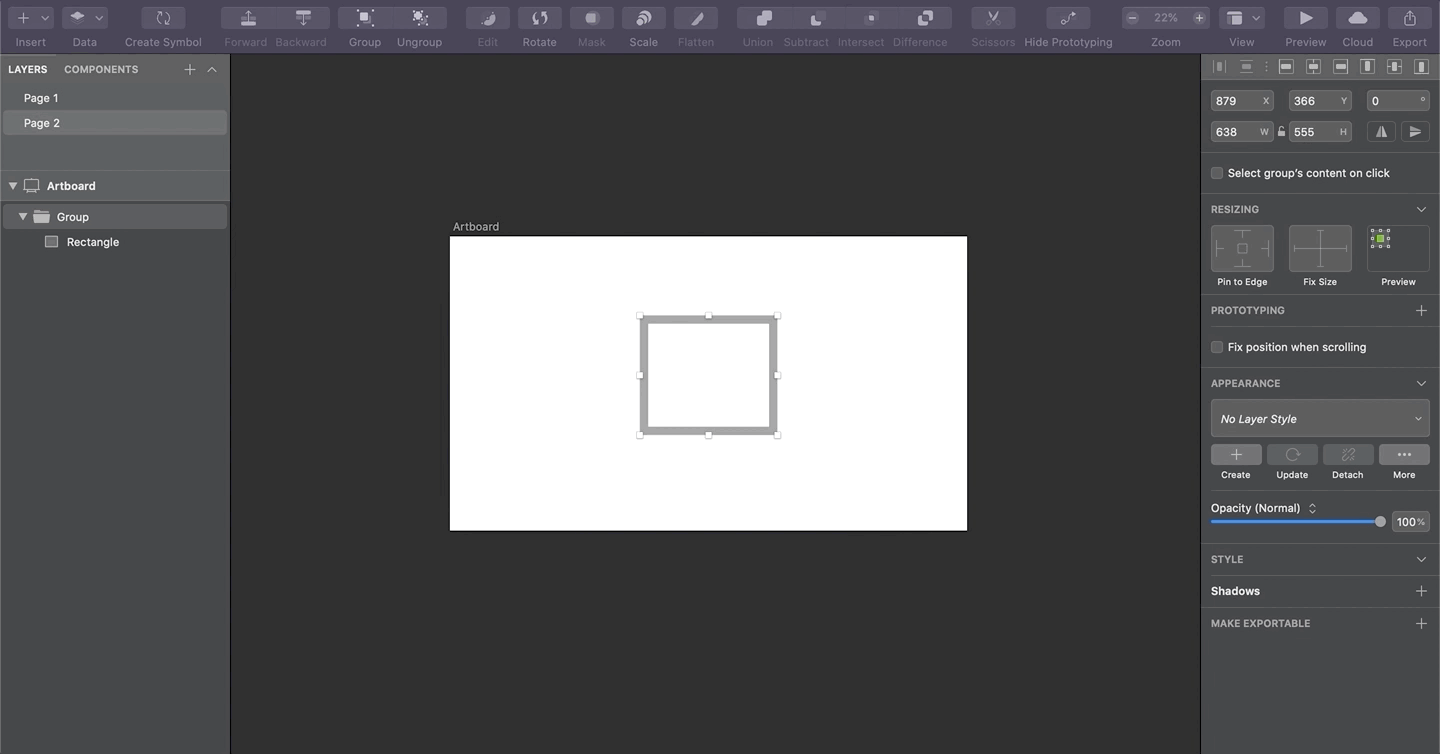
Note: The Scale tool isn’t the same as resizing because it scales each property: size, border, shadows, radius, etc.
注意 :“缩放”工具与调整大小不同,因为它会缩放每个属性:大小,边框,阴影,半径等。
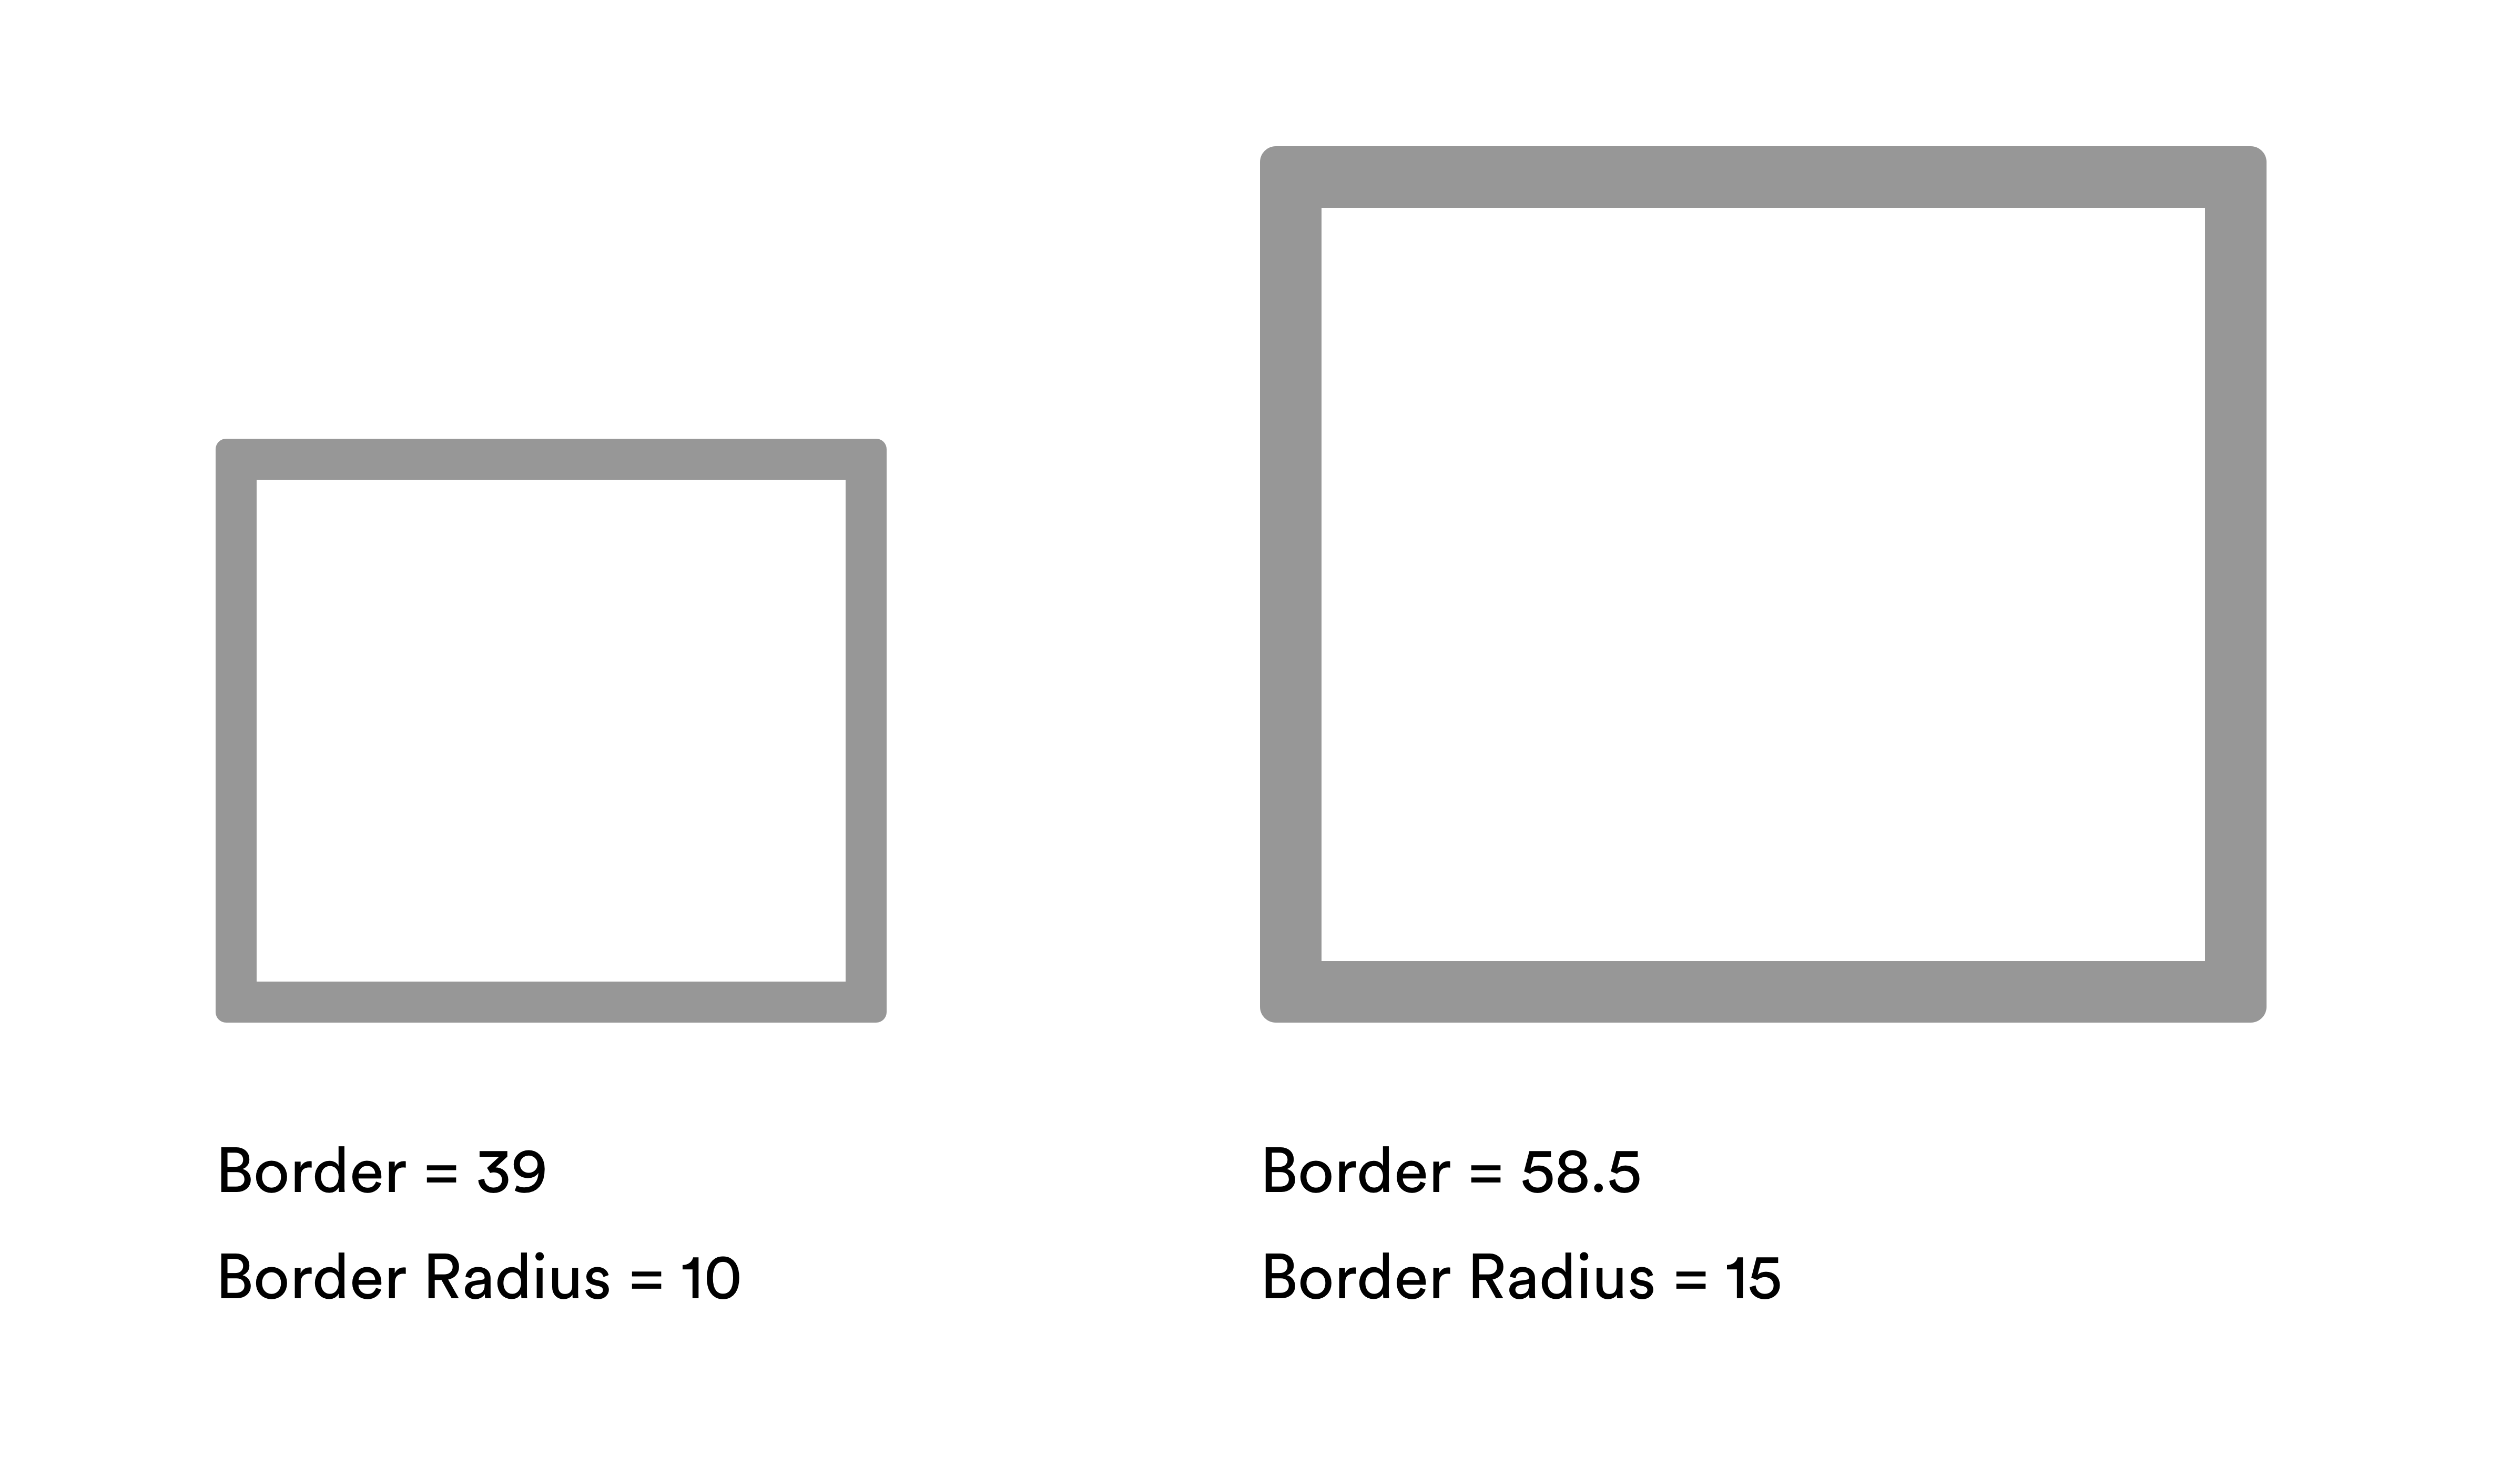
Tip: As a rule of thumb, avoid scaling down since it can lead to decimals in position or size. For example, scaling down a 21 x 21 square will give you a 10.5 x 10.5 square. If you want to retain your pixel perfection, scale-up instead.
提示 :根据经验,请避免缩小比例,因为它可能导致位置或大小的小数位。 例如,缩小21 x 21平方将为您提供10.5 x 10.5平方。 如果您想保持像素完美,请放大。
距离 (Distances)
Once you’ve created your elements, you can use the Option (⌥) key to show the distance between these elements.
创建元素后,可以使用Option(⌥)键显示这些元素之间的距离。
Select your desired element, and while pressing Option (⌥), hover over elements from which you want to determine the distance.
选择所需的元素,然后在按Option(⌥)的同时 ,将鼠标悬停在要确定距离的元素上。
This is extremely useful because when designing, distances are essential to determine comfortable spacing and consistency.
这是非常有用的,因为在设计时,距离对于确定舒适的间距和一致性至关重要。
For instance, if you use 16px between sections of your design, you should also try to keep the same distance everywhere else.
例如,如果在设计的各个部分之间使用16px,则还应尝试在其他地方保持相同的距离。
插入形状 (Inserting Shapes)
It’s highly likely that you’ll be playing around with shapes hundreds of times daily. With these shortcuts, your experience will be less frustrating and more seamless. Over time, it’ll become a reflex so that you can focus on being creative.
您很可能每天都会玩数百次形状。 有了这些捷径,您的体验将更轻松,更无缝。 随着时间的流逝,它将成为一种反射,使您可以专注于创造力。
A: Artboard
A :画板
R: Rectangle
R :矩形
O: Oval
O :椭圆形
U: Rounded Rectangle
U :圆角矩形
L: Line
L :线
T: Text
T :文字
V: Vector
V :矢量
P: Pencil
P :铅笔
S: Slice
S :切片
H: Hotspot
H :热点

You can do cool things by holding these keys while you’re creating your shapes:
您可以在创建形状时按住这些键来完成一些酷的事情:
Hold Shift: Maintains the shape’s aspect ratio
按住Shift键 :保持形状的长宽比
Hold Option (⌥): Draws the shape from the center
保持选项(⌥) :从中心绘制形状
As a result, you can hold both Shift + Option (⌥) to draw a shape from the center while also maintaining its aspect ratio:
因此,您可以同时按住Shift + Option(⌥)从中心绘制形状,同时保持其长宽比:
When you’re resizing a shape, holding Shift will allow you to maintain its aspect ratio. Note that when you’re inserting a shape and hold Shift, Sketch attempts to automatically create a perfect circle or square.
调整形状大小时, 按住Shift键可保持其长宽比。 请注意,当您插入形状并按住Shift时 ,Sketch会尝试自动创建完美的圆形或正方形。
编辑形状 (Editing Shapes)
If you’ve selected a layer, you can use the following shortcuts to suit your needs:
如果选择了图层,则可以使用以下快捷方式来满足您的需要:
0–1: 0 represents 100% opacity while 1 represents 10%
0–1 :0代表100%不透明度,而1代表10%
F: Toggle Fill
F :切换填充
Control (⌃) + C: Pick a color from anywhere on the page. Sketch’s Eyedropper tool even allows you to pick colors outside the app!
控制(⌃)+ C :从页面上的任意位置选择一种颜色。 Sketch的吸管工具甚至允许您在应用程序外部选择颜色!
Double-click or Return (Not grouped): Edit mode
双击或返回(未分组) :编辑模式
Double-click (Grouped): Select one level deeper
双击(分组) :更深一层
Command (⌘) + Click: Select any layer; group agnostic.
Command(⌘)+单击 :选择任意层; 团体不可知。
Command (⌘) + Shift + T: Transform
Command(⌘)+ Shift + T :变换
Command (⌘) + Shift + R: Rotate
Command(⌘)+ Shift + R键 :旋转
Command (⌘) + Shift + L: Lock/unlock layer
Command(⌘)+ Shift + L :锁定/解锁层
Command (⌘) + Shift + H: Hide/show layer
Command(⌘)+ Shift + H键 :隐藏/显示图层
Command (⌘) + Shift + E: Export layer
Command(⌘)+ Shift + E :导出层
Esc: Select parent Artboard or group
Esc :选择父级画板或组
Space + Drag: Move around the canvas
空格键+拖动 :在画布上移动
多种形状 (Multiple Shapes)
With multiple shapes selected, these shortcuts often come in handy:
选择了多种形状后,这些快捷方式通常会派上用场:
Command (⌘) + Option (⌥) + U: Union
命令(⌘)+选项(⌥)+ U :联合
Command (⌘) + Option (⌥) + I: Intersect
命令(⌘)+选项(⌥)+ I :相交
Command (⌘) + Option (⌥) + S: Subtract
指令(⌘)+选项(⌥)+ S :减
Command (⌘) + Option (⌥) + D: Difference
指令(⌘)+选项(⌥)+ D :差异
Command (⌘) + Control (⌃) + M: Use as Mask
命令(⌘)+控制(⌃)+ M :用作遮罩
Command (⌘) + G: Group
指令(⌘)+ G :组
Command (⌘) + Shift + G: Ungroup
Command(⌘)+ Shift + G键 :取消分组
编辑点 (Editing Points)
Once in Edit mode, you can leverage several shortcuts to manipulate shapes.
进入“ 编辑”模式后,您可以利用多个快捷方式来操纵形状。
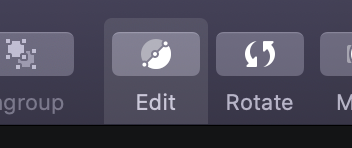
To switch to Edit mode, all you need to do is Double-click the shape or press the Return key with the shape selected.
要切换到“ 编辑”模式,您需要做的就是双击形状或在选择形状后按Return键。
So, once you’re in Edit mode, here are the shortcuts you can apply:
因此,进入“ 编辑”模式后,可以使用以下快捷方式:
1: Straight
1 :直
2: Mirrored
2 :镜像
3: Disconnected
3 :断开
4: Asymmetric
4 :不对称
Tab: Select the next point (clockwise)
标签 :选择下一个点(顺时针)
移动并调整大小 (Move and Resize)
Distances and Smart Guides in Sketch automatically appear when you drag or resize shapes.
拖动或调整形状大小时,Sketch中的距离和智能参考线会自动出现。
Option (⌥) + Drag: Duplicate layer
选项(⌥)+拖动 :重复图层
Command (⌘) + D: If this shortcut is used immediately after Option (⌥) + Drag, the duplicate layers will be spaced consistently
Command(⌘)+ D :如果在Option(⌥)+ Drag之后立即使用此快捷方式,则重复的图层将保持一致的间距
Shift + Drag: Maintain aspect ratio
Shift +拖动 :保持宽高比
Option (⌥)+ Drag: Resize from center
选项(⌥)+拖动 :从中心调整大小
Shift + Option (⌥) + Drag: Resize from the center while maintaining aspect ratio
Shift + Option(⌥)+拖动 :从中心调整大小,同时保持宽高比
Command (⌘) + Hover over borders: Rotate
命令(⌘)+悬停在边界上 :旋转
Option (⌥) + ↑, →, ↓, or ←: Move by 1px
选项(⌥)+↑,→,↓或← :移动1px
Shift + ↑, →, ↓, or ←: Move by 10px
Shift +↑,→,↓或← :移动10px
Option (⌥) + Shift + ↑, →, ↓, or ←: Move by 10px while seeing the relative positioning (hover over the target element) of the element
选项(⌥)+ Shift +↑,→,↓或← :移动10像素,同时查看元素的相对位置(悬停在目标元素上)
Command (⌘) + ↓ or →: Expand by 1px
指令(⌘)+↓或→ :扩大1像素
Command (⌘) + Shift + ↓ or →: Expand by 10px
指令(⌘)+ Shift +↓或→ :扩大10像素
Command (⌘) + ↑ or ←: Contract by 1px
命令(⌘)+↑或← :缩小1px
Command (⌘) + Shift + ↑ or ←: Contract by 10px
Command(⌘)+ Shift +↑或← :缩小10px
文字层 (Text Layers)
The following shortcuts apply to text layers.
以下快捷方式适用于文本层。
Command (⌘) + B: Bold text
指令(⌘)+ B :粗体
Command (⌘) + I: Italic text
指令(⌘)+ I :斜体文字
Command (⌘) + Option (⌥) + “+”: Increase font size by 1px
Command(⌘)+ Option(⌥)+“ +” :将字体大小增加1像素
Command (⌘) + Option (⌥) + “-”: Decrease font size by 1px
命令(⌘)+选项(⌥)+“-” :将字体大小减小1像素
Command (⌘) + T: Change the typeface
Command(⌘)+ T :更改字体
Command (⌘) + Shift + O: Convert to Outlines
Command(⌘)+ Shift + O :转换为轮廓
Command (⌘) + Shift + {: Align text to the left
Command(⌘)+ Shift + { :将文本向左对齐
Command (⌘) + Shift + |: Align text to the center
Command(⌘)+ Shift + | :将文本居中对齐
Command (⌘) + Shift + }: Align text to the right
Command(⌘)+ Shift +} :将文字向右对齐
Command (⌘) + Control (⌃) + Space: Emojis and Symbols
命令(⌘)+控制(⌃)+空格 :表情符号和符号
安排 (Arrange)
You can arrange groups and layers within a parent group or Artboard. Use these handy shortcuts to organize your layers.
您可以在父组或Artboard中排列组和图层。 使用这些方便的快捷方式来组织您的图层。
Command (⌘) + ]: Bring forward (this incrementally brings the layer forward)
Command(⌘)+] :向前移动(这会逐渐使图层向前移动)
Command (⌘) + [: Send backward (this incrementally sends the layer backward)
命令(⌘)+ [ :向后发送(这将递增地向后发送层)
Command (⌘) + Option (⌥) + ]: Bring to front (this completely brings the layer to the front)
Command(⌘)+ Option(⌥)+] :置于最前面(这完全将图层置于最前面)
Command (⌘) + Option (⌥) + [: Send to back (this completely sends the layer to the back)
Command(⌘)+ Option(⌥)+ [ :发送回去(这会将图层完全发送回去)
聚焦与缩放 (Focus and Zoom)
You can focus on a particular Artboard or layer using these handy. shortcuts. These bypasses have saved me from a ton of aimless scrolling in Sketch.
您可以使用这些方便的工具专注于特定的Artboard或图层。 捷径。 这些绕过的功能使我免于在Sketch中进行大量漫无目的的滚动。
Command (⌘) + 1: Focus on all the elements in the current page
Command(⌘)+1 :专注于当前页面中的所有元素
Command (⌘) + 2: Focus on the selected element
Command(⌘)+ 2 :专注于所选元素
Command (⌘) + 3: Center focus on the selected element
Command(⌘)+ 3 :将焦点集中在所选元素上
Command (⌘) + “+”: Zoom in
指令(⌘)+“ +” :放大
Command (⌘) + “-”: Zoom out
指令(⌘)+“-” :缩小
Command (⌘) + 0: Zoom to actual size (i.e. 100%)
Command(⌘)+ 0 :缩放到实际大小(即100%)
网格和标尺 (Grids and Rulers)
When designing pixel-perfect designs for developer handoff, grids and rulers will become your biggest asset.
在为开发人员交接设计像素完美的设计时,网格和标尺将成为您最大的资产。
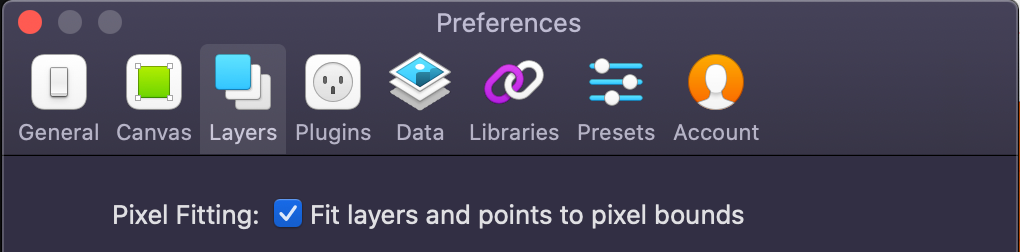
Make sure to enable Pixel Fitting in Preferences (⌘ + “,”) > Layers so that your shapes land accurately in the grid.
确保在“首选项”(⌘+“,”)>“图层”中启用“ 像素拟合 ”,以便您的形状准确地位于网格中。
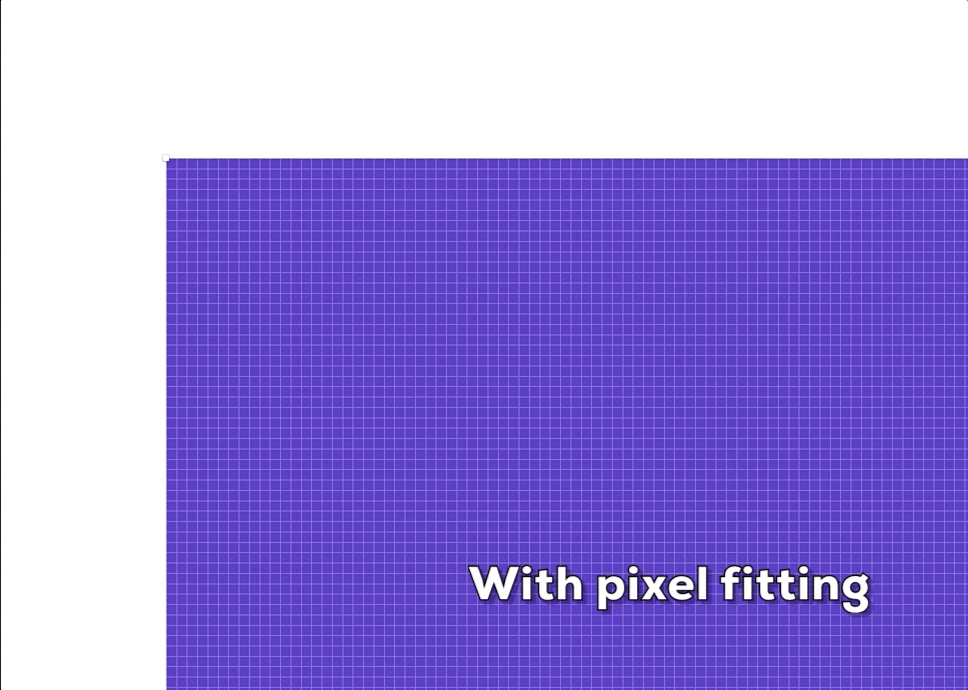
If you’re working on a design where it’s important to be able to see individual pixels, select View > Canvas > Show Pixels on Zoom (⌃ + P) to enable Pixel Zoom.
如果您正在进行的设计中必须能够看到各个像素,请选择“ 视图”>“画布”>“ 按缩放 比例显示像素 ” (⌃ + P)以启用“ 像素缩放”。
You can then view individual pixels when you zoom in past 100% (the Pixels Grid is only visible at 1000% zoom). This can help determine if your shapes are sharp.
然后,您可以在放大到100%以上时查看单个像素(“像素网格”仅在1000%缩放时可见)。 这可以帮助确定您的形状是否清晰。
Control (⌃) + G: Toggle grid.
控制(⌃)+ G :切换网格。
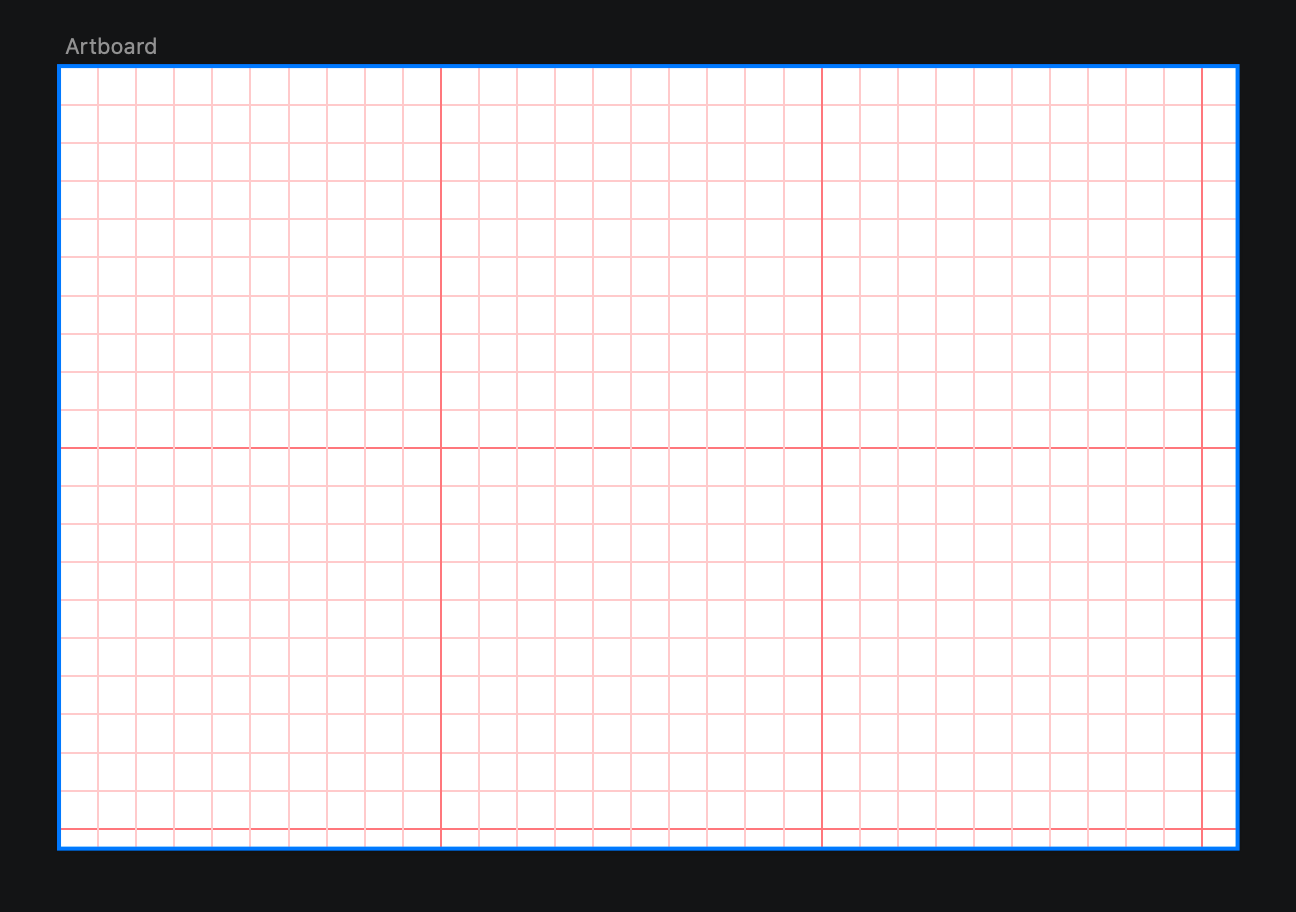
You can only apply grids to Artboards, or to the Canvas if there aren’t any Artboards on it.
您只能将网格应用于画板,或者如果没有任何画板,则将其应用于画布。
Control (⌃) + G: Toggle rulers
Control(⌃)+ G :切换标尺
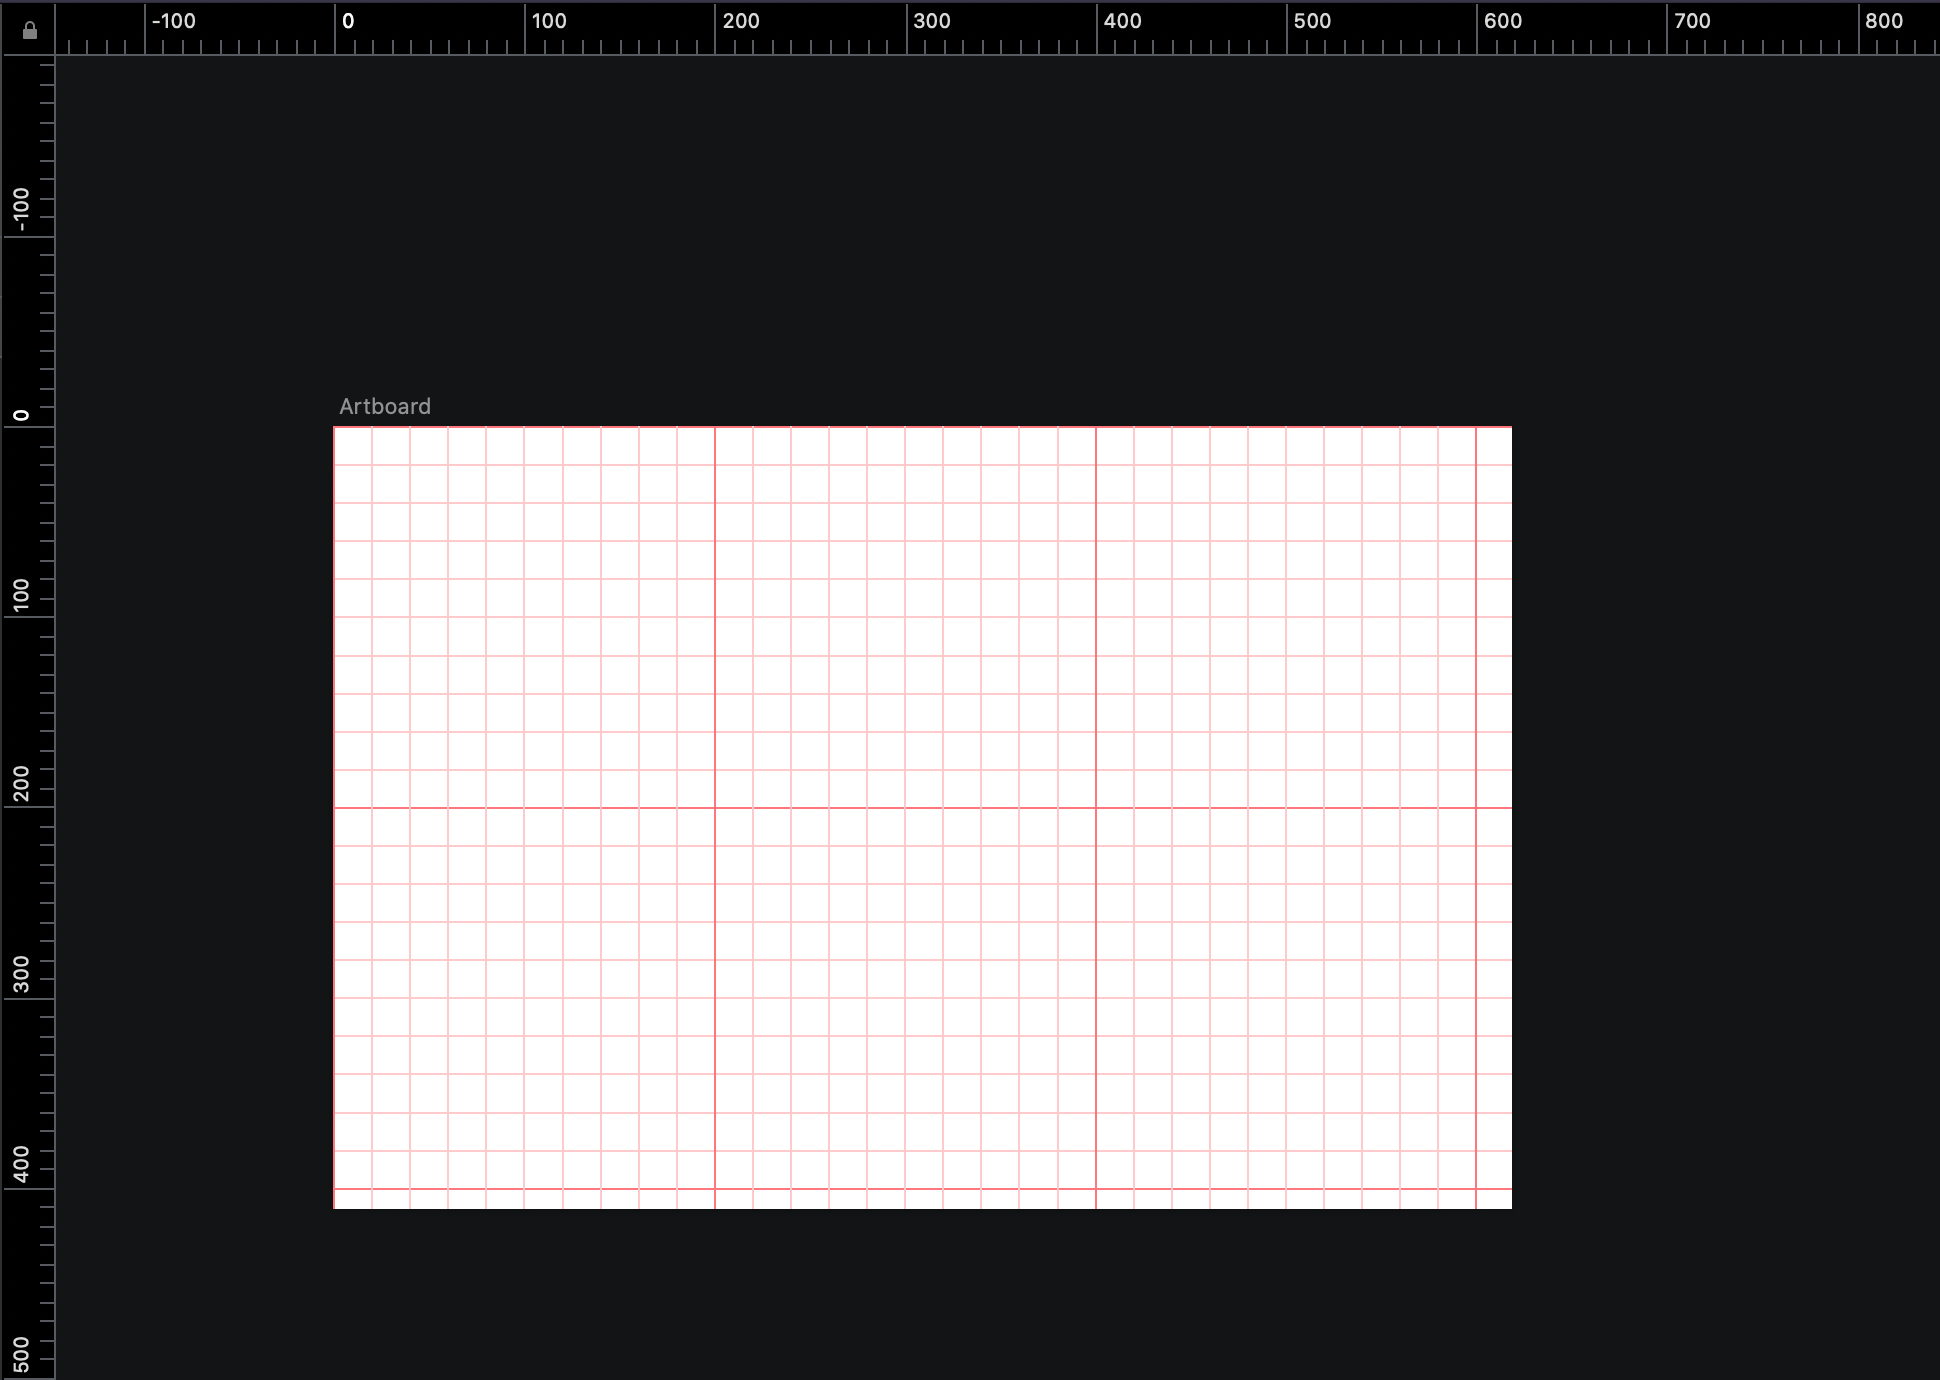
Tip: If you want to create a guide, click in the ruler zone. Then, use Shift to move by 10px. You can drag outside (i.e. toward the Layer List or Inspector) to completely remove the marker.
提示 :如果要创建参考线,请在标尺区域中单击。 然后,使用Shift键移动10px。 您可以拖动到外面(即,朝“层列表”或“检查器”方向)以完全删除标记。
Click anywhere on a ruler to create a guide. Guides will be visible when your rulers are, and if you move a layer on your Canvas, it’ll snap to the nearest guide.
单击标尺上的任意位置以创建参考线。 当您的标尺处于显示状态时,辅助线将可见,并且如果您在“画布”上移动了一个图层,则它将捕捉到最近的辅助线。
Control (⌃) + L: Toggle layout
Control(⌃)+ L :切换布局

When you have a layout grid set up, layers will snap to it and ignore Sketch’s Smart Guides.
设置好布局网格后,图层将捕捉到它并忽略Sketch的智能参考线。
Control (⌃) + P: Toggle pixels
控制(⌃)+ P :切换像素
Control (⌃) + X: Toggle pixels grid; only visible at 1000% zoom
Control(⌃)+ X :切换像素网格; 仅在1000%缩放时可见
窗口 (Window)
Command (⌘) + “~”: Switch to the next window
命令(⌘)+“〜” :切换到下一个窗口
Command (⌘) + Option (⌥) + 1: Toggle the Layer List
命令(⌘)+选项(⌥)+1 :切换图层列表
Command (⌘) + Option (⌥) + 2: Toggle the Inspector
Command(⌘)+ Option(⌥)+ 2 :切换检查器
Command (⌘) + Option (⌥) + T: Toggle the Toolbar
Command(⌘)+ Option(⌥)+ T :切换工具栏
Command (⌘) + “.”: Show/hide Interface; this is useful when you want to go into presentation mode
指令(⌘)+“。” :显示/隐藏界面; 当您想进入演示模式时,这很有用
Command (⌘) + Control (⌃) + F: Toggle fullscreen
Command(⌘)+ Control(⌃)+ F :切换全屏
图层清单 (Layers List)
The following shortcuts apply to the Layer List:
以下快捷方式适用于“图层列表”:
Option (⌥): Switch to lock layers instead of hiding; when you hover over a layer while pressing the Option (⌥) key, you have the option of locking it
选项(⌥) :切换为锁定图层而不是隐藏; 当您在按住Option(⌥)键的同时将鼠标悬停在图层上时,可以选择将其锁定
Command (⌘) + R or Double-click: Rename a layer
指令(⌘)+ R或双击 :重命名图层
Command (⌘) + F: Find a layer by its name
Command(⌘)+ F :按名称查找图层
Command (⌘) + Click: Select multiple layers
Command(⌘)+单击 :选择多个图层
Shift + Click: Select multiple grouped layers
Shift +单击 :选择多个分组图层
Tab: Select the next layer
标签 :选择下一层
Shift + Tab: Select the previous layer
Shift + Tab :选择上一层
Fn + ↓: Next page
Fn +↓ :下一页
Fn + ↑: Previous page
Fn +↑ :上一页
Drag and drop outside Sketch: Export 1x PNG asset for your layer, group, or Artboard. You can override the option of exporting bitmaps to a higher resolution by using the Make Exportable option
将其拖放到Sketch之外 :为图层,组或Artboard导出1x PNG资源。 您可以使用“ 使可导出”选项覆盖将位图导出为高分辨率的选项。
自定义快捷方式 (Custom Shortcuts)
Sketch provides its users the option of customizing their shortcuts in the System Preferences pane. To customize your shortcuts, go to System Preferences > Keyboard > Shortcuts > App Shortcuts.
Sketch为用户提供了在“系统偏好设置”窗格中自定义其快捷方式的选项。 要自定义快捷方式,请进入系统偏好设置>键盘>快捷方式>应用快捷方式 。
Then, click on the add (+) button. In the pop-up, select Sketch from the Application drop-down and set up your custom shortcut.
然后,单击添加(+)按钮。 在弹出窗口中,从“应用程序”下拉列表中选择“草图”,然后设置您的自定义快捷方式。

Note: Since Sketch does not recognize those commands, you’ll need to specify verbatim what actions you want to perform with custom shortcuts. For instance, to create a symbol in Sketch, the exact name of the menu command is “Create Symbol” that we inputted above.
注意 :由于Sketch无法识别这些命令,因此您需要逐字指定要使用自定义快捷键执行的操作。 例如,要在Sketch中创建符号,菜单命令的确切名称是我们在上面输入的“创建符号”。
Here are some custom shortcuts I’ve created and use on a day-to-day basis:
这是我每天创建和使用的一些自定义快捷方式:
Command (⌘) + Shift + C: Create Symbol
Command(⌘)+ Shift + C键 :建立符号
Command (⌘) + Shift + M: Make Grid…
Command(⌘)+ Shift + M :建立网格…
Command (⌘) + Shift + P: Round to Nearest Pixel Edge
Command(⌘)+ Shift + P :舍入到最近的像素边缘
Command (⌘) + “/”: Collapse Artboards and groups
Command(⌘)+“ /” :折叠画板和组
I hope you enjoyed reading this article as much as I enjoyed writing it. Sketch is packed with many awesome features that can supercharge your productivity.
希望您喜欢阅读这篇文章,也喜欢阅读它。 Sketch包含许多很棒的功能,可以增强您的生产力。
If you’re more interested in becoming a power user, here are a few resources I’d highly recommend:
如果您更想成为高级用户,那么我强烈建议您使用以下资源:
翻译自: https://uxdesign.cc/sketch-tricks-and-keyboard-shortcuts-you-might-not-know-about-daa0cb2eab03
素描滤镜


 696
696

 被折叠的 条评论
为什么被折叠?
被折叠的 条评论
为什么被折叠?
 到【灌水乐园】发言


