


加特林模型3d
Gatling, Maven, and IntelliJ are all keywords we’ve seen on LinkedIn and various job descriptions and there are good tutorials out there which outline the prerequisites and how to install Gatling. I thought I would document what I have learned from online resources during my investigation into performance testing.
Gatling,Maven和IntelliJ都是我们在LinkedIn上看到的关键字以及各种职位描述,并且那里有不错的教程,概述了必备条件以及如何安装Gatling。 我认为我应该记录在性能测试调查期间从在线资源中学到的东西。
In this post, I will go through the steps required to set up a performance test suite using the tools Gatling, Apache Maven, and IntelliJ+Scala Plugin, along with how to install the required software.
在本文中,我将介绍使用Gatling,Apache Maven和IntelliJ + Scala插件工具来建立性能测试套件所需的步骤,以及如何安装所需的软件。
A bit about my system setup - OS: Windows 10, system type: x64, RAM: 16GB.
关于我的系统设置的一些信息-操作系统:Windows 10,系统类型:x64,内存:16GB。
STEP 1: Install Java 8 JDK
步骤1:安装Java 8 JDK
Why: because Gatling uses JAVA to run.
原因:因为加特林使用JAVA来运行。
Download the Java 8 JDK (64 bit) package from Oracle and run the program to kick off the installation process. Take note of where your JDK is being installed as we will need this later (usually C:\Program Files\ Java).
从Oracle下载Java 8 JDK(64位)软件包,然后运行该程序以开始安装过程。 请注意您的JDK的安装位置,因为稍后我们将需要它(通常是C:\ Program Files \ Java)。
Once completed edit your environment variables by: Start > type in environment variables > click ‘Edit the system environment variables’
完成后,通过以下方式编辑环境变量:开始>键入环境变量>单击“编辑系统环境变量”
Here you will need to add JAVA_HOME and add java bin to the PATH variable.
在这里,您需要添加JAVA_HOME并将Java bin添加到PATH变量。
Click new to add variable name as JAVA_HOME and variable value as the path where you installed Java (for me it was C:\Program Files\Java\jdk1.8.0_261).
单击“新建”以将变量名称添加为JAVA_HOME,并将变量值添加为Java安装路径(对我来说是C:\ Program Files \ Java \ jdk1.8.0_261)。
Find PATH in the list of system variables and edit PATH via Path > Edit. Add a new environment variable to path which directs to your Java bin folder (mine was C:\Program Files\Java\jdk1.8.0_261\bin).
在系统变量列表中找到PATH,然后通过路径>编辑来编辑PATH。 在指向您的Java bin文件夹的路径中添加一个新的环境变量(我的位置是C:\ Program Files \ Java \ jdk1.8.0_261 \ bin)。

You can verify Java was installed properly by opening cmd terminal and entering java -version . If it is installed incorrectly you will get an error.
您可以通过打开cmd终端并输入java -version来验证Java是否已正确安装。 如果安装不正确,则会出现错误。

STEP 2: Install Apache Maven
步骤2:安装Apache Maven
Why: because we need a build tool to compile our simulations and Maven has an official Gatling plugin for this.
原因:因为我们需要构建工具来编译我们的仿真,所以Maven为此提供了一个官方的Gatling插件。
Download the Maven binary zip file from: https://maven.apache.org/download.cgi.
从以下网址下载Maven二进制zip文件: https : //maven.apache.org/download.cgi 。
Unzip this file in your C:\ drive or another suitable location.
将此文件解压缩到C:\驱动器或其他合适的位置。
Do our favourite thing and set the environment variables for MAVEN_HOME and the Maven bin path in PATH using the same procedure as the JAVA step.
做我们喜欢的事情,并使用与JAVA步骤相同的过程为MAVEN_HOME和PATH中的Maven bin路径设置环境变量。


You can verify Maven has been installed correctly by opening cmd terminal and entering: mvn -v.
您可以通过打开cmd终端并输入: mvn -v来验证Maven是否已正确安装。

STEP 3: Install Gatling
步骤3:安装加特林
Download the Gatling community version from https://gatling.io/open-source/.
从https://gatling.io/open-source/下载Gatling社区版本。
Unzip the file to C drive, this matters greatly when using windows as if it is unzipped to program files there tends to be permission and path issues (warning from Gatling themselves https://gatling.io/docs/current/installation/).
将文件解压缩到C驱动器,这在使用Windows时非常重要,就像将其解压缩到程序文件时一样,这往往会存在权限和路径问题(请警告Gatling自己https://gatling.io/docs/current/installation/ )。
Once unzipped, edit the environment variables one last and final time to add GATLING_HOME and PATH.
解压缩后,最后一次也是最后一次编辑环境变量,以添加GATLING_HOME和PATH。


STEP 4: Install IntelliJ with Scala Plugin
步骤4:使用scala插件安装IntelliJ
Why: IntelliJ is an IDE that can be used to view a Gatling project, it has an in built terminal where for test execution.
原因:IntelliJ是可用于查看Gatling项目的IDE,它具有一个内置的终端,可以在其中执行测试。
Download IntelliJ Community and follow the setup process: https://www.jetbrains.com/idea/download/#section=windows.
下载IntelliJ社区并遵循设置过程: https : //www.jetbrains.com/idea/download/#section=windows 。
When IntelliJ is first opened after install, the user is prompted to set display settings and given the opportunity to disable default plugins. After this the user is prompted to install any featured plugins, from the list choose to install Scala as this will be the language used to write Gatling tests.
安装后首次打开IntelliJ时,将提示用户设置显示设置,并有机会禁用默认插件。 之后,提示用户安装所有特色插件,从列表中选择安装Scala,因为这将是编写加特林测试的语言。

IntelliJ Community is then ready for use.
IntelliJ社区就可以使用了。
STEP 5: Create a performance test project
步骤5:创建一个性能测试项目
Create a base project using maven gatling archetype. This will download the gatling dependencies required and create a project template. Using cmd terminal navigate to the folder you would like your project to be created in and use the following command.
使用Maven Gatling原型创建基础项目。 这将下载所需的加特林依赖关系并创建项目模板。 使用cmd终端导航到要在其中创建项目的文件夹,然后使用以下命令。
mvn archetype:generate -DarchetypeGroupId=io.gatling.highcharts -DarchetypeArtifactId=gatling-highcharts-maven-archetypeFollowing this you will be asked to define group id, artifact id, version, these variables will allow you to set your project name, source folder name, and version. This will create a project folder which you can open in IntelliJ. In my example I set group id as postcodes-performance-tests, artifact id as test, and left the version blank.
之后,将要求您定义组ID,工件ID,版本,这些变量将允许您设置项目名称,源文件夹名称和版本。 这将创建一个项目文件夹,您可以在IntelliJ中打开它。 在我的示例中,我将组标识设置为邮政编码性能测试,将工件标识设置为测试,并将版本留空。

The src folder that is created should be set to sources root so IntelliJ knows to compile this code.
应该将创建的src文件夹设置为源root,以便IntelliJ知道要编译此代码。

The src folder is spilt into two directories, resources and scala. Resources will contain your request bodies (in bodies folder) and any test data you may need (in data folder). There is also a Gatling.conf file, it is possible to edit Gatling.conf to customise your settings, but leaving it commented out means we will use the gatling-defaults.conf which is not editable. The scala folder is where the simulation information will be stored, you can set this up in a way that is suitable for you but I found it useful to follow this tutorial for a concise framework setup: https://devqa.io/gatling-maven-performance-test-framework/.
src文件夹会溅入两个目录,资源和scala。 资源将包含您的请求正文(在body文件夹中)和您可能需要的任何测试数据(在data文件夹中)。 还有一个Gatling.conf文件,可以编辑Gatling.conf以自定义您的设置,但是将其注释掉意味着我们将使用不可编辑的gatling-defaults.conf。 scala文件夹是存储模拟信息的位置,您可以通过适合自己的方式进行设置,但是我发现遵循本教程进行简洁的框架设置很有用: https : //devqa.io/gatling- Maven性能测试框架/ 。

POM.xml will be used to set up your compile configuration.
POM.xml将用于设置编译配置。

STEP 6: Writing the first test
步骤6:编写第一个测试
For this tutorial I will be using the open source Postcodes API: https://postcodes.io/ and get postcodes as my test endpoint: api.postcodes.io/postcodes which uses a post method.
在本教程中,我将使用开源Postcodes API: https ://postcodes.io/,并将邮政编码作为我的测试端点:api.postcodes.io/postcodes,它使用了post方法。
First step is to create the test request, for this I created a JSON file within my test/resources/bodies directory.
第一步是创建测试请求,为此,我在test / resources / bodies目录中创建了一个JSON文件。

Next, we need to set up our config, requests, test scenarios, and simulations.
接下来,我们需要设置配置,请求,测试方案和模拟。
Config: within the test/scala/config folder create a Configuration scala class here you can set the base URL and the variables for users and ramp up (default to 1 but can be specified during execution using the users or ramp up flag) for your tests. You can also include other configuration parameters such as throughput.
Config :在test / scala / config文件夹中创建一个Configuration scala类,您可以在此处为用户设置基本URL和变量并进行加速(默认为1,但可以在执行过程中使用users或ramping标志指定)。测试。 您还可以包括其他配置参数,例如吞吐量。

Requests: Within the test/scala/requests folder create individual request Scala classes for your endpoints under test, for example here I used the GetPostcodes endpoint and I set the application type, request body type and I specified where the JSON request is kept within my project. I also verify that a 200 response is return to ensure the happy path is tested. These requests will be called upon within our scenario classes.
请求:在test / scala / requests文件夹中,为要测试的端点创建单独的请求Scala类,例如,在这里,我使用了GetPostcodes端点,并设置了应用程序类型,请求主体类型,并指定了将JSON请求保存在我的位置项目。 我还验证是否返回了200响应,以确保对快乐路径进行了测试。 这些请求将在我们的场景类中调用。

Scenarios: Within the test/scala/scenarios folder create individual scenario Scala classes for your endpoints under test, for example here I set the scenario for the GetPostcodes endpoint and I executed the GetPostcodes request stored within test/scala/requests folder.
方案:在test / scala / scenarios文件夹中,为要测试的端点创建单独的方案Scala类,例如,在这里,我为GetPostcodes端点设置方案,并执行了存储在test / scala / requests文件夹中的GetPostcodes请求。

Simulations: Within the test/scala/simulations folder create individual simulation Scala scripts which is where you define your simulation parameters. In this case, I executed the scenario for GetPostcodes using the ramp up and users I have defined in my configuration file.
模拟:在test / scala / simulations文件夹中,创建单独的模拟Scala脚本,您可以在其中定义模拟参数。 在这种情况下,我使用在配置文件中定义的提升和用户执行了GetPostcodes的场景。

The final item to define is the POM.xml, here we will specify which simulations to run using the <configuration> tag.
要定义的最后一项是POM.xml,在这里我们将使用<configuration>标记指定要运行的模拟。

STEP 7: Test execution
步骤7:测试执行
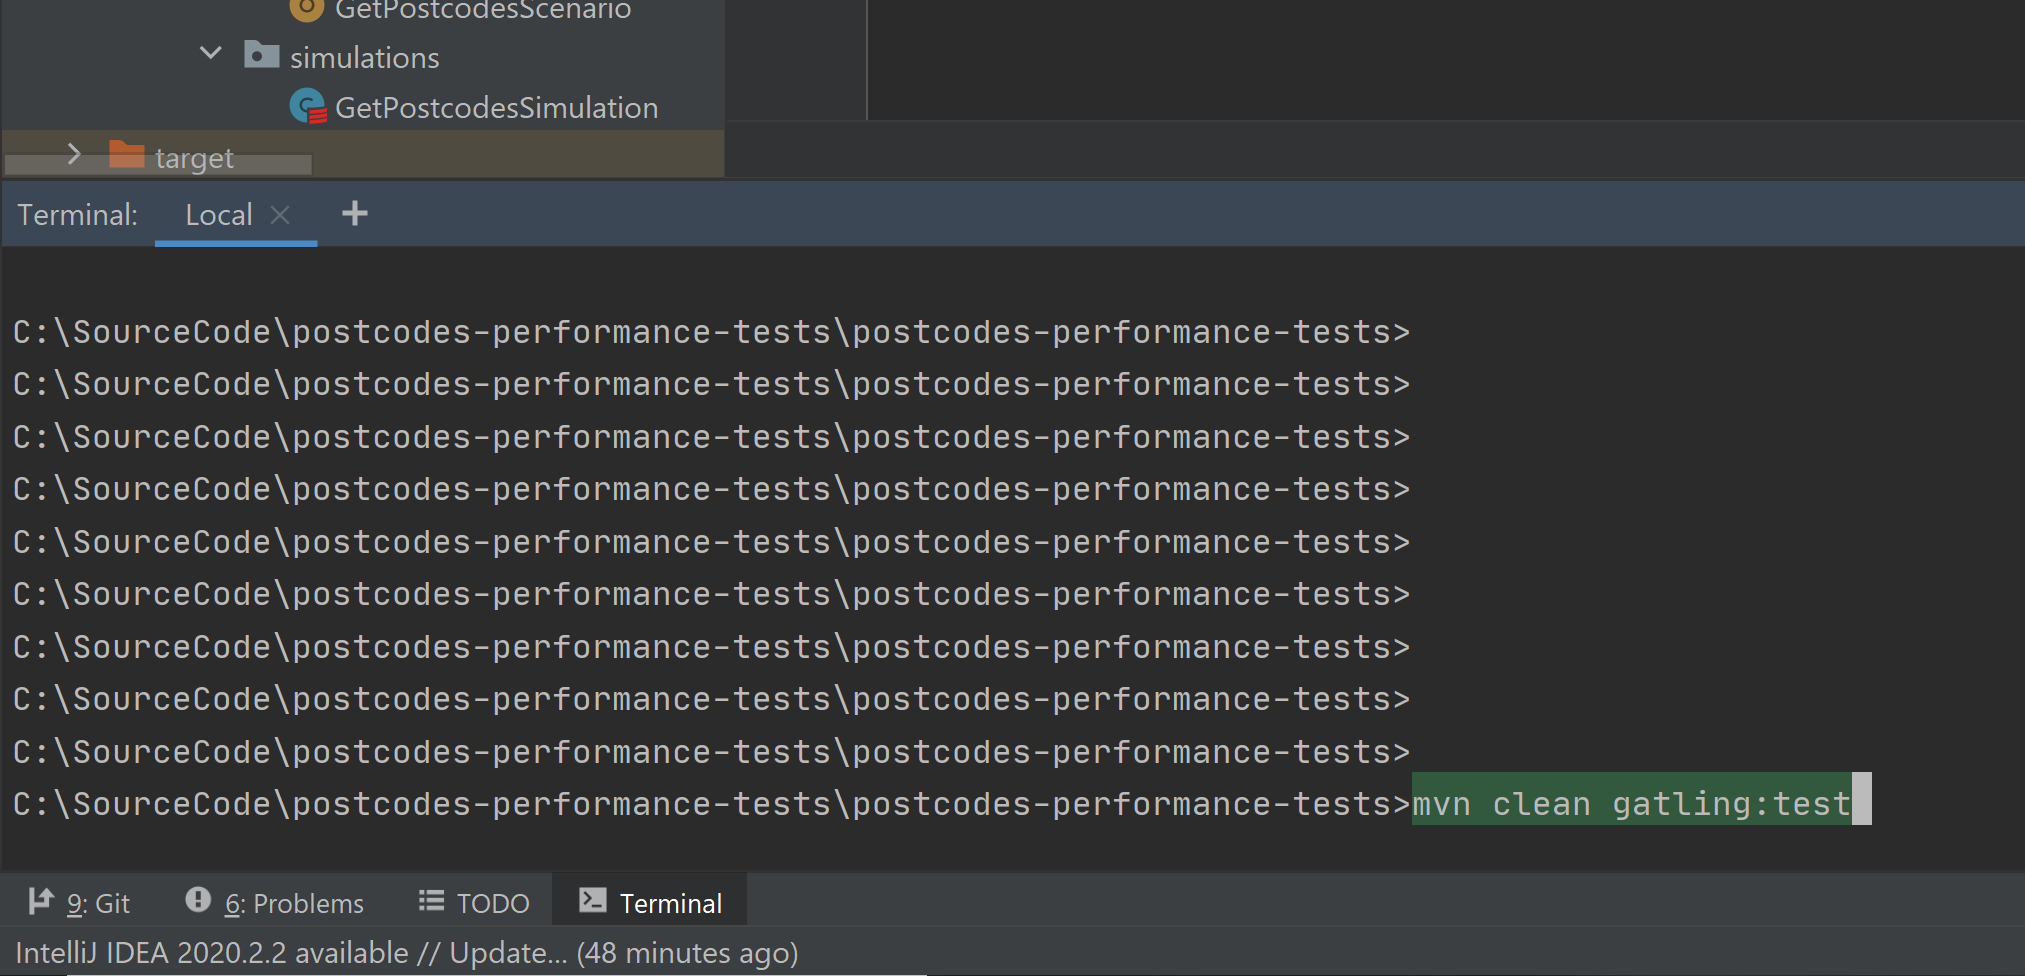
The tests can be run using the IntelliJ in built terminal or cmd line using the command: mvn clean gatling:test
可以使用以下命令在内置终端或cmd行中使用IntelliJ运行测试: mvn clean gatling:test
The project will build and any simulations specified in POM.xml will be executed with the default settings with a report file output.
将生成项目,并使用默认设置执行POM.xml中指定的任何模拟,并输出报告文件。


If the test was not successful due to build errors, you will get a build error failure with error messages — google group and stack overflow are good places to search for resolution to any errors you may encounter.
如果由于构建错误而导致测试失败,您将收到包含错误消息的构建错误失败消息-Google组和堆栈溢出是寻求解决可能遇到的任何错误的好地方。
If the test was not successful due to test failure, a report will still be generated with failure reason.
如果由于测试失败而导致测试失败,则仍将生成带有失败原因的报告。
If you would like to specify users or ramp up time use the flags -Dusers=<numberofusers> and -Drampup=<rampuptimeinsecs>.
如果要指定用户或加速时间,请使用标志-Dusers=<numberofusers>和-Drampup=<rampuptimeinsecs> 。
mvn clean gatling:test -Dusers=100 -Drampup=10Hopefully, you have found this tutorial helpful. Please leave a comment if you have any questions or requests for follow up information. Also, please check out the following links which I found useful during my research.
希望您发现本教程对您有所帮助。 如果您有任何疑问或要求后续信息,请发表评论。 另外,请查看以下在我的研究中发现有用的链接。
Gatling docs: https://gatling.io/docs/current/quickstart/
加特林文档: https : //gatling.io/docs/current/quickstart/
Maven docs: https://maven.apache.org/guides/index.html
Maven文档: https : //maven.apache.org/guides/index.html
为什么加特林: https : //www.blazemeter.com/blog/eight-reasons-you-should-use-gatling-for-your-load-testing ? utm_source = blog & utm_medium = BM_blog & utm_campaign = how-to-install-gatling-on -视窗
How to install Gatling on windows: https://www.blazemeter.com/blog/how-to-install-gatling-on-windows
如何在Windows上安装加特林: https : //www.blazemeter.com/blog/how-to-install-gatling-on-windows
How to set up a Gatling test framework: https://devqa.io/gatling-maven-performance-test-framework/
如何建立Gatling测试框架: https : //devqa.io/gatling-maven-performance-test-framework/
翻译自: https://medium.com/@testertina/a-beginners-guide-to-performance-testing-with-gatling-225ef2c20cda
加特林模型3d


 173
173

 被折叠的 条评论
为什么被折叠?
被折叠的 条评论
为什么被折叠?
 到【灌水乐园】发言


