ios 兼容放大模式
暗模式和iOS (Dark Mode and iOS)
We all know that Dark Mode is very popular among users. Also, we can’t ignore the benefits to your device’s battery in OLED displays and your eyes.
众所周知,暗模式在用户中非常流行。 另外,我们不能忽视OLED显示器和眼睛对设备电池的好处。
iOS 13 has provided the system colors API that automatically changes the view colors when we change the system to dark mode. But while implementing it for my app, I had so many doubts.
iOS 13提供了系统颜色API,当我们将系统更改为暗模式时,该API可自动更改视图颜色。 但是在为我的应用程序实现它时,我有很多疑问。
我们如何为暗和亮模式配置自定义颜色? (How do we configure custom colors for dark and light mode?)
Well, we have the color asset catalog for that. We can add colors for Dark and Light mode.
好吧,我们有相应的颜色资产目录。 我们可以为暗和亮模式添加颜色。
如果我们想添加更多主题怎么办? (What if we want to add more themes?)
Right now, the color asset catalog can only add limited colors for Dark and Light mode. But what if we want to add more theme support? Imagine an app that changes the theme based on whether it’s paid, free, etc.
目前,颜色资产目录只能为“暗”和“亮”模式添加有限的颜色。 但是,如果我们想添加更多主题支持怎么办? 想象一下一个应用程序根据付款,免费等改变主题。
支持iOS 10版本的应用程序如何? (What about apps supporting version iOS 10?)
Well, iOS 10 doesn’t support the color asset catalog. UIColor.init(named: “”) is only supported from iOS 11 onward, so we have to drop this idea and move towards a programmatic approach.
嗯,iOS 10不支持颜色资产目录。 UIColor.init(named: “”) iOS 11开始才支持UIColor.init(named: “”) ,因此我们必须放弃这个想法并转向程序化方法。
We have to create our own custom UIColor wrapper to give us colors for different modes/themes. While making these wrappers, we have to make sure that we keep the syntax the same as Apple API’s for UIColor (e.g. calling UIColor.red).
我们必须创建自己的自定义UIColor包装器,以为我们提供不同模式/主题的颜色。 在制作这些包装时,我们必须确保语法与UIColor.red UIColor (例如,调用UIColor.red )。
We can achieve this with the help of propertyWrapper.
我们可以在propertyWrapper的帮助下实现这一目标。
PropertyWrapper进行救援 (propertyWrapper to the Rescue)
Let’s create a Theme struct with propertyWrapper with a number of variables equal to the number of the theme support.
让我们创建一个带有propertyWrapper的Theme结构,其中的变量数量等于主题支持的数量。
@propertyWrapper
struct Theme {
    let light: UIColor
    let dark: UIColor


    var wrappedValue: UIColor {
        if #available(iOS 13, *) {
            return UIColor { (traitCollection: UITraitCollection) -> UIColor in
                if traitCollection.userInterfaceStyle == .dark {
                    return self.dark
                } else {
                    return self.light
                }
            }
        } else {
            return ThemeManager.isDarkModeEnabled ? self.dark : self.light
        }
    }
}


enum ThemeManager {
    static var isDarkModeEnabled = false
}
Now let’s create some colors. We will create an extension of UIColor and create a color object with the help of Theme. Look at the syntax and object creation. This has many advantages:
现在让我们创建一些颜色。 我们将创建UIColor的扩展,并在Theme的帮助下创建颜色对象。 查看语法和对象创建。 这具有许多优点:
- Syntax simplicity 语法简单
- Flexibility to add or remove theme support 灵活添加或删除主题支持
- Apple-like API calling 类似于Apple的API调用
- Easy maintenance and code readability 易于维护和代码可读性
- Grouping of extensions according to your features 根据您的功能对扩展分组
- Backward compatibility 向后兼容
extension UIColor {
    @Theme(light: UIColor.white,
           dark: UIColor.safeSystemBackground)
    static var background: UIColor


    @Theme(light: UIColor(hex: "333333"),
           dark: UIColor.safeLabel)
    static var primaryText: UIColor


    @Theme(light: UIColor(hex: "EEEFF2"),
           dark: UIColor.safeSeperator)
    static var seperator: UIColor

    @Theme(light: UIColor(hex: "1F82FB"),
           dark: UIColor(hex: "7C7FED"))
    static var navBar: UIColor

}


// MARK: - BackPort iOS 13 and older Colors

extension UIColor {
    static var safeSystemBackground: UIColor {
        if #available(iOS 13, *) {
            return .systemBackground
        } else {
            return .black
        }
    }


    static var safeLabel: UIColor {
        if #available(iOS 13, *) {
            return .label
        } else {
            return .white
        }
    }


    static var safeSeperator: UIColor {
        if #available(iOS 13, *) {
            return .separator
        } else {
            return UIColor.gray.withAlphaComponent(0.6)
        }
    }
}
That’s it. Now you can set the color of your UI components using the same syntax as Apple’s (e.g. setting a color to the label text color will be UIColor.primaryText), and after doing it, your app will change its colors based on the Dark/Light Mode you have set.
而已。 现在,您可以使用与Apple相同的语法来设置UI组件的颜色(例如,将颜色设置为标签文本颜色将为UIColor.primaryText ),然后,您的应用将根据“暗/ UIColor.primaryText更改其颜色您设置的模式。


较旧的版本呢? (What About for Older Versions?)
We have to do some extra work to add themes to older devices. There are many solutions in our community and I am only sharing a simple one. You can have your own implementation according to your project needs.
我们必须做一些额外的工作才能将主题添加到旧设备。 我们社区中有许多解决方案,我只分享一个简单的解决方案。 您可以根据项目需求拥有自己的实现。
First, we will create a ThemeProtocolwith the default implementation of the addThemeChangeObserver method so that any object implementing this protocol just has to call this method. Then we implement the ThemeProtocol to ViewController and call addThemeChangeObserver in viewDidLoad and implement configureSubviewsColors, where we will configure all our subview colors.
首先,我们将使用addThemeChangeObserver方法的默认实现创建一个ThemeProtocol ,以便任何实现此协议的对象都必须调用此方法。 然后,我们将ThemeProtocol实现到ViewController并在viewDidLoad调用addThemeChangeObserver并实现configureSubviewsColors ,在这里将配置所有子视图颜色。
protocol ThemeProtocol {
    func addThemeChangeObserver()
    func configureSubviewsColors()
}


extension ThemeProtocol  {
    func addThemeChangeObserver() {
        if #available(iOS 13, *) {
        } else {
            NotificationCenter.default.addObserver(forName: NSNotification.Name(rawValue: "themeChange"),
                                                   object: nil,
                                                   queue: OperationQueue.main) { _ in
                self.configureSubviewsColors()
            }
        }
    }


}
override func viewDidLoad() {
super.viewDidLoad()
// Theme
addThemeChangeObserver()
configureSubviewsColors()
}
extension ViewController: ThemeProtocol {
func configureSubviewsColors() {
// Configure all your views colors here
}
}结语 (Wrap-Up)
I have added left UIBarButton to toggle Dark Mode on older devices and added the target toogleDarkMode to handle the change in ThemeManager. That’s it. We have successfully implemented it for older versions now.
我已经加入离开UIBarButton要切换暗模式旧设备,并添加目标toogleDarkMode以处理变化ThemeManager 。 而已。 现在,我们已经成功地将其实现为旧版本。
// Implement this method only for iOS version less than 13
 @objc func toogleDarkMode() {
 // Toggle Theme Logic
  ThemeManager.isDarkModeEnabled = !ThemeManager.isDarkModeEnabled
  NotificationCenter.default.post(name: NSNotification.Name(rawValue:  “themeChange”),
                                 object: nil)
 }
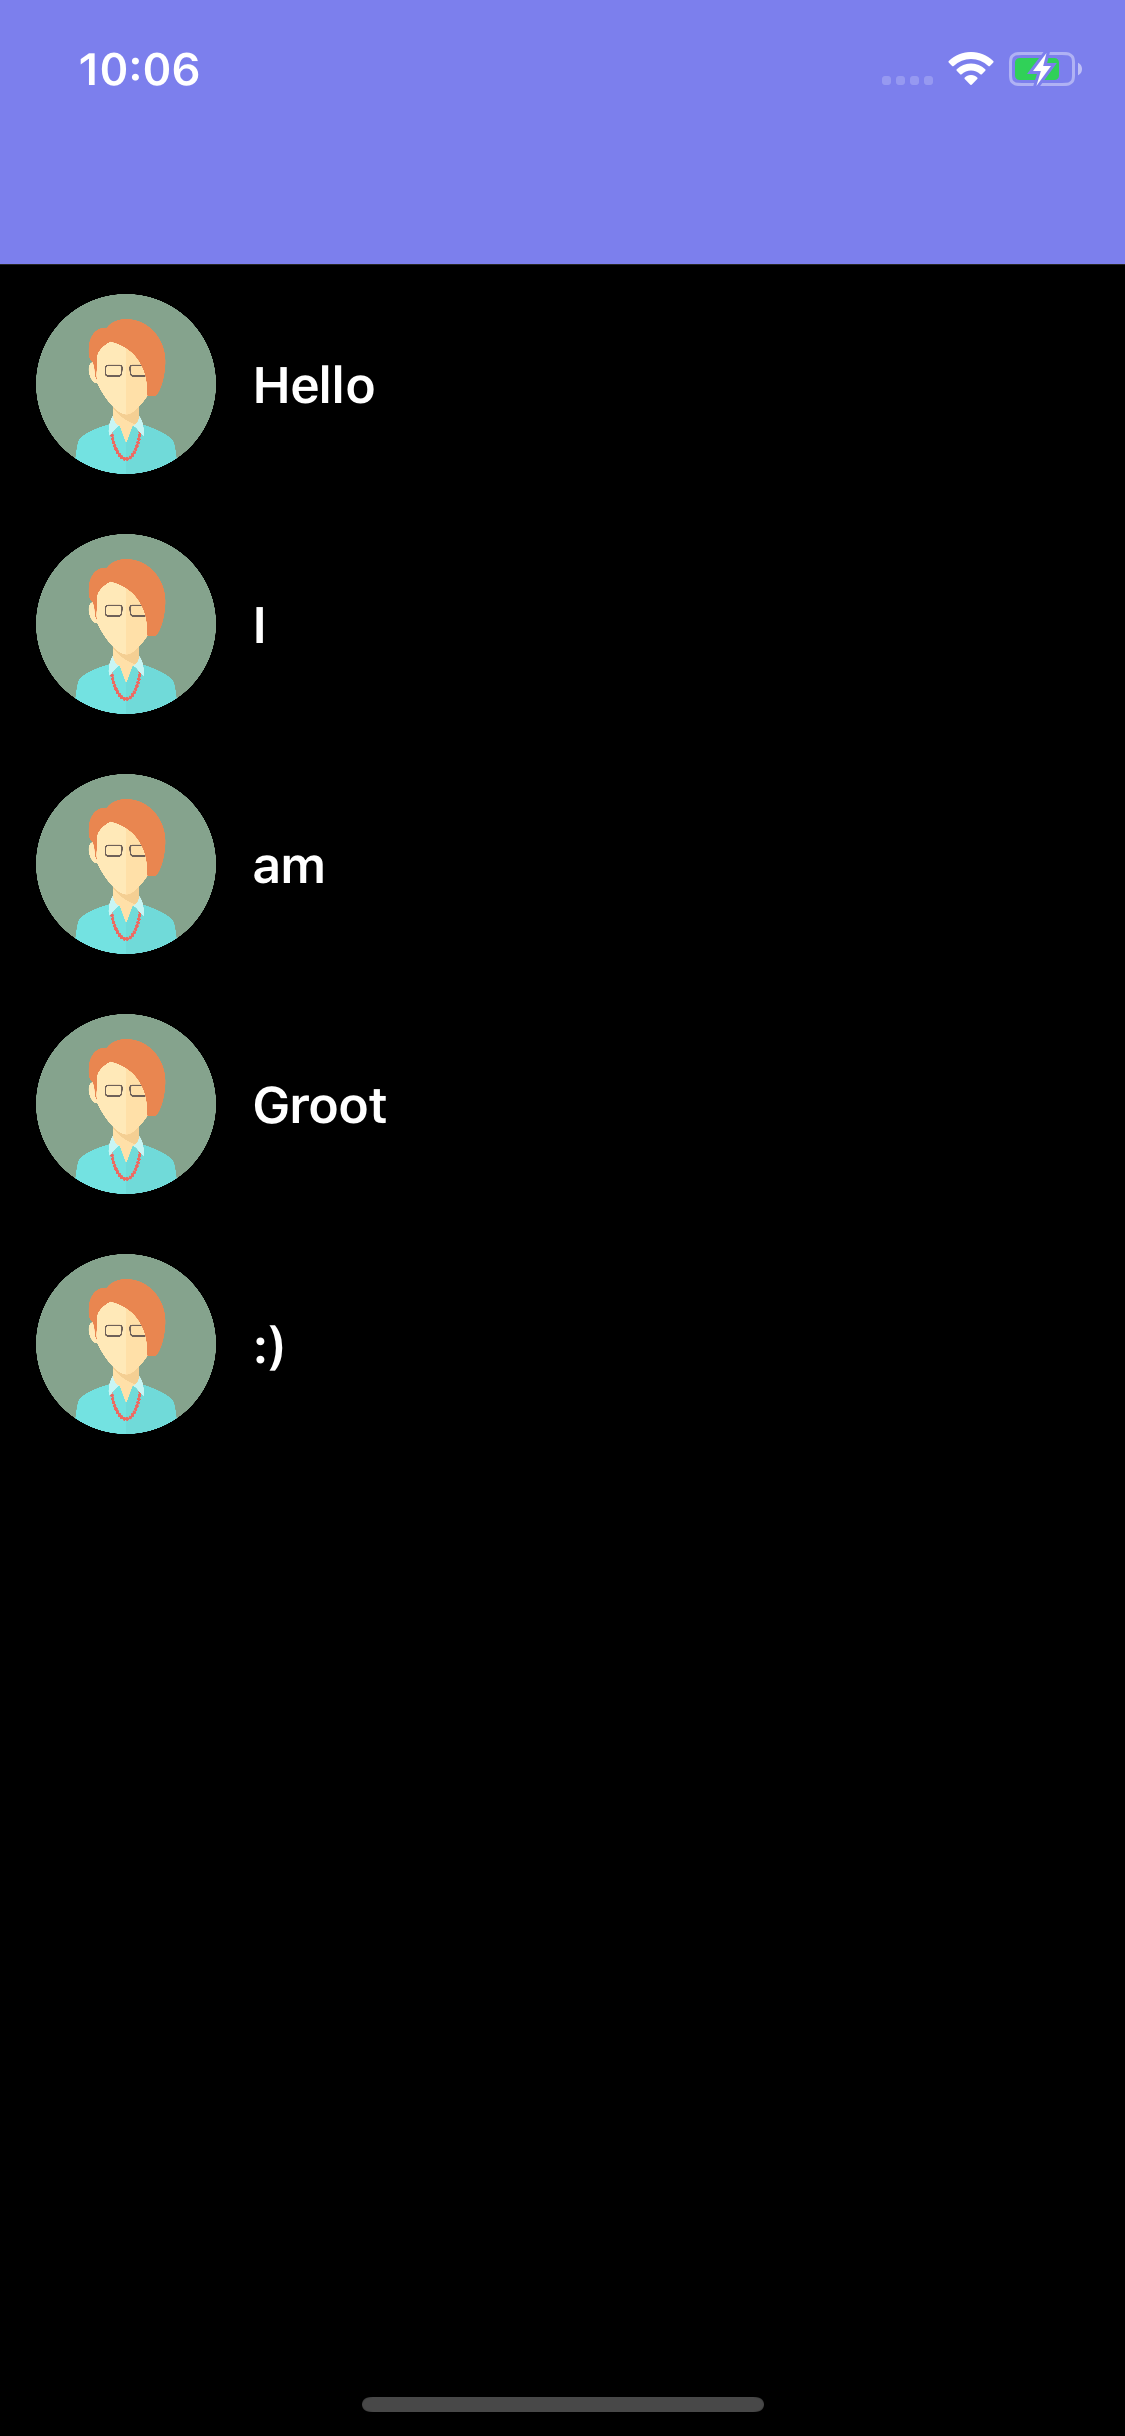
Below are the results with an older device:
以下是使用旧设备的结果:


Note: If you don’t want to go through the trouble of doing all this extra code for older versions, you can just reset the AppDelegate window.rootViewController. It will be configured with a new theme (Dark or Light) based on what you set locally for your app.
注意 :如果您不想为旧版本处理所有这些额外的代码,可以只重置 AppDelegate window.rootViewController 。 它将根据您为应用程序本地设置的主题配置新主题(深色或浅色)。
感谢您的阅读。 (Thank you for reading.)
I hope this article helps you implement Dark Mode in your app. Do share your valuable feedback.
我希望本文能帮助您在应用中实现暗模式。 分享您的宝贵意见。
ios 兼容放大模式


 被折叠的 条评论
为什么被折叠?


