


react 光标
I am constantly surprised and inspired by so many websites on awwwards.com, many of which frequently feature cool cursors and various effects.
我不断地被awwwards.com上的许多网站感到惊讶和启发,其中许多网站经常具有漂亮的光标和各种效果。
In these series, I’ll break down the process of making custom cursors and try to experiment with various cool visual effects based on them, all using React.js and Framer Motion.
在这些系列中,我将分解制作自定义光标的过程,并尝试使用React.js和Framer Motion尝试基于它们的各种炫酷视觉效果。
基本自定义光标 (Basic Custom Cursor)
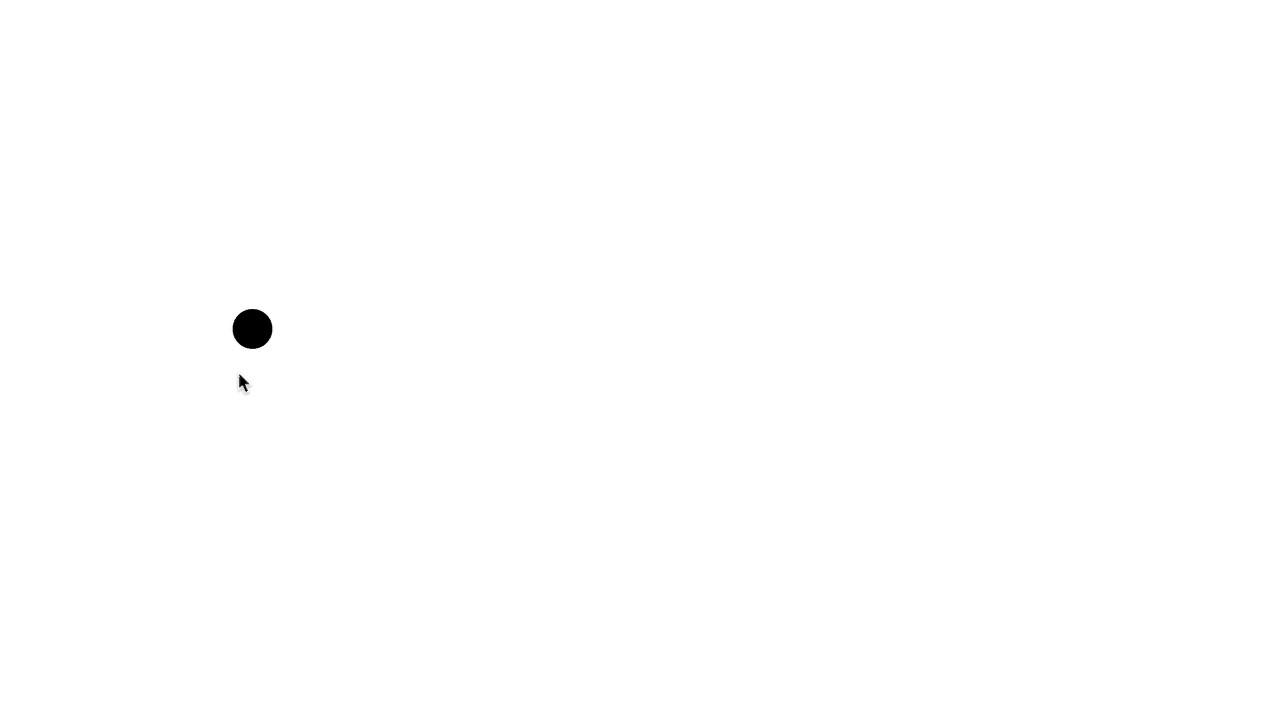
First, let’s start by defining some basic structure and styling for our custom cursor, which will just be a black circle and be placed in a fixed position at the top: 0; left: 0; corner for now.
首先,让我们为自定义光标定义一些基本结构和样式,这将是一个黑色圆圈,并放在top: 0; left: 0;的fixed位置top: 0; left: 0; top: 0; left: 0; 现在的角落。
function App() {
  return (
    <div className="App">
      <div className="cursor" />
    </div>
  )
}---------------------------------.cursor {
  position: fixed;
  left: 0;
  top: 0;
  width: 32px;
  height: 32px;
  border-radius: 16px;
  background-color: black;
}
Now that we have the custom cursor let’s bring it to life with some JavaScript. First, we need to capture the mousemove events and define a listener function which will animate our cursor to a correct position.
现在有了自定义光标,让我们通过一些JavaScript使其生动起来。 首先,我们需要捕获mousemove事件并定义一个侦听器函数,该函数会将光标动画化到正确的位置。
Since we’ll be using a functional component we need to define our listener in a useEffect hook.
由于我们将使用功能组件,因此需要在useEffect挂钩中定义侦听器。
import React, { useState, useEffect } from "react"function App() {
  const [cursorXY, setCursorXY] = useState({ x: -100, y: -100 })  useEffect(() => {
    const moveCursor = (e) => { }    window.addEventListener('mousemove', moveCursor)    return () => {
      window.removeEventListener('mousemove', moveCursor)
    }
  }, [])  return (
    ...
  )
}
...
The return function in the useEffect removes the listener on cleanup and makes sure that we don’t add multiple event listeners for the same event. The last argument given to useEffect is an empty array [], which means we’ll be only running the function once over the component’s lifecycle, since it doesn’t depend on any props.
useEffect中的return函数会在清理时删除侦听器,并确保我们不会为同一事件添加多个事件侦听器。 为useEffect提供的最后一个参数是一个空数组[] ,这意味着我们将在组件的整个生命周期中仅运行一次该函数,因为它不依赖于任何道具。
As you can see we’ve also used useState to define the initial coordinates for our cursor, which we’ll change later when we switch to using some framer-motion magic 🧙♂️.
如您所见,我们还使用了useState来定义光标的初始坐标,稍后当我们切换为使用framer-motion魔术♂♂️时将对其进行更改。
Now let’s complete our moveCursor function and apply some transforms to our cursor element to make it follow the pointer position.
现在,让我们完成moveCursor函数,并对cursor元素进行一些转换,使其跟随指针的位置。
useEffect(() => {
    const moveCursor = (e) => {
      const x = e.clientX - 16
      const y = e.clientY - 16
      setCursorXY({ x, y })
    }...<div
  className="cursor"
  style={{
    transform: `translate3d(${cursorXY.x}px, ${cursorXY.y}px, 0)`,
  }}
/>
...
Here we’re getting current cursor position from e.clientX and e.clientY and subtracting 16px which is half the size of our custom cursor, so that its center is aligned with the correct pointer position.
在这里,我们从e.clientX和e.clientY获取当前光标位置,并减去16px ,这是自定义光标大小的一半,以便其中心与正确的指针位置对齐。
Now that we have our custom cursor fully working, we just need to get rid of the default system cursor, which can be easily done with this:
现在我们的自定义游标已经可以正常使用了,我们只需要摆脱默认的系统游标即可,可以很容易地做到这一点:
* {
  cursor: none;
}
One last touch to make it fully usable is to set pointer-events: none; to make sure our custom cursor element doesn’t interfere with mouse events on other DOM elements.
要使其完全可用的最后一触是设置pointer-events: none; 确保我们的自定义光标元素不会干扰其他DOM元素上的鼠标事件。
添加成帧器运动 (Adding Framer Motion)
OK, now let’s make things more interesting by adding framer-motion and some effects into the mix.
好的,现在让我们通过添加framer-motion和一些效果来使事情更有趣。
Instead of using setState to keep out cursor position, lets import and use useMotionValue from framer-motion:
与其使用setState保持光标位置, useMotionValue从framer-motion导入并使用useMotionValue :
...
import { motion, useMotionValue } from "framer-motion"function App() {
  const cursorX = useMotionValue(-100)
  const cursorY = useMotionValue(-100)  useEffect(() => {
    const moveCursor = (e) => {
      cursorX.set(e.clientX - 16)
      cursorY.set(e.clientY - 16)
    };
...
… and update our div to a motion.div:
…并将我们的div更新为motion.div :
<motion.div
  className="cursor"
  style={{
    translateX: cursorX,
    translateY: cursorY,
  }}
/>
Now, lets say we want to give some springiness effect to our cursor motion. We can use a great utility from framer-motion called useSpring. We’ll take our MotionValues and pass them to useSpring to apply some spring physics to the motion like this:
现在,假设我们要对光标运动赋予一些弹性效果。 我们可以使用framer-motion一个很棒的实用程序useSpring 。 我们将使用我们的MotionValues并将它们传递给useSpring,以将一些弹簧物理原理应用于该运动,如下所示:
...
const cursorX = useMotionValue(-100);
const cursorY = useMotionValue(-100);const springConfig = { damping: 25, stiffness: 700 };
const cursorXSpring = useSpring(cursorX, springConfig);
const cursorYSpring = useSpring(cursorY, springConfig);...<motion.div
  className="cursor"
  style={{
    translateX: cursorXSpring,
    translateY: cursorYSpring,
  }}
/>
...
Note that you can get a lot of various behaviors just by specifying different spring damping and stiffness values, so try experimenting with the spring configuration.
请注意,仅通过指定不同的弹簧damping和stiffness值,您就可以得到许多不同的行为,因此请尝试使用弹簧配置。
One other popular effect is to give our cursor a negative color based on the background underneath it. We can achieve that by applying this cool CSS to our .cursor:
另一种流行的效果是根据光标下方的背景为光标提供负色。 我们可以通过将此酷CSS应用于.cursor来.cursor :
mix-blend-mode: difference;
background-color: white;
Just make sure you have specified a suitable background-color on body or the element under the cursor so that you can see the cursor. For example if you want the cursor to appear black on a white background you actually have to apply white background to both the background element and the cursor itself, since it has a difference blending mode.
只要确保您在body或光标下方的元素上指定了合适的background-color就可以看到光标。 例如,如果您希望光标在白色背景上显示为黑色,则实际上必须将白色背景应用于背景元素和光标本身,因为它具有difference混合模式。
That’s about it folks for this part. Stay tuned for the Part 2 of the series where we’ll make our custom cursor more “intelligent”, interactive and experiment with some even cooler visual effects!
就是这个部分。 请继续关注本系列的第2部分,我们将使自定义光标更具“智能”,交互性,并尝试一些更酷的视觉效果!
For the final working example check out this link and be sure to check out the repo on GitHub.
翻译自: https://medium.com/@levon/cool-custom-cursors-with-react-framer-motion-part-1-228126bcae68
react 光标


 被折叠的 条评论
为什么被折叠?
被折叠的 条评论
为什么被折叠?
 到【灌水乐园】发言


