自动读取图像的视差图像信息
Get the average color of an image and set it as our background similar to Instagram Stories.
获取图像的平均颜色,并将其设置为类似于Instagram Stories的背景。
I recently came across this tutorial on Hacking With Swift and thought I would implement it similar to Instagram Stories but in SwiftUI
我最近遇到了有关“ 用Swift黑客”的本教程,并认为我会像Instagram Stories一样实现它,但在SwiftUI中
This is what we will be creating by the end of this tutorial:
这是我们将在本教程结束时创建的内容:
入门 (Getting Started)
Create a new SwiftUI Project in Xcode. Make sure you’re running macOS Catalina and have Xcode 11 installed. (That allows you to use SwiftUI.)
在Xcode中创建一个新的SwiftUI项目。 确保您正在运行macOS Catalina并安装了Xcode 11。 (这使您可以使用SwiftUI。)
Open Xcode → File → New → Project
打开Xcode→文件→新建→项目
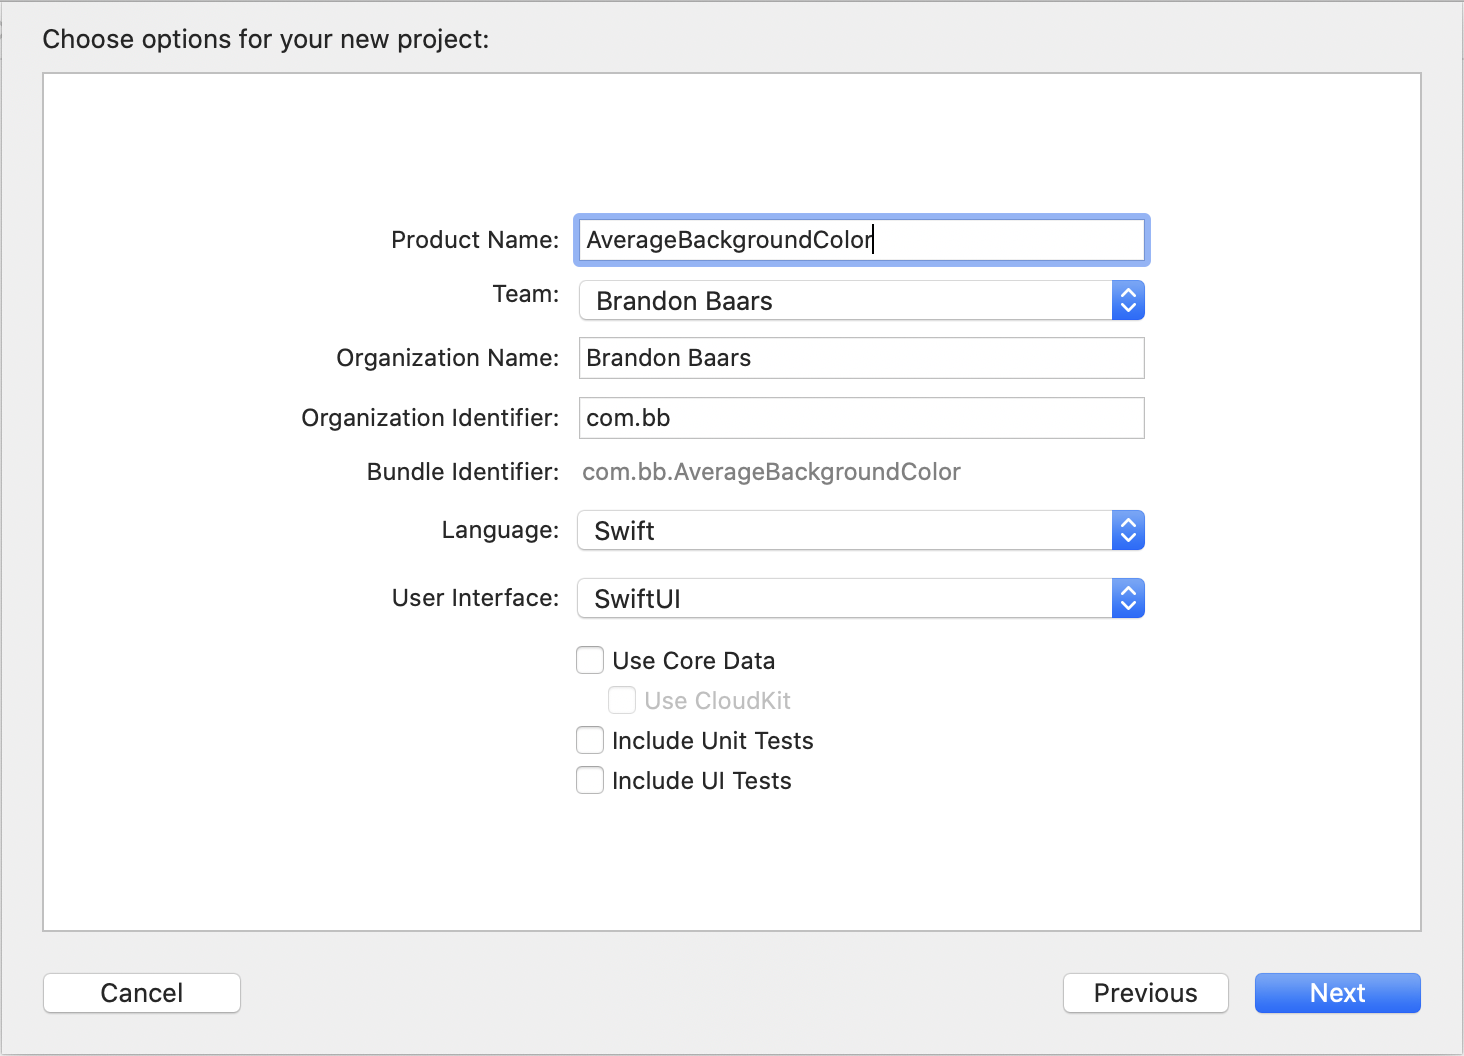
I called mine AverageBackgroundColor, but feel free to name it whatever you’d like.
我叫我的AverageBackgroundColor,但是可以随便命名。
Make sure you have User Interface set to SwiftUI.
确保将用户界面设置为SwiftUI。

实作 (Implementation)
Let’s get started with our layout.
让我们开始布局吧。
I went to pexels.com, searched abstract, and grabbed around 7 photos that varied in colors to be used in this tutorial.
我去了 pexels.com, 搜索了摘要,然后抓取了大约7张颜色不同的照片,用于本教程。
In Assets.xcassets. I have labeled my background colors background0 through background6
在Assets.xcassets. 我已将背景颜色标记为background0到background6
Let’s just add our first image and a generic background color to create our layout.
让我们添加第一张图片和通用背景色来创建布局。
Open up ContentView.swift and add the following.
打开ContentView.swift并添加以下内容。
struct ContentView: View {
    @State var currentIndex = 0


    private var images: [String] = ["background0",
                                    "background1",
                                    "background2",
                                    "background3",
                                    "background4",
                                    "background5",
                                    "background6"]


    var body: some View {
       GeometryReader { geometry in
            Image(self.images[self.currentIndex])
                .resizable()
                .scaledToFill()
                .frame(width: geometry.size.width * 0.8, height: geometry.size.width * 0.8)
                .clipped()
                .cornerRadius(10)
                .shadow(radius: 10)
        }
       .background(Color.gray.opacity(0.2))
       .edgesIgnoringSafeArea(.all)
    }
}


struct ContentView_Previews: PreviewProvider {
    static var previews: some View {
        ContentView()
    }
}
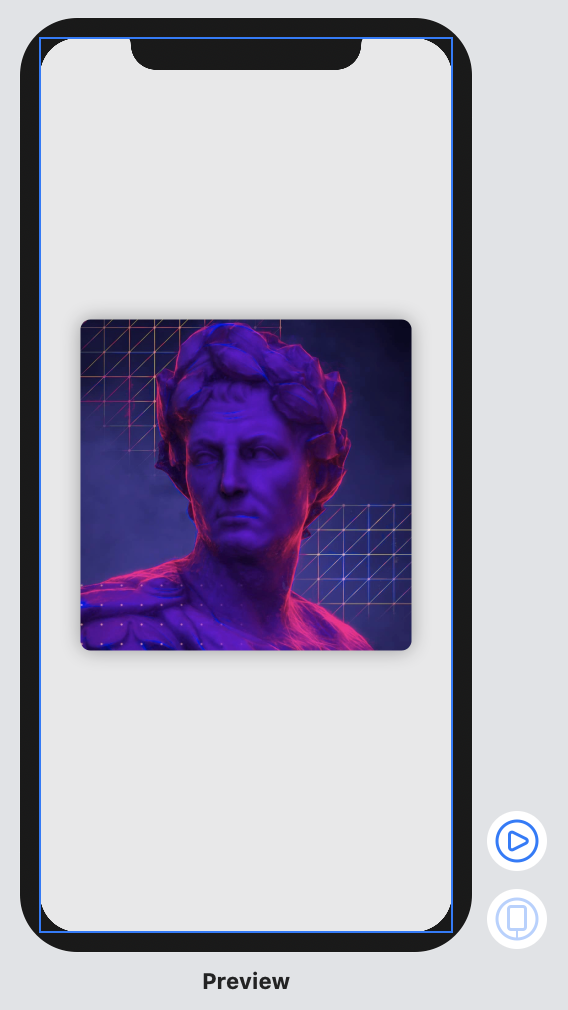
We create our image based off of a current index.
我们根据当前索引创建图像。
Make sure the frame width and height is 80% of the width of the screen.
确保框架的宽度和高度为屏幕宽度的80%。
And add a generic background color of Gray with an opacity of 20% for now, with ignoring the safe area so it extends to the edges of the screen.
并暂时添加不透明度为20%的灰色常规背景色,并忽略安全区域,使其延伸到屏幕边缘。
We have this right now:
我们现在有这个:

Next, what we want to do is get the average color of the image on screen.
接下来,我们要做的是获取屏幕上图像的平均颜色。
Once we obtain that color, we need to update the background color to match.
一旦获得该颜色,就需要更新背景颜色以使其匹配。
Later on we will add a tap gesture to change the current image and to then update the background color with the new images average color.
稍后,我们将添加一个点击手势,以更改当前图像,然后使用新图像的平均颜色更新背景颜色。
To get started, create a new Swift file and name this one UIImage+Extension.swift .
首先,创建一个新的Swift文件并将其命名为UIImage+Extension.swift 。
Add this code below:
在下面添加此代码:
extension UIImage {
    /// Average color of the image, nil if it cannot be found
    var averageColor: UIColor? {
        // convert our image to a Core Image Image
        guard let inputImage = CIImage(image: self) else { return nil }


        // Create an extent vector (a frame with width and height of our current input image)
        let extentVector = CIVector(x: inputImage.extent.origin.x,
                                    y: inputImage.extent.origin.y,
                                    z: inputImage.extent.size.width,
                                    w: inputImage.extent.size.height)


        // create a CIAreaAverage filter, this will allow us to pull the average color from the image later on
        guard let filter = CIFilter(name: "CIAreaAverage",
                                  parameters: [kCIInputImageKey: inputImage, kCIInputExtentKey: extentVector]) else { return nil }
        guard let outputImage = filter.outputImage else { return nil }


        // A bitmap consisting of (r, g, b, a) value
        var bitmap = [UInt8](repeating: 0, count: 4)
        let context = CIContext(options: [.workingColorSpace: kCFNull!])


        // Render our output image into a 1 by 1 image supplying it our bitmap to update the values of (i.e the rgba of the 1 by 1 image will fill out bitmap array
        context.render(outputImage,
                       toBitmap: &bitmap,
                       rowBytes: 4,
                       bounds: CGRect(x: 0, y: 0, width: 1, height: 1),
                       format: .RGBA8,
                       colorSpace: nil)


        // Convert our bitmap images of r, g, b, a to a UIColor
        return UIColor(red: CGFloat(bitmap[0]) / 255,
                       green: CGFloat(bitmap[1]) / 255,
                       blue: CGFloat(bitmap[2]) / 255,
                       alpha: CGFloat(bitmap[3]) / 255)
    }
}
The above code allows us to read our resized CIImage average color.
上面的代码使我们可以读取调整后的CIImage平均颜色。
Now that we have the ability to read an average color, we can apply it when our SwiftUI view loads.
现在,我们已经能够读取平均颜色,可以在SwiftUI视图加载时应用它。
Add the follow function and code to our existing ContentView.swift
将关注功能和代码添加到我们现有的ContentView.swift
import SwiftUI


struct ContentView: View {
    @State private var backgroundColor: Color = .clear


    ...


    var body: some View {
       GeometryReader { geometry in
            ... // Existing Code
        }
        .background(backgroundColor)
        .edgesIgnoringSafeArea(.all)
        .onAppear {
            self.setAverageColor()
        }
    }


    private func setAverageColor() {
        let uiColor = UIImage(named: images[currentIndex])?.averageColor ?? .clear
        backgroundColor = Color(uiColor)
    }
Here we add a new state variable to hold our current background color
在这里,我们添加一个新的状态变量来保存我们当前的背景色
We update our background color of our GeometryReader to be the current background color State variable.
我们将GeometryReader背景色更新为当前的背景色State变量。
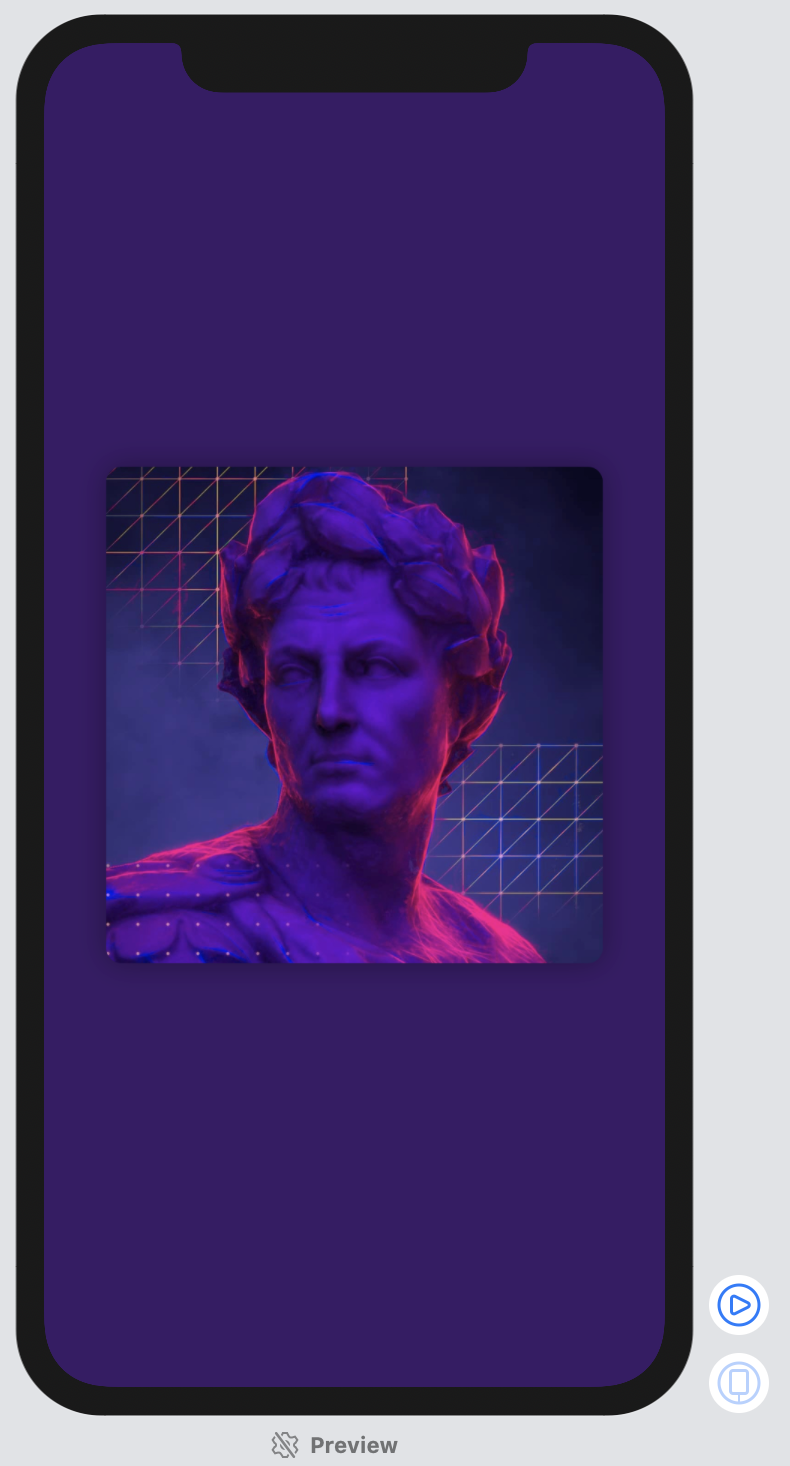
When the view first appears, onAppear gets called and we updated our background color to be the color found from our input image.
当视图首次出现时,将调用onAppear ,并且我们将背景色更新为从输入图像中找到的颜色。
We should now have something like:
现在,我们应该具有以下内容:

Next we can add a tap gesture to our Image, that when triggered, updates our current index.
接下来,我们可以向Image添加轻击手势,该手势在触发时会更新当前索引。
Add the following closure just after the .shadow(radius: 10) on our image
在图像上的.shadow(radius: 10)之后添加以下闭合
.onTapGesture {
    if (self.currentIndex == self.images.count - 1) {
        self.currentIndex = 0
    } else {
        self.currentIndex = min(self.currentIndex + 1,
                                self.images.count - 1)
    }
    self.setAverageColor()
}
We make sure we’re not going past the bounds of our image array. If we aren’t, we add one to our currentIndex .
我们确保我们不会超出图像数组的范围。 如果不是,则将一个添加到currentIndex 。
At the end, we call our private function again to update our average color.
最后,我们再次调用私有函数以更新平均颜色。
Just like that we have implemented our tap gesture to cycle through our images!
就像这样,我们已经实现了点击手势来循环显示图像!
而已! (That’s It!)
I have added a SwipeGesture and DragGesture in the github page if you’re interested to get it closer to Instagram Stories.
如果您有兴趣使其更接近Instagram Stories,则在github页中添加了SwipeGesture和DragGesture。
翻译自: https://medium.com/swlh/swiftui-read-the-average-color-of-an-image-c736adb43000
自动读取图像的视差图像信息


 本文介绍了如何使用SwiftUI读取图像的平均颜色,并提及了自动处理视差图像信息的方法,参考自一篇Medium文章。


 2320
2320

 被折叠的 条评论
为什么被折叠?


