


 本文是关于如何在iOS应用中利用MapKit和Core Location库添加地图功能的快速指南,通过Swift实现。
ios mapkit 使用
快速编程 (Swift Programming)
Apple offers to developers tools to integrate Geolocation and Map features to their Apps with MapKit and CoreLocation. Initially based on Google Maps service, MapKit now integrates Maps from Apple Maps service.
苹果公司为开发人员提供了工具,可通过MapKit和CoreLocation将Geolocation和Map功能集成到其应用程序中。 MapKit最初基于Google Maps服务,现在集成了Apple Maps服务中的Maps。
Here are 7 steps to add a Map to your App and integrate a real-time Geolocation feature. Let’s get started.
这是将地图添加到您的应用并集成实时地理位置功能的7个步骤 。 让我们开始吧。
步骤1:隐私权 (Step 1: Privacy)
First, user location is a privacy sensitive information. So based on Apple Guidelines, you are required to add an entry for NSLocationWhenInUseUsageDescription and write a short description of how you intend to use the location data to have access to these informations.
首先,用户位置是对隐私敏感的信息。 因此,根据Apple准则,您需要为NSLocationWhenInUseUsageDescription添加一个条目,并简短描述您打算如何使用位置数据访问这些信息。

This message will be shown to the user with the authorization request that iOS will send to the user for access to his location informations.
将向用户显示此消息以及iOS将发送给用户以访问其位置信息的授权请求。

步骤2:设计应用程式介面 (Step 2: Design your App Interface)
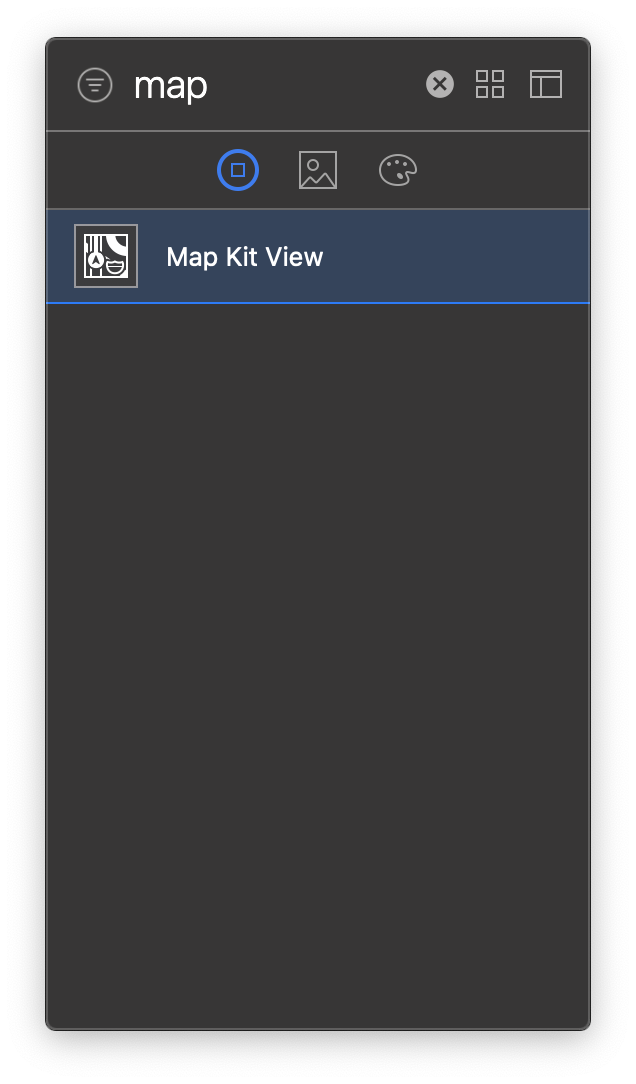
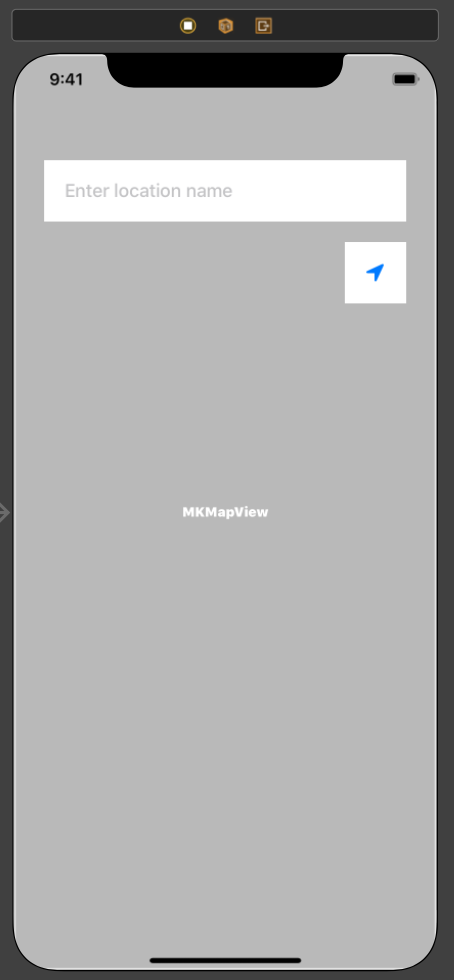
Create your interface on storyboard. For this example, the interface will look like on the screenshots below. We will need to add a MKMapView, a UITextField and a UIButton.
在情节提要上创建界面。 在此示例中,界面如下图所示。 我们将需要添加一个MKMapView , UITextField和UIButton 。
步骤3:配置CoreLocation (Step 3: Configure CoreLocation)
For this project, we’ll use two Apple frameworks: MapKit and CoreLocation. MapKit will be used to interact with the MapView, add annotations, and CoreLocation for retrieving user location and interacting with it.
对于这个项目,我们将使用两个Apple框架: MapKit和CoreLocation 。 MapKit将用于与MapView交互,添加注释和CoreLocation,以检索用户位置并与其进行交互。
import MapKit
import CoreLocation
实例化位置管理器 (Instantiate the Location Manager)
First, to retrieve user location, we will need to create an instance of CLLocationManger, and to configure it.
首先,要检索用户位置,我们将需要创建一个CLLocationManger实例并对其进行配置。
Core Location let you choose the distance and accuracy you need for your app. Keep in mind that the more precise location you request, the more energy it’ll consume on the user’s device, so you should consider carefully how precise and how often you need these informations so you can properly configure the location manager according to your app’s needs.
核心位置可让您选择应用所需的距离和准确性 。 请记住, 您要求的位置越精确,它将在用户设备上消耗的能量就越多 ,因此,您应该仔细考虑这些信息的精确度和频率,以便可以根据应用程序的需要正确配置位置管理器。
In this example I choose to configure the location manager with the best accuracy and a distance filter of 10, which mean that I’ll get notified for every move of the user of at least 10 meters, with good accuracy.
在此示例中,我选择以最高的精度和10的距离过滤器来配置位置管理器,这意味着我将以至少10米的准确度向用户的每次移动通知。
You can check the CLLocationAccuracy Apple documentation for more information about accuracy with Core Location.
您可以查看CLLocationAccuracy Apple文档以获取有关Core Location准确性的更多信息。
处理授权请求 (Handle Authorization Request)
In your viewDidLoad, register a delegate to your locationManger and request an authorization. You can get more informations about authorization requests on Apple Documentation.
在viewDidLoad ,向您的locationManger注册一个委托并请求授权。 您可以在Apple文档中获取有关授权请求的更多信息。
Then add conformance to the CLLocationManagerDelegate protocol and implement the following function:
然后将符合性添加到CLLocationManagerDelegate协议,并实现以下功能:
⚠️ If you haven’t added the NSLocationWhenInUseUsageDescription entry at Step 1, you will not have access to location informations, and the authorization request will not be shown to the user.
If️如果尚未 在步骤1中 添加 NSLocationWhenInUseUsageDescription 条目,则您将无权访问位置信息,并且授权请求也不会显示给用户。
步骤4:“定位我”按钮:在地图上显示位置 (Step 4: Locate Me Button: Show Location on the Map)
按下按钮时获取当前位置 (Get current location when a button is pressed)
First step, we will retrieve the current location when the user press the locate-me button 🧭.
第一步,当用户按下locate-me按钮🧭时,我们将检索当前位置。
The location manager gives you the current location in a CLLocation object with locationManager.location. This object contains different informations, including latitude and longitude coordinates values.
位置管理器通过locationManager.location为您提供CLLocation对象中的当前locationManager.location 。 该对象包含不同的信息,包括纬度和经度坐标值。
向地图添加注释 (Add an annotation to the Map)
Let’s create a new function that will add an annotation to the map at the given coordinates.
让我们创建一个新函数,该函数将在给定坐标处向地图添加注释。
The following function creates a new MKPointAnnotation object, and adds it to the map after removing all previous annotations. It also zooms and scrolls the map to put the newly added annotation on the center of the screen.
以下函数创建一个新的MKPointAnnotation对象,并在删除所有先前的注释后将其添加到地图。 它还会缩放和滚动地图,以将新添加的注释放置在屏幕中央。
Now that we have this function, you can call it with the current location informations you want to display, in your button IBAction function. For now, we’ll put nil as title since we don’t have yet this information.
现在我们有了此功能,您可以在按钮IBAction功能中使用要显示的当前位置信息来调用它。 现在,我们将nil作为标题,因为我们尚无此信息。
updateLocationOnMap(to: 将位置的完整地址作为标题添加到注释中 (Add the full address of the location as title to the annotation)
Now, we will add the location full address as title to the annotation. CoreLocation gives us an easy to do so with CLGeocoder.
现在,我们将位置完整地址作为标题添加到注释中。 CoreLocation使我们可以轻松使用CLGeocoder做到这CLGeocoder 。
Create an extension to CLLocation and add the following function:
创建CLLocation的扩展并添加以下功能:
It will reverse the geocode location and gives you a CLPlacemark, containing all the informations needed to extract full postal address.
它将反转地理编码的位置,并为您提供CLPlacemark ,其中包含提取完整邮政地址所需的所有信息。
Address informations are stored as below in the Placemark object. To get a string value of the full address, you will have to concatenate the components you need. Here is an example for Apple HQ address on the table below:
地址信息按以下方式存储在地标对象中。 要获取完整地址的字符串值,您将必须连接所需的组件。 这是下表中的Apple HQ地址示例:

Let’s add a function to our CLLocation extension that will gives us the full address directly. For convenience, you can add a new property in an extension of CLPlacemark. In this example, this property is called stringValue.
让我们在CLLocation扩展中添加一个函数,该函数将直接为我们提供完整的地址。 为了方便起见,您可以在CLPlacemark的扩展名中添加新属性。 在此示例中,此属性称为stringValue 。
Now let’s update the call to updateLocationOnMap with our new lookUpLocationName function.
现在,让我们使用新的lookUpLocationName函数更新对updateLocationOnMap的调用。
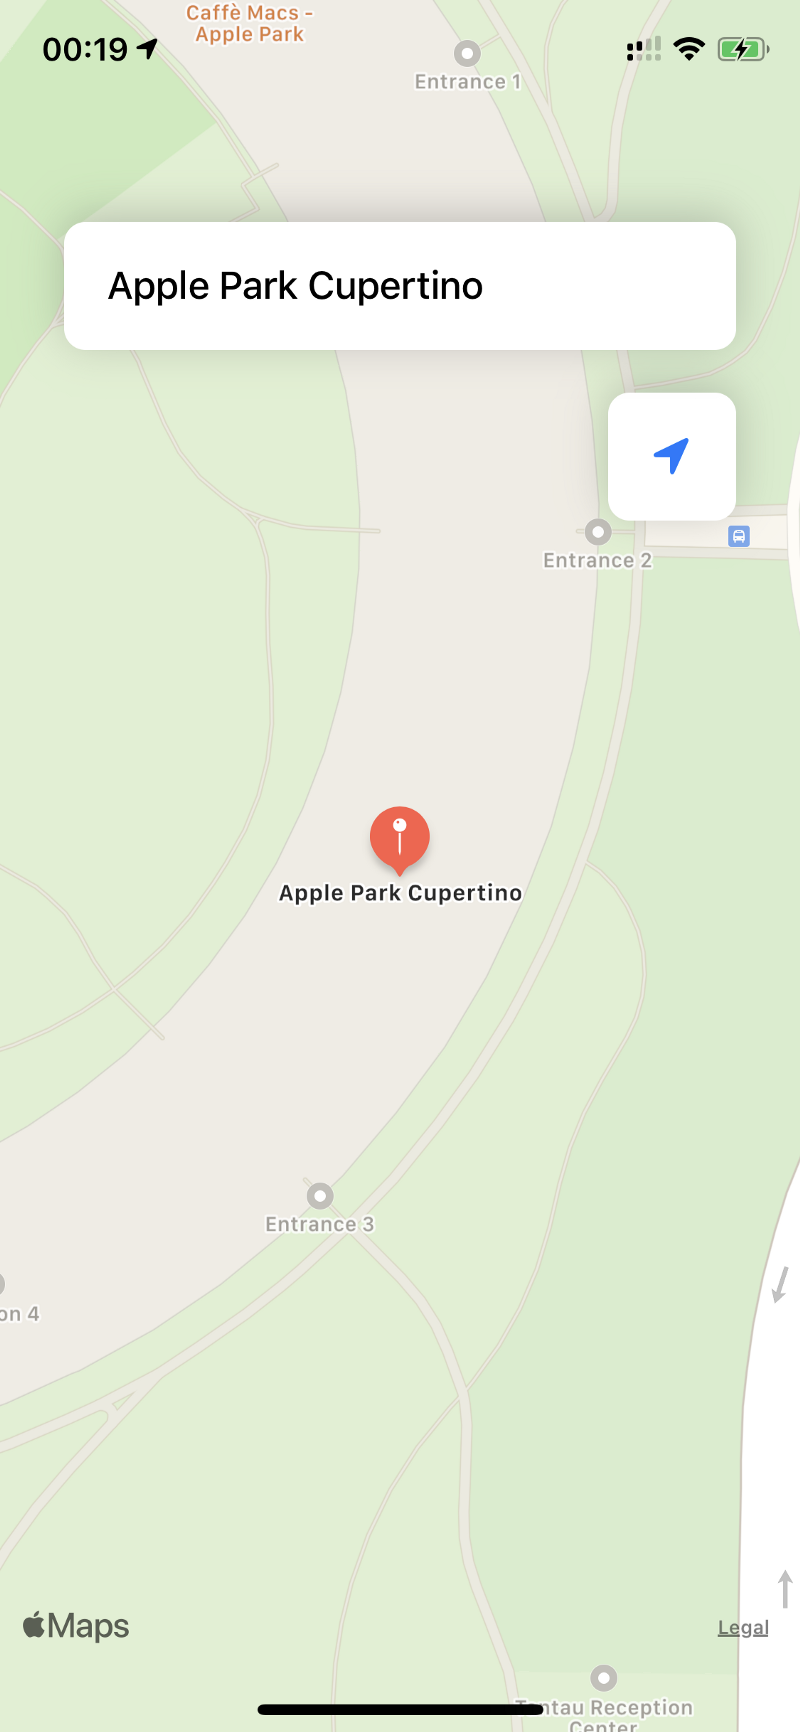
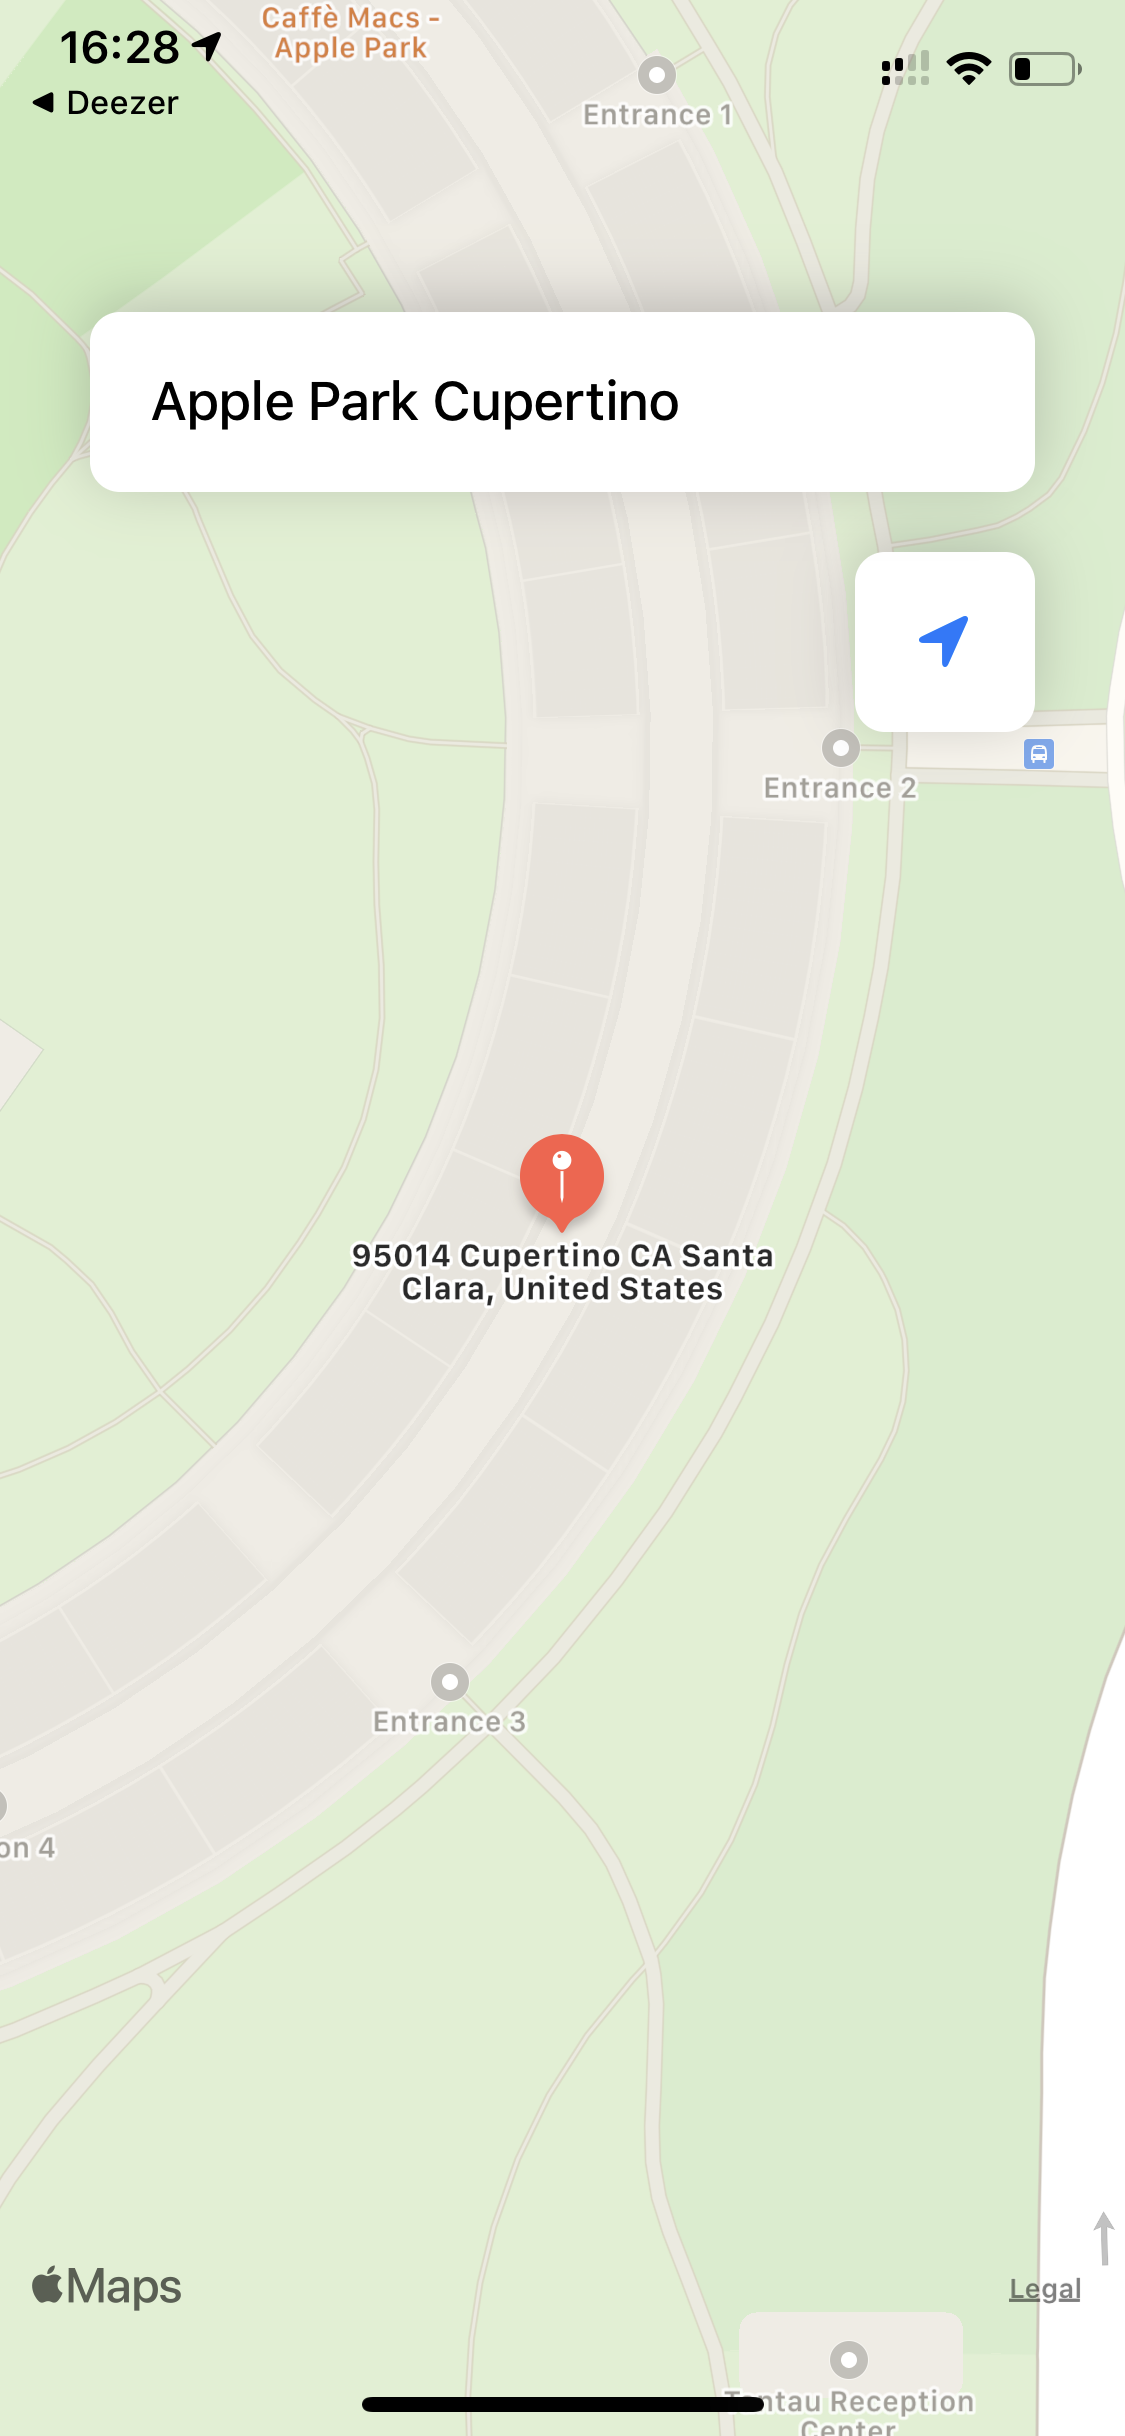
Build and run your app: now when you press the locate-me button, your current location is added on the map, displaying your current location full address!
生成并运行您的应用程序:现在,当您按locate-me按钮时,您的当前位置即被添加到地图上,显示当前位置的完整地址!
步骤5:从字符串地址显示位置 (Step 5: Show Location From a String Address)
从字符串地址向地图添加地标 (Add a PlaceMark from a string address to the Map)
Most of the function we wrote in Step 3 for the locate-me button will also be used in this part. We will only add a new function updatePlaceMark(to address: String) and call it upon TextField validation.
我们在第3步中为locate-me按钮编写的大多数功能也将在本部分中使用。 我们将只添加一个新函数updatePlaceMark(to address: String)并在TextField验证时调用它。
In this function, we will first get placemarks from the string value entered by the user, then we will update the map with the first placemark with it’s full address value.
在此功能中,我们将首先从用户输入的字符串值中获取地标 ,然后使用第一个具有完整地址值的 地标更新地图。
Note that geocodeAddressString is not a location search feature, so for it to work it will need either a valid address, and identifiable location, a city, state or country in the field to have a result.
请注意, geocodeAddressString不是位置搜索功能,因此,要使其正常工作,将需要有效的地址和可识别的位置,字段中的城市,州或国家/地区才能得到结果。
第6步:在地图上显示实时位置 (Step 6: Show Real-Time Location on the Map)
To show real-time location, add the following delegate function in the CLLocationManagerDelegate extension we already created.
要显示实时位置,请在我们已经创建的CLLocationManagerDelegate扩展中添加以下委托函数。
The Location Manager will call this function automatically on location updates, according to the policy defined at the beginning.
位置管理器将根据开始时定义的策略在位置更新时自动调用此功能。
步骤7:建立并执行 (Step 7: Build & Run)
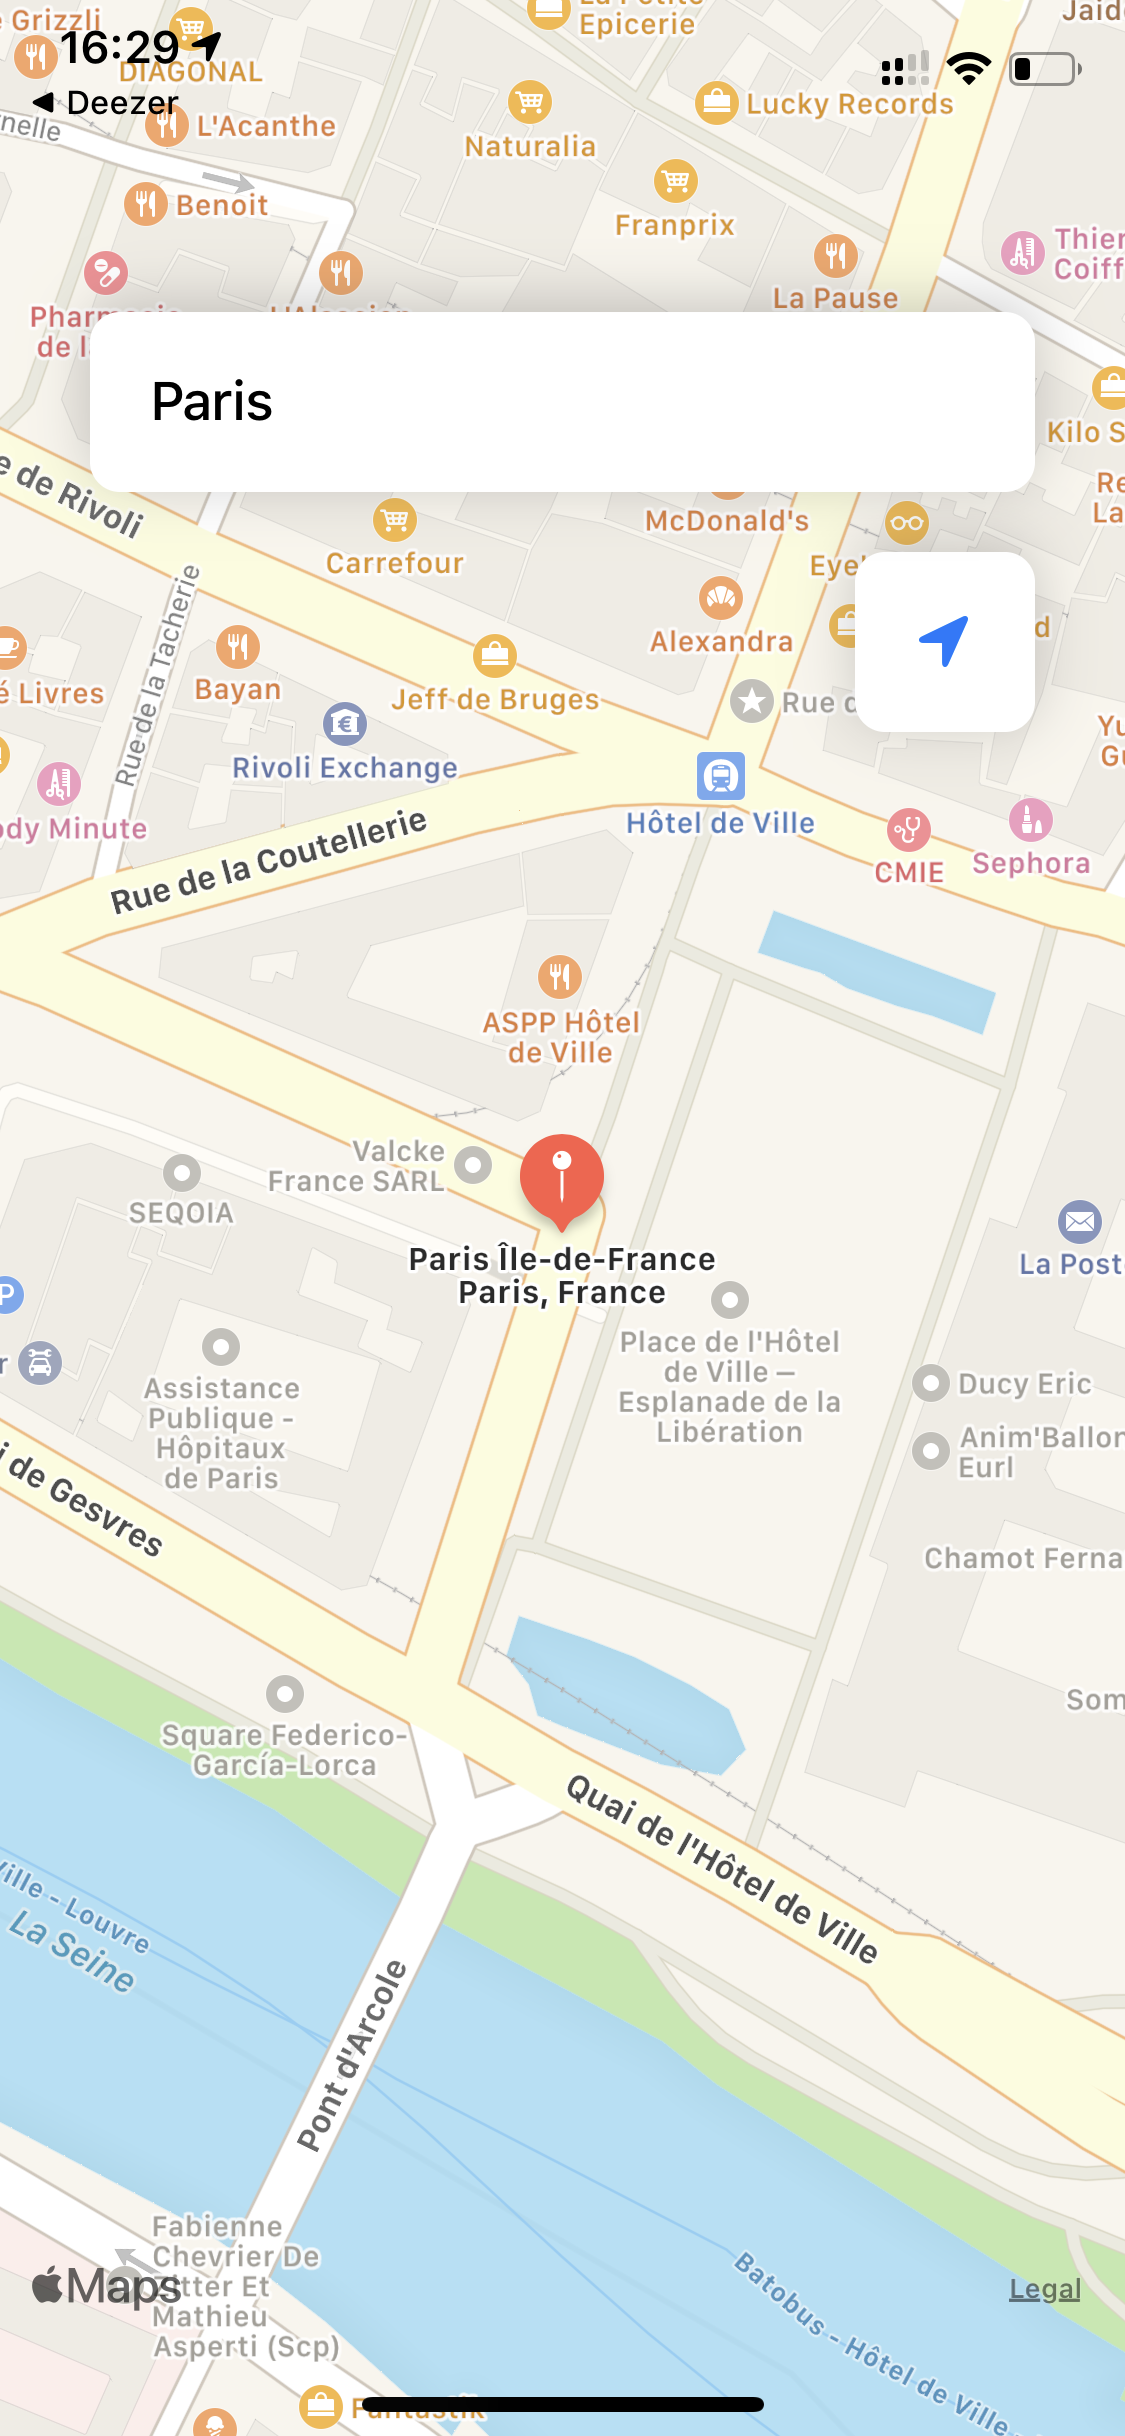
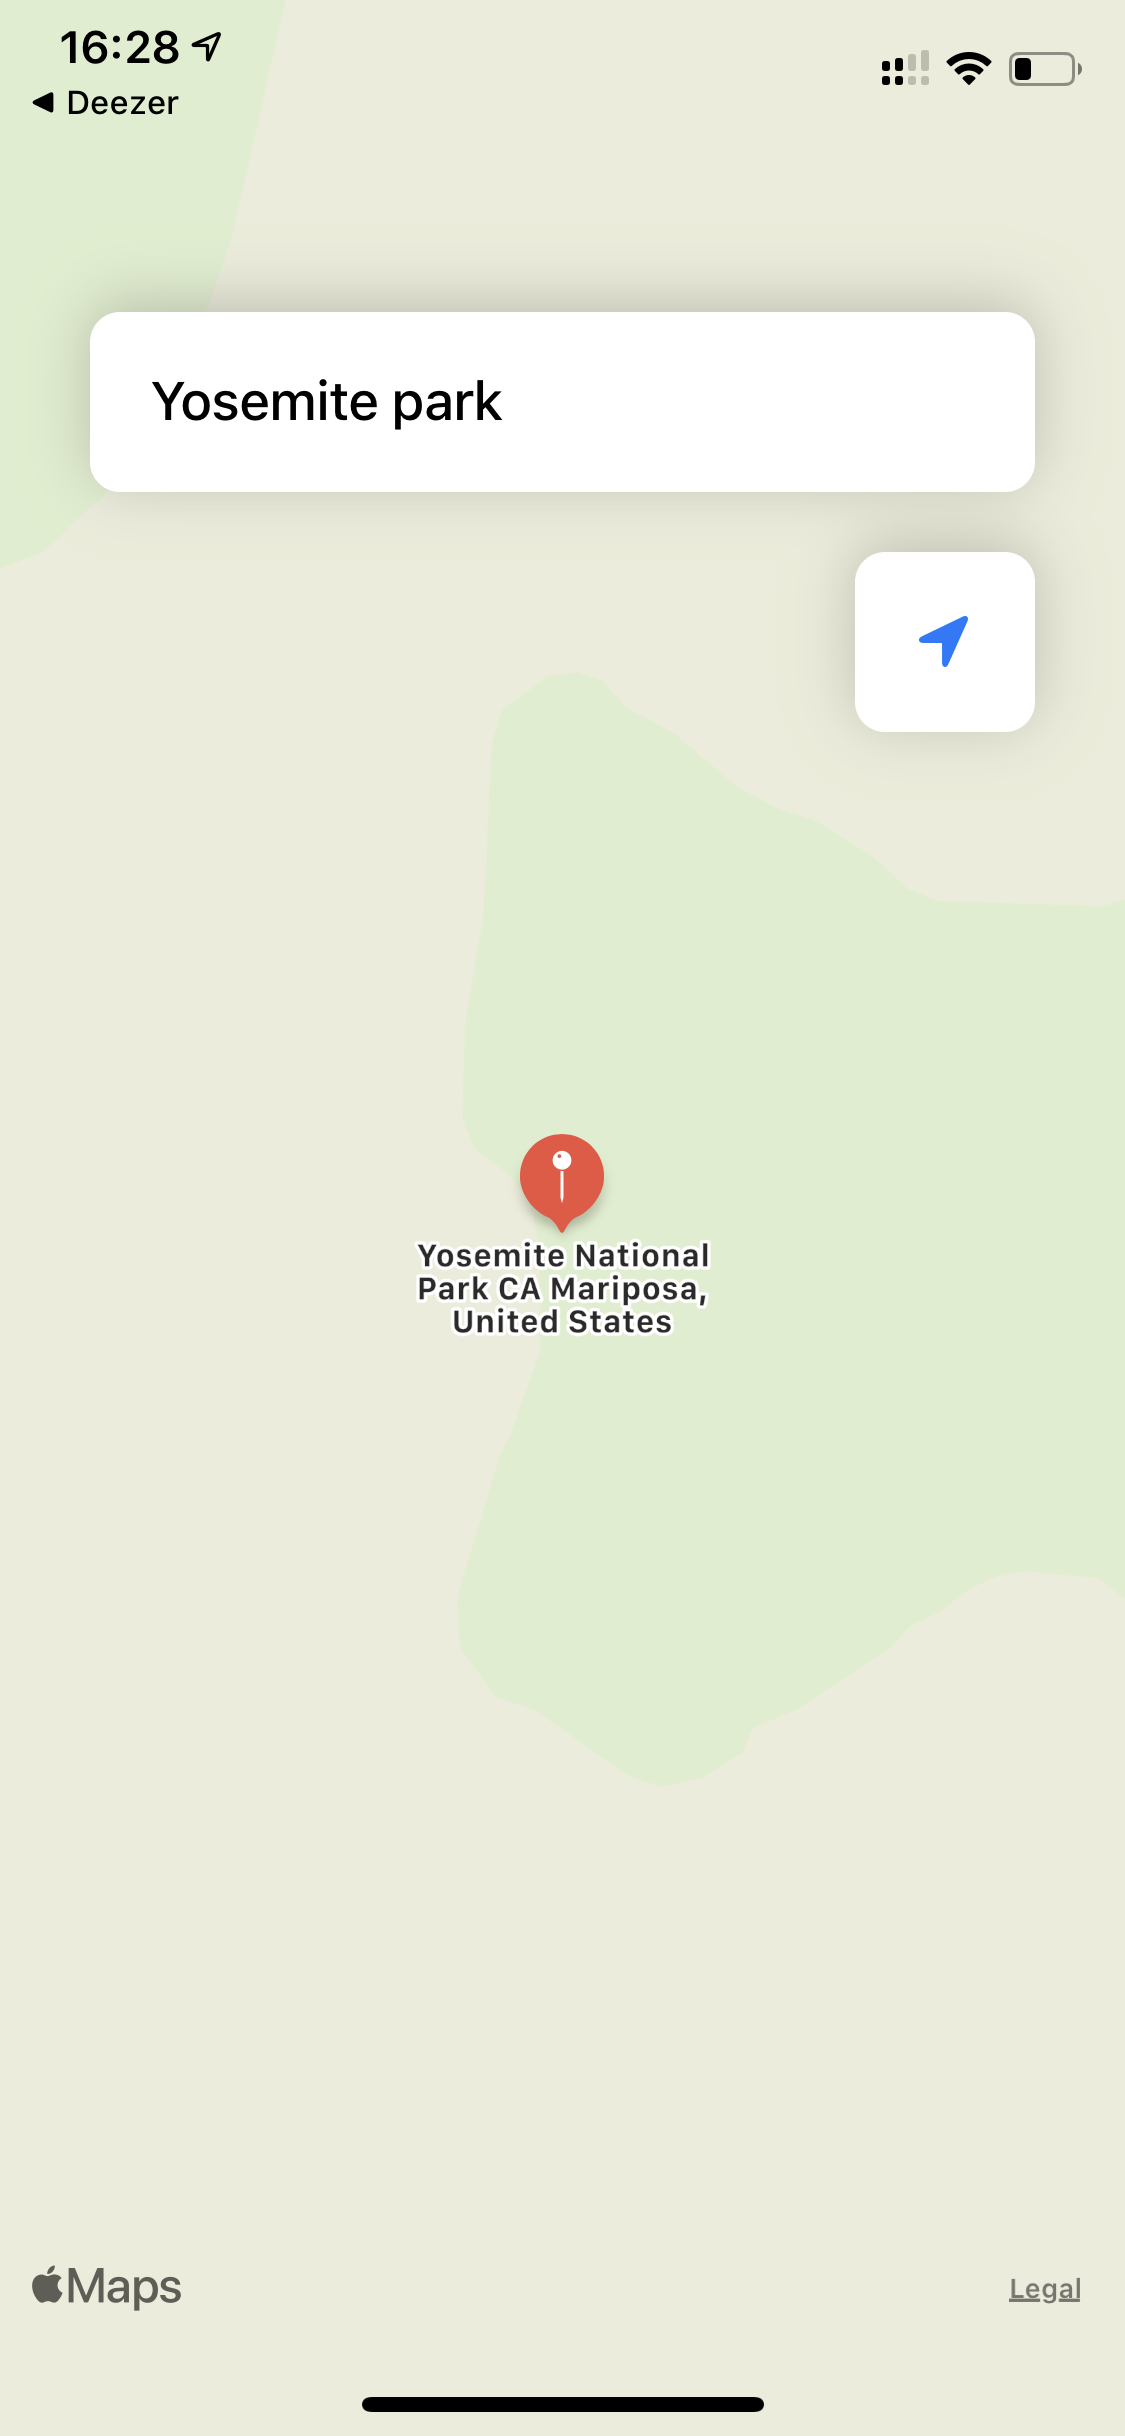
Build and Run your app: You now have a Map app that show you your current location, displaying the full address in real time, locating you on a locate-me button tap and allowing you to search for locations from a text field.
构建并运行您的应用程序:现在,您将拥有一个Map应用程序 ,该应用程序可以显示您当前的位置 , 实时显示完整地址,通过一次locate-me按钮定位您的位置 ,并允许您从文本 字段中 搜索位置 。
回顾 (Recap)
- Add location usage description for Apple Privacy Guideline compliance. 添加位置使用说明以符合Apple隐私准则。
- Design you App Interface. 设计您的应用程序界面。
- Configure CoreLocation for location accuracy and updates. 配置CoreLocation以获得位置准确性和更新。
- Update current location on the Map from a button tap. 单击按钮即可更新地图上的当前位置。
- Update location on the Map from text entry. 通过文本输入更新地图上的位置。
- Update real-time location on the Map. 更新地图上的实时位置。
您可能还会喜欢这篇文章: (You may also like this article:)
ios mapkit 使用


 122
122

 被折叠的 条评论
为什么被折叠?
被折叠的 条评论
为什么被折叠?
 到【灌水乐园】发言


