


ec2 删除实例
The workflow can be broken down into following basic steps:
工作流可以分为以下基本步骤:
- Training a machine learning model on colab. 在colab上训练机器学习模型。
- Wrapping the inference logic into a flask application. 将推理逻辑包装到flask应用程序中。
- Hosting flask application on an AWS ec2 instance and consuming the web-service. 在AWS ec2实例上托管Flask应用程序并使用Web服务。
准备模型 (Preparing the model)
The algorithm we will use for classification is DistilBERT. DistilBERT is a small, fast, cheap and light Transformer model trained by distilling Bert base. It has 40% less parameters than bert and runs 60% faster while preserving over 95% of Bert’s performances.
我们将用于分类的算法是DistilBERT。 DistilBERT是一种小型,快速,廉价且轻便的Transformer模型,通过蒸馏Bert基地进行训练。 它的参数比bert少40%,运行速度提高60%,同时保留了Bert 95%的性能。
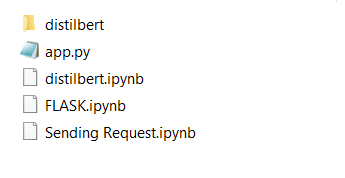
The notebook and dataset link can be found in the github . Clone the github repositary and store all the contents of the folder inside a new folder DisttilBERT-App . Copy the DisttilBERT-App to Drive and open the distilbert.ipynb in colab and execute the cells and at last we will save the weights of the model for future use. Download the weights to your local host system inside the folder distilbert. Copy the distilbert inside the DisttilBERT-App. After all the steps your DisttilBERT-App folder will look like this.
笔记本和数据集链接可以在github中找到。 克隆github存储库 ,并将该文件夹的所有内容存储在新文件夹DisttilBERT-App中 。 将DisttilBERT-App复制到Drive并在colab中打开distilbert.ipynb并执行单元,最后我们将保存模型的权重以备将来使用。 将权重下载到文件夹distilbert内的本地主机系统中。 将Distilbert复制到DisttilBERT-App中。 完成所有步骤后,您的DisttilBERT-App文件夹将如下所示。

设置您的AWS账户 (Setup Your AWS Account)
1. You can create an account by the Amazon Web Services portal and click “Sign in to the Console”. From there you can sign in using an existing Amazon account or create a new account.
1.您可以通过Amazon Web Services门户创建一个帐户,然后单击“登录到控制台”。 您可以从那里使用现有的Amazon帐户登录或创建一个新帐户。
2. You will need to provide your details as well as a valid credit card that Amazon can charge. The process is a lot quicker if you are already an Amazon customer and have your credit card on file.
2.您将需要提供您的详细信息以及亚马逊可以收取的有效信用卡。 如果您已经是Amazon客户并备有信用卡,则此过程会更快得多。
启动您的AWS实例 (Launch Your AWS Instance)
Login to your AWS console and search EC2.
登录到您的AWS控制台并搜索EC2。
- Click on EC2 for launching a new virtual server. 单击EC2以启动新的虚拟服务器。
Search for windows and click on select and also make sure to select US East(Ohio) from the drop-down in the top right hand corner.
搜索窗口 ,然后单击“选择”,并确保从右上角的下拉菜单中选择“ 美国东部(俄亥俄州)” 。

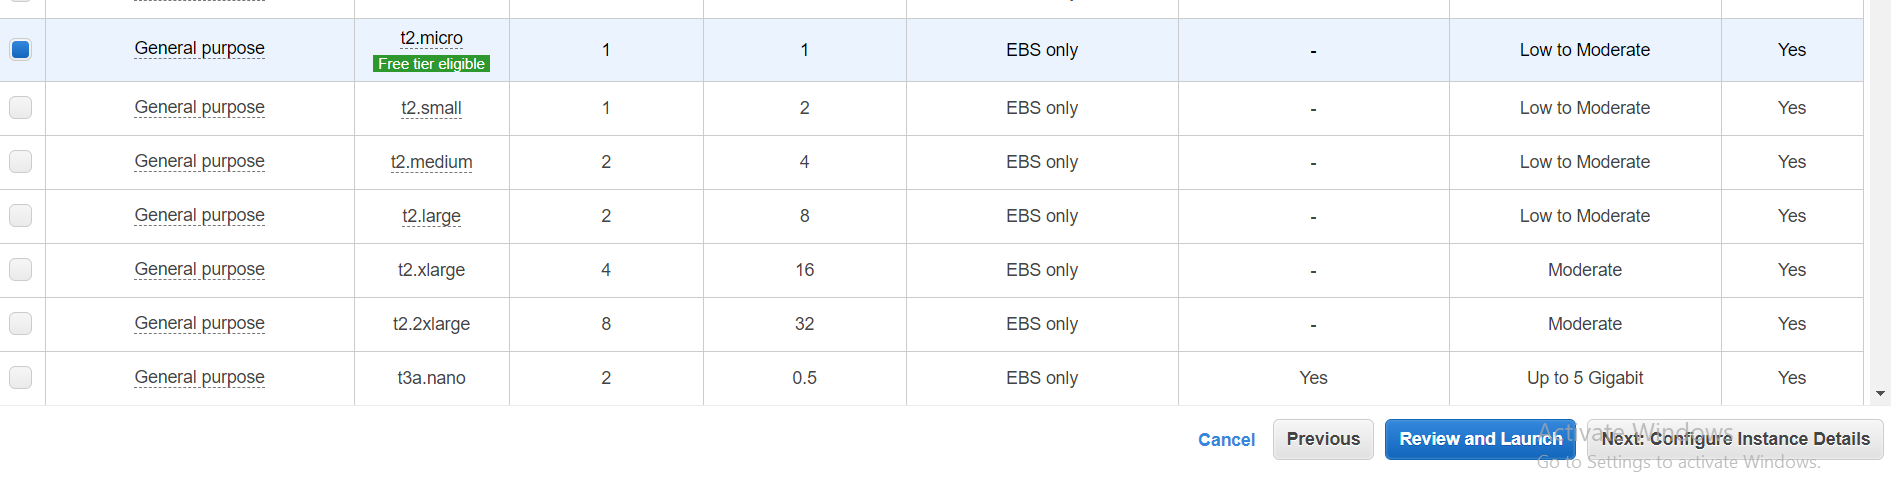
4. Select the type of EC2 instance you want to boot up t2.micro is prefered and click on next.
4.选择要启动t2的EC2实例的类型。首选micro ,然后单击下一步。
5. Next we will configure our instance details.Click on Next until Step 6 and when you reach Configure Security Group change Type to All traffic
5.接下来,我们将配置实例详细信息。 单击下一步,直到第6步,当您到达“ 配置安全组”时,将“ 类型”更改为“ 所有流量”。

6. Click on Next to reach Step 7 and click on Launch. Then in the popup click on Create a new key pair and enter any Key pair name and click on Download Key Pair. This will download a .pem file .
6.单击下一步转到步骤7,然后单击启动。 然后,在弹出窗口中,单击“ 创建新密钥对”,然后输入任意密钥对名称 ,然后单击“ 下载密钥对” 。 这将下载一个.pem文件。

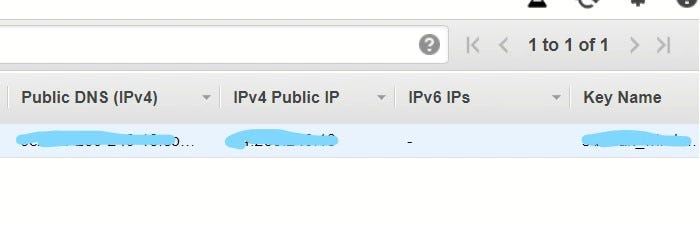
7. It will take time for setup and after setup click on View Instances.You can see that it provide public IP where we will send requests.
7.安装将花费一些时间,安装后单击View Instances。您可以看到它提供了我们将向其发送请求的公共IP。

8. Click on Connect and in the popup click on Download Remote Desktop File . Again a popup will be promted asking for password . So the get the password Click on GetPassword ,upload the .pem file that we downloaded earlier and click on Decrypt Password and enter the required password . This will open the Windows EC2 Instance.
8.单击“连接”,然后在弹出窗口中单击“ 下载远程桌面文件” 。 再次提示您输入密码。 因此,获取密码单击GetPassword ,上载我们先前下载的.pem文件,然后单击Decrypt Password并输入所需的密码。 这将打开Windows EC2实例。

9. Open Internet Explorer , download and Install Anaconda on remote PC.
9.打开Internet Explorer,下载并在远程PC上安装Anaconda。


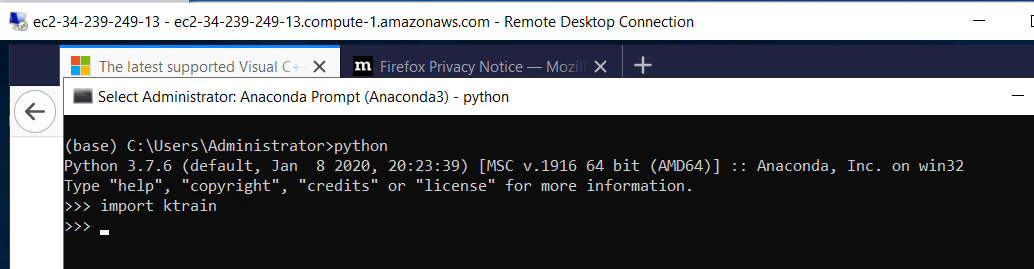
10. Install all relevent libraries like flask,ktrain etc.
10.安装所有相关的事件库,例如flask,ktrain等。

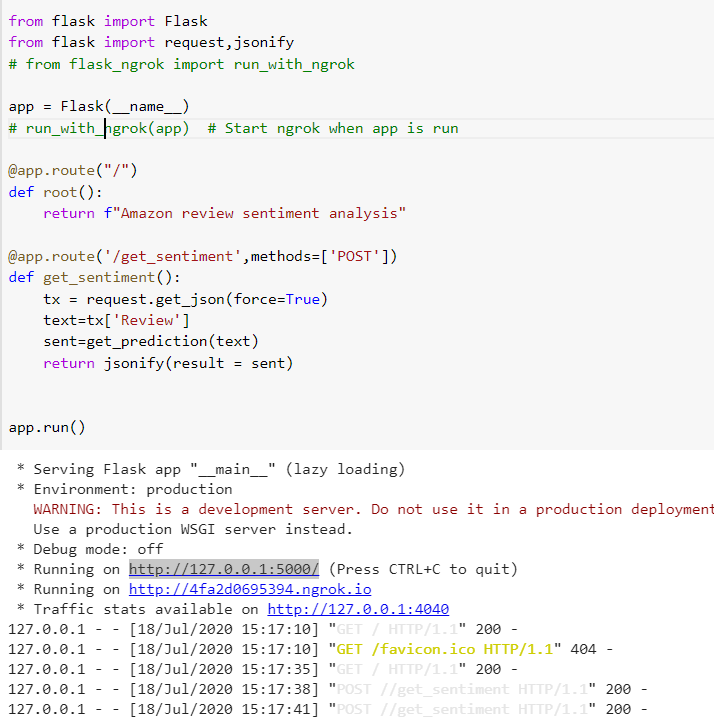
12. To check everything is working correctly , create a app.py file and copy the code and run the app.py
12.要检查一切是否正常,请创建一个app.py文件并复制代码,然后运行app.py
python app.py
13. Go to browser and type localhost:5000
13.转到浏览器并输入localhost:5000

14. Create a new floder DisttilBERT-App and copy all the files including weights from host computer to remote computer using copy and paste command.
14.创建一个新的DisttilBERT-App程序,并使用复制和粘贴命令将所有文件(包括砝码)从主机复制到远程计算机。
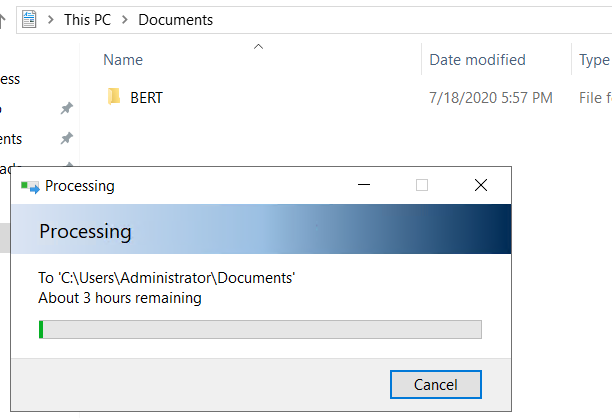
15. After transfer of all files , DisttilBERT-App folder will look similar to this .
15.传输完所有文件后,DisttilBERT-App文件夹将与此类似。
16. Open the terminal and execute the below command .
16.打开终端并执行以下命令。
python app.py
17. Now open Flask.ipynb and execute the cells to run the flask server.
17.现在打开Flask.ipynb并执行单元以运行flask服务器。
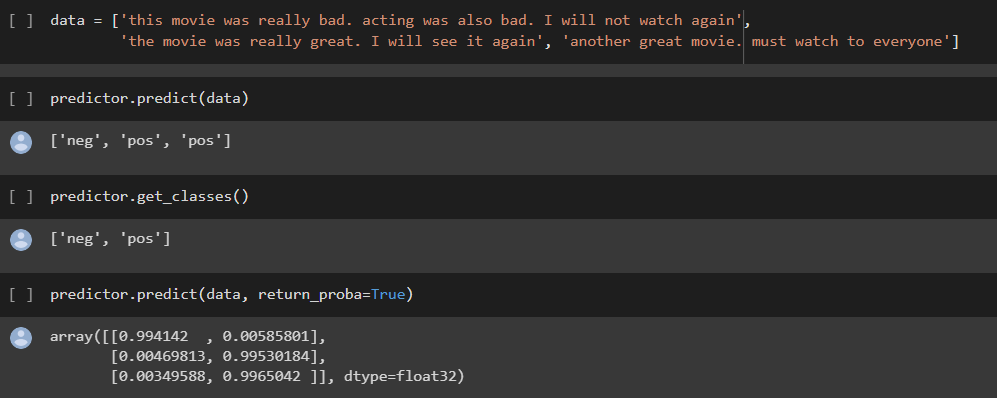
18. Now open Sending_Request.ipynb and execute the cells.
18.现在打开Sending_Request.ipynb并执行单元。

使EC2实例可供所有人使用 (Making EC2 instance available for all)
As we can see we have been provided with public IP and all the request will be directed to this IP.
如我们所见,我们已经获得了公共IP,所有请求都将定向到该IP。
Click on Security Groups on right side on public IP,then click on Security Group ID and click on edit Inbound Rules and make following changes and click on save rules.
单击公共IP右侧的安全组 ,然后单击安全组ID ,然后单击编辑入站规则并进行以下更改,然后单击保存规则。

Now we can send request to EC2 from anywhere in the world ,from your localhost jupyter notebook , colab etc.
现在,我们可以从您世界各地的本地主机jupyter笔记本,colab等发送请求到EC2。

结论 (Conclusion)
We have sucessfully deployed our Movie Review Sentiment Analysis model to EC2 instance…..
我们已成功将我们的电影评论情感分析模型部署到EC2实例…..
翻译自: https://medium.com/analytics-vidhya/deploying-sentiment-analysis-model-to-ec2-instance-c3e8ad900e98
ec2 删除实例


 2748
2748

 被折叠的 条评论
为什么被折叠?
被折叠的 条评论
为什么被折叠?
 到【灌水乐园】发言


