第一个django应用程序
I created my first fully functional website a few years ago. It was a portfolio for a friend:
几年前,我创建了我的第一个功能齐全的网站。 这是一个朋友的作品集:

It took me two months to design it in Figma, code the front end using SASS without any frameworks (I still don’t like Bootstrap, but that’s a discussion for another day), develop the back end using Django, and deploy it on Heroku. Why did a single-page portfolio take me two months? Because I spent most of my time fixing code.
我花了两个月的时间在Figma中进行设计,使用不带任何框架的SASS编码前端(我仍然不喜欢Bootstrap,但这是另一天的讨论),使用Django开发后端,并将其部署在Heroku上 。 为什么一页纸的投资组合需要我两个月? 因为我花了大部分时间来修复代码。
Looking back at the project, these are the things I would have done differently.
回顾项目,这些是我本应做的不同的事情。
在Figma中进行设计 (Designing in Figma)
1.使用组件代替复制/粘贴元素 (1. Use components instead of copy/pasting elements)
Figma has a powerful feature called components. It allows you to make copies of repeated elements so they stay connected, making it easier and faster to change them.
Figma具有称为组件的强大功能。 它使您可以制作重复元素的副本,使它们保持连接状态,从而更轻松快捷地进行更改。
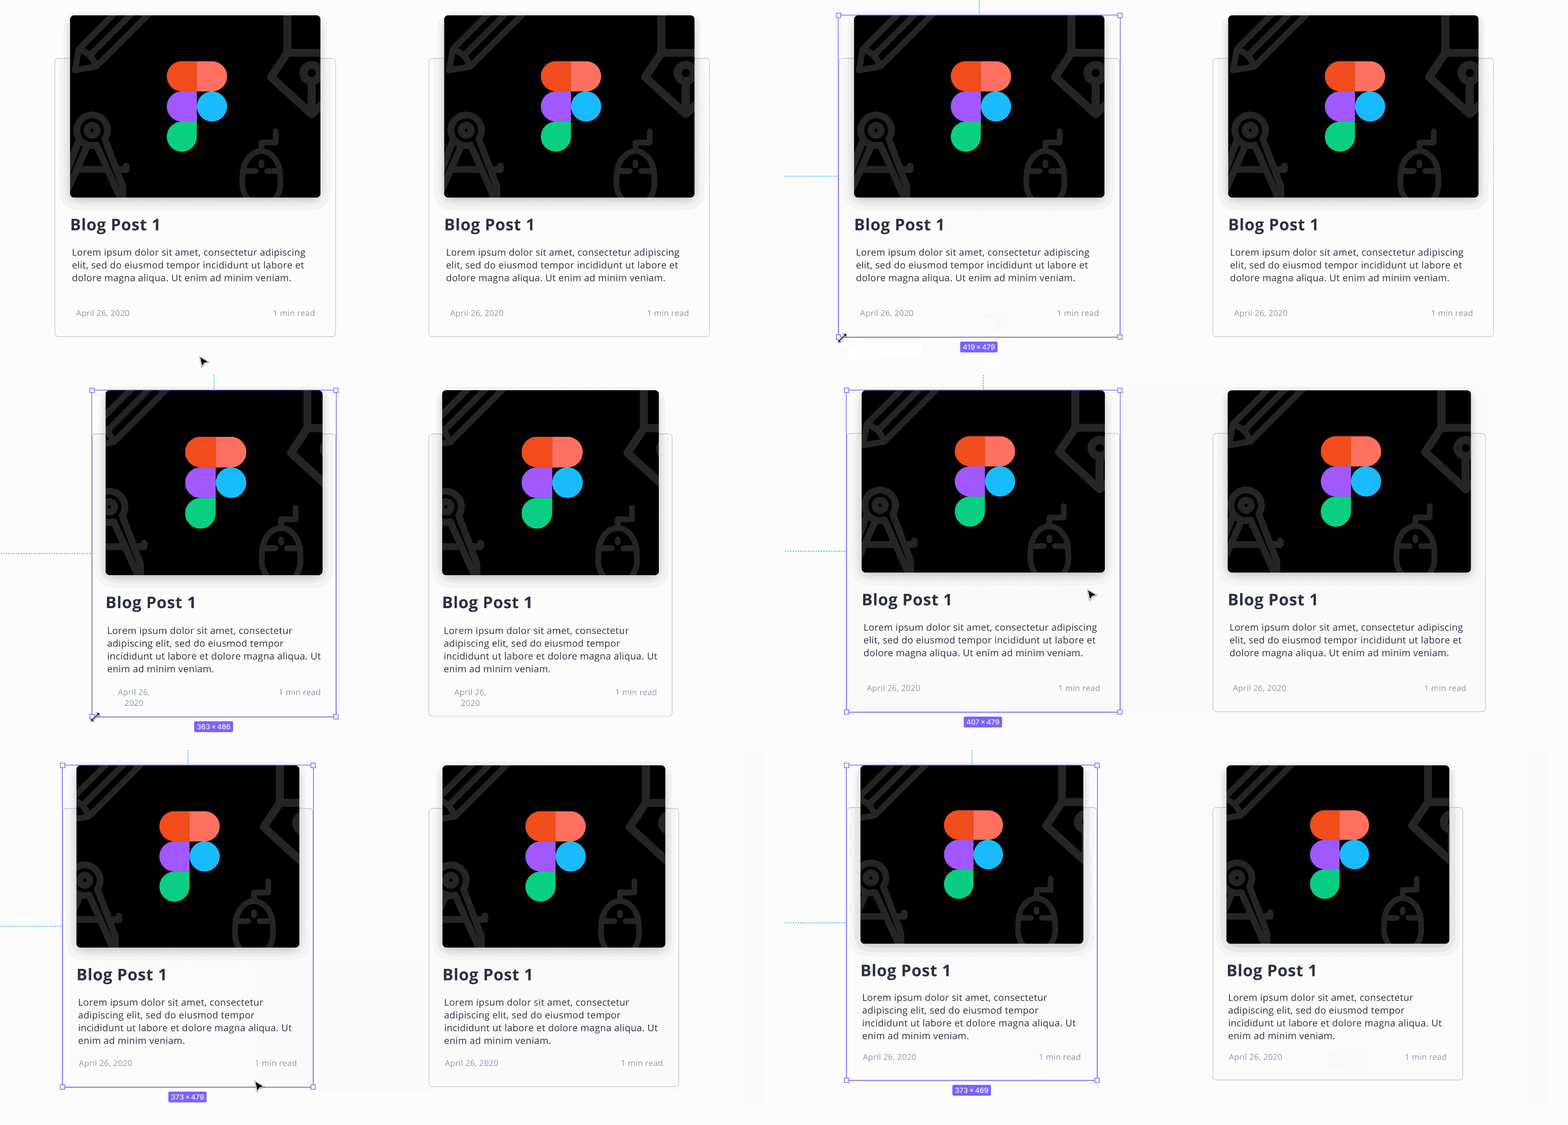
Without setting components, I had to resize each element individually:
没有设置组件,我不得不分别调整每个元素的大小:

The efficient way is to convert it into a component. Select the element and click the “Create Component” action in the toolbar. Next, hold the alt key and drag the component to create instances:
有效的方法是将其转换为组件。 选择元素,然后单击工具栏中的“创建组件”操作。 接下来,按住alt键并拖动组件以创建实例:

Once a component is created, any change made to the parent component is reflected across all child instances:
创建组件后,对父组件所做的任何更改都会反映在所有子实例中:

2.设置颜色样式以制作自己的调色板 (2. Set color styles to make your own color palette)
Unfamiliar with color styles at the time, I was copy/pasting hex codes to color a component, which was again time-consuming and inefficient.
当时我还不熟悉颜色样式,因此我正在复制/粘贴十六进制代码来为组件着色,这又很费时且效率低下。
To apply colors faster, create a color palette in Figma by setting different color styles.
要更快地应用颜色,请通过设置不同的颜色样式在Figma中创建调色板。
To create a color style, select a color. Go to “color styles” and add the color:
要创建颜色样式,请选择一种颜色。 转到“颜色样式”并添加颜色:

Using that color style in a component is much more efficient now:
现在,在组件中使用该颜色样式会更加高效:

编码前端 (Coding the Front End)
3.从CSS删除多余的样式 (3. Remove redundant styling from CSS)
Remove redundant styles to avoid adding dead weight to a CSS file:
删除多余的样式,以免增加CSS文件的重量:
.navbar {
  display: block;
  width: 100%;
}
Redundant styling is a common mistake, even for experienced developers. Because redundant styles do not give out any errors, they are tough to notice. Chrome’s developer tools can be used to detect unused lines of code in your CSS file. If you do not want to test each style manually because your CSS file is too big, consider using tools like Unused CSS or PurifyCSS.
冗余样式是一个常见的错误,即使对于有经验的开发人员也是如此。 因为多余的样式不会发出任何错误,所以很难注意到它们。 Chrome的开发人员工具可用于检测CSS文件中未使用的代码行。 如果您不想因为CSS文件太大而手动测试每种样式,请考虑使用Unused CSS或PurifyCSS之类的工具。
4.在继续下一个组件之前使组件响应 (4. Make a component responsive before moving on to the next one)
Never consider the task of making your website responsive something you can always do later on.
永远不要考虑让网站响应您以后可以做的事情。

I realized my mistake as soon as I finished the desktop version and was trying to make the navigation bar responsive. “How tough can it be?” I thought. After all, setting flex-direction to be column can solve everything. Turns out it does not. As soon as I added media queries to the navigation bar, I saw the positioning of other components crumble out of place, forcing me to rewrite hundreds of lines of code.
完成台式机版本并尝试使导航栏响应时,我立即意识到自己的错误。 “这有多艰难?” 我想。 毕竟,将flex-direction设置为column可以解决所有问题。 事实并非如此。 将媒体查询添加到导航栏后,我立即看到其他组件的位置不正确,迫使我重写了数百行代码。
A website is a series of consecutive components laid out from top to bottom. Fiddling with the first component in the series is bound to change the ones coming after it. To avoid rewriting code, finish the responsive aspect of a component before starting the next one.
网站是从上到下布置的一系列连续组件。 摆弄该系列中的第一个组件必然会改变之后的组件。 为避免重写代码,请在开始下一个组件之前完成组件的响应方面。
5.以WebP格式而不是PNG / JPEG加载图像 (5. Load images in WebP format instead of PNG/JPEG)
Use modern image formats like WebP for shorter load times and less bandwidth usage.
使用WebP之类的现代图像格式可缩短加载时间并减少带宽使用。

If your website is visual with lots of images, consider converting them to WebP format to allow the site to load faster on slower connections. To use WebP as your main image format and PNG as the fallback option for browsers that do not support it (like Safari), use multiple URLs:
如果您的网站具有大量图像,请考虑将其转换为WebP格式,以使网站在连接速度较慢时加载速度更快。 要将WebP用作主要图像格式,并将PNG用作不支持WebP的浏览器(例如Safari)的后备选项,请使用多个URL:
.header-image {
  background-image:
    url(image.webp),
    url(image.png);
}
部署中 (Deploying)
6.测试跨浏览器的兼容性 (6. Test cross-browser compatibility)
The worst thing you can do with your web app is to restrict it to only one browser.
使用Web应用程序,最糟糕的事情是将其限制为仅使用一个浏览器。
Cross-browser compatibility is an integral part of maintaining visitors and ensuring a uniform user experience.
跨浏览器兼容性是维护访问者并确保统一的用户体验的重要组成部分。

If a website is simple enough to be manually tested, then downloading updated versions of different browsers and running it on them is the best option. It takes time, but it is free of cost. However, for more complex sites, there are multiple resources available — both paid and free — to allow cross-browser testing across different devices. A popular one is LambdaTest.
如果网站足够简单以至于可以手动测试,那么最好下载不同浏览器的更新版本并在其上运行。 这需要时间,但是没有成本。 但是,对于更复杂的站点,可以使用多种资源(付费和免费),以允许跨不同设备进行跨浏览器测试。 一种流行的是LambdaTest 。
7.实施输入验证 (7. Implement input validation)
If you are building a site where users interact and share data through forms, you need to validate that data on both the client and server side.
如果要建立一个用户通过表单进行交互和共享数据的站点,则需要在客户端和服务器端都验证该数据。
Do not trust user input until it has been validated.
在验证输入之前,请勿信任用户输入。

Input validation is a complex task, and it varies from framework to framework. For beginners, basic form validation can be done using HTML5 with built-in client-side error handling. An example is setting the type attribute to email for email fields. In such cases, the form gives an error and prevents submission if the email is not in the form of example@email.com.
输入验证是一项复杂的任务,并且因框架而异。 对于初学者,可以使用具有内置客户端错误处理HTML5来完成基本表单验证 。 一个例子是设置type属性,以email的电子邮件字段。 在这种情况下,如果电子邮件不是example@email.com形式,则表单会出错并阻止提交。
结论 (Conclusion)
Thank you for reading my article. I hope it helps you be more efficient in your next project. Happy coding!
感谢您阅读我的文章。 我希望它可以帮助您提高下一个项目的效率。 祝您编码愉快!
翻译自: https://medium.com/better-programming/7-mistakes-to-avoid-in-your-first-web-app-2e4a74758030
第一个django应用程序


 1969
1969

 被折叠的 条评论
为什么被折叠?


