


react 前端拆分
When you deploy a React application using a tool like webpack, you’re employing a technique called bundling.
当您部署使用类似的WebPack工具的应用做出React,你使用一个叫做捆绑技术。
Build tools like webpack are, after all, module bundlers.
毕竟,像webpack这样的构建工具就是模块捆绑器 。
So when you arrive at a page served by a web application, the page requests a bundle — that is, a file or files that contain all of the code necessary for that page to function.
因此,当您到达由Web应用程序提供服务的页面时,该页面会请求一个捆绑包-即一个或多个文件,其中包含该页面运行所需的所有代码。
Often when we build a page, however, we include quite a bit of code that isn’t immediately necessary.
但是,通常在构建页面时,会包含很多不需要立即使用的代码。
To keep our application lean and fast, we should strive to serve only what’s absolutely necessary for the UI on first paint.
为了保持我们的应用程序的精简和快速,我们应该努力只为UI在初次绘制时提供绝对必要的服务。
One way to achieve this is by code-splitting.
实现此目的的一种方法是通过代码拆分。
Code-splitting allows us to defer the loading of various resources until later — when they’re actually needed.
通过代码拆分,我们可以将各种资源的加载推迟到以后才真正需要它们。
For example, let’s say a user hits a route and arrives at a page in your web application.
例如,假设某个用户点击了一条路线并到达了Web应用程序中的页面。
Maybe this page has a number of heavy modals.
也许此页面有许多繁重的模态。
Maybe this page has a number of routes that load additional content elsewhere.
也许此页面有许多路由在其他地方加载其他内容。
Maybe it contains a heavy library that is needed later but is being loaded first on the home page.
也许它包含一个繁重的库,以后需要使用,但首先要在主页上加载它。
If our goal is to render the page content as fast as possible, we need to abstract away everything that isn’t immediately required and is acting to slow your load time down.
如果我们的目标是尽可能快地呈现页面内容,则需要抽象掉所有不需要立即使用的内容,这会降低加载时间。
Let’s explore a few ways to code-split your web app using React’s lazy method and Suspense component.
让我们探索一些使用React的lazy方法和Suspense组件对Web应用程序进行代码拆分的方法。
建立 (Setup)
First, let’s bootstrap a project with create-react-app.
首先,让我们使用create-react-app引导项目。
In your command line:
在您的命令行中:
> npx create-react-app codesplitting-in-reactThen launch the dev server at port:3000 by following up the installation with:
然后通过以下安装步骤在port:3000处启动开发服务器:
> cd codesplitting-in-react
> yarn start
Excellent, we have the basic spinning React logo we’re accustomed to.
太好了,我们有习惯的基本旋转React徽标。
Open the project in your favorite editor, and let’s get started.
在您喜欢的编辑器中打开项目,然后开始吧。
项目设置 (Project Setup)
In React, we have the ability to import a function called lazy and a component called Suspense.
在React中,我们能够导入一个名为lazy的函数和一个名为Suspense的组件。
What lazy does is allow us to defer the loading of a component or resource until it’s needed.
lazy所做的是允许我们将组件或资源的加载推迟到需要时才进行。
When combined with Suspense, the lazy component will only be rendered once loaded, and we’re able to provide a fallback while it loads (such as loading...).
当与Suspense结合使用时, lazy组件仅在加载后才呈现,并且我们能够在加载时提供后备(例如loading... )。
Let’s work through an example.
让我们来看一个例子。
到达路由器和路由设置 (Reach Router and route setup)
Shut down the server with Ctrl + c, and install Reach Router:
使用Ctrl + c关闭服务器,然后安装Reach Router:
“Reach Router is a simple, lightweight router developed by the people behind React Router.” — Reach Router docs
“ Reach Router是由React Router背后的人们开发的一种简单,轻便的路由器。” — 到达路由器文档
In your terminal:
在您的终端中:
> yarn add @reach/router
> yarn start
What we’re going to do now is:
我们现在要做的是:
Pull the code out for the spinning React logo into its own component called
Main.js.将旋转React徽标的代码拉出到自己的名为
Main.js的组件中。Use
ReachRouterto showMainby default.默认情况下,使用
ReachRouter显示Main。- Create a new component that’s routed to when we click the React logo. 创建一个新组件,当我们单击React徽标时,该组件将被路由到该组件。
So go ahead and create a new file called Main.js, and pull out the code from within the <header> from App.js.
因此,继续创建一个名为Main.js的新文件,并从App.js的<header>提取App.js 。
// Main.js
import React from 'react';


import logo from './logo.svg';
import './App.css';


const Main = () => (
  <header className="App-header">
    <img src={logo} className="App-logo" alt="logo" />
    <p>
      Edit <code>src/App.js</code> and save to reload.
    </p>
    <a
      className="App-link"
      href="https://reactjs.org"
      target="_blank"
      rel="noopener noreferrer"
    >
      Learn React
    </a>
  </header>
);


export default Main;
Our App.js will now look a whole lot skinnier.
现在,我们的App.js看起来会更App.js 。
Make sure you import Main.js, and place it where you removed it — as seen below.
确保导入Main.js ,并将其放置在删除它的位置-如下所示。
// App.js
import React from 'react';
import Main from './Main';
import './App.css';


const App = () => (
  <div className="App">
    <Main />
  </div>
);


export default App;
As always, avoid those class methods.
与往常一样,避免使用这些类方法。
Great!
大!
So visually, nothing will have changed.
因此,从视觉上看,什么都不会改变。
While we pulled the code into a new component, the code didn’t change, and so everything will still look the same.
当我们将代码放入新的组件中时,代码没有更改,因此所有内容看起来都一样。
Now let’s import ReachRouter and use our Main component as our default route.
现在,我们导入ReachRouter并将Main组件用作默认路由。
ReachRouter is very straightforward to use:
ReachRouter使用非常简单:
Import
Routerfrom theReachRouterlibrary.从
ReachRouter库中导入Router。Wrap your routes in
<router>.将您的路线包裹在
<router>。Provide a
pathprop for each route, withMainbeing the default.为每条路线提供
path道具,默认为Main。
Update App.js now as follows
立即更新App.js ,如下所示
import React from 'react';
import { Router } from "@reach/router";


import Main from './Main';
import './App.css';


const App = () => (
  <div className="App">
    <Router>
      <Main default path="/"/>
    </Router>
  </div>
);


export default App;
Again, nothing will have changed visually, but now we have Main set as our default route.
同样,外观上没有任何变化,但是现在我们将Main设置为默认路线。
Now let’s create a second child route, assign it a path, and have the React logo link to this path.
现在让我们创建第二条子路线,为其分配路径,并将React徽标链接到该路径。
Create a new file called SplitThis.js, and set it up to simply render its name as an <h1>.
创建一个名为SplitThis.js的新文件,并将其设置为简单地将其名称呈现为<h1> 。
// SplitThis.js
import React from "react";


const SplitThis = () => (
  <h1>SplitThis</h1>
)


export default SplitThis;
Next, import this component into App.js, and add it as a child route under <Main> with the path "/split".
接下来,将此组件导入App.js ,并将其作为子路由添加到<Main> ,路径为"/split" 。
// App.js
import React from 'react';
import { Router } from "@reach/router";


import Main from './Main';
import SplitThis from './SplitThis';
import './App.css';


const App = () => (
  <div className="App">
    <Router>
      <Main default path="/" />
      <SplitThis path="/split" />
    </Router>
  </div>
);


export default App;
Then, in Main, import Link from @reach/router to wrap the React logo in, and direct it to "/split".
然后,在Main ,从@reach/router导入Link以包装React徽标,并将其定向到"/split" 。
// Main.js
import React from 'react';
import { Link } from '@reach/router';


import logo from './logo.svg';
import './App.css';


const Main = () => (
  <header className="App-header">
    <Link to="/split">
      <img src={logo} className="App-logo" alt="logo" />
    </Link>

    ...
  </header>
);


export default Main;
Now we can see that our routes are set up and that clicking the logo takes us to our other page.
现在我们可以看到我们的路线已建立,单击徽标将我们带到另一页。
代码拆分路径和组件 (Code-Splitting Routes and Components)
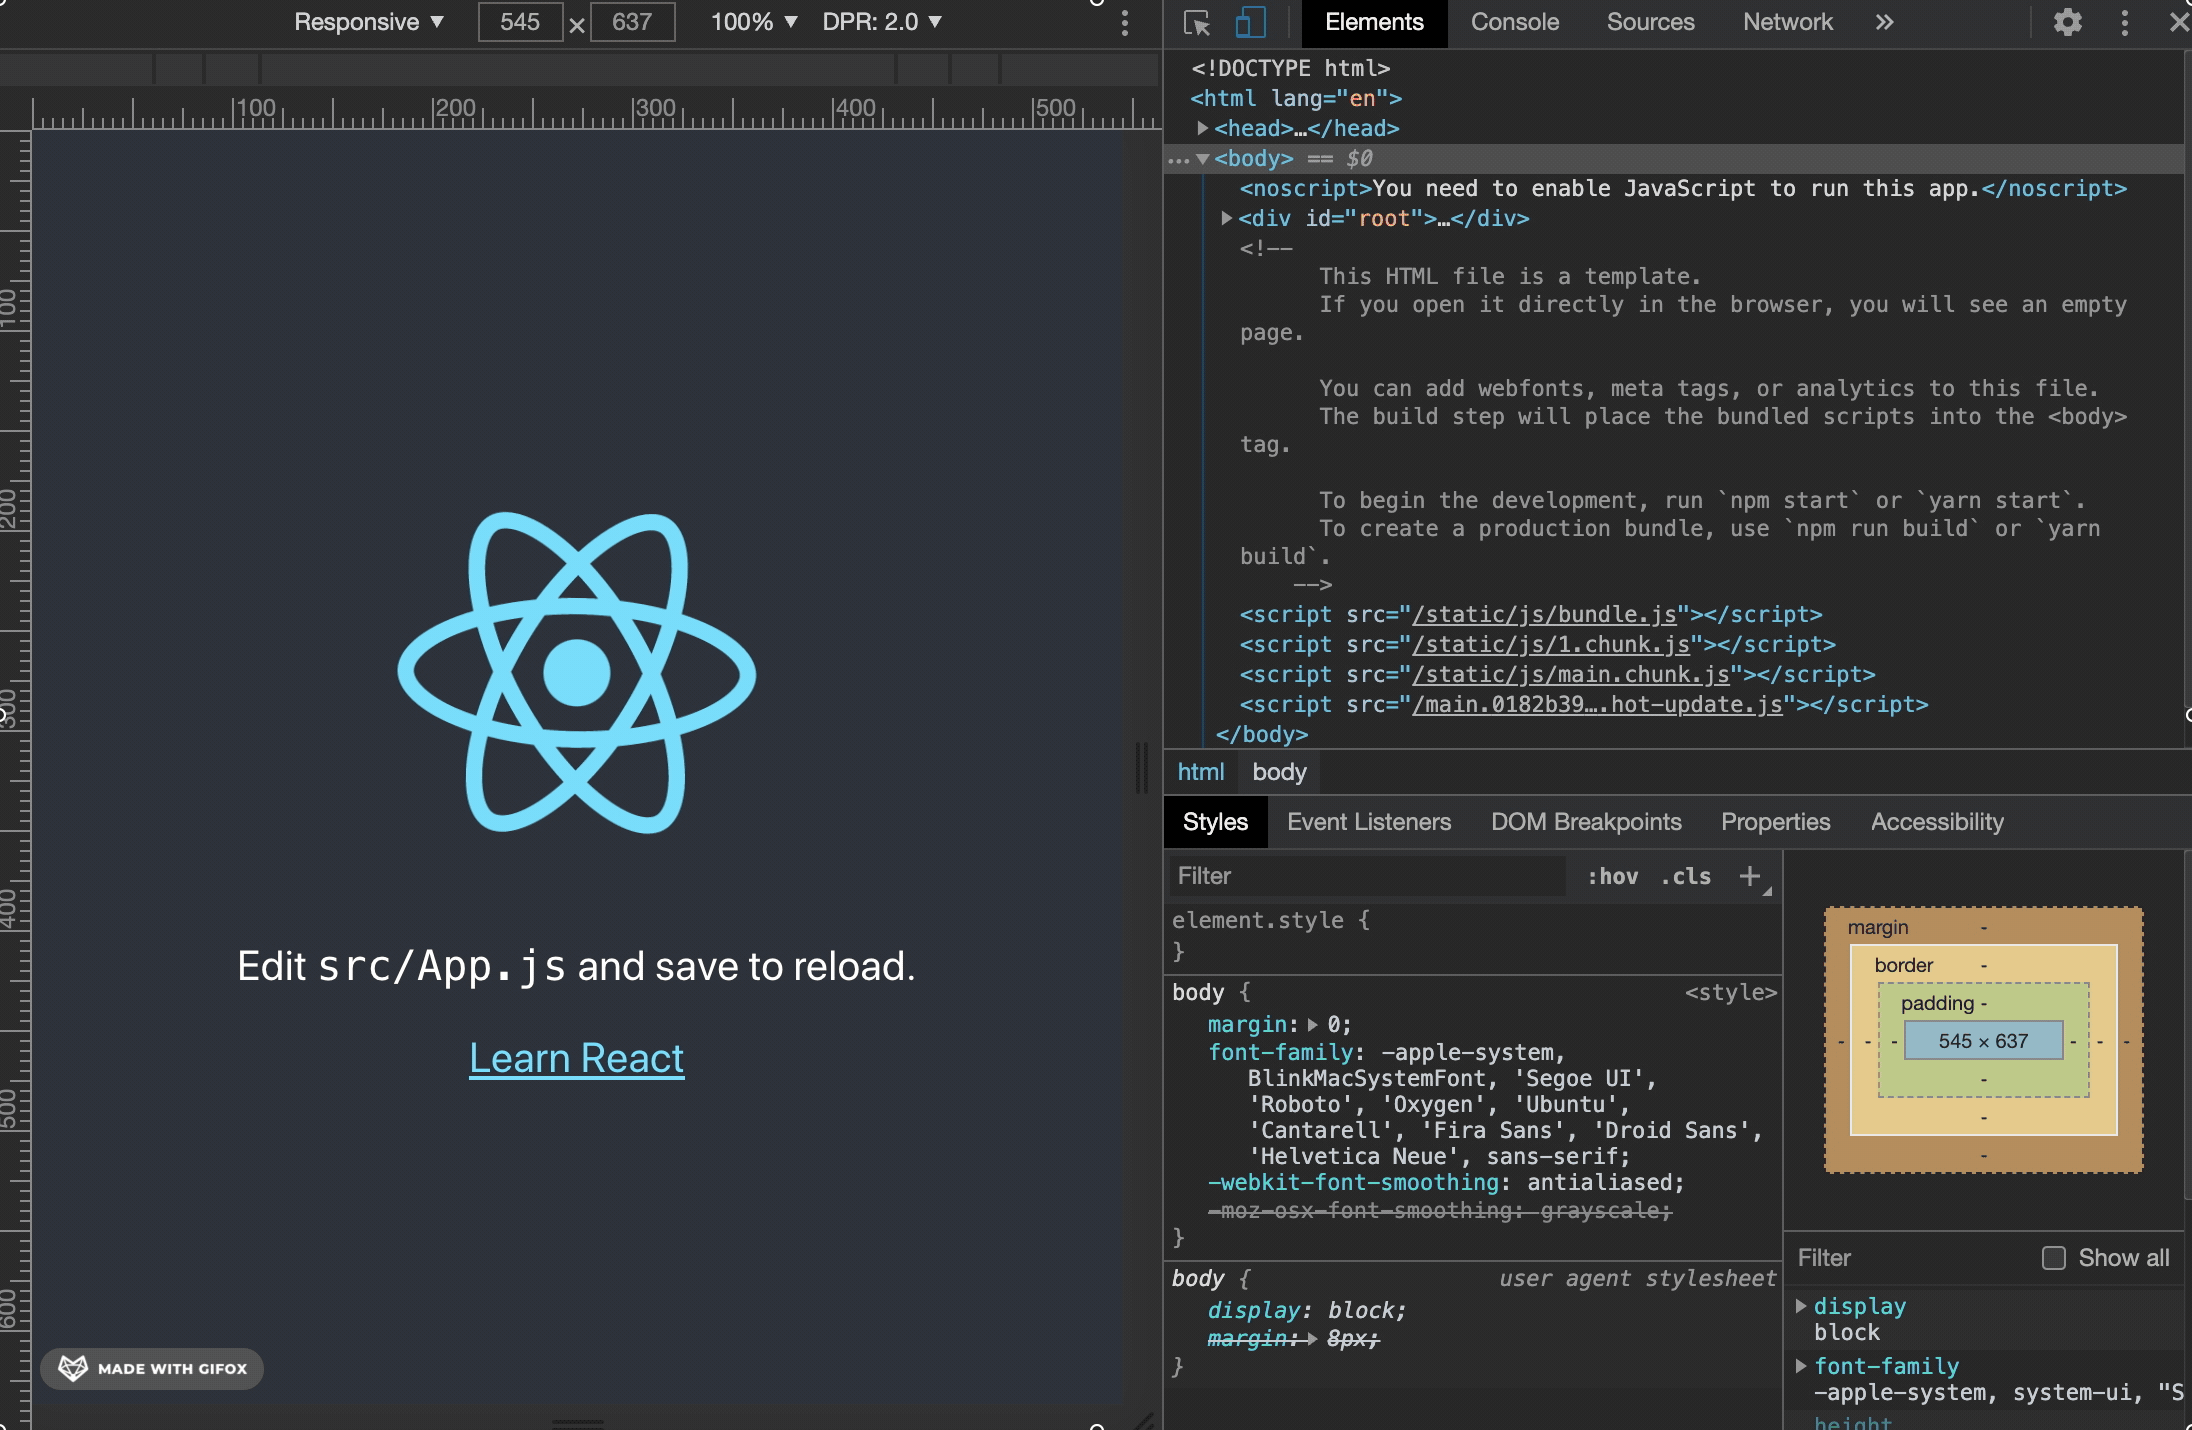
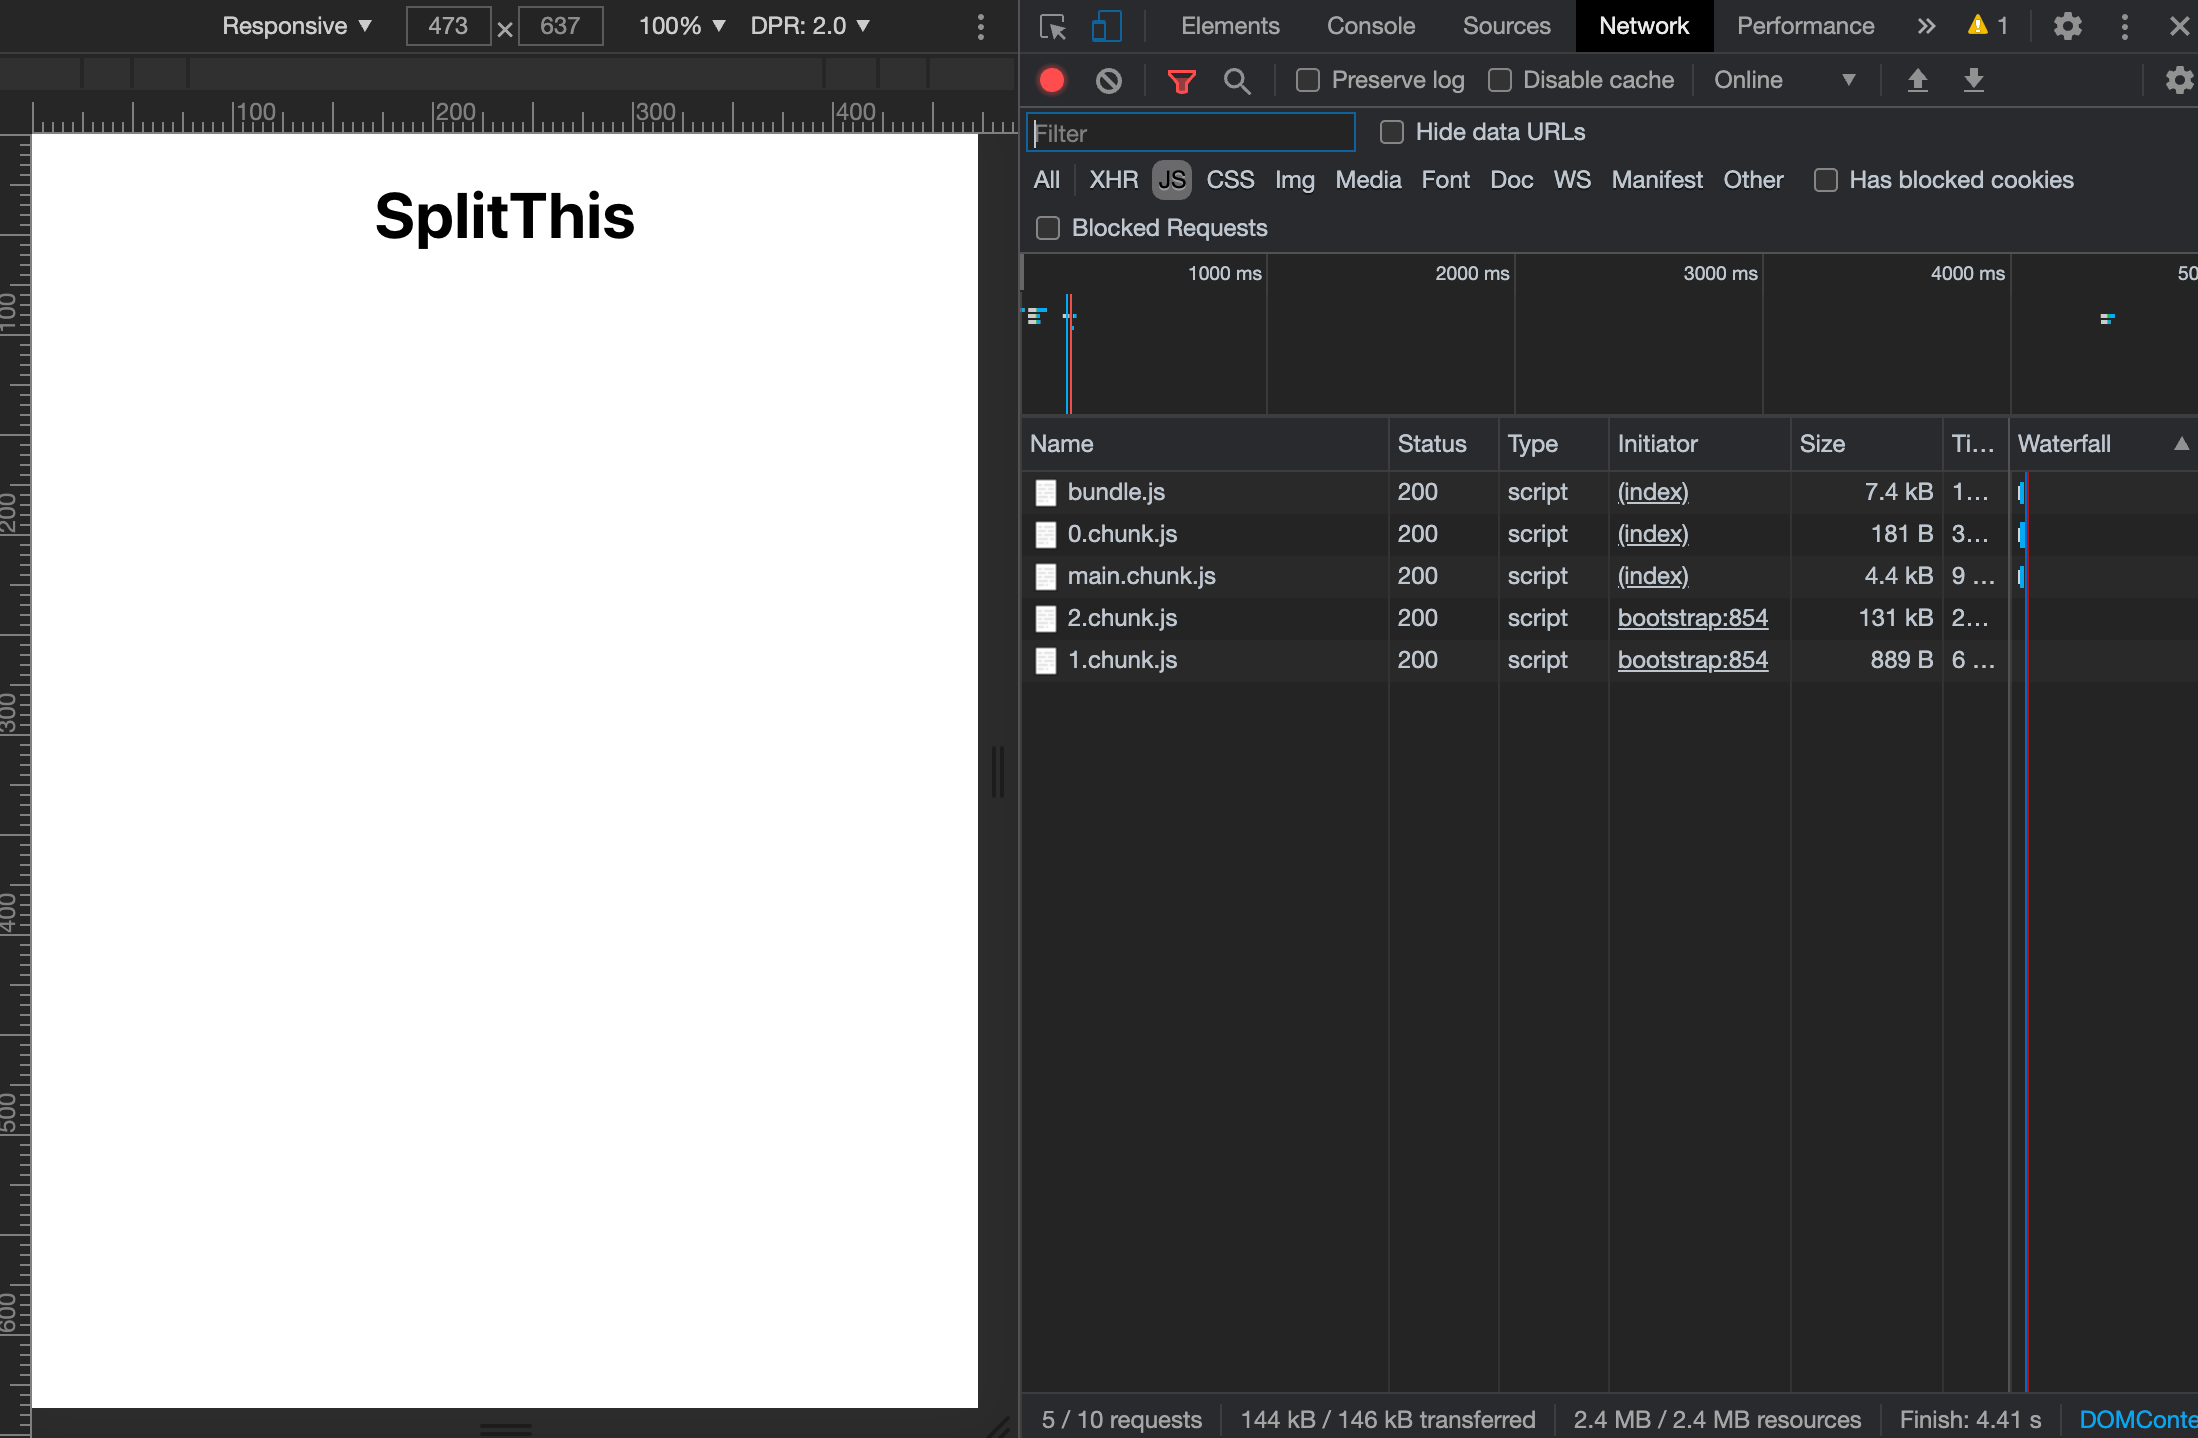
First, to get an understanding of how bundling works, let’s open up our inspector in our browser.
首先,要了解捆绑的工作方式,让我们在浏览器中打开检查器。
In the inspector, select Network ➡ JS, and refresh the page.
在检查器中,选择“网络➡JS”,然后刷新页面。
When you refresh, you’ll see the different bundles coming through the network.
刷新时,您会看到不同的捆绑包通过网络。
You can also see their sizes. Right now, all of our bundles are very, very small.
您还可以查看其尺寸。 现在,我们所有的捆绑包都非常非常小。
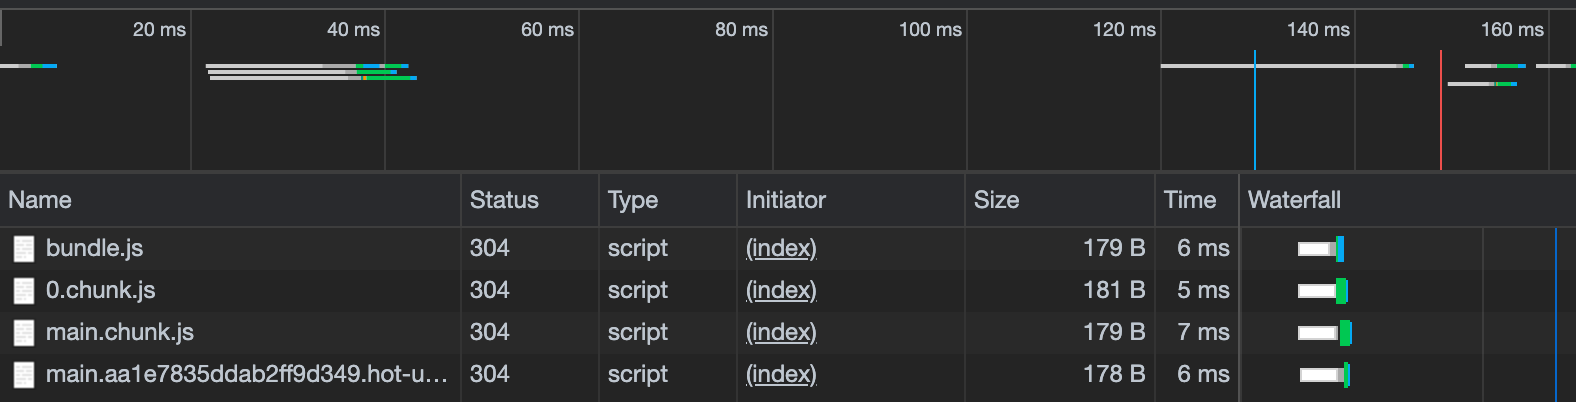
Typically we wouldn’t even consider code-splitting unless a bundle was greater than 30 KB.
通常,除非捆绑包大于30 KB,否则我们甚至不会考虑代码拆分。
But for the sake of an example, let’s import lazy and Suspense and split out our SplitThis route.
但为了举例说明,让我们导入lazy和Suspense并拆分我们的SplitThis路线。
Update App.js to include the above imports, wrap the routes in Suspense with a fallback tag, and import SplitThis lazily.
更新App.js以包括上述导入,使用后备标记将路由包装在Suspense ,然后惰性地导入SplitThis 。
// App.js
import React, { lazy, Suspense } from 'react';
import { Router } from "@reach/router";


import Main from './Main';
// import SplitThis from './SplitThis';
import './App.css';


// lazy load the component
const SplitThis = lazy(() => import('./SplitThis'));


const App = () => (
  <div className="App">
    <Suspense fallback={ <h1>Loading route...</h1>}>
      <Router>
        <Main default path="/" />
        <SplitThis path="/split" />
      </Router>
    </Suspense>
  </div>
);


export default App;
With SplitThis lazy loaded within Suspense, that component won’t be included in the main bundle.
将SplitThis lazy加载到Suspense ,该组件将不会包含在主包中。
Instead, it’ll be retrieved from the server only when the user requests it by clicking on the React logo.
取而代之的是,仅当用户通过单击React徽标请求它时,才可以从服务器中检索它。
Watch what happens now when we load the app, and then navigate to our SplitThis route:
观看当我们加载应用程序时现在会发生什么,然后导航到我们的SplitThis路线:
We can see the SplitThis route was loaded as a separate bundle.
我们可以看到SplitThis路由已作为单独的捆绑包加载。
Note: Another very important thing to note is once that bundle is loaded and you navigate elsewhere, it won’t be reloaded when you return.
注意:要注意的另一件非常重要的事情是,一旦捆绑包加载完毕并且您在其他地方导航,返回时就不会重新加载。
The bundler is smart enough to see the bundle it requires was already loaded previously and so doesn’t attempt to retrieve it again.
捆绑程序非常聪明,可以看到它之前所需的捆绑程序已经加载过,因此不再尝试再次检索它。
代码拆分库 (Code-Splitting Libraries)
Some libraries are very heavy.
一些库很重。
Typically, if you don’t plan to use absolutely all of a library, you should only be importing the pieces you need.
通常,如果您不打算完全使用所有库,则只应导入所需的部分。
In the same way that we did with code-splitting a route, let’s do the same with a library within a component.
与我们对路径进行代码拆分的方式相同,让我们对组件中的库进行相同的操作。
First, let’s install a heavy library to import, such as moment.js.
首先,让我们安装一个繁重的库来导入,例如moment.js 。
Shut down your server, and install the moment library.
关闭服务器,然后安装moment库。
> yarn add moment
> yarn start
Now simply import moment into SplitThis.js.
现在,只需将moment导入SplitThis.js 。
Additionally, let’s also import lodash, which comes included with create-react-app.
另外,我们还要导入lodash ,它是create-react-app附带的。
// SplitThis.js


import React from "react";
import moment from "moment";
import _ from "lodash";


const SplitThis = () => (
  <h1 >SplitThis</h1>
)


export default SplitThis;
Now take a look at the load on the network.
现在看一下网络上的负载。
Upon clicking our child route, we see network results like this:
点击我们的子路线后,我们会看到以下网络结果:
The first three lines are our initial load into main, and then when we click our child route we receive two more bundles, one of them being fairly large since it is importing two large libraries.
前三行是我们对main的初始加载,然后当我们单击子路径时,我们又收到了两个捆绑包,其中一个捆绑包相当大,因为它要导入两个大型库。
我们学到了什么 (What We’ve Learned)
By using React’s lazy method and theSuspense component, we gain the ability to control how the application bundler decides what goes where.
通过使用React的lazy 方法和Suspense成分,我们获得的能力控制中的应用捆绑如何决定什么去哪里 。
The result: lean pages that load quickly (if used correctly).
结果:精简页面可以快速加载(如果使用正确)。
No one wants to work super hard to create an awesome app only to have users dropping off because of a slow first paint.
没有人愿意为创建一个很棒的应用程序而努力工作,只是为了让用户因为初次绘制缓慢而放弃。
So be lazy.
所以要偷懒。
Thanks for reading!
谢谢阅读!
翻译自: https://medium.com/better-programming/code-split-your-react-app-with-lazy-suspense-9bab11f492b5
react 前端拆分


 1230
1230

 被折叠的 条评论
为什么被折叠?
被折叠的 条评论
为什么被折叠?
 到【灌水乐园】发言


