


Cloud Run is very similar to Google’s App Engine and Cloud Functions. The main difference is that with Cloud Run, you can create custom Docker images.
Cloud Run与Google的App Engine和Cloud Functions非常相似。 主要区别在于,使用Cloud Run,您可以创建自定义Docker映像。
This means you have way more control over how your application should be built and you can go crazy with complicated custom Docker builds. The downside is that it’s a bit harder to set up compared to Google’s App Engine.
这意味着您可以更好地控制应如何构建应用程序,并且可以因复杂的自定义Docker构建而发疯。 缺点是,与Google的App Engine相比,它的设置难度更高。
In this article, I’ll show you how to set up a custom Docker image on Cloud Run.
在本文中,我将向您展示如何在Cloud Run上设置自定义Docker映像。
创建一个云项目 (Creating a Cloud Project)
The first thing we need to do is create a new Google Cloud project. I’m going to set everything up using the command line.
我们需要做的第一件事是创建一个新的Google Cloud项目。 我将使用命令行设置所有内容。
First, I authenticate myself by running:
首先,我通过运行以下方式对自己进行身份验证:
gcloud auth loginThis will open a Google login browser window where I can select my account.
这将打开一个Google登录浏览器窗口,我可以在其中选择我的帐户。
Then I create the new Google Cloud project:
然后创建新的Google Cloud项目:
gcloud projects create In this case, emojiapi-project is the project ID, so you can change that to something else.
在这种情况下, emojiapi-project是项目ID,因此您可以将其更改为其他名称。
Then, I set the current active project to emojiapi-project:
然后,将当前活动项目设置为emojiapi-project :
gcloud config set project emojiapi-projectFinally, I enable the Cloud Run API for this project:
最后,我为此项目启用了Cloud Run API:
gcloud services enable run.googleapis.com创建一个节点项目 (Creating a Node Project)
Our project exists somewhere in the cloud, but we don’t have anything to upload to it yet.
我们的项目存在于云中的某个地方,但是我们还没有任何要上传的东西。
Let’s fix that by creating a simple Node API.
让我们通过创建一个简单的Node API来解决此问题。
First, I create a new directory and initialize a blank Node project:
首先,我创建一个新目录并初始化一个空白的Node项目:
mkdir emoji-api
cd emoji-api
npm init
Cloud Run will throw HTTP requests at the program, so I’m going to install express to handle these incoming requests.
Cloud Run将向该程序抛出HTTP请求,因此我将安装express来处理这些传入请求。
I will also add the awesome random-unicode-emoji package in there. That way, the API can return some emojis as a response:
我还将在其中添加很棒的random-unicode-emoji包。 这样,API可以返回一些表情符号作为响应:
npm i express
npm i random-unicode-emoji
To create the server, I add the following index.js file:
要创建服务器,我添加以下index.js文件:
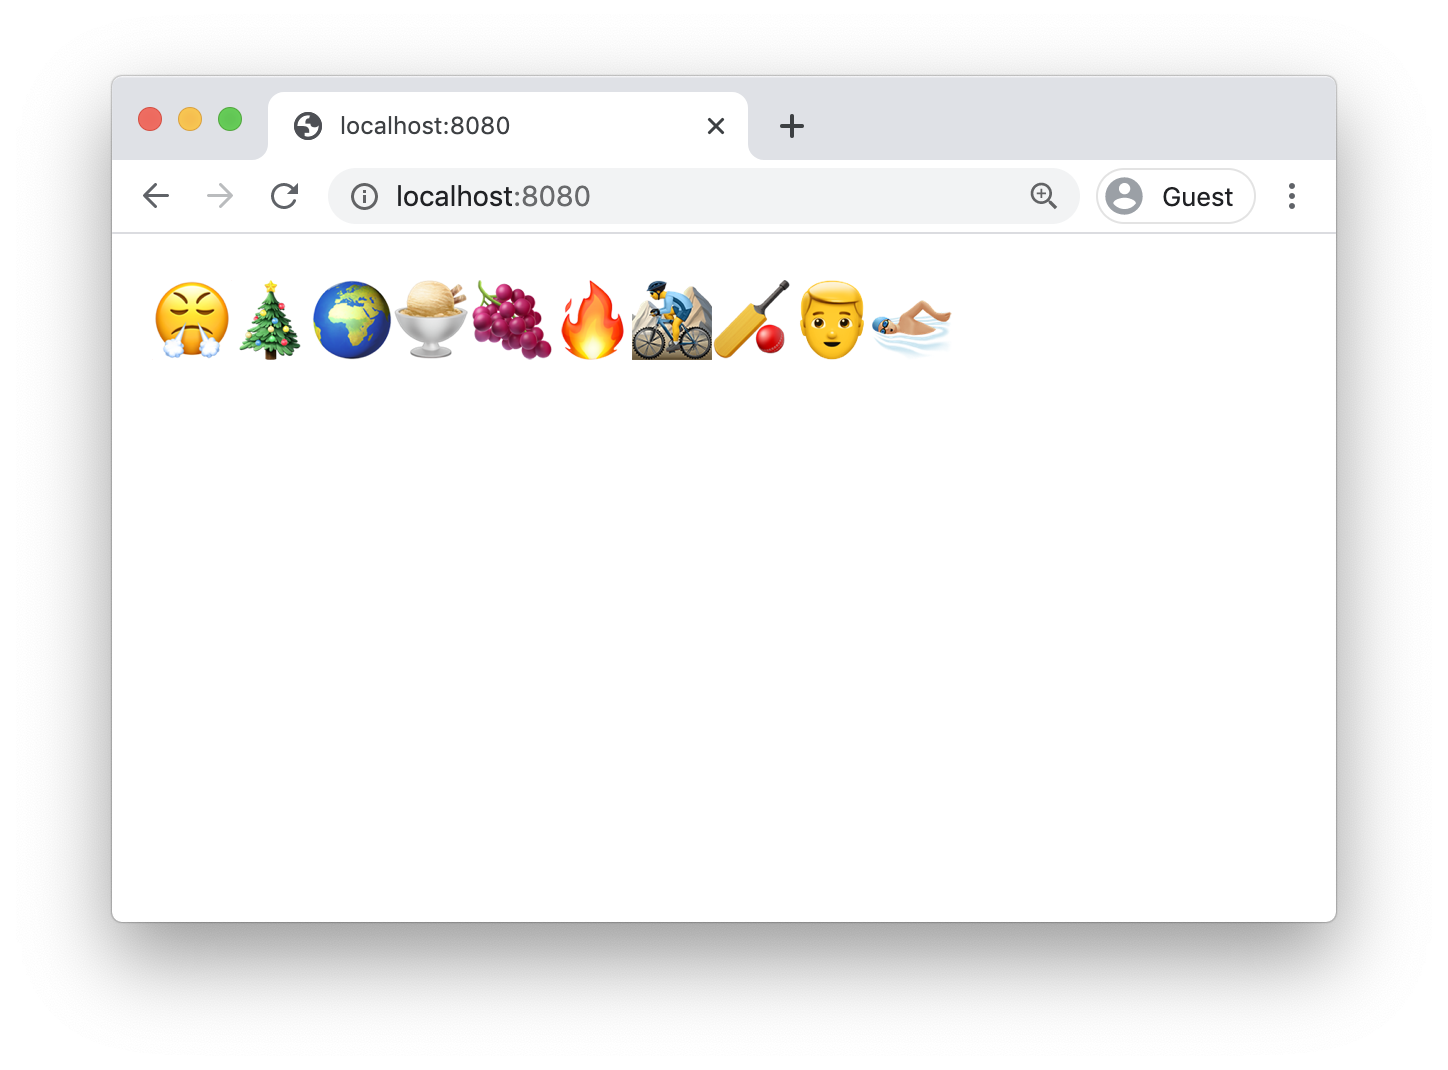
All this program does is create an Express server, listen for incoming requests, and respond with ten random emojis.
该程序所做的全部工作就是创建一个Express服务器,侦听传入的请求,并以十个随机表情符号作为响应。
To test it out, I run the following command:
为了测试它,我运行以下命令:
node index.jsAnd when I navigate to localhost:8080, I see ten random emojis!
当我导航到localhost:8080 ,我看到了十个随机表情符号!
Docker化应用程序 (Dockerizing the Application)
To host the API on Cloud Run, we need to dockerize our API.
要将API托管在Cloud Run上,我们需要对API进行docker化。
The first thing I do is create a new Dockerfile:
我要做的第一件事是创建一个新的Dockerfile :
This copies our JavaScript code, installs the dependencies, and starts the server.
这将复制我们JavaScript代码,安装依赖项,然后启动服务器。
To build the image, I run the following command:
要生成图像,我运行以下命令:
docker build -t emoji-api-image .You can then run the Docker container like this:
然后,您可以像这样运行Docker容器:
docker run -p 8080:8080 emoji-api-imageNote that I use -p 8080:8080 to map our 8080 port to the container’s 8080 port. That way, any incoming request on 8080 is routed to the Docker container where the Express server is listening.
请注意,我使用-p 8080:8080将8080端口映射到容器的8080端口。 这样,任何8080上的传入请求都将路由到Express服务器正在侦听的Docker容器。
When I open localhost:8080 I still see the emojis. This means that the application has been dockerized!
当我打开localhost:8080我仍然看到表情符号。 这意味着该应用程序已被docker化!
将Docker容器上传到Cloud Run (Uploading the Docker Container to Cloud Run)
For the final step, we need to upload our Docker image to Cloud Run.
对于最后一步,我们需要将Docker映像上传到Cloud Run。
You can push a Docker container to Cloud Run with the following command:
您可以使用以下命令将Docker容器推送到Cloud Run:
gcloud builds submit --tag gcr.io/emojiapi-project/emojiapiNote that emojiapi-project is the project ID.
请注意, emojiapi-project是项目ID。
Next, we should deploy the pushed container to Cloud Run:
接下来,我们应该将推送的容器部署到Cloud Run:
gcloud run deploy emojiapi \
  --image gcr.io/emojiapi-project/emojiapi \
  --platform managed \
  --region us-central1 \
  --allow-unauthenticated
And that’s it! The console output tells you where you can find the running application.
就是这样! 控制台输出告诉您在哪里可以找到正在运行的应用程序。
In my case, you can find the emoji API here!
就我而言,您可以在此处找到emoji API !
结论 (Conclusion)
We’ve containerized a Node API and deployed the Docker container on Cloud Run.
我们已经对Node API进行了容器化,并在Cloud Run上部署了Docker容器。
Thanks for reading!
谢谢阅读!
翻译自: https://medium.com/better-programming/deploy-a-node-api-to-cloud-run-f93fea4ff2e6


 1371
1371


 被折叠的 条评论
为什么被折叠?
被折叠的 条评论
为什么被折叠?
 到【灌水乐园】发言


