


.d.ts和.ts区别
Dependency injection (DI), as a form of inversion of control (IOC), is one of the common software design patterns in object-oriented programming (OOP). DI brings a lot of advantages ranging from higher flexibility, higher reusability to lower dependencies. Undoubtedly, we can apply the DI pattern to our project with Typescript.
依赖注入 (DI)作为控制反转 (IOC)的一种形式,是面向对象编程(OOP)中常见的软件设计模式之一。 DI具有许多优势,从更高的灵活性 ,更高的可重用性到更低的依赖性 。 毫无疑问,我们可以使用Typescript将DI模式应用于我们的项目。
There are tons of DI frameworks or libraries out there, for example, InversifyJS, Typescript-ioc. Meanwhile, in HK01, we are using Ts.ED for our recent API gateway revamp project as it boosts our development process and provides comprehensive tools. In this article, we will briefly introduce Ts.ED by building a simple API web server.
那里有大量的DI框架或库,例如InversifyJS , Typescript-ioc 。 同时,在HK01中 ,我们将Ts.ED用于我们最近的API网关改造项目,因为它促进了我们的开发过程并提供了完善的工具。 在本文中,我们将通过构建一个简单的API Web服务器来简要介绍Ts.ED。
项目设置 (Project setup)
Let’s say we have to create an API server for our clients to get some secret messages. To commence with, we have to set up the project environment by installing dependencies. Ts.ED provides a CLI to start the project:
假设我们必须为客户创建一个API服务器,以获取一些秘密消息 。 首先,我们必须通过安装依赖项来设置项目环境。 Ts.ED提供了一个CLI来启动项目:

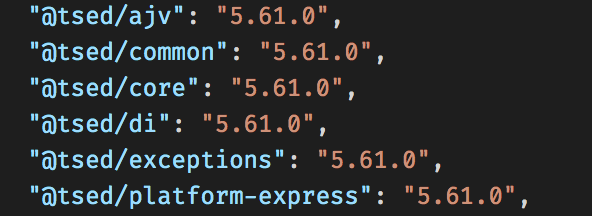
We can also install the dependencies one by one, but please note that all @tsed packages must be kept the same version.
我们也可以一一安装依赖关系,但是请注意,所有@tsed软件包必须保持相同的版本。
After initializing the project, we can see there are two files named index.tsand server.ts. index.ts is used to bootstrap our web server. While in server.ts, @Configuration()decorator is used to defining our server’s configuration, and $beforeRoutesInit()is used to define express middleware. For example, if we would like to make our root endpoint as /api, we can write the following and our API URL will be like: localhost:3000/api
初始化项目后,我们可以看到有两个文件名为index.ts和server.ts 。 index.ts用于引导我们的Web服务器。 在server.ts , @Configuration() Configuration @Configuration()装饰器用于定义服务器的配置,而$beforeRoutesInit()用于定义快速中间件。 例如,如果我们要将根端点设为/api ,则可以编写以下内容,我们的API URL将类似于: localhost:3000/api
机具控制器 (Implement controller)
After configuring our server, we can add our secret message endpoint. A secret message could be a word or a number, depending on which client we are serving. It is fairly simple to create an endpoint with Ts.ED, like the following:
配置服务器后,我们可以添加我们的秘密消息终结点。 一条秘密消息可以是单词或数字,具体取决于我们服务的客户。 使用Ts.ED创建端点非常简单,如下所示:
@Controller() decorator tells Express that the SecretMessageControlleris one of the routers to handle the HTTP request. The parameter /secretMessage is the path of the API URL. Since we have two different types of secret messages, we can further define our path as /word and /number by adding them in decorator @Get()to the respective handler. The path parameter could also be added as above. We can use other HTTP methods such as POST, DELETE, etc, simply changing the decorator provided by Ts.ED to @Post()or @Delete()and their respective required parameters.
@Controller()装饰器告诉Express, SecretMessageController是处理HTTP请求的路由器之一。 参数/secretMessage是API URL的路径。 由于我们有两种不同类型的秘密消息 ,我们可以通过在装饰器@Get()它们添加到相应的处理程序中来进一步将路径定义为/word和/number 。 路径参数也可以如上所述添加。 我们可以使用其他HTTP方法,例如POST , DELETE等,只需将Ts.ED提供的装饰器更改为@Post()或@Delete()及其相应的必需参数即可。
启动服务器 (Start the server)
Hence, we can run yarn start and the following log should appear to tell us the server is running with available endpoints:
因此,我们可以运行yarn start并且应该显示以下日志来告诉我们服务器正在使用可用端点运行:

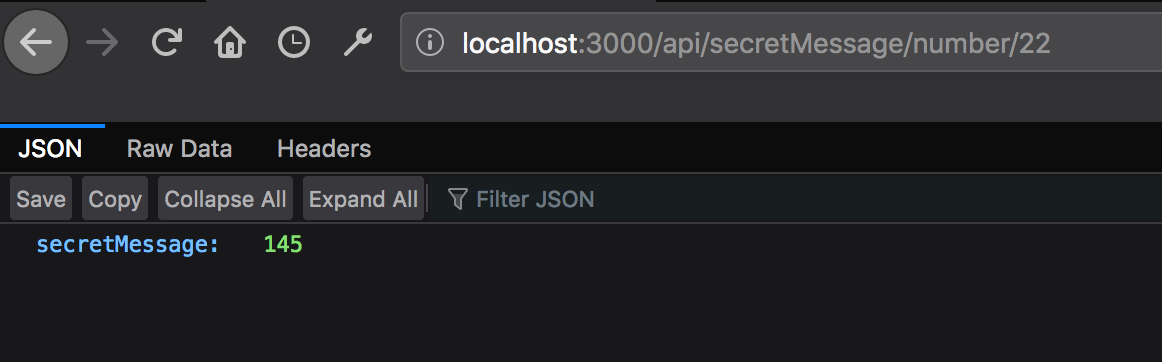
When we call /secretMessage/number/22, we will have the following result:
当我们调用/secretMessage/number/22 ,我们将得到以下结果:
提取服务逻辑 (Extracting logic to Service)
Until now, everything works fine. However, what if we would like to change our secret number generation logic? We have to directly update the controller every time we change the implementation of a secret message. To make the system more loosely-coupled, we can utilize Ts.ED by implementing separate services and injecting our controller. To do this, we can firstly create a SecretWordService and SecretNumberService:
到目前为止,一切正常。 但是,如果我们想更改密码生成逻辑怎么办? 每当我们更改秘密消息的实现时,我们都必须直接更新控制器。 为了使系统更宽松地耦合,我们可以通过实现单独的服务并注入我们的控制器来利用Ts.ED。 为此,我们可以先创建一个SecretWordService和SecretNumberService :
As you can see, we added @Service()decorator to the class to tell Ts.ED that it is a service provider. Then, we can inject the services to our previous controller:
如您所见,我们在类中添加了@Service()装饰器,以告知Ts.ED它是服务提供者。 然后,我们可以将服务注入到以前的控制器中:
Tada!🎉 We just separated our secret message generation logic (word & number) into two different services. In the future, we could just edit one class when we would like to change either one of the messages, or even inject another class (e.g. SecretNumberTwoService) in case we would like to change the secret number generation algorithm.
Tada!🎉我们只是将秘密消息生成逻辑(单词和数字)分为两个不同的服务。 将来,当我们想要更改一条消息时,我们可以只编辑一个类,或者在我们想要更改秘密数生成算法的情况下,甚至可以注入另一个类(例如SecretNumberTwoService )。
实施中间件 (Implement middleware)
As a matter of course a secret message has to be protected from unauthorized clients. Therefore, we have to add a middleware to guard our resources. It is simple to implement a middleware with Ts.ED. Add@Middleware() decorator to the class that is going to be the middleware. At this stage, let’s hardcode the token to be abcdef:
当然,必须保护秘密消息免受未经授权的客户端的侵害。 因此,我们必须添加一个中间件来保护我们的资源。 使用Ts.ED实现中间件很简单。 将@Middleware()装饰器添加到将成为中间件的类中。 在此阶段,让我们将令牌硬编码为abcdef :
Middleware can be used in controller class or endpoint method by adding decorator @UseBefore(), @UseAfter()or @Use(). In our case, we need to check if the client is authorized before giving them our secret word. Therefore, we put our middleware in the SecretMessageController by adding @UseBefore and pass the middleware (AuthMiddleware) as a parameter.
通过添加装饰器@UseBefore() , @UseAfter()或@Use() ,可以在控制器类或端点方法中使用中间件。 在我们的案例中,我们需要先检查客户是否获得授权,然后再给我们我们的秘密字词。 因此,我们把我们的中间件SecretMessageController加入@UseBefore并通过中间件( AuthMiddleware )作为参数。
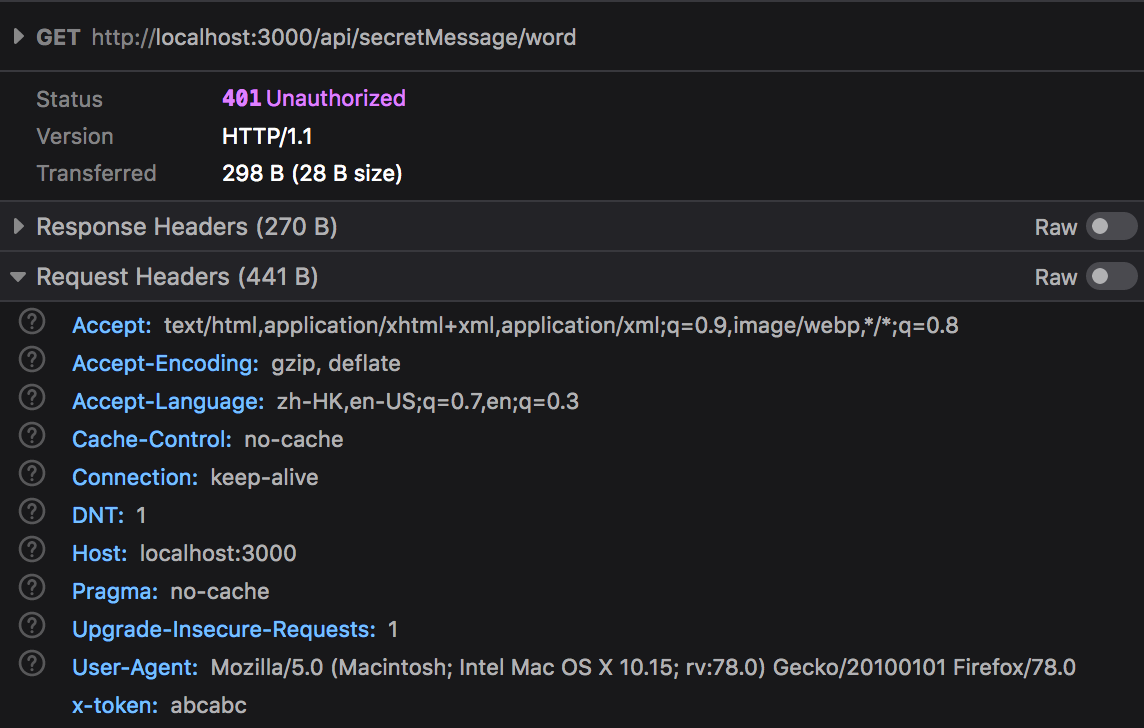
Hence, if we call API without providing correct token, we will get unauthorized error:
因此,如果我们在未提供正确令牌的情况下调用API,则会出现未经授权的错误:
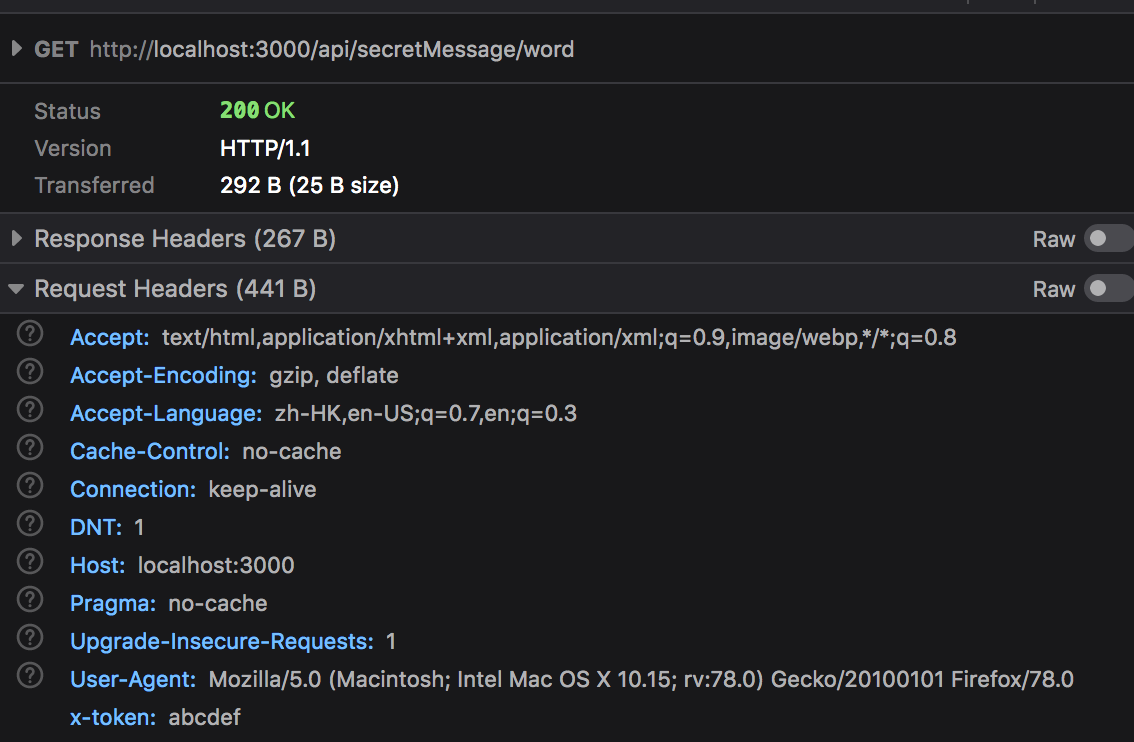
Yet, we can get our secret word if we pass the correct token in the header:
但是,如果我们在标头中传递正确的令牌,就可以得到我们的秘密字:
生成Swagger API文档 (Generate Swagger API document)
In this stage, our secret message API is completed. However, the client does not know our URL path as well as the response’s data structure. Hence, it is important to provide API documentation. Ts.ED facilitates us to write Swagger documentation by providing a @tsed/swagger package. We can install it by:
在此阶段,我们的秘密消息 API已完成。 但是,客户端不知道我们的URL路径以及响应的数据结构。 因此,提供API文档非常重要。 Ts.ED通过提供@tsed/swagger包来帮助我们编写Swagger文档。 我们可以通过以下方式安装它:
yarn add @types/swagger-schema-official @tsed/swagger
纱线添加@ types / swagger-schema-official @ tsed / swagger
Then, we configure it in server.ts :
然后,我们在server.ts配置它:
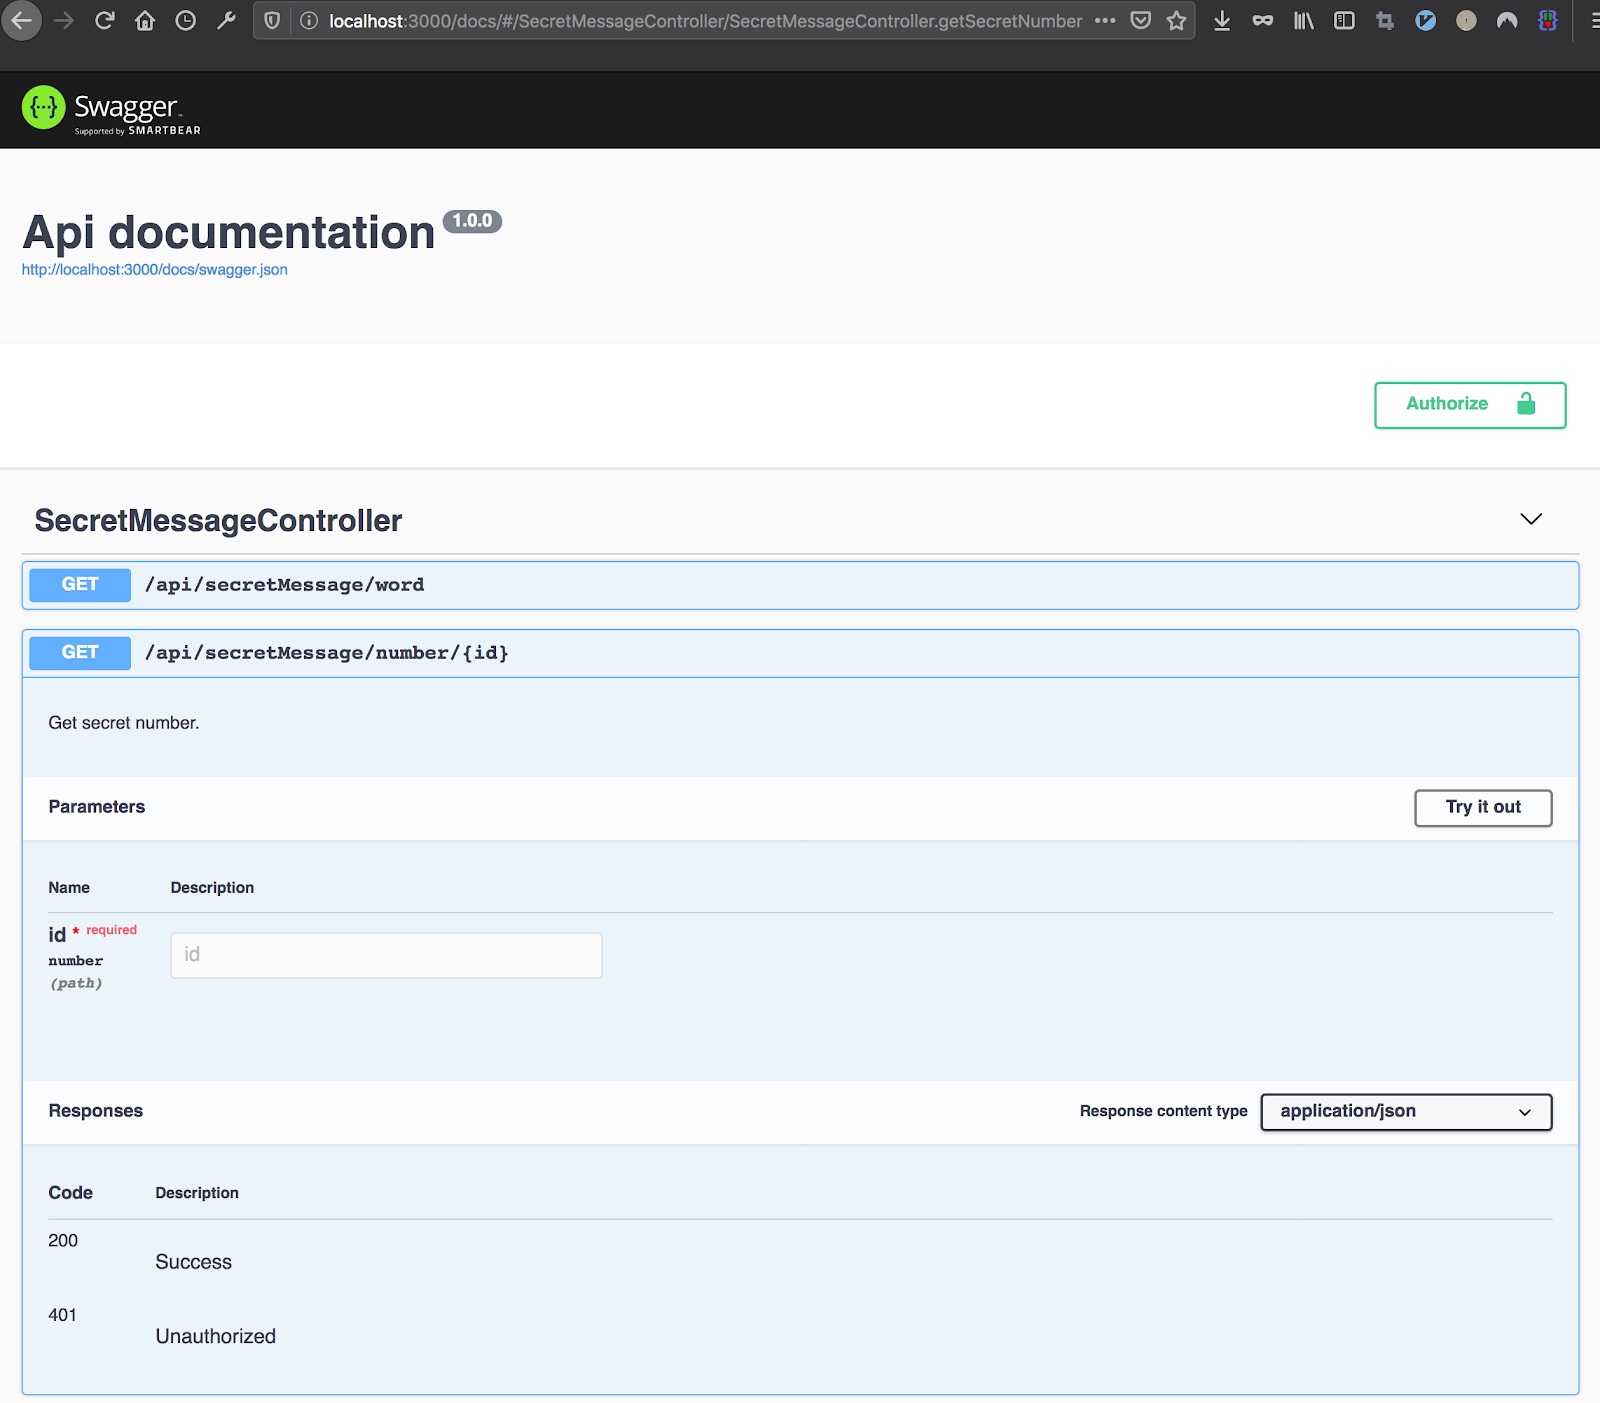
For instance, we can add the description of the endpoint through decorators @Description() and @Returns().
例如,我们可以通过装饰器 @Description()和@Returns()添加端点的描述。
Finally, swagger.json will be generated and can view through localhost:3000/docs/.
最后,将生成swagger.json并可以通过localhost:3000/docs/查看。
In this article, we have introduced Ts.ED and showcased how easily we can build an API server with decorators.
在本文中,我们介绍了Ts.ED,并展示了如何轻松地使用装饰器构建API服务器。
We have implemented:
我们已经实现了:
Controller router
控制器路由器
Service provider
服务提供者
Authentication middleware
认证中间件
Swagger documentation
Swagger文档
An example code in this article can be found on https://github.com/kinsonlcy/tsed-express-server-example.
可以在https://github.com/kinsonlcy/tsed-express-server-example上找到本文中的示例代码。
Thanks for your time and feel free to comment below if you have any questions!
感谢您的宝贵时间,如果您有任何疑问,请在下面发表评论!
翻译自: https://medium.com/@kinsonleung/introduction-to-ts-ed-b391c854947a
.d.ts和.ts区别


 523
523


 被折叠的 条评论
为什么被折叠?
被折叠的 条评论
为什么被折叠?
 到【灌水乐园】发言


