


react.js复用ui
React (also known as React.js or ReactJS) is one of the most popular Javascript libraries created by Facebook. It differs from other libraries as it offers a unique component structure. These components are the building blocks of the application. In other words, components are the different parts of a website. React is known for making the process of creating strong user interfaces much easier for engineering teams particularly for large applications. Whether you are a beginner or a seasoned developer, React can be relatively easy to pick up.
R eact(也称为React.js或ReactJS)是Facebook创建的最受欢迎的Javascript库之一 。 它与其他库不同,因为它提供了独特的组件结构。 这些组件是应用程序的构建块。 换句话说,组件是网站的不同部分。 React以使强大的用户界面创建过程对于工程团队(尤其是大型应用程序)更容易而闻名。 无论您是初学者还是经验丰富的开发人员,React都相对容易掌握。
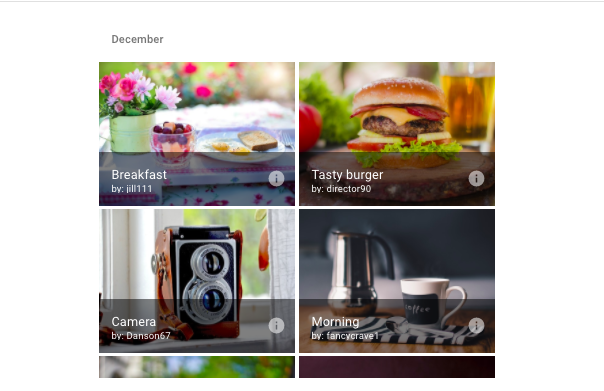
Material.UI is a user interface library based on Google’s Material Design. It is simply a set of components that have already been styled with Google’s Material Design. Essentially, we are bringing Google’s Material Design to our React app. It’s also React’s most popular UI package. Using Material.UI in addition to React creates a powerful combination where you have a fast, scalable, and easily and consistently stylized web application. Global companies such as Uniqlo and Scale.AI have been stated to use Material.UI. Check out Material UI’s Showcase to see other examples.
Material.UI是基于Google的 Material Design的用户界面库。 它只是一组已经使用Google的Material Design进行样式设置的组件。 本质上,我们将Google的Material Design引入了我们的React应用程序。 它也是React最受欢迎的UI包。 除了使用React之外,还可以使用Material.UI创建强大的组合,从而使您拥有快速,可伸缩,轻松且始终如一的风格化Web应用程序 。 据说Uniqlo和Scale.AI等全球公司都在使用Material.UI。 查看Material UI的Showcase来查看其他示例。
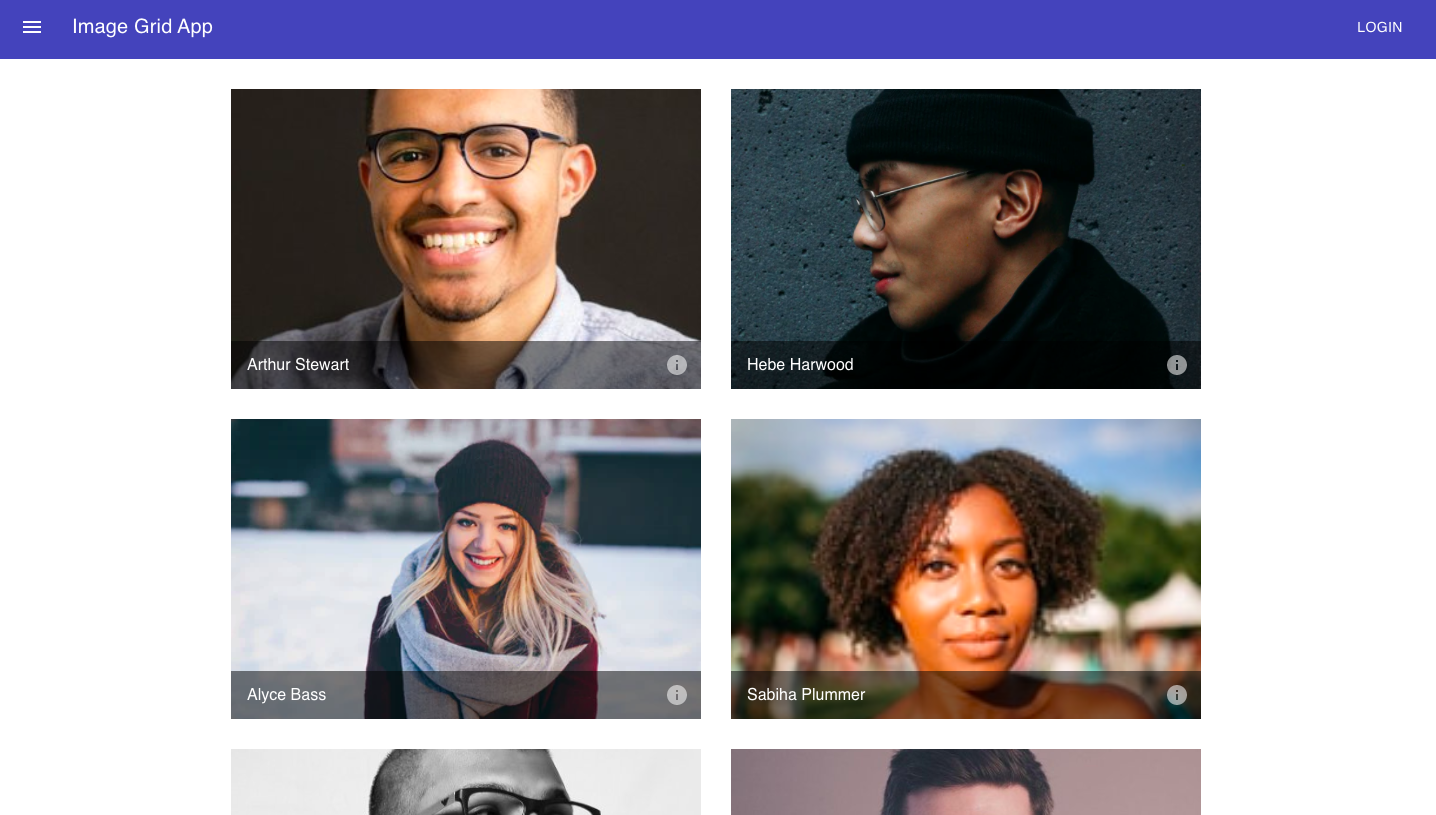
The Image Grid
图像网格
In this post, we will build a gallery web app (also known as an image grid) in three steps. This is particularly valuable for e-commerce websites, directories, portfolios, blogs, etc. It’s an easy way to have media card components that allow you to showcase products, individuals, images, and illustrations.
在本文中,我们将分三步构建一个Gallery Web应用程序(也称为图像网格) 。 这对于电子商务网站,目录,作品集,博客等特别有价值。这是拥有媒体卡组件的简便方法,可让您展示产品,个人,图像和插图。
If you’d like to see the source code on Github and demo of this project, you can access it here: demo | source code ✨
让我们开始吧! 🚀 (Let’s Get Started! 🚀)
设置和先决条件: (The Set-Up and Prerequisites:)
Install npm on your computer.
在计算机上安装npm 。
Install the latest version of Node.js or higher on your computer
在计算机上安装最新版本的Node.js或更高版本
Open your favorite text editor (IDE) such as Visual Studio Code to build our project.
打开您喜欢的文本编辑器(IDE),例如Visual Studio Code,以构建我们的项目。
Basic understanding of HTML, CSS, Javascript, JSX, and the Terminal. If you need a React refresher, I’d recommend this list of free courses.
基本了解HTML,CSS,Javascript,JSX和终端。 如果您需要React复习课程 ,我建议您使用此免费课程列表 。
第1步—创建React App (Step 1 — Create React App)
We will begin by creating the initial app. It is extremely simple and we only need a few lines of code. Assuming npm is installed on your computer, run the following commands. We can do this by opening up the Terminal in Visual Studio Code.
我们将从创建初始应用程序开始。 这非常简单,我们只需要几行代码。 假设您的计算机上已安装npm,请运行以下命令。 我们可以通过在Visual Studio Code中打开终端来做到这一点。
npx create-react-app grid-appcd grid-appnpm startThis should automatically open a web page. If this doesn’t happen, type http://localhost:3000/ in your URL bar.
这应该会自动打开一个网页。 如果没有发生,请在网址栏中输入http:// localhost:3000 / 。
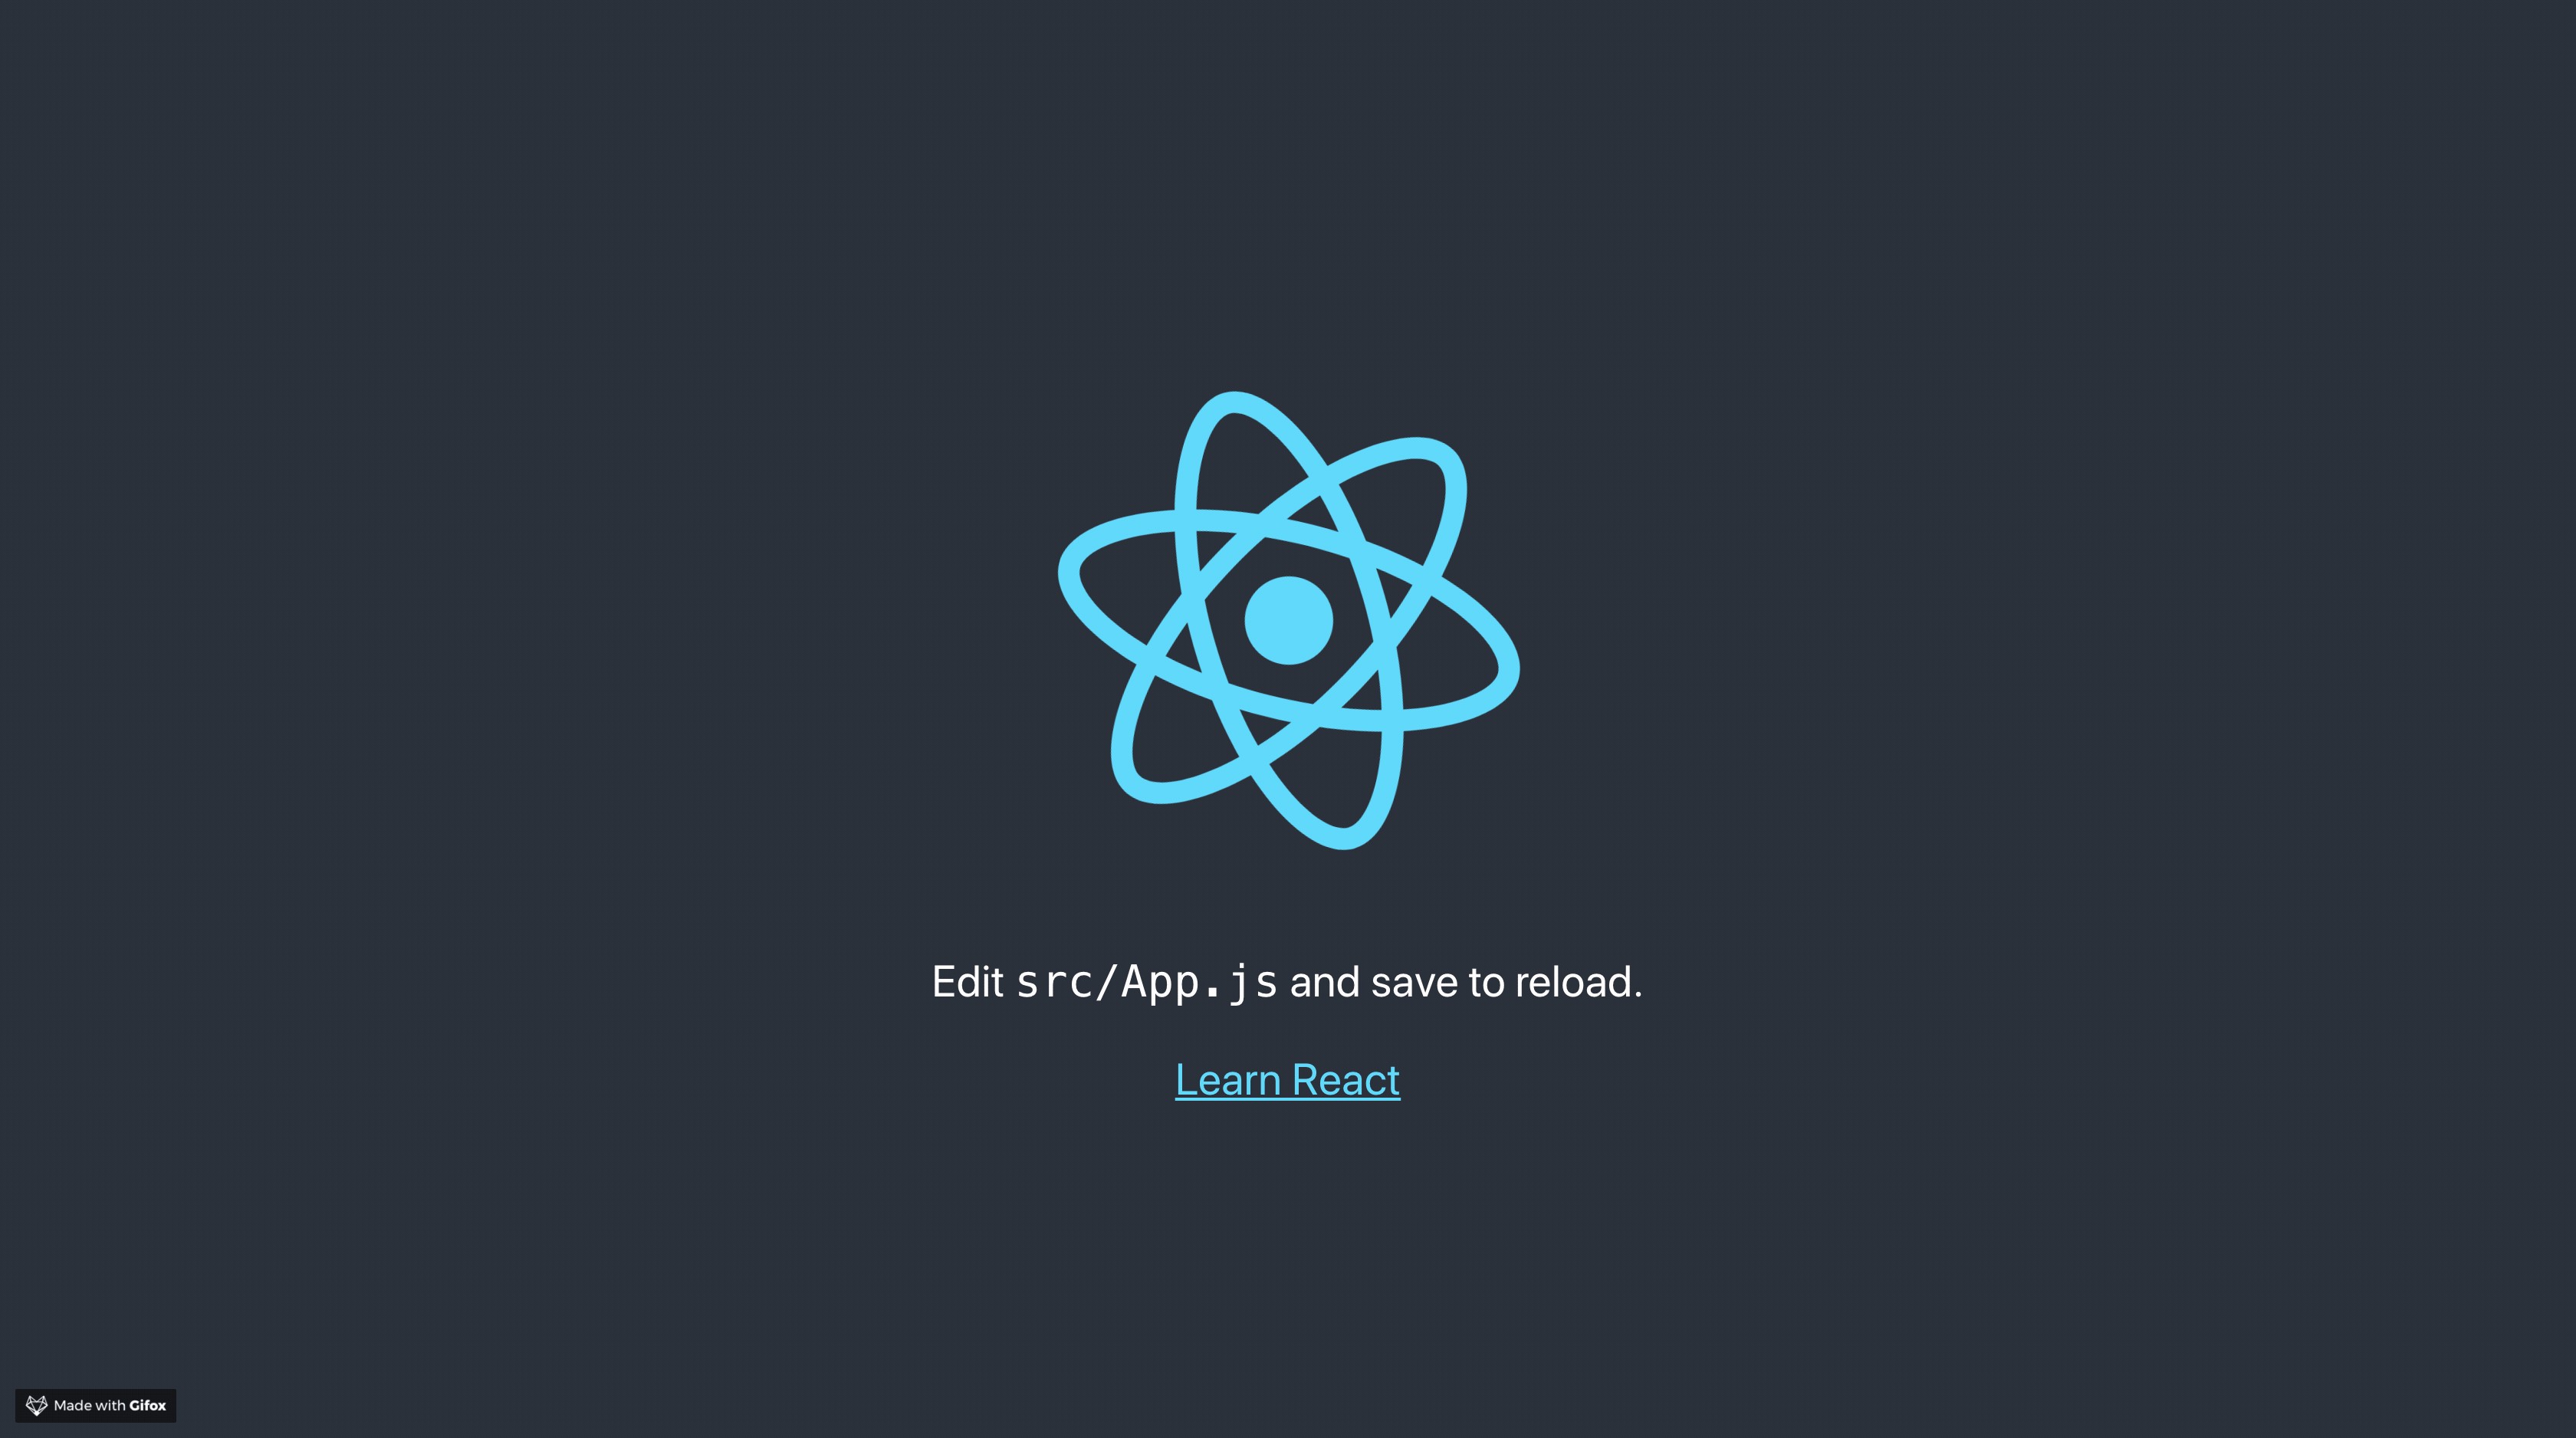
In only a few minutes, we now have a starter React app as a single webpage! This is a great jumping point where we can customize what’s been given to build solutions to our needs!
在短短几分钟内,我们现在有了一个入门React应用程序作为单个网页! 这是一个很好的跳跃点,在这里我们可以自定义提供的内容以构建满足我们需求的解决方案!
For more information on create-react-app, click this link.
有关create-react-app的更多信息,请单击此链接 。
第2步—将Materials.UI添加到我们的React App (Step 2 — Adding Materials.UI to our React App)
The next step is to install Material.UI which again takes a few lines of code.
下一步是安装Material.UI,它再次需要几行代码。
npm install @material-ui/core — save
npm install -s @material-ui/icons
And we’re done!
我们完成了!
步骤3 —导航栏 (Step 3 — Navigation Bar)
Go to the src folder and open up app.js. Delete the entire function. You can also delete the logo.svg and “import logo from './logo.svg’;”. Now you should only have…
转到src文件夹并打开app.js。 删除整个功能。 您也可以删除logo.svg和“从'./logo.svg';导入徽标”。 现在您只应该拥有...
import React from ‘react’import ‘./App.css’;export default App;
Let’s add our Navigation Bar. Basing our code from the Material.UI’s documentation, we will be making a simple app bar.
让我们添加导航栏 。 根据Material.UI文档的代码,我们将制作一个简单的应用栏。
We will start by importing the necessary components from Material.UI. We will apply the style, add the menu icon button, add text, and add the login button.
我们将从从Material.UI导入必要的组件开始。 我们将应用样式,添加菜单图标按钮,添加文本以及添加登录按钮。
步骤4 —具有网格布局的图块 (Step 4 — Tiles with Grid Layout)
Let’s organize and space out our image cards by adding a responsive grid layout.
让我们通过添加响应式网格布局来组织和分配图像卡。
带有标题栏的网格列表 (Grid list with title bars)
This example demonstrates the use of the GridListTileBar to add an overlay to each GridListTile. The overlay can accommodate a title, subtitle and secondary action - in this example an IconButton. We can name this file Cards.js.
此示例演示了如何使用GridListTileBar向每个GridListTile添加覆盖。 叠加层可以容纳title , subtitle和辅助动作-在此示例中为IconButton 。 我们可以将此文件命名为Cards.js。
第5步-创建切片数据文件 (Step 5— Creating the Tile Data File)
Let’s customize it further — adding images.
让我们进一步自定义它-添加图像。
We will create a file titled titleData.js. This file is imported into the Cards.js file since we are importing the images into the responsive grid formatted set of cards.
我们将创建一个名为titleData.js的文件。 此文件已导入Cards.js文件,因为我们正在将图像导入到响应网格格式的卡集中。
第6步-App.js及其部署 (Step 6— App.js and Deploying It)
Now, we can import all of our components in App.js and export out the final app.
现在,我们可以将所有组件导入App.js,然后导出最终的应用程序。
结论 (Conclusion)
Creating a new repository in Github, I pushed the React code from my local machine to this new repo. Using the commands “npm build” and “public” folder, I deployed and hosted the site on Netlify. If you prefer a different platform to deploy your React and Material.UI site, you can check out the official react documentation on deployment for your web application.
我在Github中创建了一个新的存储库,然后将React代码从我的本地机器推送到了这个新仓库中。 使用命令“ npm build”和“ public”文件夹,我在Netlify上部署并托管了该站点。 如果您希望使用其他平台来部署React和Material.UI网站,则可以查看有关 Web应用程序部署的官方 React 文档 。
To see the demo, click here.
要查看演示, 请单击此处 。
Thanks for reading! 👋
谢谢阅读! 👋
react.js复用ui


 109
109

 被折叠的 条评论
为什么被折叠?
被折叠的 条评论
为什么被折叠?
 到【灌水乐园】发言


