


说在前面的话
默认情况下,Hive元数据保存在内嵌的Derby数据库中,只能允许一个会话连接,只适合简单的测试。实际生产环境中不使用,为了支持多用户会话,
则需要一个独立的元数据库,使用MySQL作为元数据库,Hive内部对MySQL提供了很好的支持。
在Ubuntu系统下安装并配置hive详细正确步骤如下!
一、mysql-server和mysql-client的下载
root@SparkSingleNode:/usr/local# sudo apt-get install mysql-server mysql-client (Ubuntu版本)
我这里,root密码,为rootroot。
二、启动MySQL服务

root@SparkSingleNode:/usr/local# sudo /etc/init.d/mysql start (Ubuntu版本)
* Starting MySQL database server mysqld [ OK ]
root@SparkSingleNode:/usr/local#
附加说明,
sudo /etc/init.d/mysql restart 这是重启
sudo /etc/init.d/mysql stop 这是停止
三、进入mysql服务
Ubuntu里 的mysql里有个好处,直接自己对root@下的所有,自己默认设置好了
root@SparkSingleNode:/usr/local# mysql -uroot -p
Enter password: //输入rootroot
Welcome to the MySQL monitor. Commands end with ; or \g.
Your MySQL connection id is 43
Server version: 5.5.53-0ubuntu0.14.04.1 (Ubuntu)
Copyright (c) 2000, 2016, Oracle and/or its affiliates. All rights reserved.
Oracle is a registered trademark of Oracle Corporation and/or its
affiliates. Other names may be trademarks of their respective
owners.
Type 'help;' or '\h' for help. Type '\c' to clear the current input statement.
mysql> CREATE USER 'hive'@'%' IDENTIFIED BY 'hive';
mysql>GRANT ALL PRIVILEGES ON *.* TO 'hive'@'%' WITH GRANT OPTION;
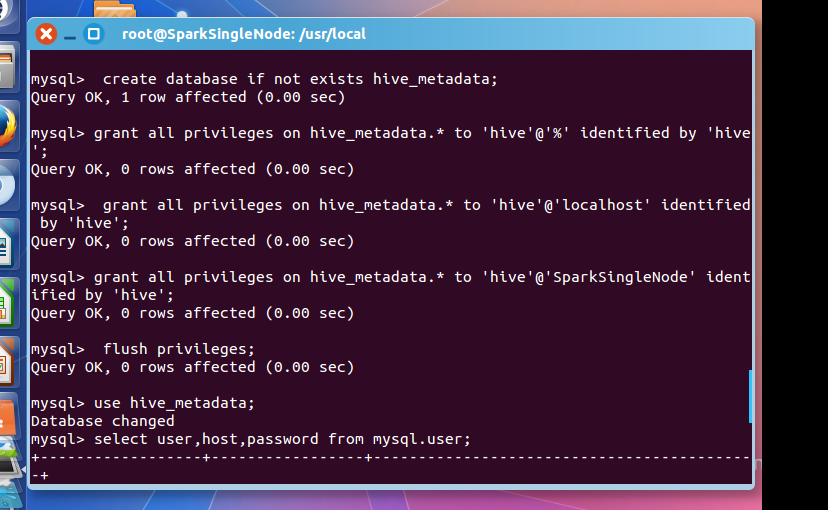
mysql> flush privileges;
Query OK, 0 rows affected (0.00 sec)
mysql> use hive;
Database changed
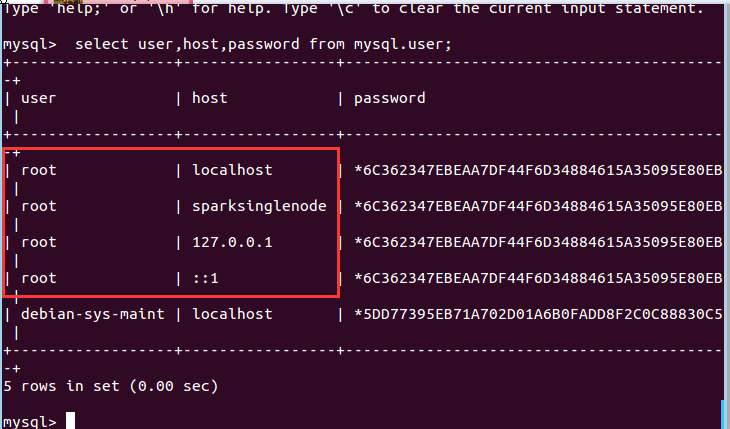
mysql> select user,host,password from mysql.user;
+------------------+-----------------+-------------------------------------------+
| user | host | password |
+------------------+-----------------+-------------------------------------------+
| root | localhost | *6C362347EBEAA7DF44F6D34884615A35095E80EB |
| root | sparksinglenode | *6C362347
 最低0.47元/天 解锁文章


 3545
3545


 被折叠的 条评论
为什么被折叠?
被折叠的 条评论
为什么被折叠?
 到【灌水乐园】发言


