


由于晚上使用maven中央库资源构建项目时,可能会遇到maven中央库繁忙一直处于等待,以此为契,搭建私有库。
先给个nexus的下载地址http://www.sonatype.org/nexus/archived/
nexus-2.11.1-01-bundle.zip 本人使用版本
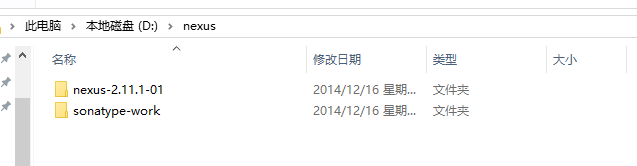
第一步,解压到你想要的目录
第二步 安装nexus服务 并打开
jsw目录下有各种操作系统的服务版本
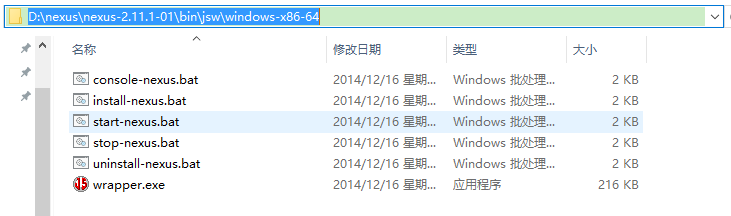
其中install-nexus.bat是用来在操作系统下安装该服务使用的,注意要用管理员身份运行
start-nexus.bat 打开服务
stop-nexus.bat 关闭服务
uninstall-nexus.bat 卸载该服务
我们只需要 执行install-nexus.bat start-nexus.bat 即可 打开服务管理器查看该服务状态

第三步
打开浏览器查看
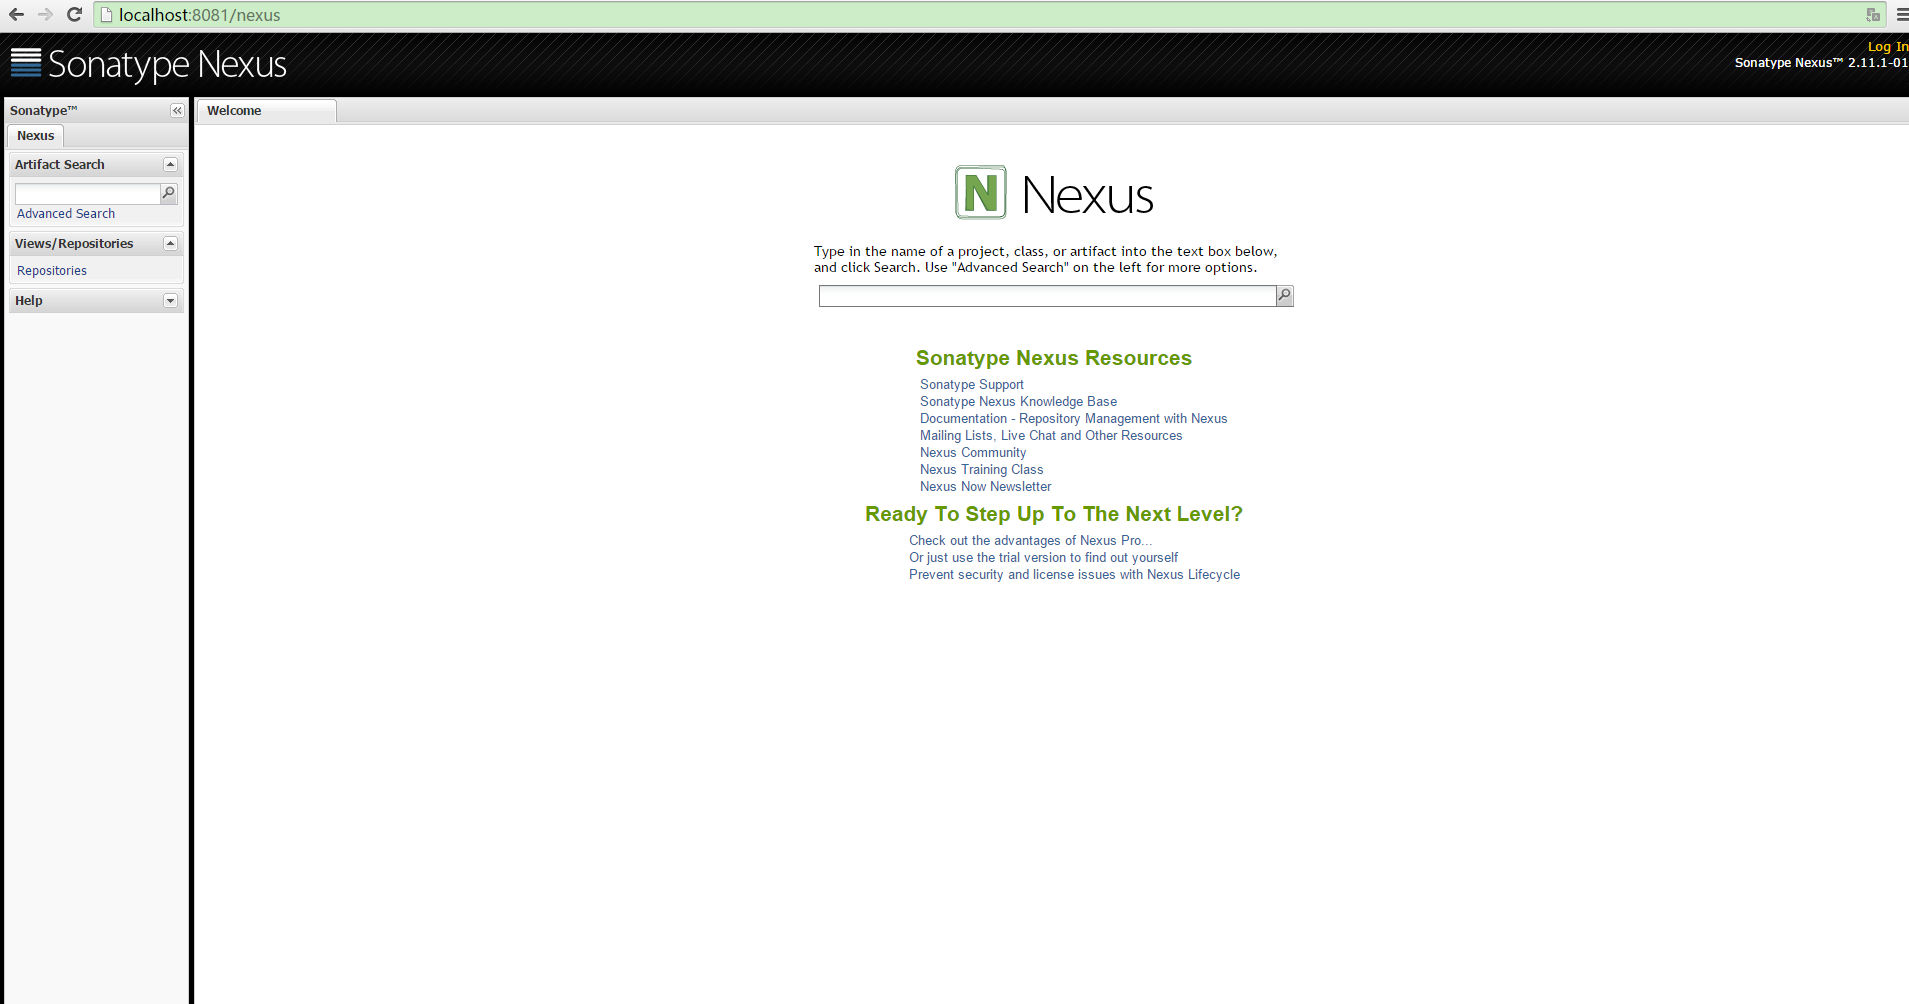
右上角有个login 账号密码 默认 admin admin123
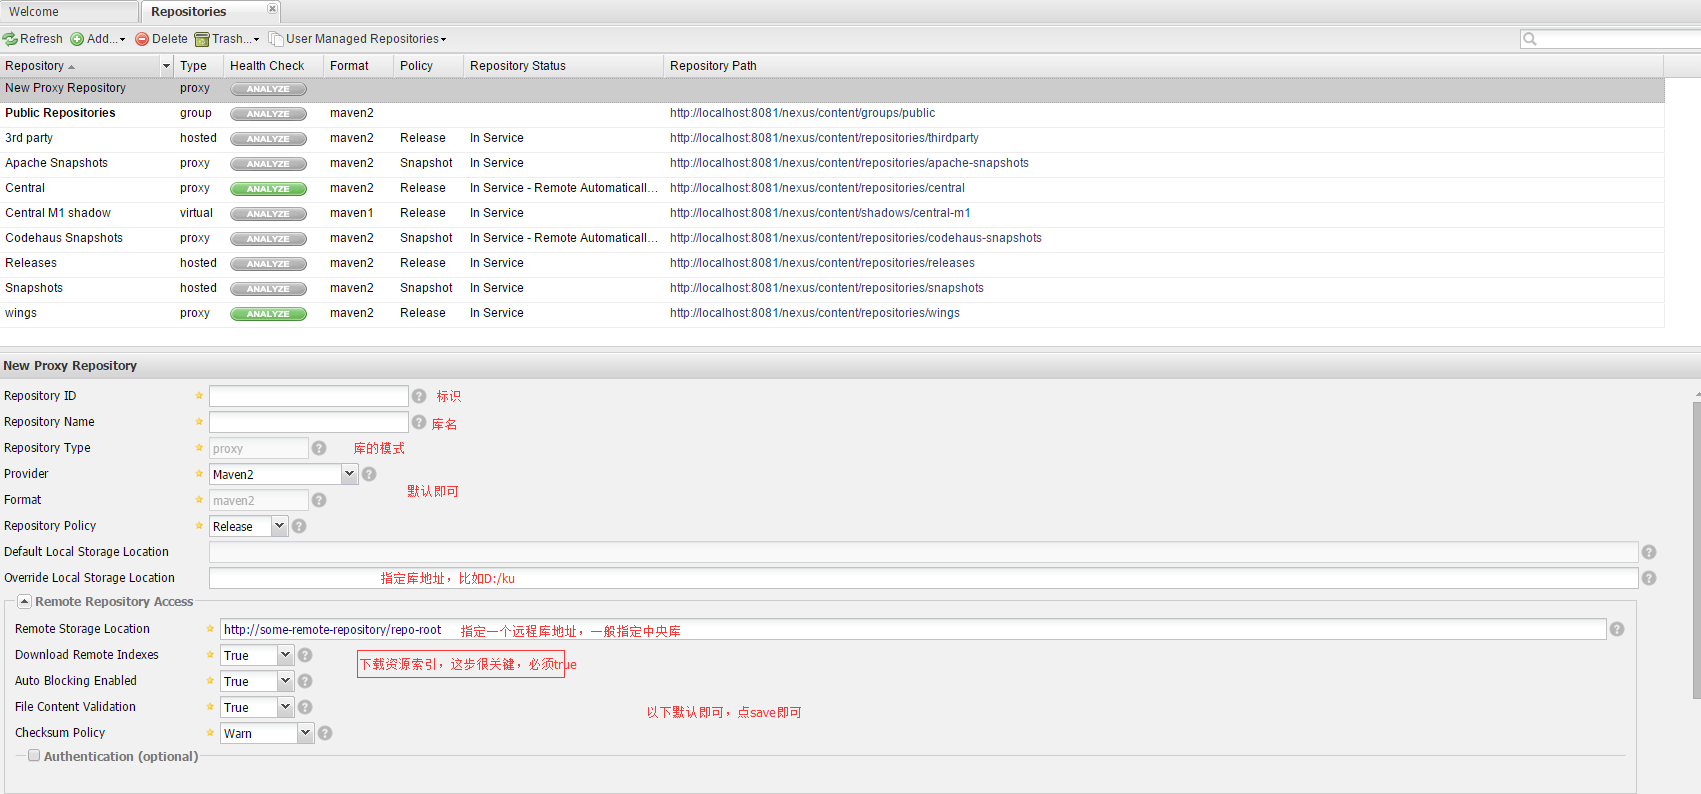
登录,单击左侧图中选项,列出默认资源库

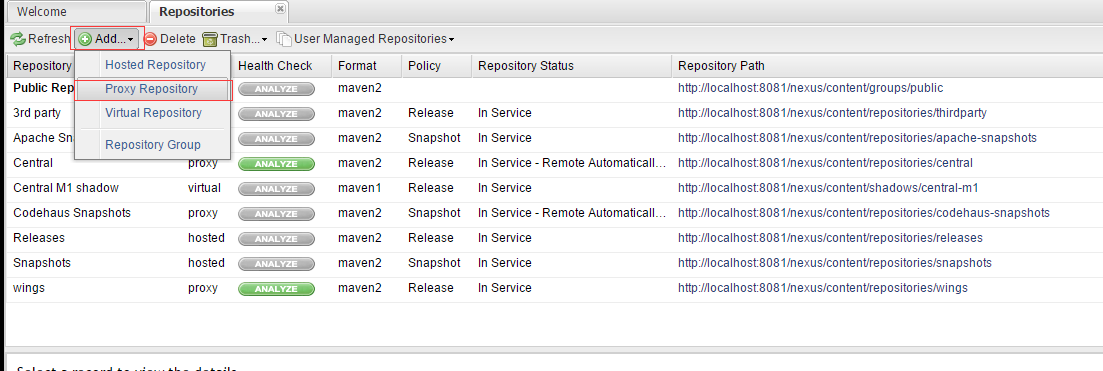
第四步
添加一个代理库,一般中央库使用 http://repo1.maven.org/maven2/ 即可
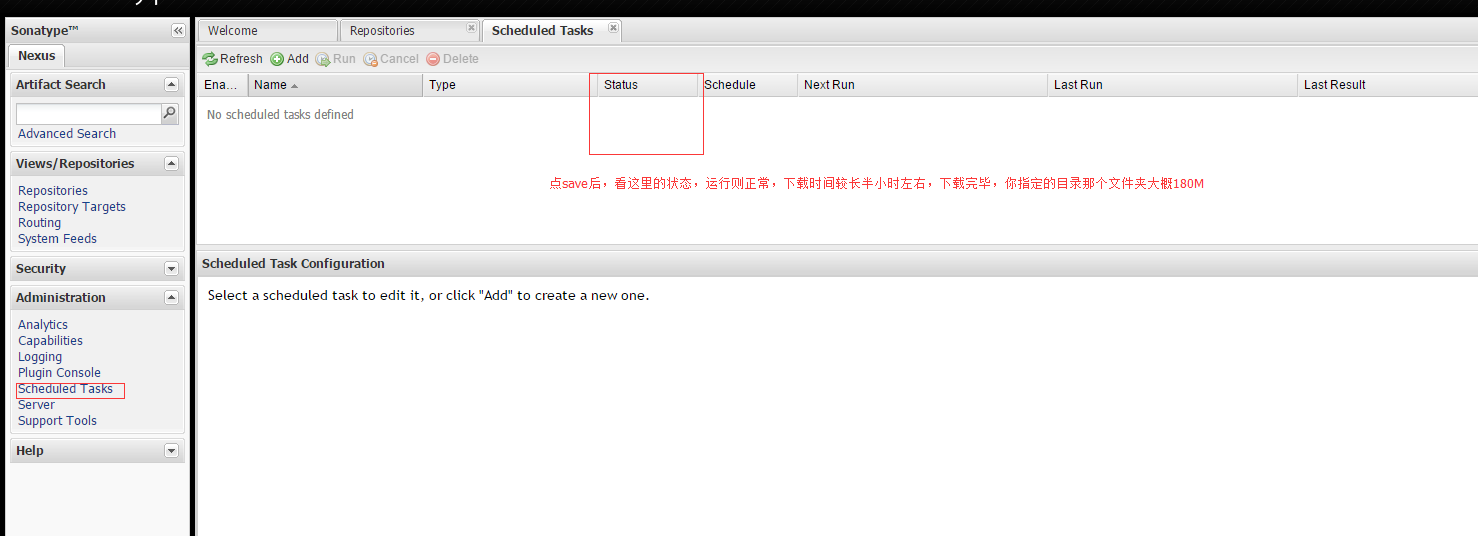
第五步 索引下载完成后则可以指定maven项目使用该私服了

settings.xml 内容
  <mirror>
            <id>wings</id>  //库id
            <mirrorOf>*</mirrorOf>
            <url>http://localhost:8081/nexus/content/repositories/wings</url> //地址
        </mirror>
<?xml version="1.0" encoding="UTF-8"?>
<settings>
    <mirrors>
        <mirror>
            <id>wings</id>
            <mirrorOf>*</mirrorOf>
            <url>http://localhost:8081/nexus/content/repositories/wings</url>
        </mirror>
    </mirrors>
    <servers>
        <server>
            <id>nexus-releases</id>
            <username>admin</username>
            <password>admin123</password>
        </server>
        <server>
            <id>nexus-snapshots</id>
            <username>admin</username>
            <password>admin123</password>
        </server>
    </servers>
    <profiles>
        <profile>
            <id>nexus</id>
            <repositories>
                <repository>
                    <id>central</id>
                    <url>http://central/</url>
                    <releases><enabled>true</enabled></releases>
                    <snapshots><enabled>true</enabled></snapshots>
                </repository>
            </repositories>
            <pluginRepositories>
                <pluginRepository>
                    <id>central</id>
                    <url>central/</url>
                    <releases><enabled>true</enabled></releases>
                    <snapshots><enabled>true</enabled></snapshots>
                </pluginRepository>
            </pluginRepositories>
        </profile>
    </profiles>
    <activeProfiles>
        <activeProfile>nexus</activeProfile>
    </activeProfiles>
</settings>
这样就完成了。如果发现有自己的私服有该jar包就使用自己的,如果没有就使用中央库的。


 80
80


 被折叠的 条评论
为什么被折叠?
被折叠的 条评论
为什么被折叠?
 到【灌水乐园】发言


