Recommended reference:
https://help.ubuntu.com/community/Xen
Step One: Install Ubuntu14.04 on your computer
Step Two: Install Xen using “sudo apt-get install xen-hypervisor” which will automatically choose suitable version of Xen. If you do this on a 32-bits Ubuntu OS, it can only get amd64-version too. So it is recommended to install a 64-bits Ubuntu. Also you need to install some tool:”sudo apt-get install virtinst virt-viewer virt-manager ”
Step Three: Since version 3 or so, Linux kernel supports Xen, and it can configure boot menu when installing Xen. So what we do next is to reboot our operating system. After that, you can verify Xen is actually installed using “sudo xl list”. If you can see “Domain-0”, it means everything goes well.
Step Four: Network Configuration. It is easily neglected.
sudo stop network-manager
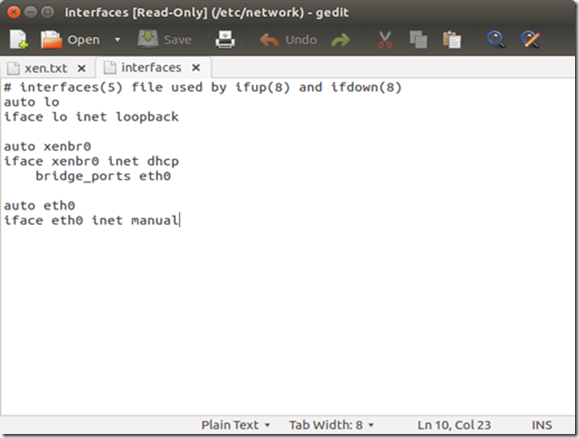
sudo gedit /etc/network/interfaces
Edit /etc/network/interfaces, and make it look like this:
sudo start network-manager
sudo ifdown eth0 && sudo ifup xenbr0 && sudo ifup eth0
Step Five: To skip the installation of guest, I get an image of Ubuntu 10.04 OS from http://jailtime.org/, unzip it and modify the file path in the configuration file.
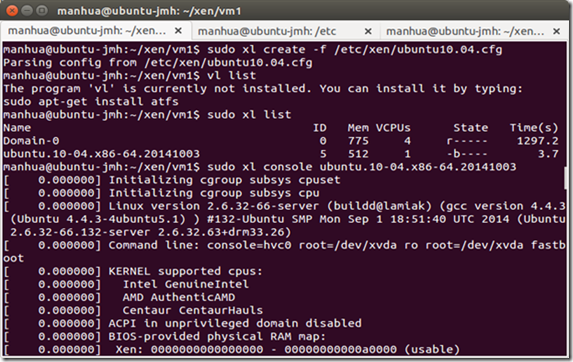
Then we can create a guest virtual machine
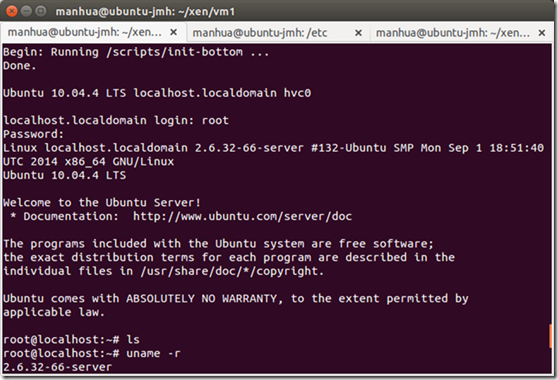
and we can log in
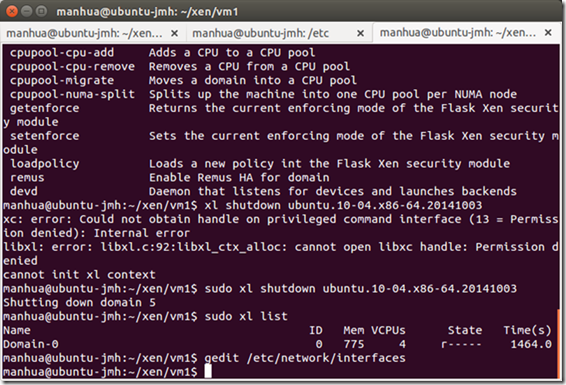
check it over in Domain-0
ask the guest to shutdown


 1554
1554


 被折叠的 条评论
为什么被折叠?


