


一:STS
1.下载STS
官网:http://spring.io/tools
使用一个干净的STS进行操作学习。
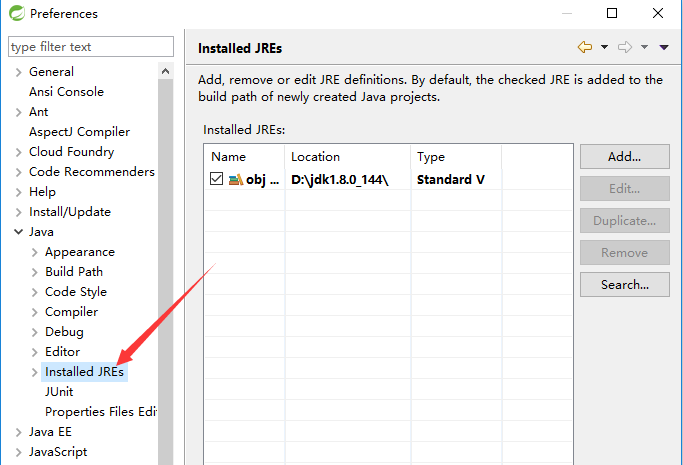
2.jdk检查
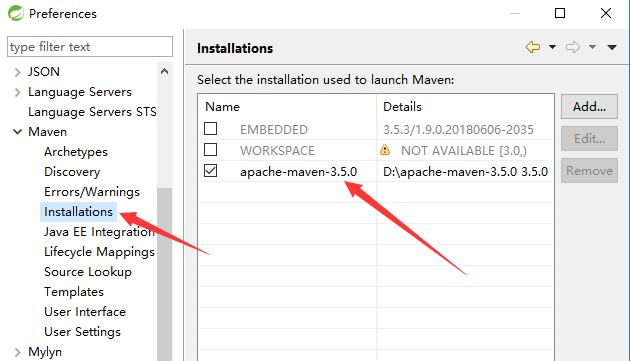
3.添加自己的maven
4.使用tomcat

二:新建项目
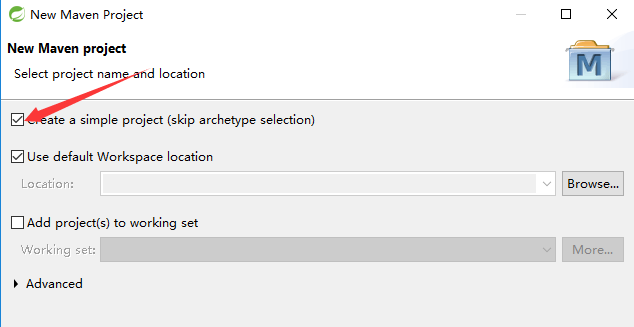
1.新建项目
新建的是maven项目。
所有的groupId使用一样的。
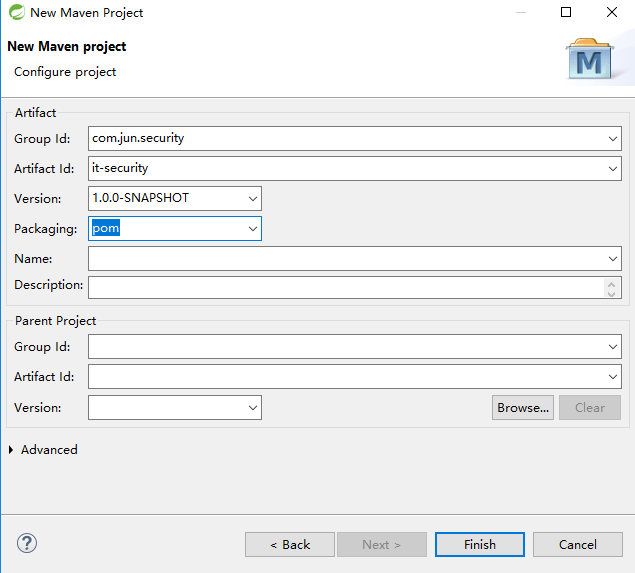
2.新建第一个项目
注意点是打包的时候选择pom,因为这个模块主要是用来打包。
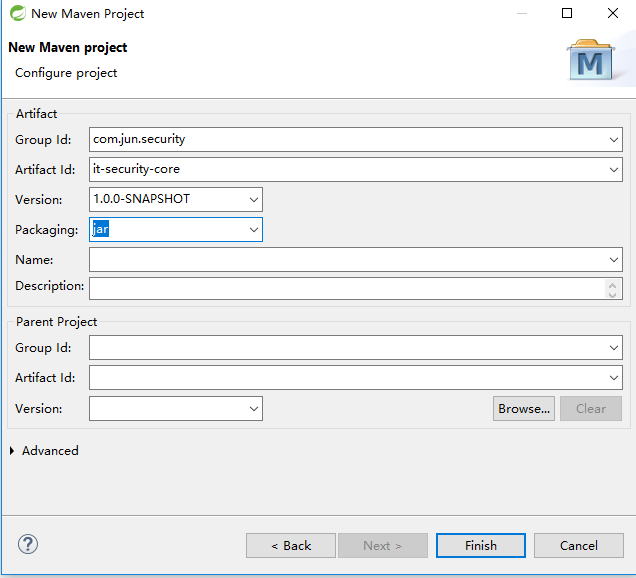
3.新建第二个项目
packaging是jar
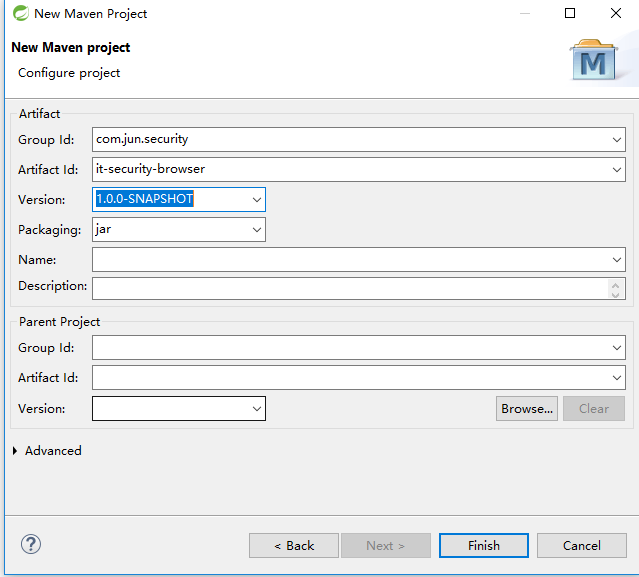
4.新建第三个项目
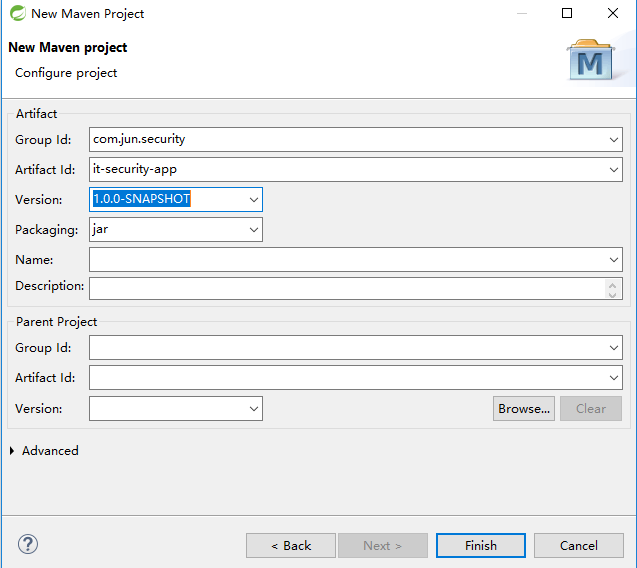
5.新建第四个项目
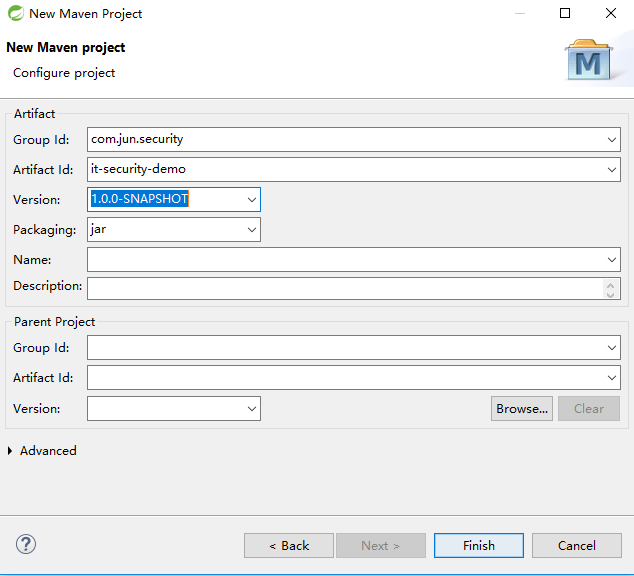
6.新建第五个项目
三:第一个项目
1.修改pom
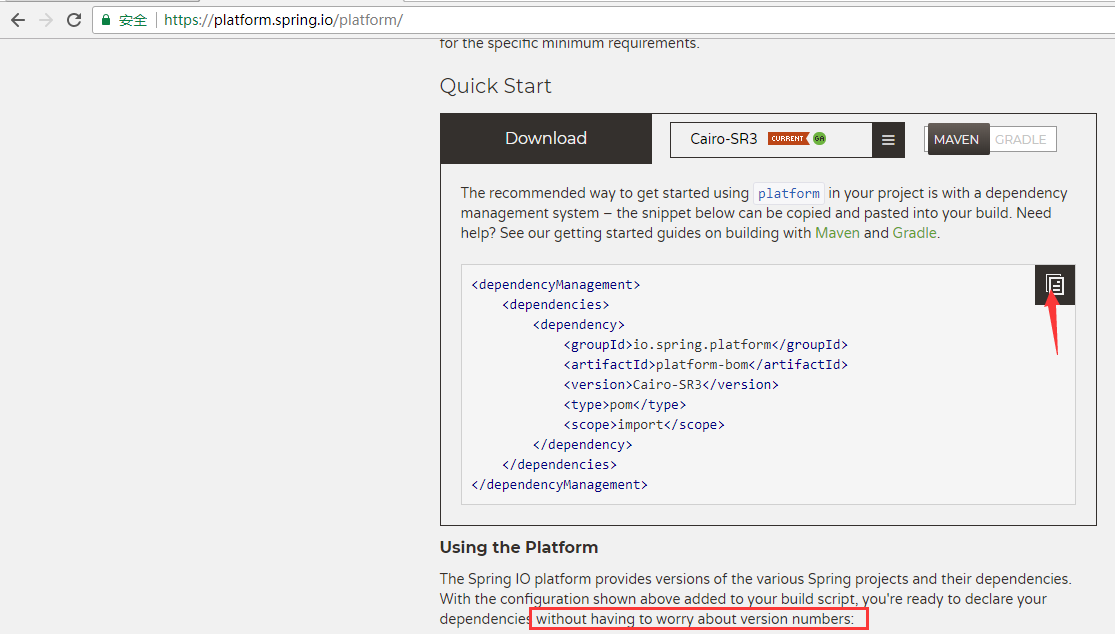
使用io

复制
可以让IO来管理,主要是依赖的冲突问题可以不需要考虑。
使用Cloud
进行依赖管理
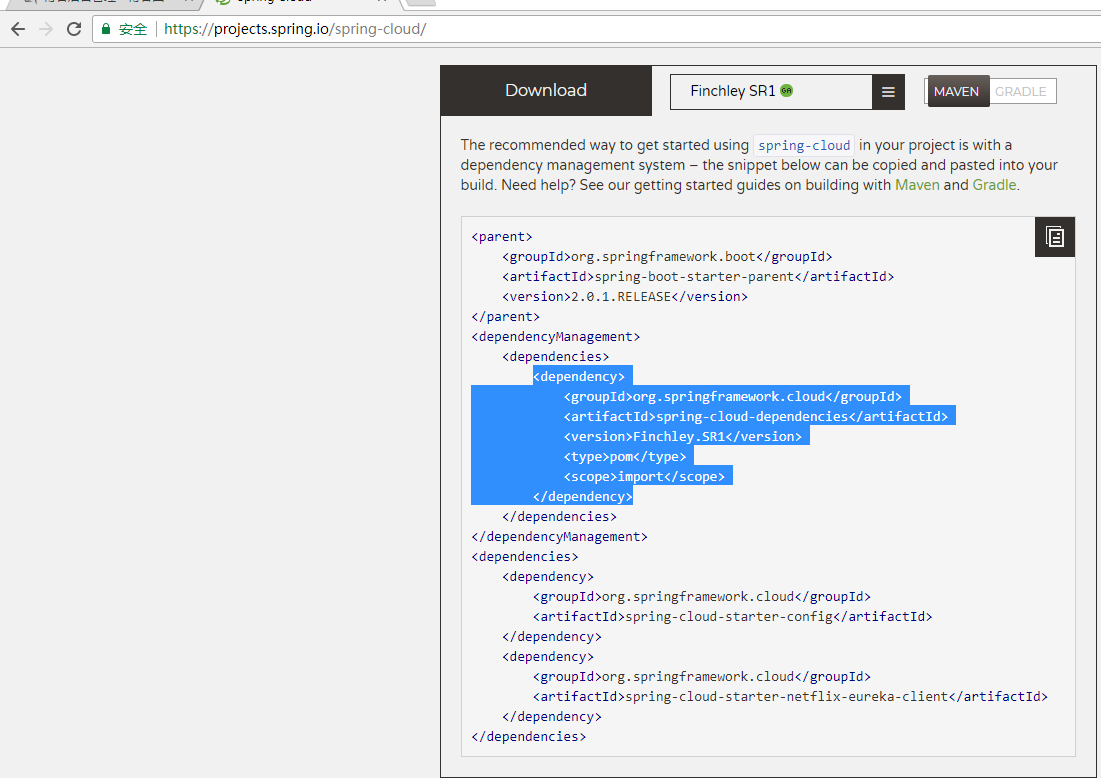
POM:
 1 <project xmlns="http://maven.apache.org/POM/4.0.0"
 2     xmlns:xsi="http://www.w3.org/2001/XMLSchema-instance"
 3     xsi:schemaLocation="http://maven.apache.org/POM/4.0.0 http://maven.apache.org/xsd/maven-4.0.0.xsd">
 4     <modelVersion>4.0.0</modelVersion>
 5     <groupId>com.jun.security</groupId>
 6     <artifactId>it-security</artifactId>
 7     <version>1.0.0-SNAPSHOT</version>
 8     <packaging>pom</packaging>
 9     <dependencyManagement>
10         <dependencies>
11             <dependency>
12                 <groupId>io.spring.platform</groupId>
13                 <artifactId>platform-bom</artifactId>
14                 <version>Brussels-SR4</version>
15                 <type>pom</type>
16                 <scope>import</scope>
17             </dependency>
18             <dependency>
19                 <groupId>org.springframework.cloud</groupId>
20                 <artifactId>spring-cloud-dependencies</artifactId>
21                 <version>Dalston.SR2</version>
22                 <type>pom</type>
23                 <scope>import</scope>
24             </dependency>
25         </dependencies>
26     </dependencyManagement>
27
28     <build>
29         <plugins>
30             <plugin>
31                 <groupId>org.apache.maven.plugins</groupId>
32                 <artifactId>maven-compiler-plugin</artifactId>
33                 <version>2.3.2</version>
34                 <configuration>
35                     <source>1.8</source>
36                     <target>1.8</target>
37                     <encoding>UTF-8</encoding>
38                 </configuration>
39             </plugin>
40         </plugins>
41     </build>

49 </project>
2.关联子项目
添加子模块:
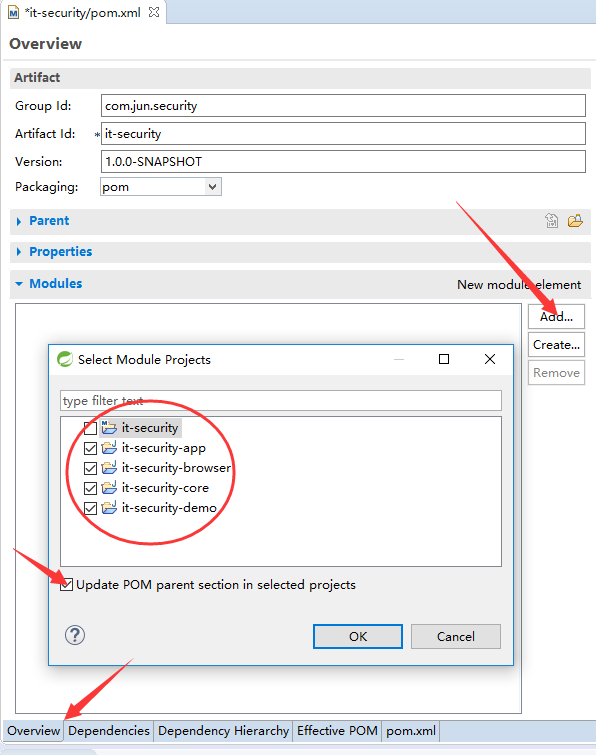
会多出配置:
1         <modules>
2         <module>../it-security-app</module>
3         <module>../it-security-browser</module>
4         <module>../it-security-core</module>
5         <module>../it-security-demo</module>
6     </modules>
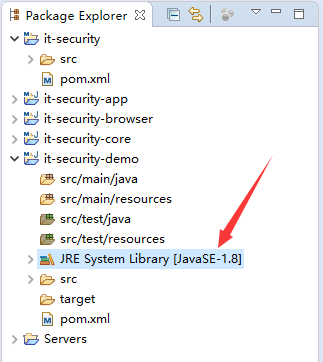
3.然后更新子模块
因为这个时候子模块的编译不是1.8.
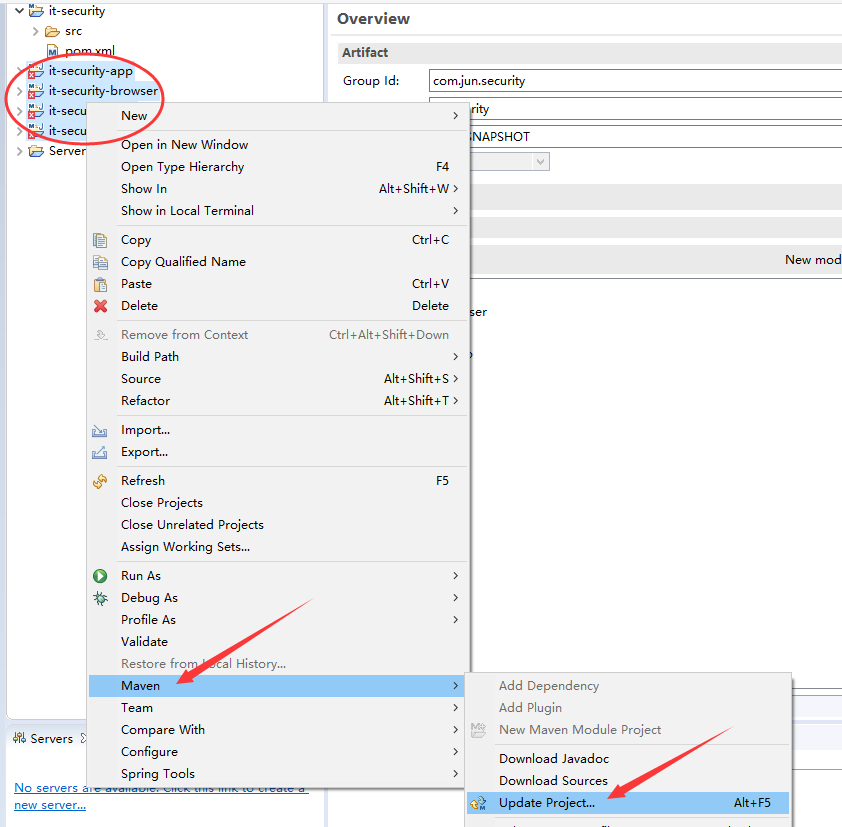
效果:
四:添加各个模块的pom
1.it-security-core项目的pom
 1 <project xmlns="http://maven.apache.org/POM/4.0.0" xmlns:xsi="http://www.w3.org/2001/XMLSchema-instance" xsi:schemaLocation="http://maven.apache.org/POM/4.0.0 http://maven.apache.org/xsd/maven-4.0.0.xsd">
 2   <modelVersion>4.0.0</modelVersion>
 3   <artifactId>it-security-core</artifactId>
 4   <parent>
 5       <groupId>com.jun.security</groupId>
 6       <artifactId>it-security</artifactId>
 7       <version>1.0.0-SNAPSHOT</version>
 8       <relativePath>../it-security</relativePath>
 9   </parent>
10
11   <dependencies>
12         <dependency>
13             <groupId>org.springframework.cloud</groupId>
14             <artifactId>spring-cloud-starter-oauth2</artifactId>
15         </dependency>
16         <dependency>
17             <groupId>org.springframework.boot</groupId>
18             <artifactId>spring-boot-starter-data-redis</artifactId>
19         </dependency>
20         <dependency>
21             <groupId>org.springframework.boot</groupId>
22             <artifactId>spring-boot-starter-jdbc</artifactId>
23         </dependency>
24         <dependency>
25             <groupId>mysql</groupId>
26             <artifactId>mysql-connector-java</artifactId>
27         </dependency>
28         <dependency>
29             <groupId>org.springframework.social</groupId>
30             <artifactId>spring-social-config</artifactId>
31         </dependency>
32         <dependency>
33             <groupId>org.springframework.social</groupId>
34             <artifactId>spring-social-core</artifactId>
35         </dependency>
36         <dependency>
37             <groupId>org.springframework.social</groupId>
38             <artifactId>spring-social-security</artifactId>
39         </dependency>
40         <dependency>
41             <groupId>org.springframework.social</groupId>
42             <artifactId>spring-social-web</artifactId>
43         </dependency>
44         <dependency>
45             <groupId>commons-lang</groupId>
46             <artifactId>commons-lang</artifactId>
47         </dependency>
48         <dependency>
49             <groupId>commons-collections</groupId>
50             <artifactId>commons-collections</artifactId>
51         </dependency>
52         <dependency>
53             <groupId>commons-beanutils</groupId>
54             <artifactId>commons-beanutils</artifactId>
55         </dependency>
56         <dependency>
57             <groupId>org.springframework.boot</groupId>
58             <artifactId>spring-boot-configuration-processor</artifactId>
59         </dependency>
60     </dependencies>
61 </project>
2.it-security-browser的pom
先去住目录定义it.security.version版本,到时候在修改core的时候,只要修改一下父变量即可。
然后引用core,不过需要额外引用session做集群的session管理。
 1 <project xmlns="http://maven.apache.org/POM/4.0.0"
 2     xmlns:xsi="http://www.w3.org/2001/XMLSchema-instance"
 3     xsi:schemaLocation="http://maven.apache.org/POM/4.0.0 http://maven.apache.org/xsd/maven-4.0.0.xsd">
 4     <modelVersion>4.0.0</modelVersion>
 5     <artifactId>it-security-browser</artifactId>
 6     <parent>
 7         <groupId>com.jun.security</groupId>
 8         <artifactId>it-security</artifactId>
 9         <version>1.0.0-SNAPSHOT</version>
10         <relativePath>../it-security</relativePath>
11     </parent>
12
13     <dependencies>
14         <dependency>
15             <groupId>com.jun.security</groupId>
16             <artifactId>it-security-core</artifactId>
17             <version>${it.security.version}</version>
18         </dependency>
19         <dependency>
20             <groupId>org.springframework.session</groupId>
21             <artifactId>spring-session</artifactId>
22         </dependency>
23         <dependency>
24             <groupId>org.apache.shiro</groupId>
25             <artifactId>shiro-core</artifactId>
26             <version>1.2.2</version>
27         </dependency>
28     </dependencies>
29
30 </project>
3.it-security-app的pom
只需要引用core。
 1 <project xmlns="http://maven.apache.org/POM/4.0.0"
 2     xmlns:xsi="http://www.w3.org/2001/XMLSchema-instance"
 3     xsi:schemaLocation="http://maven.apache.org/POM/4.0.0 http://maven.apache.org/xsd/maven-4.0.0.xsd">
 4     <modelVersion>4.0.0</modelVersion>
 5     <artifactId>it-security-app</artifactId>
 6     <parent>
 7         <groupId>com.jun.security</groupId>
 8         <artifactId>it-security</artifactId>
 9         <version>1.0.0-SNAPSHOT</version>
10         <relativePath>../it-security</relativePath>
11     </parent>
12
13     <dependencies>
14         <dependency>
15             <groupId>com.jun.security</groupId>
16             <artifactId>it-security-core</artifactId>
17             <version>${it.security.version}</version>
18         </dependency>
19     </dependencies>
20 </project>
4.it-security-demo的pom
先引一个进行开发。
 1 <project xmlns="http://maven.apache.org/POM/4.0.0" xmlns:xsi="http://www.w3.org/2001/XMLSchema-instance" xsi:schemaLocation="http://maven.apache.org/POM/4.0.0 http://maven.apache.org/xsd/maven-4.0.0.xsd">
 2   <modelVersion>4.0.0</modelVersion>
 3   <artifactId>it-security-demo</artifactId>
 4   <parent>
 5       <groupId>com.jun.security</groupId>
 6       <artifactId>it-security</artifactId>
 7       <version>1.0.0-SNAPSHOT</version>
 8       <relativePath>../it-security</relativePath>
 9   </parent>
10
11   <dependencies>
12       <dependency>
13             <groupId>com.jun.security</groupId>
14             <artifactId>it-security-browser</artifactId>
15             <version>${it.security.version}</version>
16         </dependency>
17   </dependencies>
18 </project>


 1353
1353


 被折叠的 条评论
为什么被折叠?
被折叠的 条评论
为什么被折叠?
 到【灌水乐园】发言


