


参考:https://docs.opencv.org/3.1.0/da/d5c/tutorial_canny_detector.html
代码:
#include "opencv2/imgproc/imgproc.hpp"
#include "opencv2/imgcodecs.hpp"
#include "opencv2/highgui/highgui.hpp"
#include <stdlib.h>
#include <stdio.h>
using namespace cv;
Mat src, src_gray;
Mat dst, detected_edges;
int edgeThresh = 1;
int lowThreshold;
int const max_lowThreshold = 100;
int ratio = 3;
int kernel_size = 3;
const char* window_name = "Edge Map";
static void CannyThreshold(int, void*)
{
    blur( src_gray, detected_edges, Size(3,3) );
    Canny( detected_edges, detected_edges, lowThreshold, lowThreshold*ratio, kernel_size );
    dst = Scalar::all(0);
    src.copyTo( dst, detected_edges);
    imshow( window_name, dst );
}
int main( int, char** argv )
{
  src = imread( argv[1] );
  if( src.empty() )
    { return -1; }
  dst.create( src.size(), src.type() );
  cvtColor( src, src_gray, COLOR_BGR2GRAY );
  namedWindow( window_name, WINDOW_AUTOSIZE );                   // 100
  createTrackbar( "Min Threshold:", window_name, &lowThreshold, max_lowThreshold, CannyThreshold );
  CannyThreshold(0, 0);
  waitKey(0);
  return 0;
}
CMakeLists.txt
cmake_minimum_required(VERSION 2.8)
project(lines)
set(CMAKE_BUILD_TYPE "Release")
set(CMAKE_CXX_FLAGS "-std=c++11")
#-DEIGEN_USE_MKL_ALL")
set(CMAKE_CXX_FLAGS_RELEASE "-O3 -Wall -g")
find_package(OpenCV REQUIRED)


include_directories( ${OpenCV_INCLUDE_DIRS} ${catkin_INCLUDE_DIRS})


add_executable(lines lines.cpp)
target_link_libraries(lines ${catkin_LIBRARIES} ${OpenCV_LIBS})
效果:
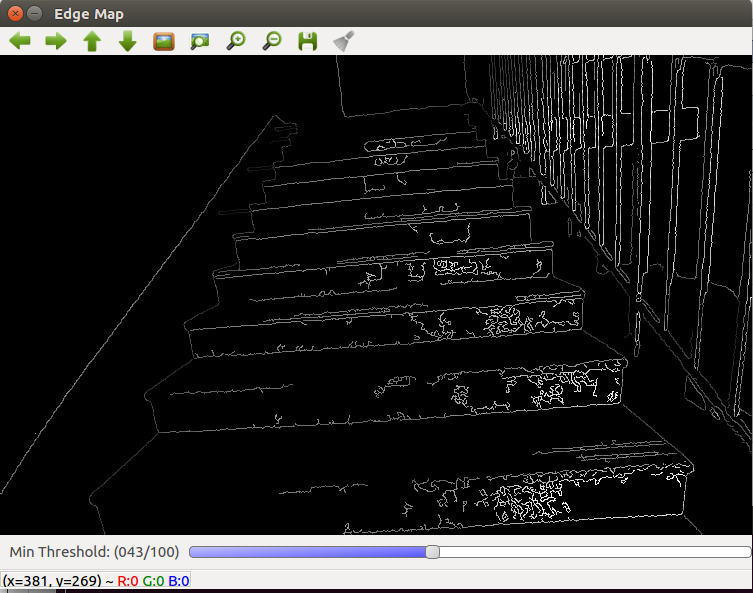
可以通过滑块调节效果。


 337
337


 被折叠的 条评论
为什么被折叠?
被折叠的 条评论
为什么被折叠?
 到【灌水乐园】发言


