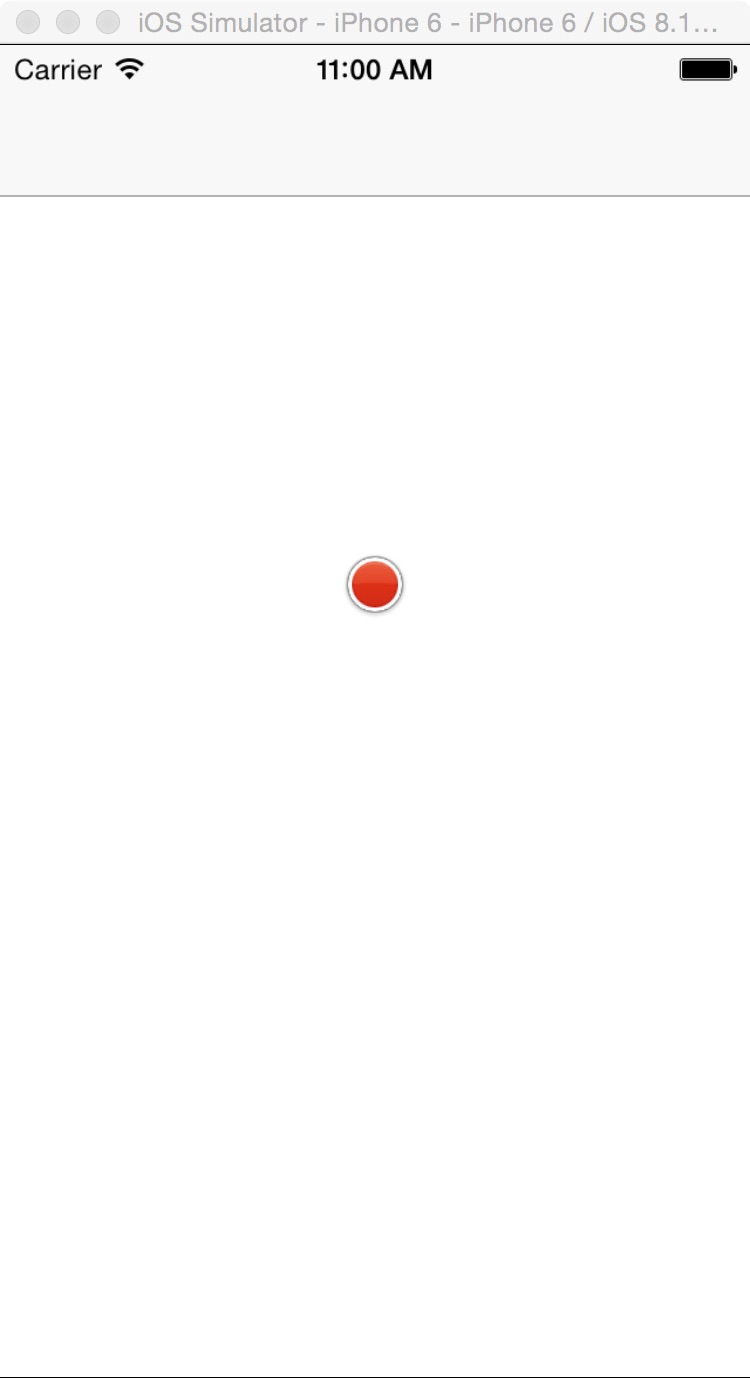
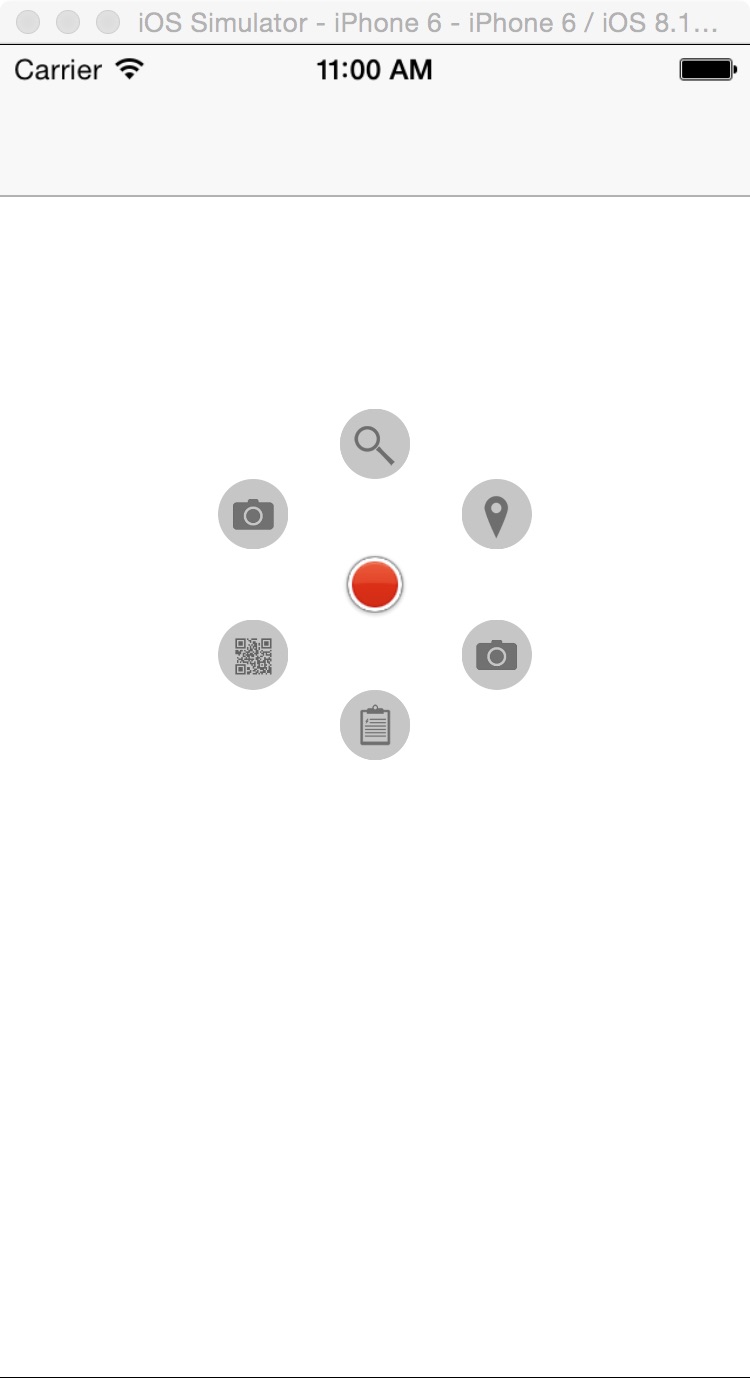
【代码笔记】iOS-点击一个button,出6个button

一,效果图。


二,工程图。

三,代码。

RootViewController.h

复制代码
#import <UIKit/UIKit.h>
//加入头文件
#import "DCPathButton.h"

@interface RootViewController : UIViewController
<DCPathButtonDelegate>

@end
复制代码


RootViewController.m

复制代码
#import "RootViewController.h"

@interface RootViewController ()

@end

@implementation RootViewController

- (id)initWithNibName:(NSString *)nibNameOrNil bundle:(NSBundle *)nibBundleOrNil
{
    self = [super initWithNibName:nibNameOrNil bundle:nibBundleOrNil];
    if (self) {
        // Custom initialization
    }
    return self;
}

- (void)viewDidLoad
{
    [super viewDidLoad];
    // Do any additional setup after loading the view.
    
    self.view.frame = CGRectMake(0, 0, 320, 460);
    self.view.backgroundColor = [UIColor whiteColor];
    DCPathButton *dcPathButton = [[DCPathButton alloc]
                                  initDCPathButtonWithSubButtons:6
                                  totalRadius:60
                                  centerRadius:15
                                  subRadius:15
                                  centerImage:@"custom_center"
                                  centerBackground:nil
                                  subImages:^(DCPathButton *dc){
                                      [dc subButtonImage:@"custom_1" withTag:0];
                                      [dc subButtonImage:@"custom_2" withTag:1];
                                      [dc subButtonImage:@"custom_3" withTag:2];
                                      [dc subButtonImage:@"custom_4" withTag:3];
                                      [dc subButtonImage:@"custom_5" withTag:4];
                                      [dc subButtonImage:@"custom_1" withTag:5];
                                  }
                                  subImageBackground:nil
                                  inLocationX:0 locationY:0 toParentView:self.view];
    dcPathButton.delegate = self;

}
#pragma mark - DCPathButton delegate
- (void)button_0_action{
    NSLog(@"Button Press Tag 0!!");
}

- (void)button_1_action{
    NSLog(@"Button Press Tag 1!!");
}

- (void)button_2_action{
    NSLog(@"Button Press Tag 2!!");
}

- (void)button_3_action{
    NSLog(@"Button Press Tag 3!!");
}

- (void)button_4_action{
    NSLog(@"Button Press Tag 4!!");
}

- (void)button_5_action{
    NSLog(@"Button Press Tag 5!!");
}

- (void)didReceiveMemoryWarning
{
    [super didReceiveMemoryWarning];
    // Dispose of any resources that can be recreated.
}
复制代码


转载于:https://www.cnblogs.com/yang-guang-girl/p/5141113.html

  • 0
    点赞
  • 0
    收藏
    觉得还不错? 一键收藏
  • 0
    评论
以下是一个简单的 Android 笔记应用的代码示例: 1. 首先,在 AndroidManifest.xml 文件中添加以下权限: ```xml <uses-permission android:name="android.permission.WRITE_EXTERNAL_STORAGE"/> ``` 2. 在 activity_main.xml 中添加一个 EditText 元素和两个 Button 元素,以便用户输入笔记并保存或加载笔记: ```xml <EditText android:id="@+id/editText" android:layout_width="match_parent" android:layout_height="wrap_content" android:hint="Enter note here"/> <Button android:id="@+id/saveButton" android:layout_width="wrap_content" android:layout_height="wrap_content" android:text="Save"/> <Button android:id="@+id/loadButton" android:layout_width="wrap_content" android:layout_height="wrap_content" android:text="Load"/> ``` 3. 在 MainActivity.java 文件中编写以下代码: ```java import android.os.Bundle; import android.os.Environment; import android.view.View; import android.widget.Button; import android.widget.EditText; import android.widget.Toast; import java.io.BufferedReader; import java.io.File; import java.io.FileInputStream; import java.io.FileOutputStream; import java.io.InputStreamReader; public class MainActivity extends AppCompatActivity { EditText editText; Button saveButton, loadButton; String fileName = "note.txt"; @Override protected void onCreate(Bundle savedInstanceState) { super.onCreate(savedInstanceState); setContentView(R.layout.activity_main); editText = findViewById(R.id.editText); saveButton = findViewById(R.id.saveButton); loadButton = findViewById(R.id.loadButton); saveButton.setOnClickListener(new View.OnClickListener() { @Override public void onClick(View view) { String text = editText.getText().toString(); try { File file = new File(Environment.getExternalStorageDirectory().getAbsolutePath() + "/" + fileName); FileOutputStream fos = new FileOutputStream(file); fos.write(text.getBytes()); fos.close(); Toast.makeText(MainActivity.this, "Note saved to " + fileName, Toast.LENGTH_SHORT).show(); } catch (Exception e) { e.printStackTrace(); } } }); loadButton.setOnClickListener(new View.OnClickListener() { @Override public void onClick(View view) { try { File file = new File(Environment.getExternalStorageDirectory().getAbsolutePath() + "/" + fileName); FileInputStream fis = new FileInputStream(file); BufferedReader br = new BufferedReader(new InputStreamReader(fis)); StringBuilder sb = new StringBuilder(); String line; while ((line = br.readLine()) != null) { sb.append(line); } br.close(); fis.close(); editText.setText(sb.toString()); Toast.makeText(MainActivity.this, "Note loaded from " + fileName, Toast.LENGTH_SHORT).show(); } catch (Exception e) { e.printStackTrace(); } } }); } } ``` 4. 运行应用程序并测试保存和加载笔记的功能。 注意:这只是一个简单的笔记应用程序示例,未进行任何输入验证或错误处理。在实际应用程序中,您可能需要添加更多的代码来确保应用程序的稳定性和安全性。

“相关推荐”对你有帮助么?

  • 非常没帮助
  • 没帮助
  • 一般
  • 有帮助
  • 非常有帮助
提交
评论
添加红包

请填写红包祝福语或标题

红包个数最小为10个

红包金额最低5元

当前余额3.43前往充值 >
需支付:10.00
成就一亿技术人!
领取后你会自动成为博主和红包主的粉丝 规则
hope_wisdom
发出的红包
实付
使用余额支付
点击重新获取
扫码支付
钱包余额 0

抵扣说明:

1.余额是钱包充值的虚拟货币,按照1:1的比例进行支付金额的抵扣。
2.余额无法直接购买下载,可以购买VIP、付费专栏及课程。

余额充值