


 本文介绍如何使用Vue框架实现类似王者荣耀游戏的摇杆控制。通过三层UI布局,包括杆头、杆体和底座,限制拖拽在圆形区域内,并计算角度和力度。杆体的伸缩和旋转通过CSS变换完成。此外,文章还讨论了组件化封装和不同类型的摇杆UI实现,并提供源码仓库链接。
前言
最早实现这个效果,是2011年用Objective-C在iOS里实现的。原仓库地址:https://code.google.com/archive/p/ccjoystick/downloads
在Vue里实现这个东西没啥用处,毕竟Vue也不是一个游戏框架,但是谁叫Vue这个话题的热度最高呢,写文章还是希望被更多人看到嘛...
印象里我在不同时期曾经用三种语言分别实现过这个案例。所以无论用什么框架、语言,只要你了解背后的原理,都很容易实现。
三层UI
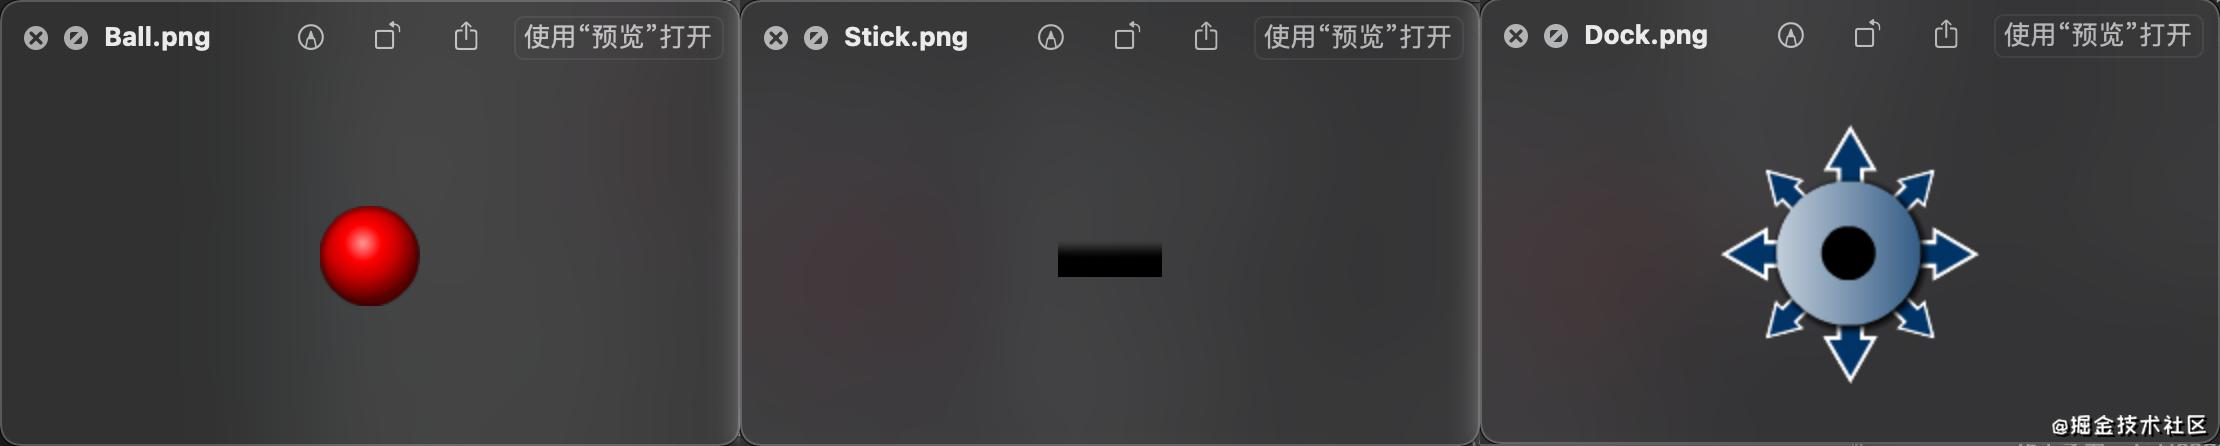
全部UI分为三层
- 第一层是杆头,尺寸不会变化,拖拽的视觉效果区。
- 第二层是杆体,高度可拉伸,用于拟物流模仿真实感。
- 第三层是底,只是放在画面中,为了让视觉感受更完整。
当然没有第二层和第三层是不影响摇杆功能的,但谁叫我是一个拟物流的前端偏执狂呢?
把这三个层通过绝对定位+z-index叠起来,通过设置touch事件让杆头可以拖动。为了让大家看得清楚层级,我们先把杆头变透明。
圆形的拖拽区
摇杆嘛,圆形的洞里有根杆(不要污呀),所以我们必须
 最低0.47元/天 解锁文章


 880
880

 被折叠的 条评论
为什么被折叠?
被折叠的 条评论
为什么被折叠?
 到【灌水乐园】发言


