


目录
第一部分 iOS6新内容
第二部分 从每天工具中获取更多(介绍日常使用控件和框架的潜力)
第三部分 完成任务的正确工具(介绍不是那么常用的控件和框架)
第四部分 发挥到极限(深入理解iOS)
前言
本书不适合没有iOS基础和实践经验的读者,更适合那些已经开发了一个app有一定经验的读者。着重点更多在于为什么这么做,而不是如何实现。更多关注设计模式,如何设计,编写ios app,选择合适的工具来解决日常开发遇到的问题。
源码地址
The Code | iOS 7 Programming: Pushing the limits
http://iosptl.com/code/
iosptl/ios7ptl · GitHub
https://github.com/iosptl/ios7ptl
iOS 绘图代码
Chapter 8 Better Drawing
绘制直线
#import "LineView.h"

@implementation LineView


- (void)drawRect:(CGRect)rect {

    CGContextRef context=UIGraphicsGetCurrentContext();

    CGContextSetStrokeColorWithColor(context, [UIColor blueColor].CGColor);

    CGContextSetLineWidth(context, 3.0);
    // Draw 3pt horizontal line from {10,100} to {200,100}

    CGContextMoveToPoint(context, 10.0, 100.0);
    CGContextAddLineToPoint(context, 200.0, 100.0);
    CGContextStrokePath(context);


    // Draw 3pt horizontal line from {10,105.5} to {200,105.5}
    CGContextMoveToPoint(context, 10.0, 105.5);
    CGContextAddLineToPoint(context, 200.0, 105.5);
    CGContextStrokePath(context);

}


@end
vc中调用
  LineView *lineView=[[LineView alloc]initWithFrame:self.view.bounds];
  lineView.backgroundColor=[UIColor whiteColor];
  [self.view addSubview:lineView];
绘制贝赛尔曲线

#import "FlowerView.h"

@implementation FlowerView
- (void)drawRect:(CGRect)rect {
    CGSize size = self.bounds.size;
    CGFloat margin = 10;
    CGFloat radius = rint(MIN(size.height - margin,
                              size.width - margin) / 4);
    CGFloat xOffset, yOffset;
    CGFloat offset = rint((size.height - size.width) / 2);
    if (offset > 0) {
        xOffset = rint(margin / 2);
        yOffset = offset;
    }
    else {
        xOffset = -offset;
        yOffset = rint(margin / 2);
    }
    [[UIColor redColor] setFill];
    UIBezierPath *path = [UIBezierPath bezierPath];
    [path addArcWithCenter:CGPointMake(radius * 2 + xOffset,15)
                    radius:radius
                startAngle:-M_PI
                  endAngle:0
                 clockwise:YES];

    [path addArcWithCenter:CGPointMake(radius * 3 + xOffset,
                                       radius * 2 + yOffset)
                    radius:radius
                startAngle:-M_PI_2
                  endAngle:M_PI_2
                 clockwise:YES];
    [path addArcWithCenter:CGPointMake(radius*2+xOffset,
                                       radius*3+yOffset)
                    radius:radius
                startAngle:0
                  endAngle:M_PI clockwise:YES];

    [path addArcWithCenter:CGPointMake(radius*2+xOffset,
                                       radius*3+yOffset)
                    radius:radius
                startAngle:0
                  endAngle:M_PI
                 clockwise:YES];
    [path addArcWithCenter:CGPointMake(radius + xOffset,
                                       radius * 2 + yOffset)
                    radius:radius
                startAngle:M_PI_2
                  endAngle:-M_PI_2
                 clockwise:YES];
    [path closePath];
    [path fill];


}
在vc中调用
  FlowerView *flowerView=[[FlowerView alloc]initWithFrame:self.view.bounds];

  [self.view addSubview:flowerView];
绘制股票曲线图
效果图如下所示

#import "GraphView.h"


@implementation GraphView {
    dispatch_source_t _timer;
}
const CGFloat kXScale = 5.0;
const CGFloat kYScale = 100.0;
static inline CGAffineTransform
CGAffineTransformMakeScaleTranslate(CGFloat sx, CGFloat sy,
                                    CGFloat dx, CGFloat dy) {
    return CGAffineTransformMake(sx, 0.f, 0.f, sy, dx, dy);
}
- (void)awakeFromNib {
    [super awakeFromNib];
    [self setContentMode:UIViewContentModeRight];
    _values = [NSMutableArray array];
    __weak id weakSelf = self;

    //设定绘图的间隔时间
    double delayInSeconds = 0.25;
    _timer =
    dispatch_source_create(DISPATCH_SOURCE_TYPE_TIMER, 0, 0,
                           dispatch_get_main_queue());
    dispatch_source_set_timer(
                              _timer, dispatch_walltime(NULL, 0),
                              (unsigned)(delayInSeconds * NSEC_PER_SEC), 0);
    dispatch_source_set_event_handler(_timer, ^{
        [weakSelf updateValues];
    });
    dispatch_resume(_timer);
}
- (void)updateValues {
    double nextValue = sin(CFAbsoluteTimeGetCurrent())
    + ((double)rand()/(double)RAND_MAX);
    [self.values addObject:
     [NSNumber numberWithDouble:nextValue]];
    CGSize size = self.bounds.size;
    CGFloat maxDimension = MAX(size.height, size.width);
    NSUInteger maxValues =
    (NSUInteger)floorl(maxDimension / kXScale);
    if ([self.values count] > maxValues) {
        [self.values removeObjectsInRange:
         NSMakeRange(0, [self.values count] - maxValues)];
    }
    [self setNeedsDisplay];
}

- (void)drawRect:(CGRect)rect {
    if ([self.values count] == 0) {
        return; }
    CGContextRef ctx = UIGraphicsGetCurrentContext();
    CGContextSetStrokeColorWithColor(ctx,
                                     [[UIColor redColor] CGColor]);
    CGContextSetLineJoin(ctx, kCGLineJoinRound);
    CGContextSetLineWidth(ctx, 5);
    CGMutablePathRef path = CGPathCreateMutable();
    CGFloat yOffset = self.bounds.size.height / 2;
    CGAffineTransform transform =
    CGAffineTransformMakeScaleTranslate(kXScale, kYScale,
                                        0, yOffset);
    CGFloat y = [[self.values objectAtIndex:0] floatValue];
    CGPathMoveToPoint(path, &transform, 0, y);
    for (NSUInteger x = 1; x < [self.values count]; ++x) {
        y = [[self.values objectAtIndex:x] floatValue];
        CGPathAddLineToPoint(path, &transform, x, y);
    }
    CGContextAddPath(ctx, path);
    CGPathRelease(path);
    CGContextStrokePath(ctx);
}
@end
在vc中调用
需要创建一个xib文件和一了类,然后将xib的class设置为GraphView
  NSArray * nib = [[NSBundle mainBundle]loadNibNamed:@"GraphView"
                                                 owner:self options:nil] ;
    GraphView *graphView= [nib lastObject];
    [self.view addSubview:graphView];
对文字进行渲染
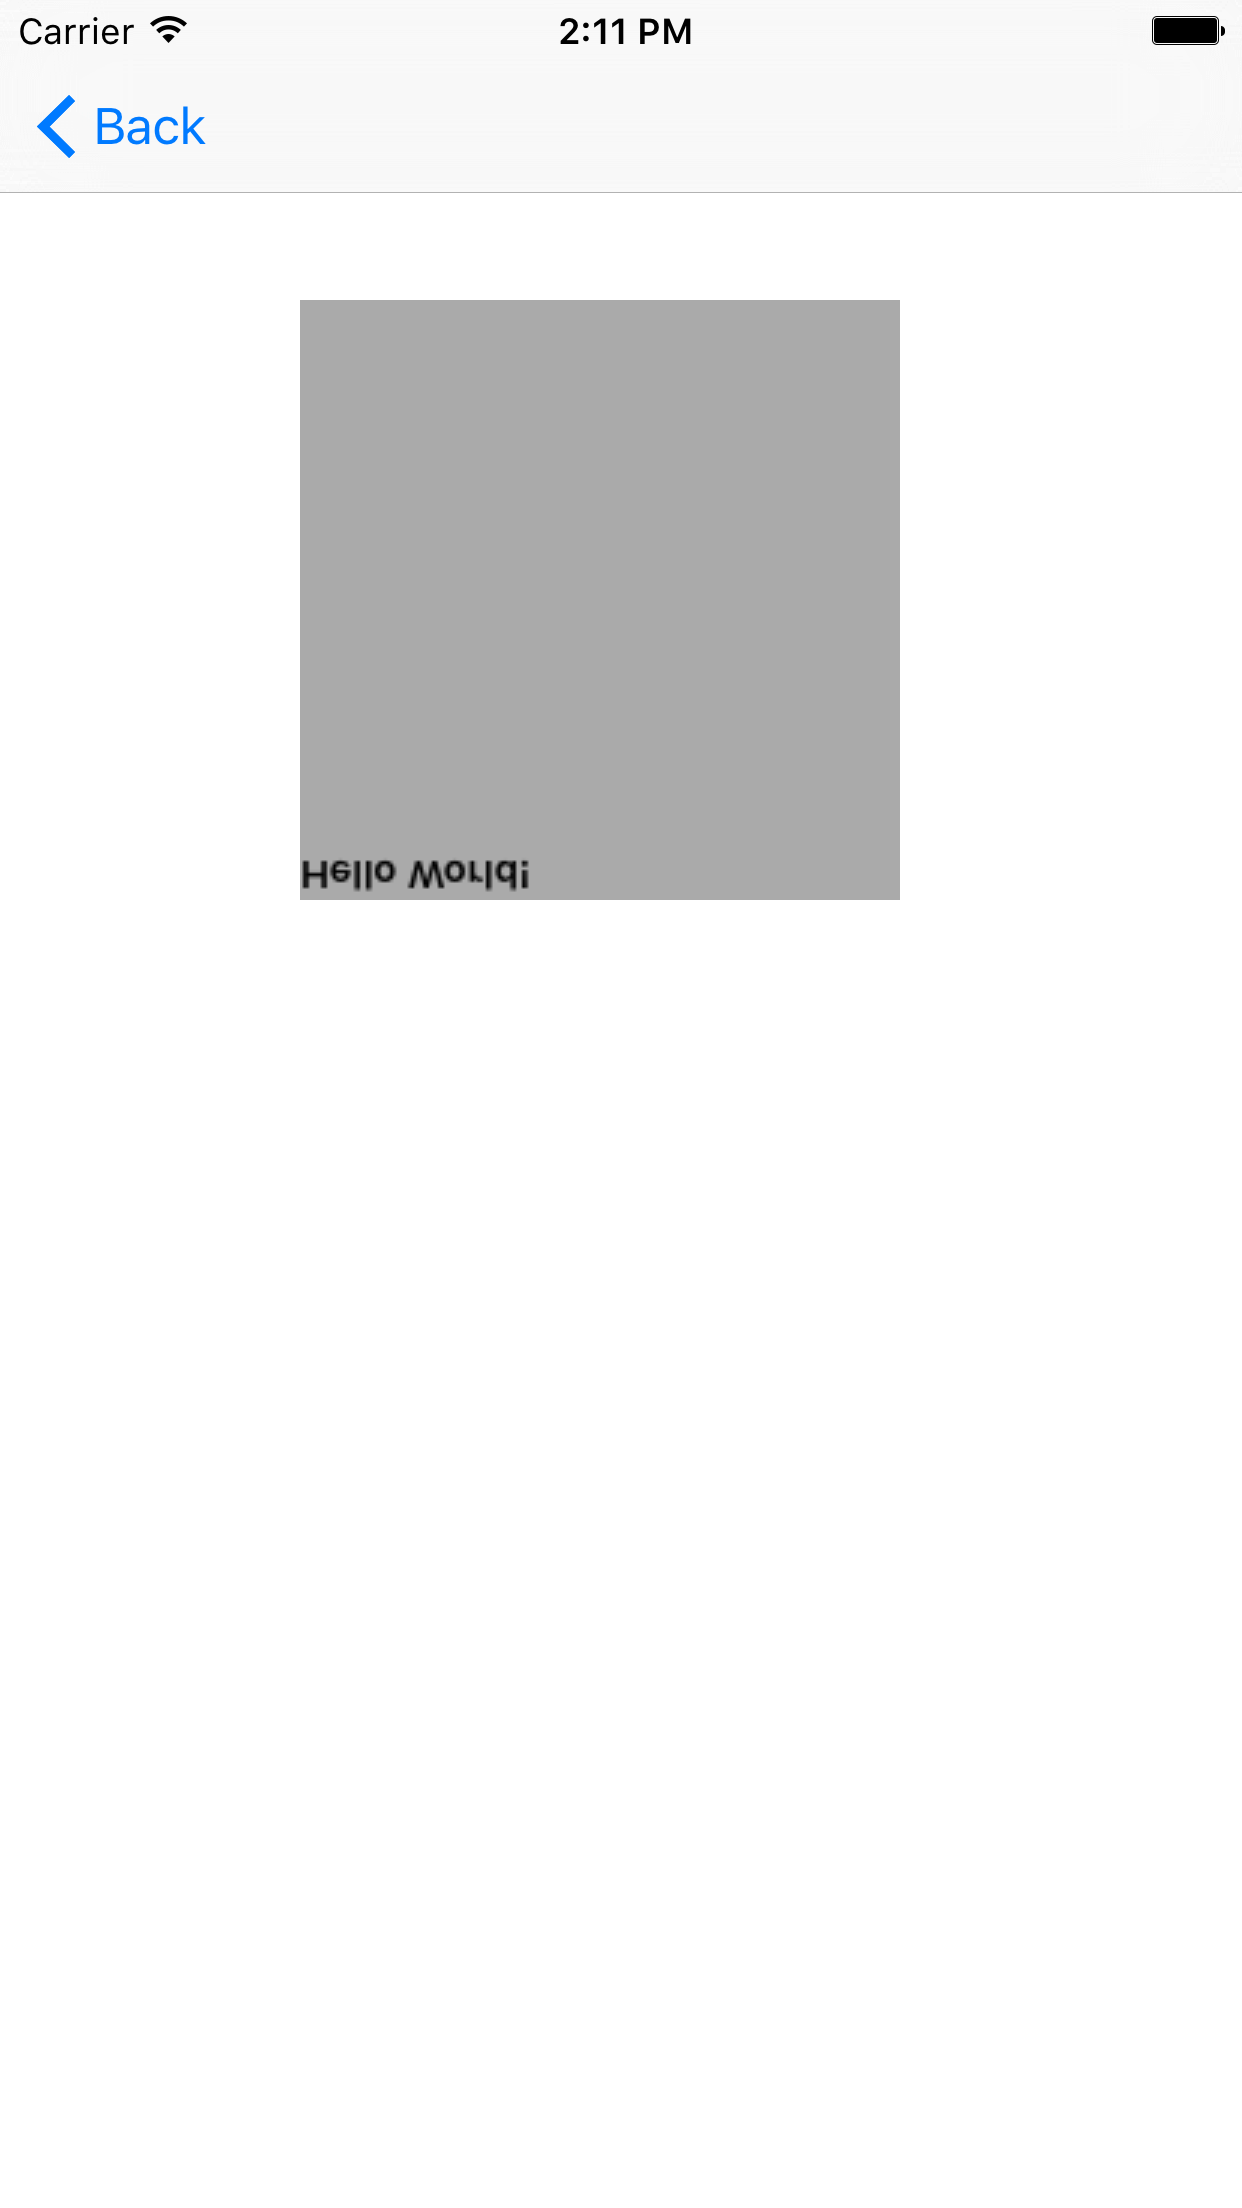
-(UIImage *)reverseImageForText:(NSString *)text{

    const size_t kImageWidth=200;
    const size_t kImageHeight=200;
    CGImageRef textImage=NULL;
    UIFont *font=[UIFont boldSystemFontOfSize:13.0];

    UIGraphicsBeginImageContext(CGSizeMake(kImageWidth, kImageHeight));
    [[UIColor redColor]set];
    [text drawInRect:CGRectMake(0, 0, kImageWidth, kImageHeight)
    withAttributes:@{NSFontAttributeName:font}];

    textImage=UIGraphicsGetImageFromCurrentImageContext().CGImage;
    UIGraphicsEndImageContext();

    return [UIImage imageWithCGImage:textImage scale:1.0 orientation:UIImageOrientationDownMirrored];


}
调用
    UIImageView *imageView=[[UIImageView alloc]initWithFrame:CGRectMake(100, 100, 200, 200)];
    imageView.image= [self reverseImageForText:@"Hello World!"];
    imageView.backgroundColor=[UIColor lightGrayColor];
    [self.view addSubview:imageView];
iOS 需要重新绘制整个视图
setNeedsDisplay,如果只想绘制部分视图,可以使用CALayer
CGLayer高效的一种绘图
旋转的文字效果
#import "LayerView.h"

@implementation LayerView


// Only override drawRect: if you perform custom drawing.
// An empty implementation adversely affects performance during animation.
- (void)drawRect:(CGRect)rect {

        static CGLayerRef sTextLayer = NULL;
        CGContextRef ctx = UIGraphicsGetCurrentContext();
        if (sTextLayer == NULL) {
            CGRect textBounds = CGRectMake(0, 0, 200, 100);
            sTextLayer = CGLayerCreateWithContext(ctx,
                                                  textBounds.size,
                                                  NULL);
            CGContextRef textCtx = CGLayerGetContext(sTextLayer);
            CGContextSetRGBFillColor (textCtx, 1.0, 0.0, 0.0, 1);
            UIGraphicsPushContext(textCtx);
            UIFont *font = [UIFont systemFontOfSize:13.0];
            [@"Pushing The Limits" drawInRect:textBounds withFont:font];
            UIGraphicsPopContext();
        }

            CGContextTranslateCTM(ctx, self.bounds.size.width / 2,
                                  self.bounds.size.height / 2);
            for (NSUInteger i = 0; i < 10; ++i) {
                CGContextRotateCTM(ctx, 2 * M_PI / 10);
                CGContextDrawLayerAtPoint(ctx,
                                          CGPointZero,
                                          sTextLayer);
            }

}


@end
调用代码
   LayerView *layerView=[[LayerView alloc]initWithFrame:self.view.bounds];
    layerView.backgroundColor=[UIColor whiteColor];

    [self.view addSubview:layerView];
效果图
UIView animation
frame位移的动画
#import "ViewController.h"

@interface ViewController ()

@property (nonatomic,strong) UIView *circleView;

@end

@implementation ViewController


- (void)viewDidLoad {
    [super viewDidLoad];
    self.circleView = [[UIView alloc] initWithFrame:
                       CGRectMake(100, 100, 20, 20)];
    self.circleView.center = CGPointMake(100, 20);
    self.circleView.backgroundColor=[UIColor redColor];
    [[self view] addSubview:self.circleView];
    UITapGestureRecognizer *g;
    g = [[UITapGestureRecognizer alloc]
         initWithTarget:self
         action:@selector(dropAnimate)];
    [[self view] addGestureRecognizer:g];
}

- (void)dropAnimate {
    [UIView animateWithDuration:3 animations:^{
        self.circleView.center = CGPointMake(100, 300);
    }];
}
UIView animation只提供基本的动画功能,不支持3d,更多效果需要使用core animation的CALayer
CALayer只负责绘图,不处理用户事件
tableview的内容
下拉刷新和上拉加载更多
下拉刷新可以用UIRefreshControl
上拉加载更多可以自己封装一个tableview的superClass在最后加上section,显示加载更多的内容
键盘遮挡的一种解决方法
通过接收键盘出现的通知,将tableview的高度减去键盘的高度。接收键盘消失的通知,加上键盘的高度,这样就OK。


 5844
5844

 被折叠的 条评论
为什么被折叠?
被折叠的 条评论
为什么被折叠?
 到【灌水乐园】发言


