


我们的目标是生成zedboard的启动文件首先需要工具和输入文件: Tools Required Xilinx SDK Input Files Required FSBL u-boot uImage uRamDisk.image.gz devicetree.dtb Output Files Produced boot.bin
首先需要安装一些必要的软件包 sudo apt-get install device-tree-compiler openssl-devel libncurses5-dev libncursesw5-dev u-boot-tools
一、uboot编译 第一步:下载uboot源代码,(https://github.com/Xilinx/u-boot-xlnx/releases/tag/xilinx-v2016.3) 我已经上传百度云盘(https://pan.baidu.com/s/1dE4jOm1)
第二步:su 进入超级权限 sudo tar -zxvf xilinx-v2016.3.tar.gz cd u-boot-xlnx-xilinx-v2016.3/tools/ export PATH=pwd:$PATH
第三步:返回u-boot-xlnx-xilinx-v2016.3目录下 make ARCH=arm zynq_zed_config make ARCH=arm 编译后得到的u-boot无后缀名,其实为zedboard可执行文件elf格式,供FSBL生成boot.bin使用,u-boot.bin为二进制格式 二、linux内核编译 第一步:然后下载xilinx的linux源代码(https://github.com/Xilinx/linux-xlnx/releases) 我已经上传百度云盘(https://pan.baidu.com/s/1jIykq5g) 第二步:su 进入超级权限 make ARCH=arm xilinx_zynq_defconfig make ARCH=arm menuconfig (exit) make ARCH=arm UIMAGE_LOADADDR=0x8000 uImage 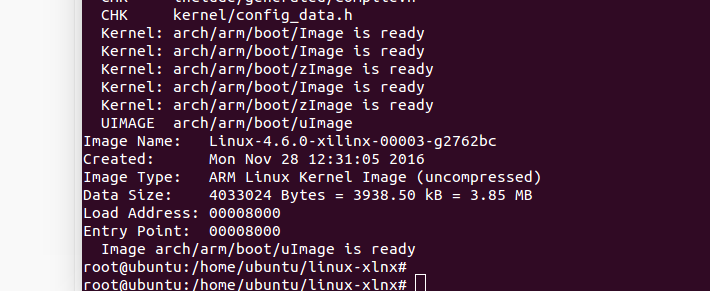 三、devictree编译 在当前目录下执行make ARCH=arm dtbs
未完待续。。。。。。。。。。。。。。。。 最后于u-boot-xlnx-xilinx-v2016.3目录下将u-boot复制到/home目录下 最后于linux-xlnx/arch/arm/boot目录下,将uImage复制到/home目录下下; 最后于linux-xlnx/arch/arm/boot/dts/目录下,将zynq-zed.dtb是复制到/home目录并改名为devicetree.dtb;


 646
646

 被折叠的 条评论
为什么被折叠?
被折叠的 条评论
为什么被折叠?
 到【灌水乐园】发言


