


You will need:
- Root (or sudo) access on a compute host capable of running your virtual machine. Ideally, this will be a node in your Nova cluster. If one of the nodes in your Nova cluster is also running the glance service, pick that one, as the “Upload to Glance” step will then not need to traverse the network. The host should have ~60GB of free space if it is also a glance host, or ~30GB free space otherwise, assuming you are creating a 30GB Windows image.
- A Windows installation ISO. If you are using Volume License or Multiple Activation keys (and you should be), you should download a VL build. If you have an MSDN Operating Systems (or higher) subscription, installation ISOs are available here. If you are using Volume Licensing (and you should be) you won’t need to worry about fetching a license key as it will be baked into the installation ISO. Save the ISO somewhere on the compute host.
- Fedora para-virtualized Storage and Network drivers, in ISO format, available here. Save the ISO somewhere on the compute host.
- A VNC client.
- Some way of accessing the VNC server on the compute node (e.g. an SSH tunnel) - more on that below.
Step 1: Create the virtual hard disk image
We need to create a virtual hard disk image (a file) for the installation process to install into. This file can be in any format that Nova accepts, but we will be using the qcow2 format as it is generally well-tested in Nova. We use the qemu-imgtool to create the image, as follows:
| 1 | $ sudo qemu-img create -f qcow2 <image> <size>
|
For example, if we want to create a 30GB image named win7sp1_x64_vlk.qcow2:
| 12 | $ qemu-img create -f qcow2 win7sp1_x64_vlk.qcow2 30G
Formatting 'win7sp1_x64_vlk.qcow2', fmt =qcow2 size =32212254720 encryption =off cluster_size =65536
|
Step 2: Boot the VM for the first time
To boot the VM, we use the kvm command, with the following options:
- -m <memory> - specifies the amount of memory to give the VM, in megabytes.
- -cdrom <windows installation ISO> - mounts the installation ISO in the (first) CDROM drive.
- -drive file=<image>,if=virtio - mounts the virtual hard disk image as the first hard drive.
- -drive file=<driver ISO>,index=3,media=cdrom - mounts the driver ISO as the third drive, and treats it as a CDROM.
- -net nic,model=virtio - creates a para-virtualized network interface.
- -net user - tells KVM to use “user mode” networking, which is simplest for installation tasks.
- -nographic - disables KVM’s graphical output, as we will be accessing the VM via VNC
- -vnc :<display> - starts a VNC server on the specified display (which translates to a port number of <display> + 5900).
- -usbdevice tablet - tells KVM that our mouse device is a “tablet”, which will prevent mouse pointer “skew” due to mouse acceleration.
A good reference on KVM options is available here.
For example, to boot a vm with:
- 2GB of memory
- using the installation ISO en_windows_7_professional_with_sp1_vl_build_x64_dvd_u_677791.iso
- using the virtual hard disk image win7sp1_x64_vlk.qcow2
- using the para-virtualized driver ISO virtio-win-0.1-52.iso
- and running a VNC server on port 5909,
we would run the command:
| 1 | $ sudo kvm -m 2048 -cdrom en_windows_7_professional_with_sp1_vl_build_x64_dvd_u_677791.iso -drive file =win7sp1_x64_vlk.qcow2,if =virtio -drive file =virtio-win-0.1-52.iso,index =3,media =cdrom -net nic,model =virtio -net user -nographic -vnc :9 -usbdevice tablet
|
If all goes well, the command will sit there and not report anything to the console.
Step 3: Connect to the VNC console
If you have direct access to the compute host, and used the above command to boot your VM (i.e., you selected display9), you can connect to the VNC session directly at <compute node>:9.
If your compute host is behind a ‘jump’ server of some sort, you may need to set up an SSH tunnel:
| 1 | ssh -L<vnc port>:<compute node>:<vnc port> <account>@<jump server>
|
where <vnc port> is the <display> you specified above + 5900.
For example:
| 1 | $ ssh -L5909:node1:5909 me@jumpserver.example.com
|
And then connect to the VNC session at localhost:9.
Step 4: Install the Operating System
Welcome screen
You should be greeted by a Welcome Screen when you first connect to the VNC session. Select your Language, Time and currency format, and Keyboard or input method, and select “Next”:

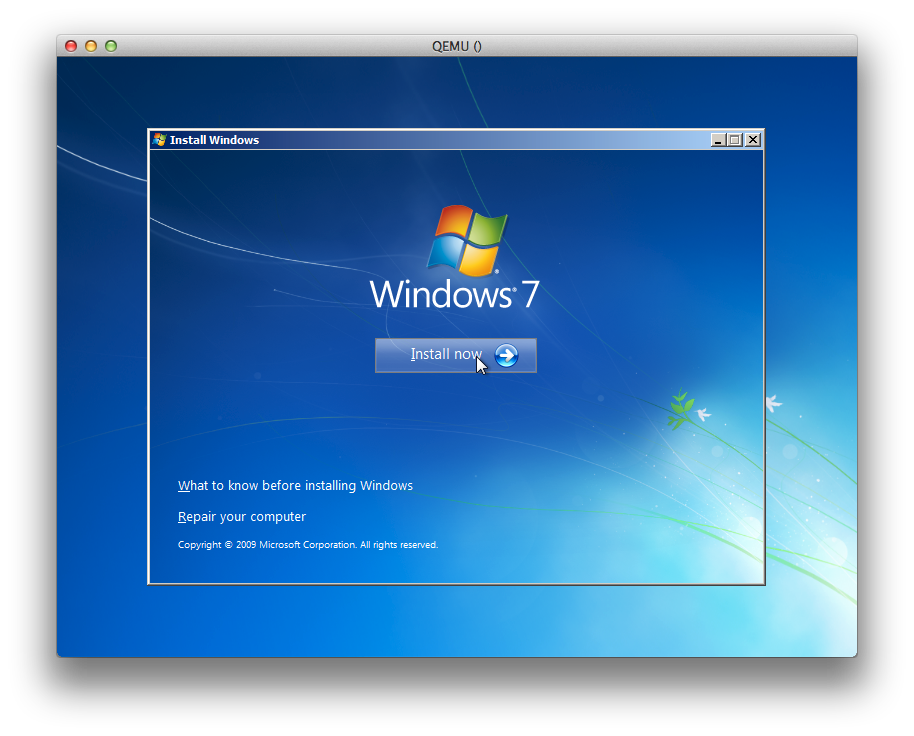
Installation screen
You should we presented with an installation screen. Select “Install now”:
EULA screen
After some time you will be presented with an EULA screen. Assuming the license terms are acceptable to you, select the “I accept the license terms” checkbox and select “Next”:

Installation type
You will be prompted to select which type of installation you want. Since this is a new installation, select “Custom (advanced)”:

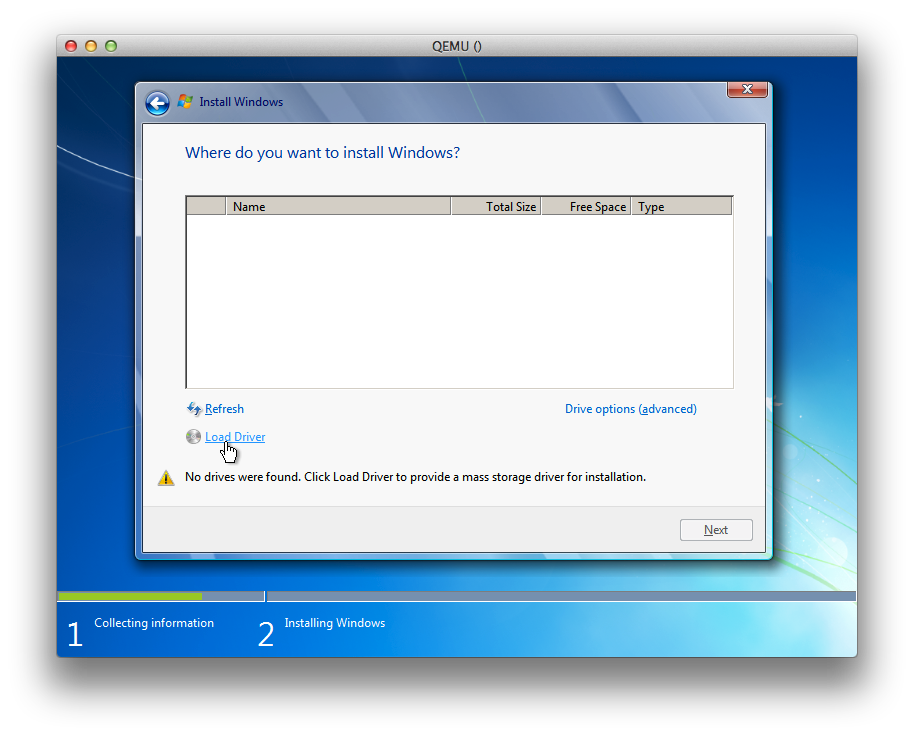
Installation target
You will be presented with a screen asking where you wish to install Windows. At this point Windows does not know how to talk to your para-virtualized virtual hard disk, so you will need to load the para-virtualized drivers from the driver ISO. Select “Load Driver”:
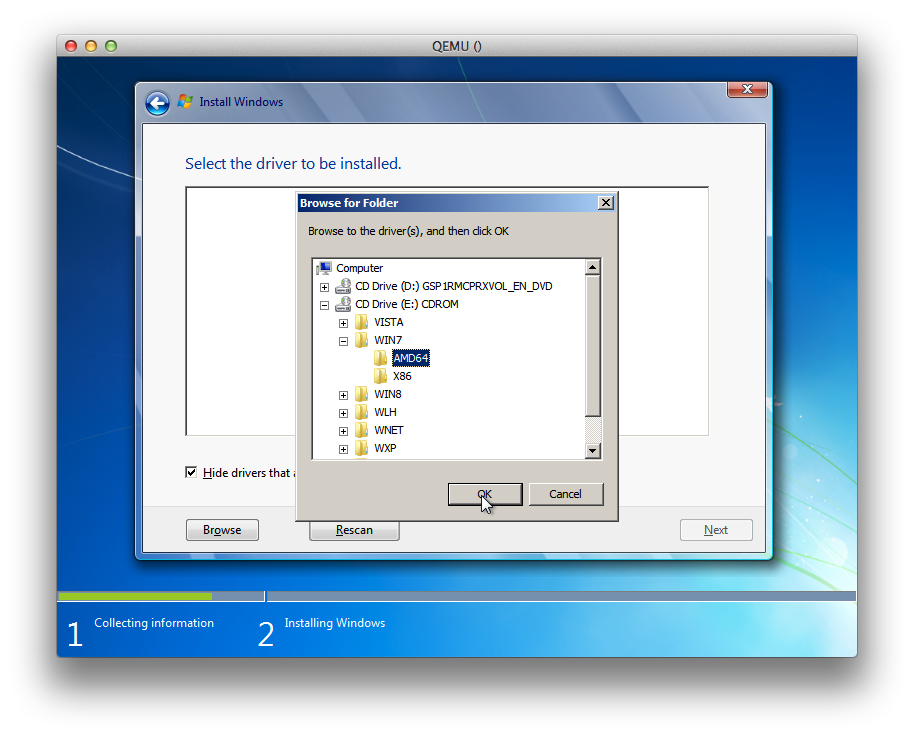
You will be presented with a screen asking you to select the driver to be installed. The driver we wish to use is on a virtual CD, but we must navigate to the path on the CD where it is located. Select “Browse”:

Browse to the E:\<version>\AMD64 folder (if you are installing a 64-bit version of Windows) or E:\<version>\X86 folder (if you are installing a 32-bit version of Windows). <version> should be WIN7 for Windows 7 and Windows Server 2008, or WIN8 for Windows 8 and Windows Server 2012.
For example, for Windows 7 64-bit edition, browse to E:\WIN7\AMD64 and select “OK”:
You will then be presented with a choice of drivers to install. Highlight the “Red Hat VirtIO SCSI controller” and select “Next”:

You will once again be presented with a screen asking where you wish to install Windows. At this point Windows has found your un-initialized virtual hard disk. Select “Next”:

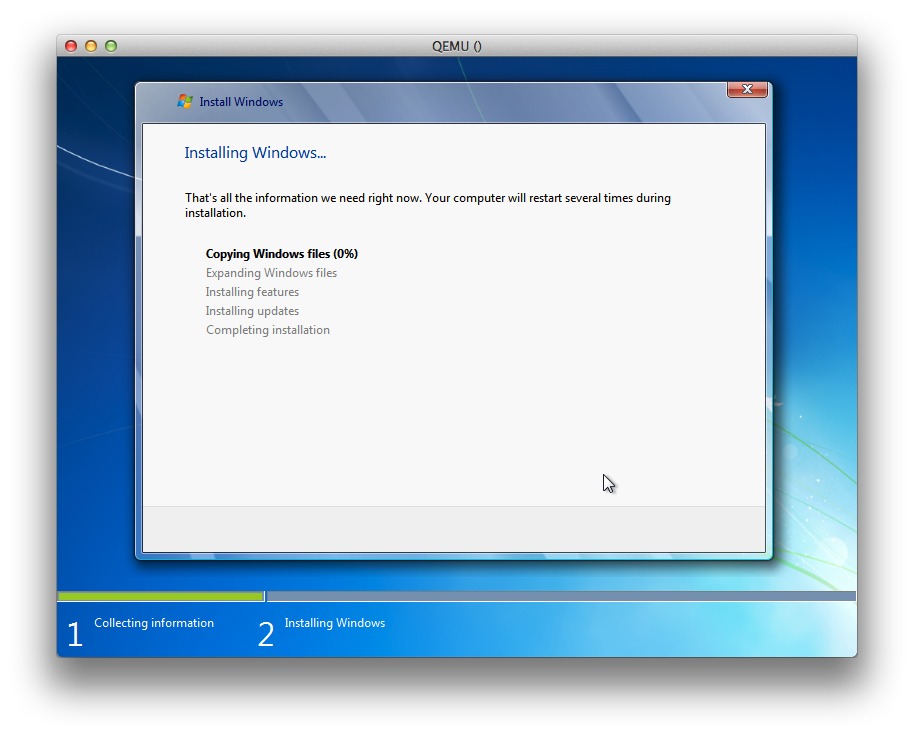
Windows installation
Windows installation will begin:
After some time, Windows will reboot and come back to the installation screen:

Windows will reboot once more and enter initial Windows setup.
Step 4: Initial Windows setup
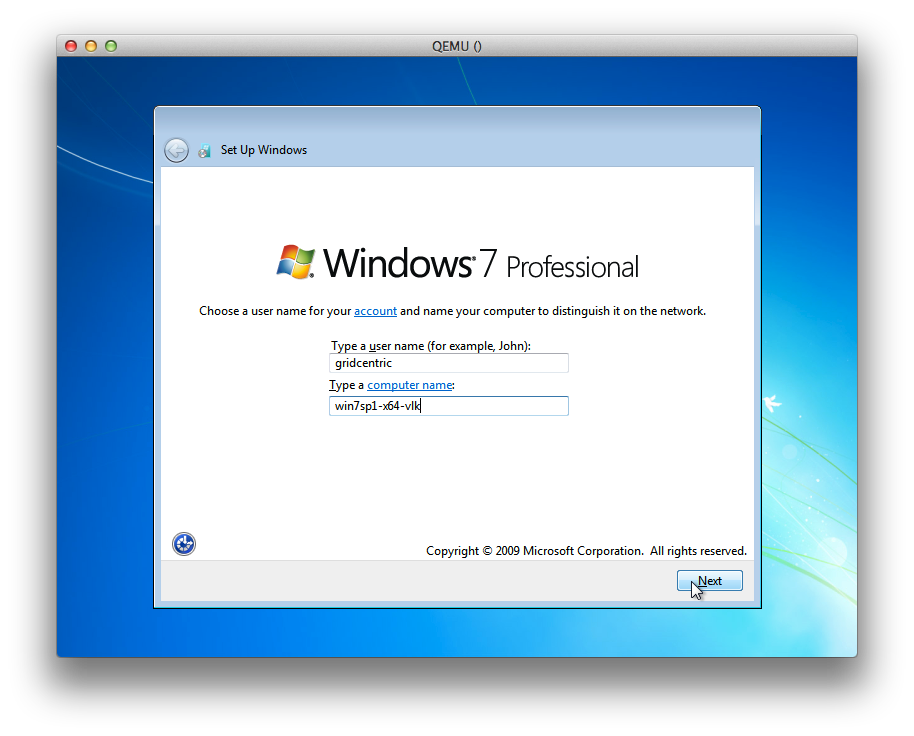
Account creation
At the “Set Up Windows” screen, type a user name and computer name and select “Next”:
You wil be prompted to set a password and password hint for the account. Enter a password and password hint and select “Next”:

Security
You will be prompted to choose a security level:

Select whichever you wish - however, if you will be performing automated image updating or running automated GUI scripts on your image you may wish to select “Ask me later” and disable the associated pop-ups in the Action Center. If you will be running sysprep later on in the image process your security setting will get thrown away anyhow.
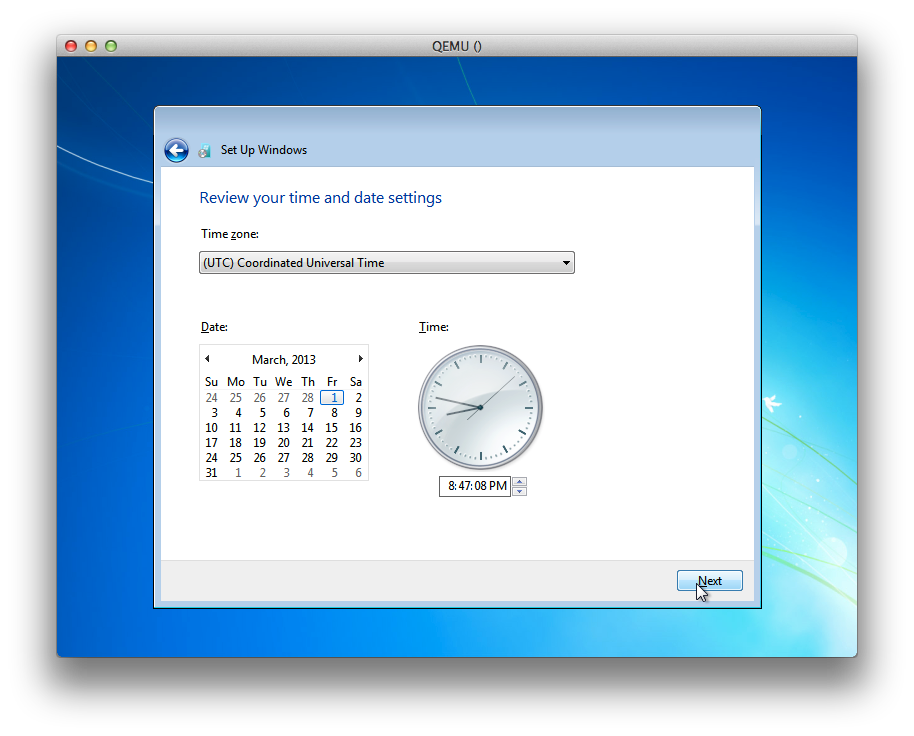
Time and Date
You will be prompted to set the time and date. If you are using a Key Management Server (KMS), the clock on your Windows instances must differ by no more than 4 hours from that of the KMS. You may notice that the VM has correctly determined the time, in UTC, despite possibly showing a non-UTC Time zone. For now, it may be best to simply select UTC. If you will be running sysprep later on in the image process your timezone choice will get thrown away.
Select a timezone, set the time and date, and select “Next”:
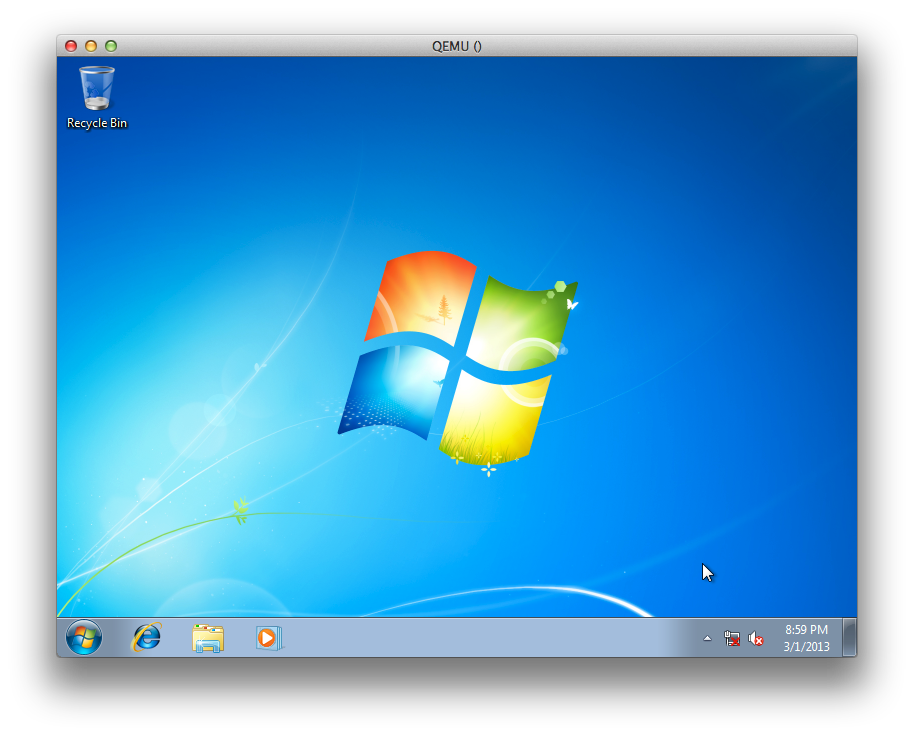
After some brief status screens, you will be presented with your Windows desktop:
Step 5: Basic post-setup tweaking
Installing the para-virtualized network driver
In order to use networking you will need to install the para-virtualized network driver.
Start the “Device Manager” (you can click the “Start” button and start typing “Device Manager” and eventually it will show up in the list):

You should see the “Ethernet Controller” leaf under the “Other devices” subtree. It will have a yellow warning icon indicating that it isn’t configured properly:

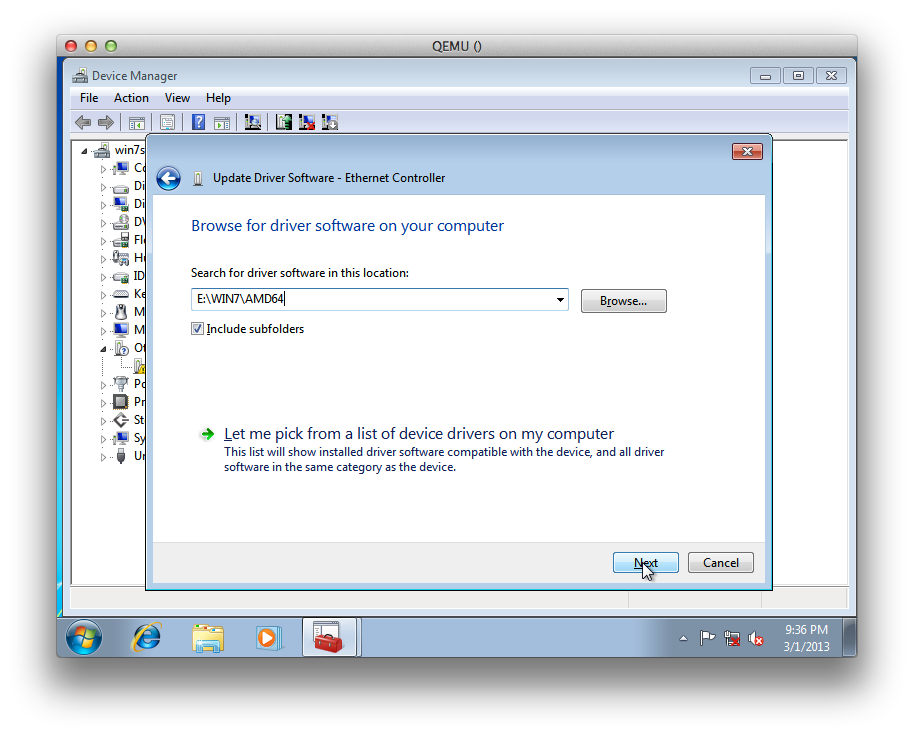
Right-click “Ethernet Controller” and select “Update Driver Software…”. You will be presented with a screen asking how you want to search for driver software. Select “Browse my computer for driver software”:

Enter the path E:\<version>\AMD64 (if you are installing a 64-bit version of Windows) or E:\<version>\X86 (if you are installing a 32-bit version of Windows). <version> should be WIN7 for Windows 7 and Windows Server 2008, or WIN8 for Windows 8 and Windows Server 2012.
For example, for Windows 7 64-bit edition, enter E:\WIN7\AMD64 and select “Next”:
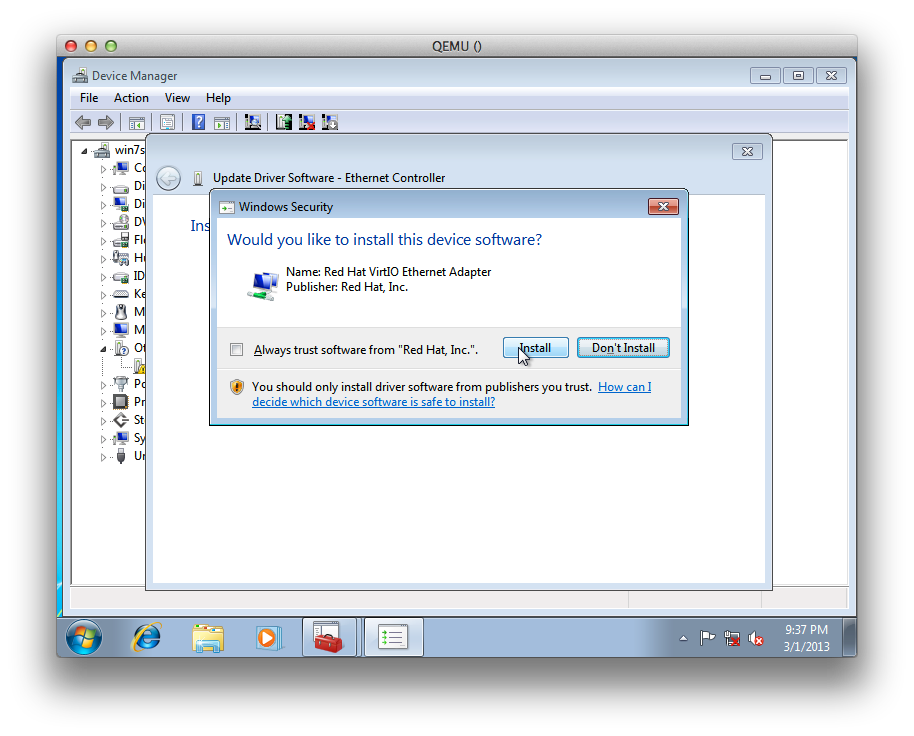
You will be prompted with a security warning. Select “Install”:
Some installation screens will flash by, at the end of which you should see that “Windows has successfully updated your driver software”:
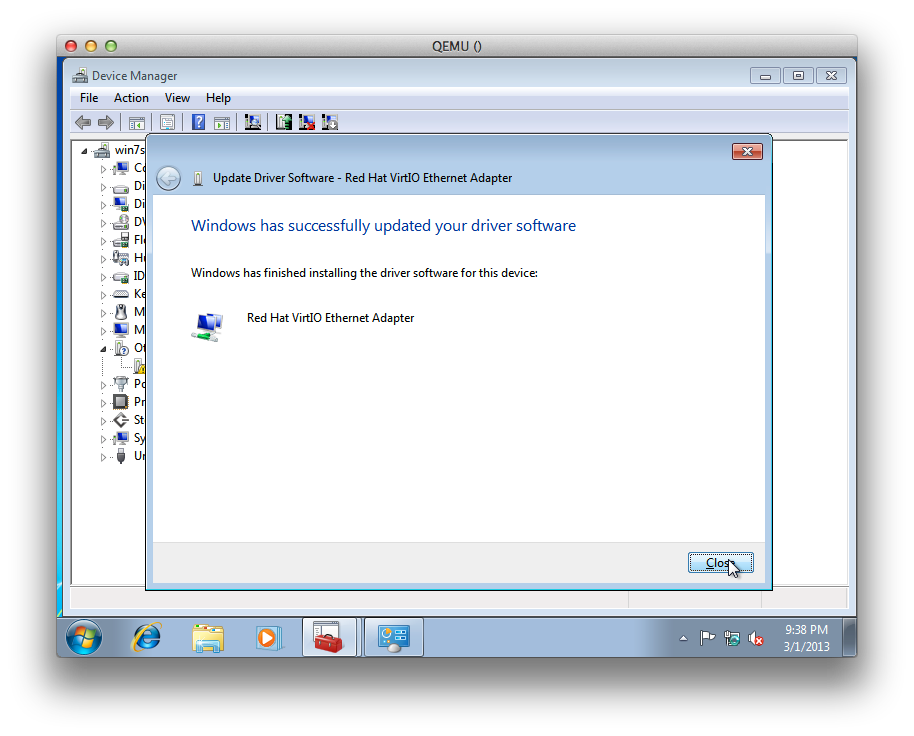
Select “Close” and close the “Device Manager”. You should be prompted to select a location for the ‘Network’ network. Select “Work network”:
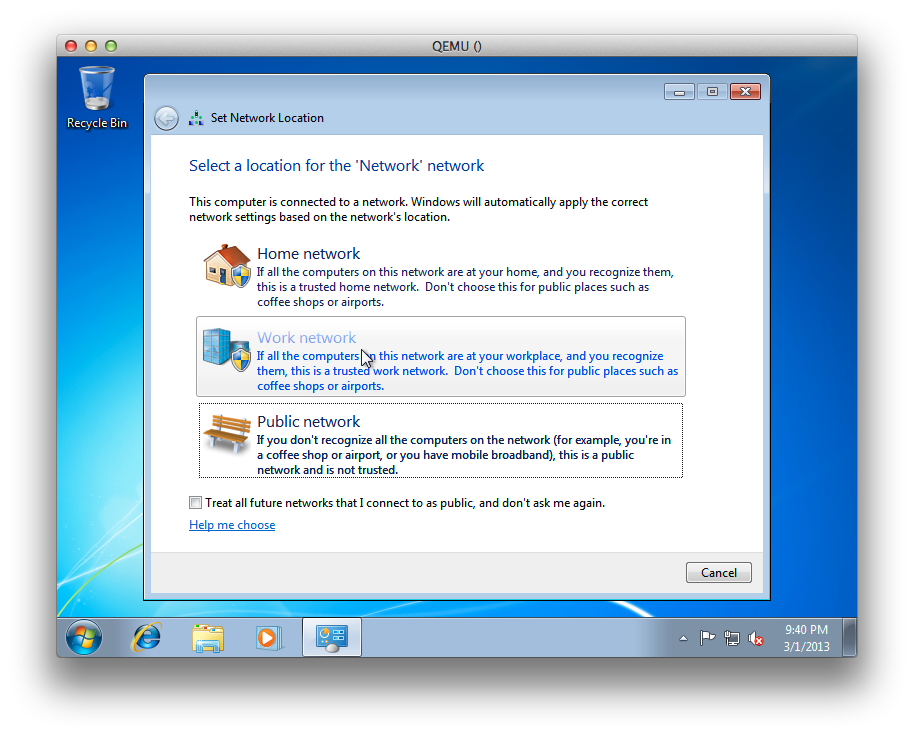
Then select “Close”.
Enabling Remote Desktop connections
It’s generally a good idea to enable Remote Desktop connections to your VM. This will allow you to log into the VM without going through the VNC console, which may or may not be available on your OpenStack dashboard installation.
Open the “Allow remote access to your computer” Control Panel (you can click the start button and start typing “allow remote access” and it should show up in the list):

You will be presented with the remote access settings pane. Choose “Allow connections from computers running any version of Remote Desktop (less secure)” and select “OK”:

In nova, you will also have to add a firewall rule allowing inbound traffic to TCP port 3389. You can do this either by adding the rule to the default security group:
| 123456 | $ nova secgroup-add-rule default tcp 3389 3389 0.0.0.0/0
+-------------+-----------+---------+-----------+--------------+
| IP Protocol | From Port | To Port | IP Range | Source Group |
+-------------+-----------+---------+-----------+--------------+
| tcp | 3389 | 3389 | 0.0.0.0/0 | |
+-------------+-----------+---------+-----------+--------------+
|
Or, preferably, create a separate security group to hold the rule (and any other Windows-specific rules):
| 123456789101112 | $ nova secgroup-create rdp "RDP-enabled Windows domains"
+------+-----------------------------+
| Name | Description |
+------+-----------------------------+
| rdp | RDP-enabled Windows domains |
+------+-----------------------------+
$ nova secgroup-add-rule rdp tcp 3389 3389 0.0.0.0/0
+-------------+-----------+---------+-----------+--------------+
| IP Protocol | From Port | To Port | IP Range | Source Group |
+-------------+-----------+---------+-----------+--------------+
| tcp | 3389 | 3389 | 0.0.0.0/0 | |
+-------------+-----------+---------+-----------+--------------+
|
Shut down
Shutdown the computer from the “Start” menu:

The VM should shut down. You will notice that your VNC session will disconnect, and that the kvm command you started in step 2 will have returned.
Step 6: Upload to Glance
From the compute node command prompt, upload the image to glance using the glance add command:
| 1 | $ glance add name =<glance display name> is_public = true container_format =bare disk_format =qcow2 < <image>
|
For example, to add our win7sp1_x64_vlk.qcow2 image to glance with the display name win7sp1_x64_vlk_20130301:
| 12 | $ glance add name =win7sp1_x64_vlk_20130301 is_public = true container_format =bare disk_format =qcow2 < win7sp1_x64_vlk.qcow2
Added new image with ID: c4e19c5c-704c-438b-a49d-42d885f6945a
|
Note that you will need to have the appropriate environment variables defined (i.e. OS_USERNAME etc).
Conclusion
Your image should now be in glance and ready for use by nova:
| 1 | $ nova boot --flavor 2 --image win7sp1_x64_vlk_20130301 --security_groups default,rdp --poll win7-test
|
References
- Creating a Windows Image (OpenStack documentation)
- Building a Windows Image for OpenStack (NetworkStatic Blog)


 5966
5966

 被折叠的 条评论
为什么被折叠?
被折叠的 条评论
为什么被折叠?
 到【灌水乐园】发言


