阿里云开年HI购季,爆款云产品低至5折!点此购买
送您一个最高1000元的阿里云大礼包,快来领取吧~
https://promotion.aliyun.com/ntms/yunparter/invite.html?userCode=pdhbtt9j
---------------------------------------
一、noVNC是什么
二、测试系统
三、系统安装桌面环境
四、安装配置tigervnc
五、配置noVNC
六、自启动设置
七、访问测试
八、总结
九、问题
附:安装numpy,解决连接速度慢:
---------------------------------------
一、noVNC是什么
noVNC is a browser based VNC client implemented using HTML5 Canvas and WebSockets. You will either need a VNC server with WebSockets support (such as libvncserver) or you will need to use websockify to bridge between your browser and VNC server.
二、测试系统
CentOS6.4 64位 系统需要能连接互联网
IP:192.168.175.128
三、系统安装桌面环境
# yum groupinstall "X Window System" "Desktop" -y
四、安装配置tigervnc
# yum install tigervnc-server
# vncserver                                  //输入vnc登陆密码
# service vncserver restart                  //重启服务,出现错误
Starting VNC server: no displays configured          [FAILED]
解决办法:
# vi /etc/sysconfig/vncservers               //在最后添加以下两行
VNCSERVERS="1:root"
VNCSERVERARGS[1]="-geometry 1024x768"
五、配置noVNC
登陆https://kanaka.github.io/noVNC/ 下载该包并解压:
# cd kanaka-noVNC-6a90803/utils
# ./launch.sh --vnc localhost:5901    //系统必须联网
六、自启动设置
# cat /etc/rc.local
./root/kanaka-noVNC-6a90803/utils/launch.sh --vnc localhost:5901 &
# chkconfig vncserver on
七、访问测试
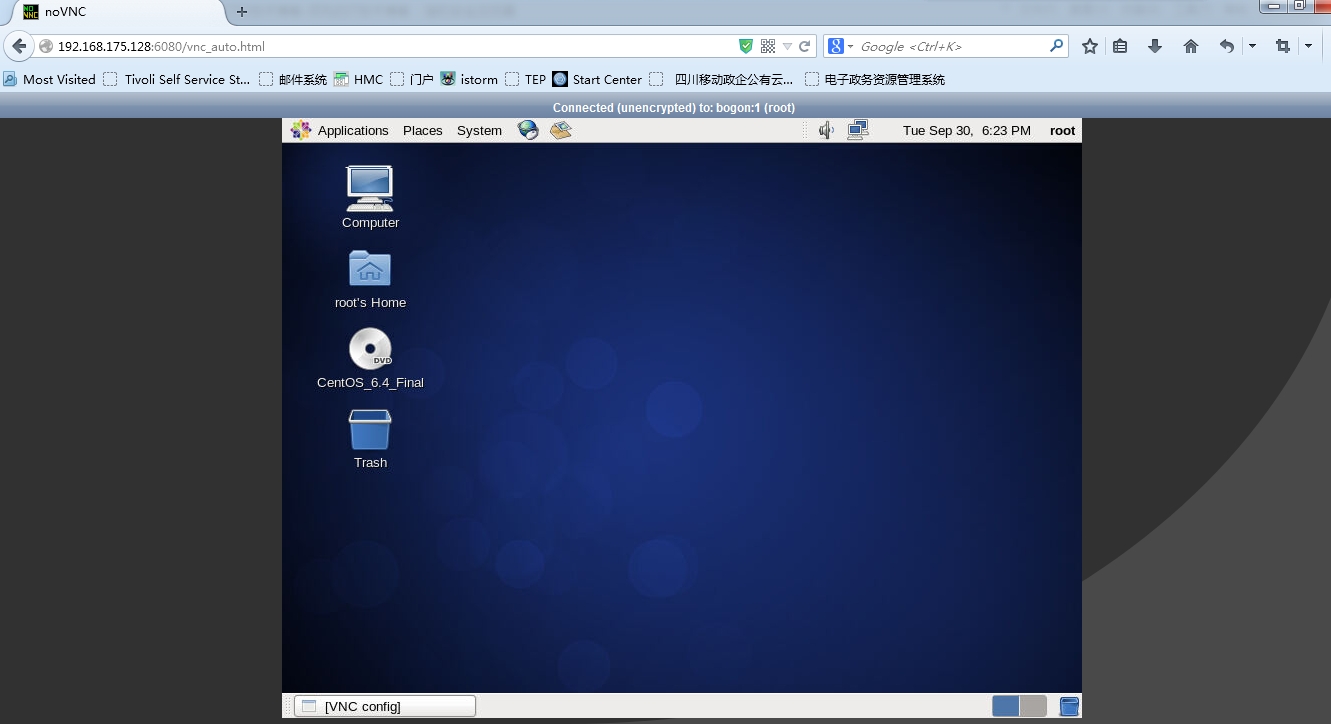
http://192.168.175.128:6080/vnc_auto.html
建议使用火狐浏览器(IE和猎豹打不开,提示不支持画布)
八、总结
第一种方式(本文使用,打在模板中使用):
代理和vnc都在虚机自身安装,默认使用6080端口:
./launch.sh --vnc localhost:5901
vnc_auto.html -> 192.168.175.128:6080 -> websockify.py -> localhost:5901
第二种方式:
只部署一台代理服务器,每台虚机只需要安装vnc服务即可;
./websockify.py 8000 192.168.2.21:5901
vnc_auto.html -> 192.168.175.130:8000 -> websockify.py -> 192.168.175.128:5901
九、问题
0.最终还是通过虚机IP+PORT连接,如果虚机网卡宕掉,无法连接;
1.连入vnc之后不需要root密码直接可以登录;
2.连接速度太慢,安装numpy可解决,见博客最后;
3.画质不好。
附:安装numpy,解决连接速度慢:
1.在官网上下载该包:http://sourceforge.net/projects/numpy/files/
2.解压
3.cd进入解压后的路径
4.输入命令
python setup.py install
5.安装完成
转载于:https://blog.51cto.com/hatech/1705584


 82
82


 被折叠的 条评论
为什么被折叠?


