


很多人,都知道spring boot怎么进行接口开发,今天我就来讲讲怎么实现页面跳转,完成一个web项目。我就借助Thymeleaf模板引擎来举例:
导入相关jar包(pom)
<parent>
	<groupId>org.springframework.boot</groupId>
	<artifactId>spring-boot-starter-parent</artifactId>
	<version>2.0.1.RELEASE</version>
	<relativePath />
</parent>
<properties>
	<project.build.sourceEncoding>UTF-8</project.build.sourceEncoding>
	<project.reporting.outputEncoding>UTF-8</project.reporting.outputEncoding>
	<java.version>1.8</java.version>
</properties>
<dependencies>
	<dependency>
		<groupId>org.springframework.boot</groupId>
		<artifactId>spring-boot-starter-web</artifactId>
	</dependency>
	<dependency>
		<groupId>org.springframework.boot</groupId>
		<artifactId>spring-boot-starter-test</artifactId>
		<scope>test</scope>
	</dependency>
	<dependency>
		<groupId>org.springframework.boot</groupId>
		<artifactId>spring-boot-configuration-processor</artifactId>
		<optional>true</optional>
	</dependency>
	<!-- thymeleaf模板引擎 -->
	<dependency>
		<groupId>org.springframework.boot</groupId>
		<artifactId>spring-boot-starter-thymeleaf</artifactId>
	</dependency>
</dependencies>
你用spring-boot-starter-parent是2.0以上时,对应的thymeleaf是3.0以上的版本,相对较新,不要改。如果你用的是spring-boot-starter-parent 1.5,对应的thymeleaf是2.0以上的版本,建议用thymeleaf3.0的。
包选择为:
<dependency>
    <groupId>org.thymeleaf</groupId>
    <artifactId>thymeleaf-spring4</artifactId>  <!-- 如果spring是5:thymeleaf-spring5  -->
    <version>3.0.9.RELEASE</version>
</dependency>
静态资源文件映射规则
根据:WebMvcAutoConfiguration→addResourceHandlers→ResourceProperties
可知道:spring boot 默认的静态资源路径如下:
1、classpath:/
2、classpath:/META-INF/resources/
3、classpath:/resources/
4、classpath:/static/
5、classpath:/public/
也就是说可以直接访问以上路径中的文件。
如:
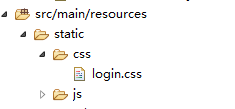
访问地址:http://127.0.0.1:8080/css/login.css (不需要加resources、static、public...)
thymeleaf默认的视图解析

可以看出,初始化的默认页面路径在classpath:/templates/ 下,视图后缀为.html。也可以根据自己的喜号在application.yml文件中 指定spring.thymeleaf.** =** 来指定值
实现请求URL
我就不改动了,采用默认值
/**
* @描述 用户相关页面请求
* @注意 此类只能用@Controller 不能使用@RestController
* @author BianP
*/
@Controller
@RequestMapping("/user")
public class UserWebController {
/**
* @explain 用户登录《GET》
* @return String
* @author BianP
*/
@RequestMapping(value="/toLogin", method = RequestMethod.GET)
public String toLogin(Model model){
model.addAttribute("welcome", "欢迎登录");
return "login";
}
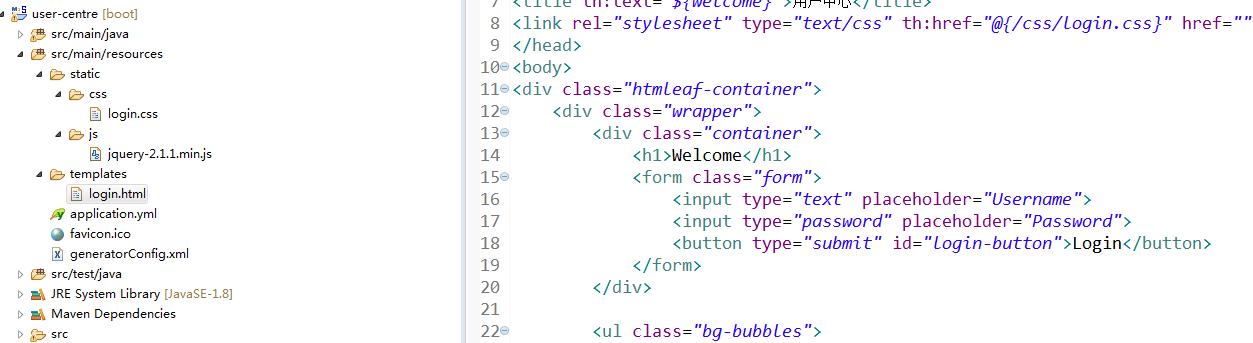
}目录结构
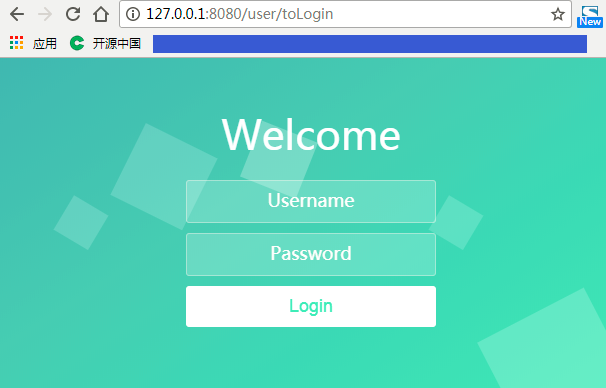
请求结果:
我的博客即将搬运同步至腾讯云+社区,邀请大家一同入驻:https://cloud.tencent.com/developer/support-plan?invite_code=3eya265e9u68g


 198
198


 被折叠的 条评论
为什么被折叠?
被折叠的 条评论
为什么被折叠?
 到【灌水乐园】发言


