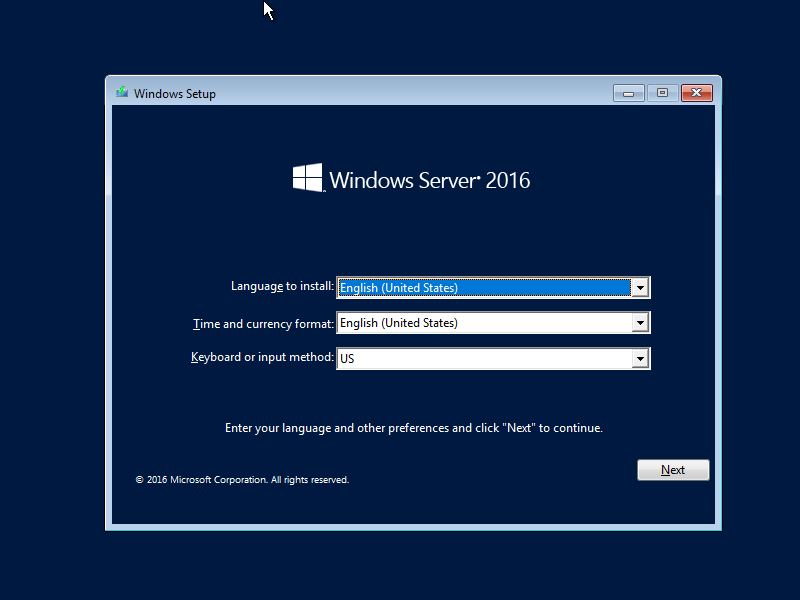
Insert Windows Server install media and start the Computer, Then, Following screen is displayed, Proceed next to click [Next] button.
[2]
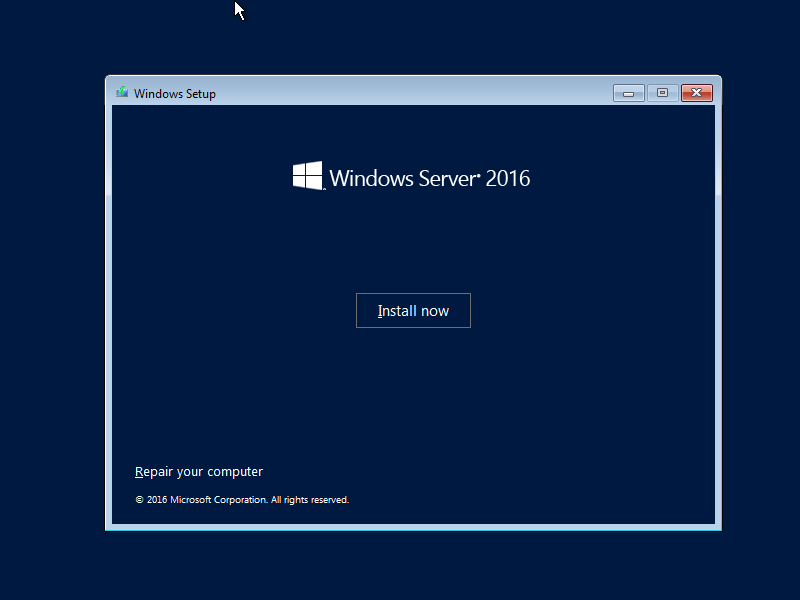
Click [Install Now] to start installation.
[3]
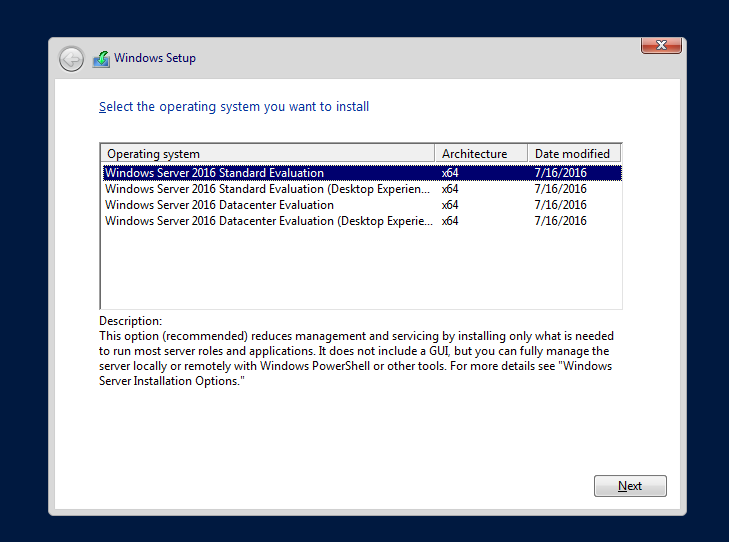
Select the edition of Windows server you'd like to install. On this example, procced with [Datacenter with Graphical ***] version.
[4]
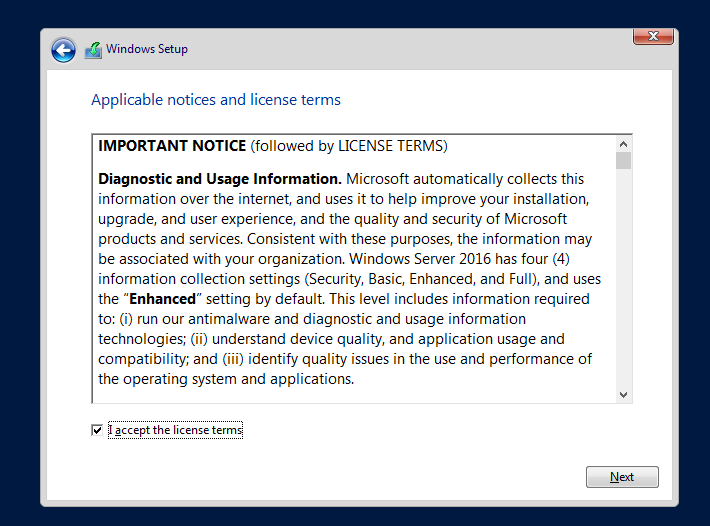
Read License Terms Well and check a box [I acceppt ***] to proceed next.
[5]
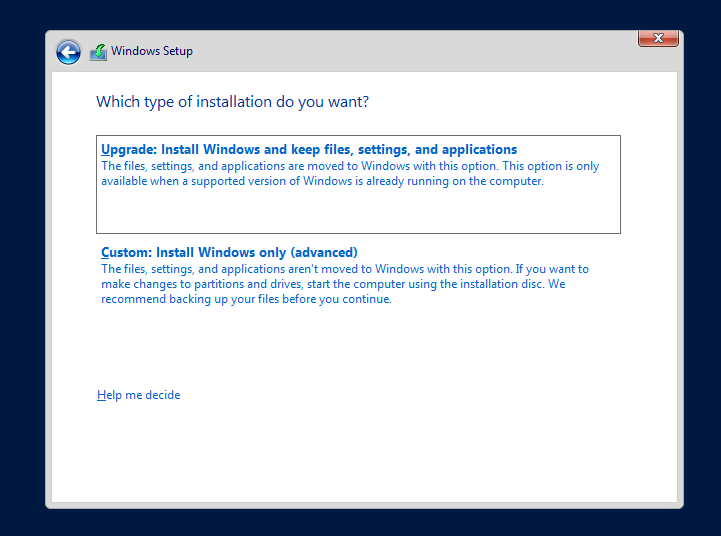
For newly installation of Windows server, select [Custom: Install Windows only].
[6]
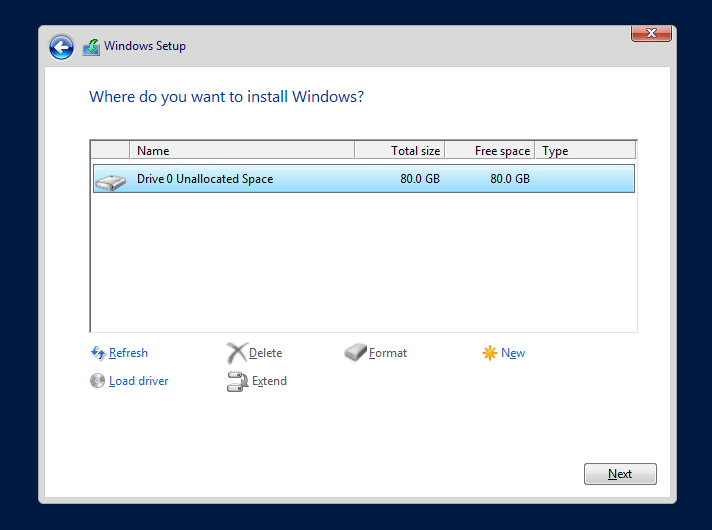
Select a partition to install Windows Server.
[7]
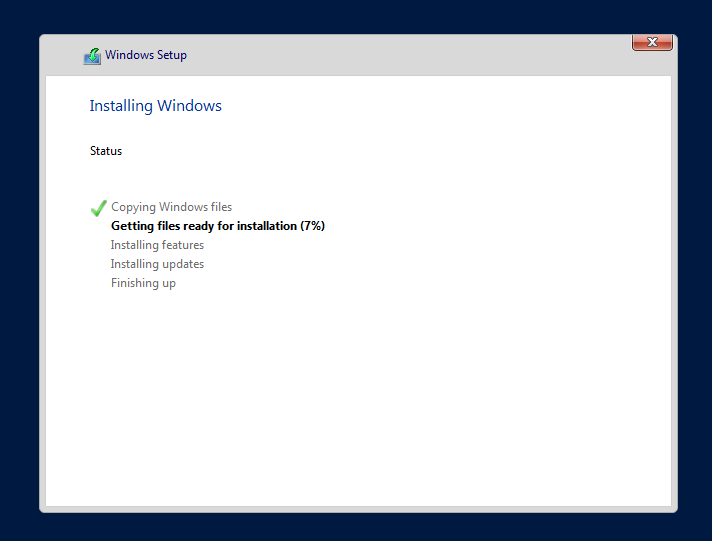
Installation of Windows Server starts. During installation, computer restarts for few times.
[8]
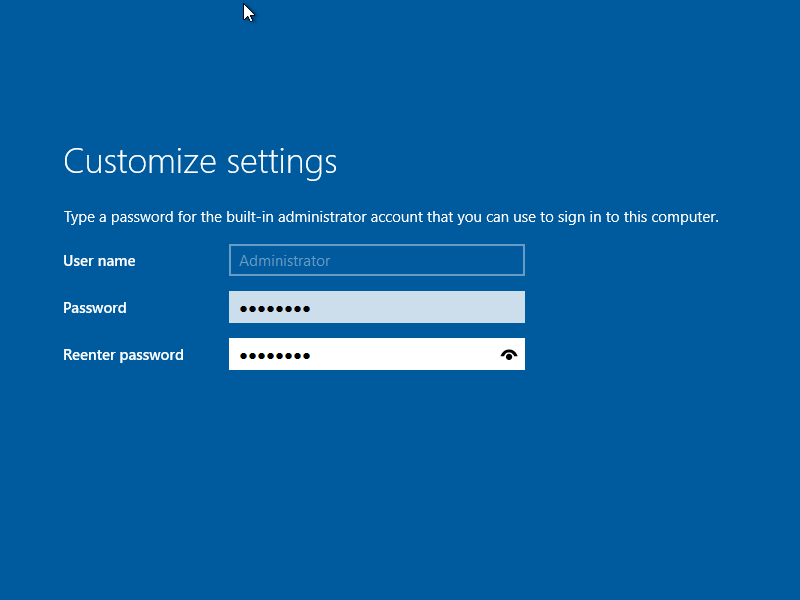
After restarting for few times, following screen is shown, then Set Administrator password.
[9]
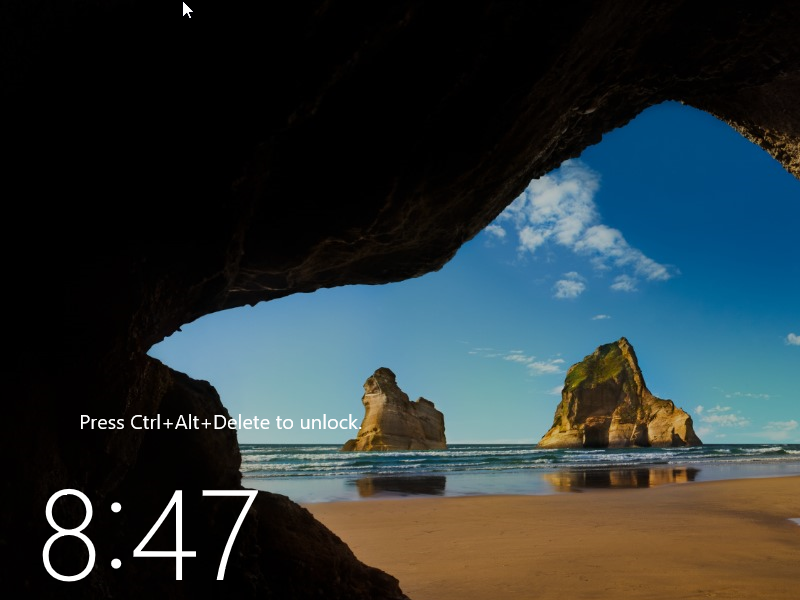
Push Ctrl+Alt+Del key to sign-in.
[10]
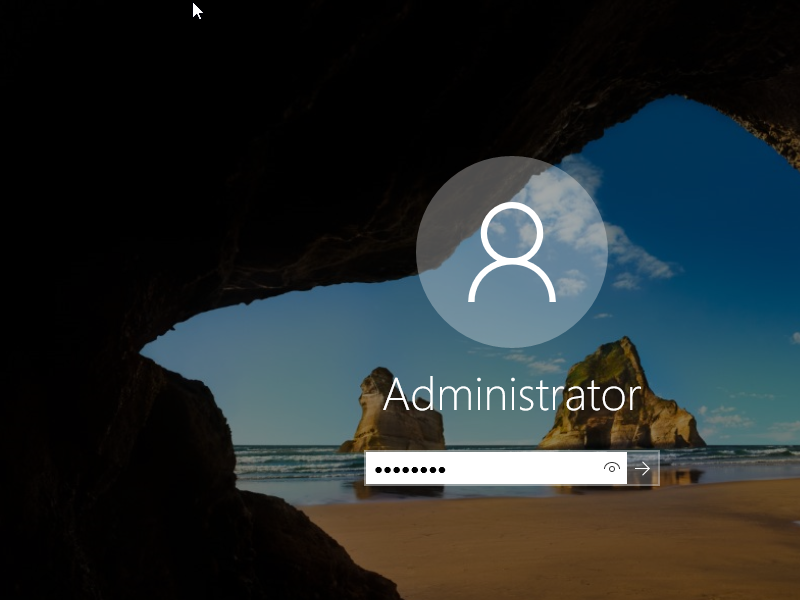
Input the Administrator password you set on section [8] to sign-in.
[11]
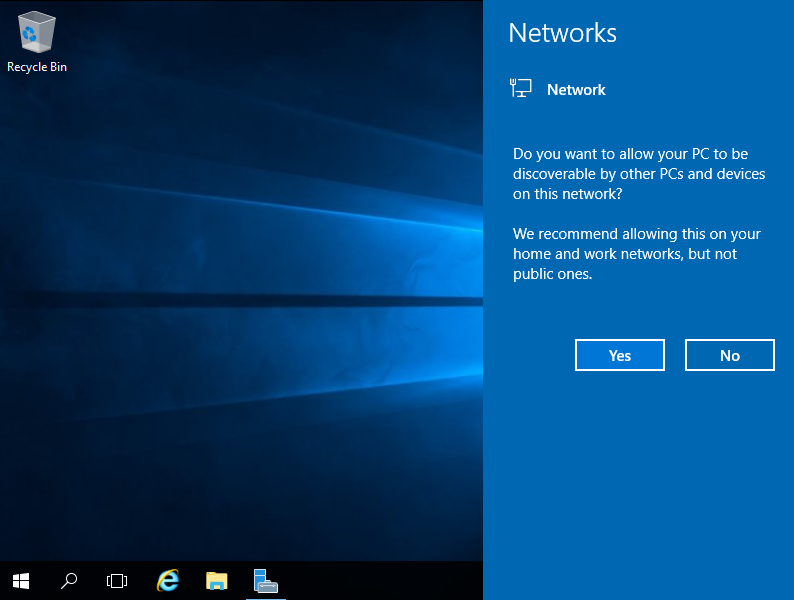
Just logon to Windows Server.
[12]
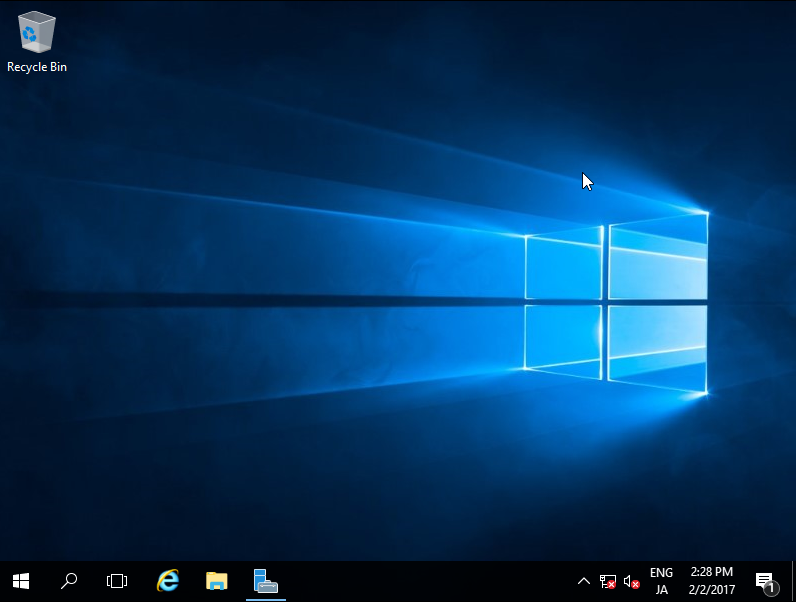
This is the Desktop on Windows Server 2016. Installation of Windows Server completes.
Add Local User
[1]
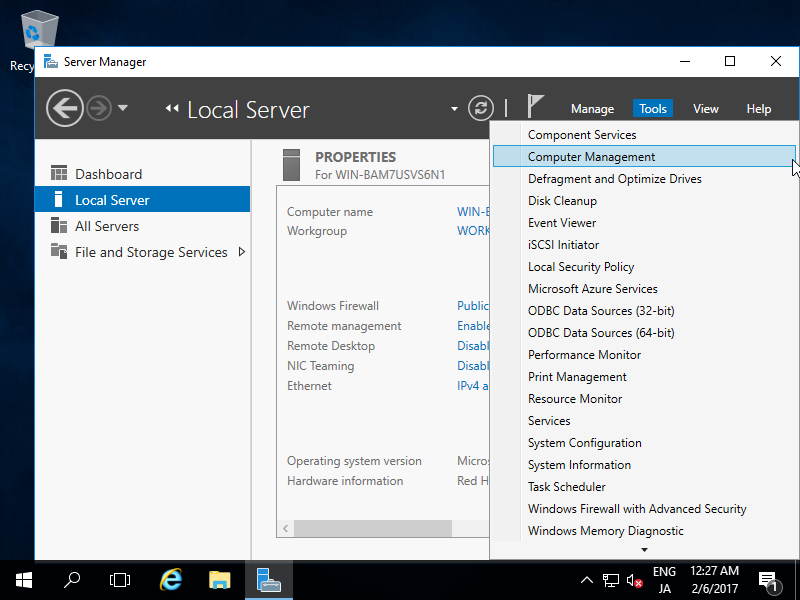
Run [Server Manager] and Open [Tools] - [Computer Management].
[2]
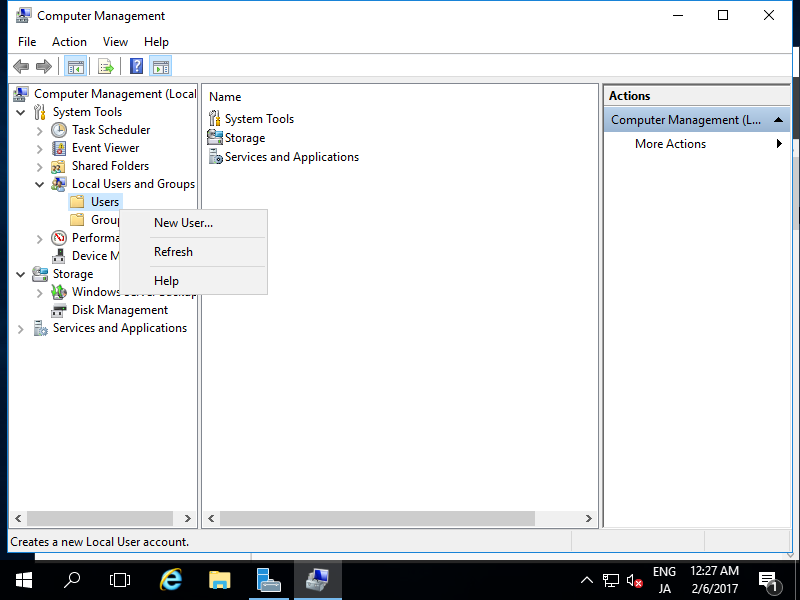
Right-Click [Users] under the [Local Users and Groups] on the left pane and select [New User].
[3]
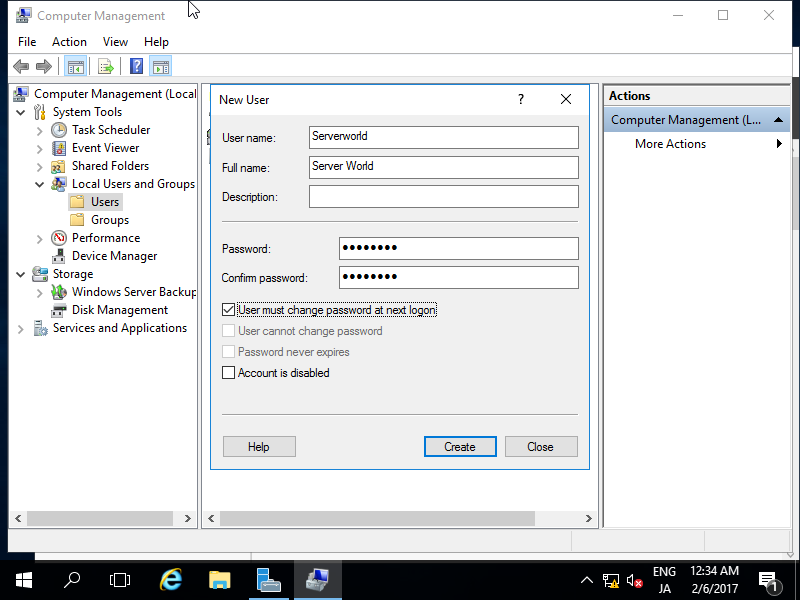
Input UserName and Password for a new user and click [Create] button. Other intems are optional to set.
[4]
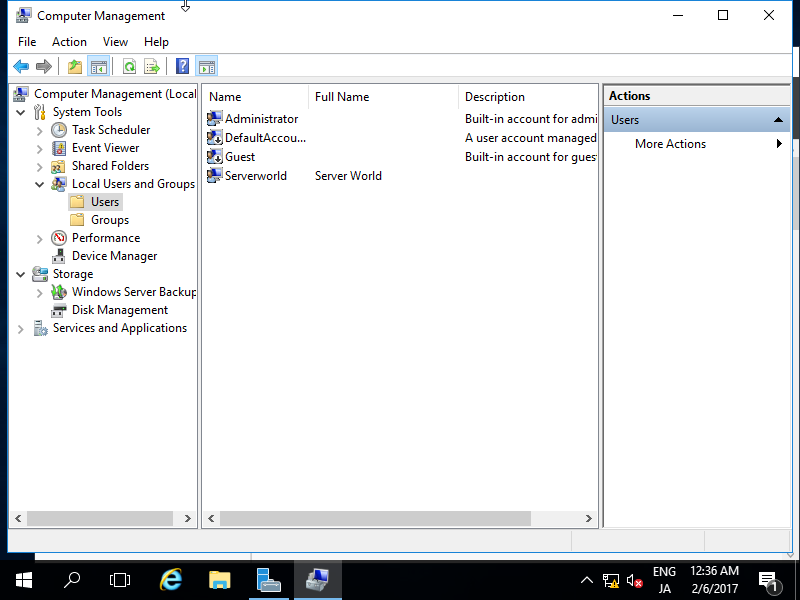
After creating normally, New user is shown on the list like follows.
[5]
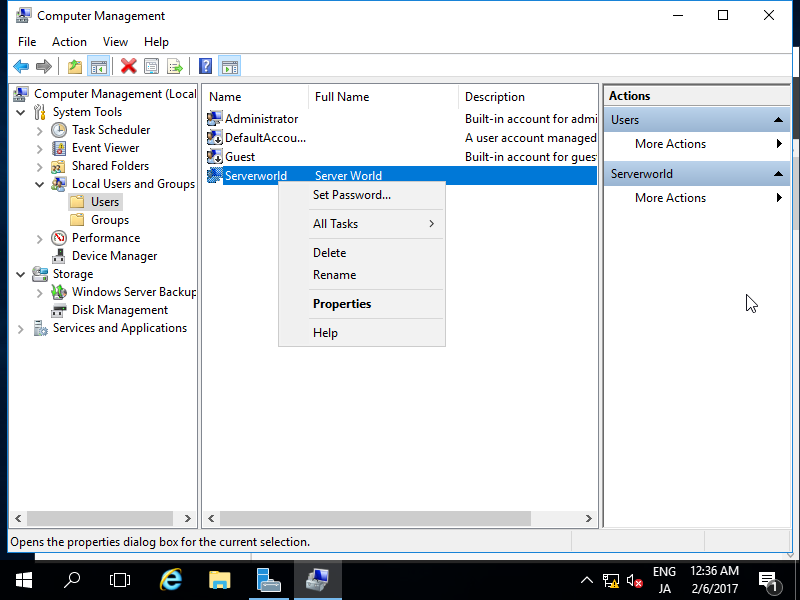
If you'd like to set administrative priviledge to the new user, Right-click the user and open [Properties].
[6]
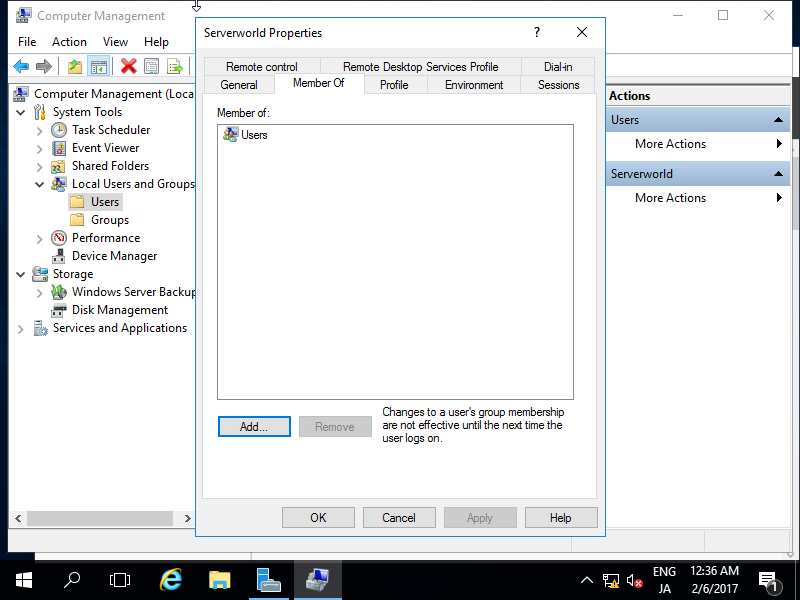
Move to [Member of] tab and click [Add] button.
[7]
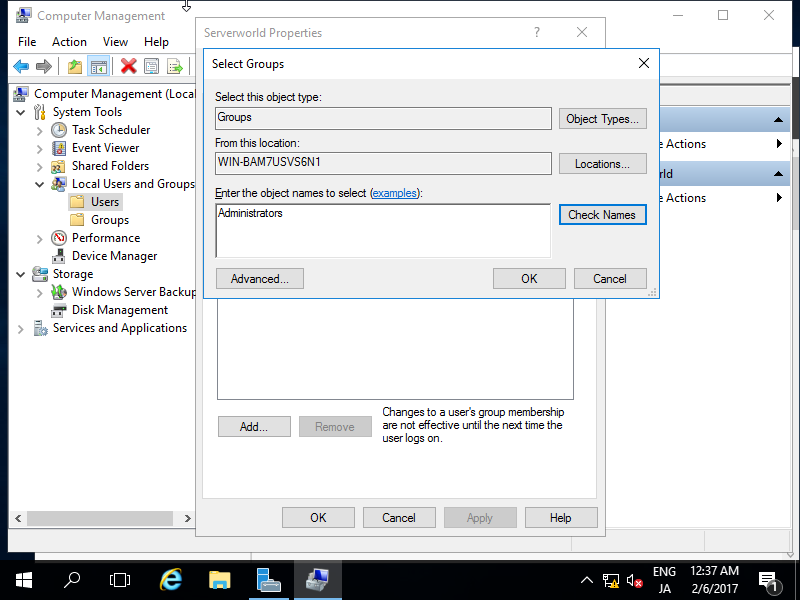
Specify [Administrators] group like follows.
[8]
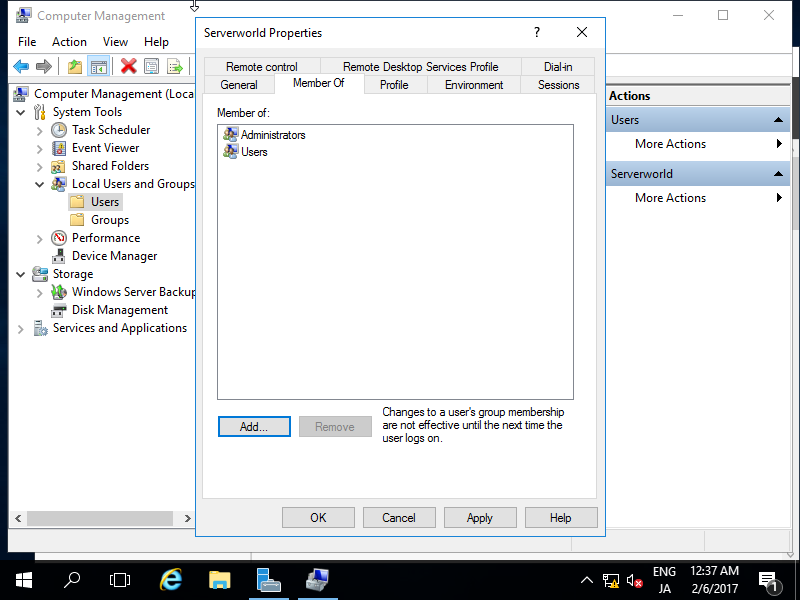
Make sure [Administrators] group is added on the list and click [OK] button to finish settings.
Change Admin User Name
Change Administrator User Name for security reason.
[1]
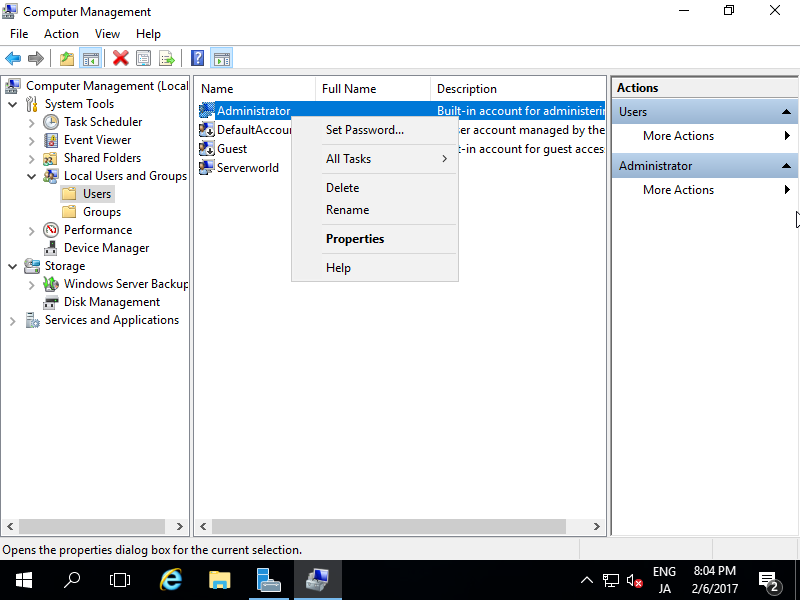
Run [Server Manager] and Open [Tools] - [Computer Management].
[2]
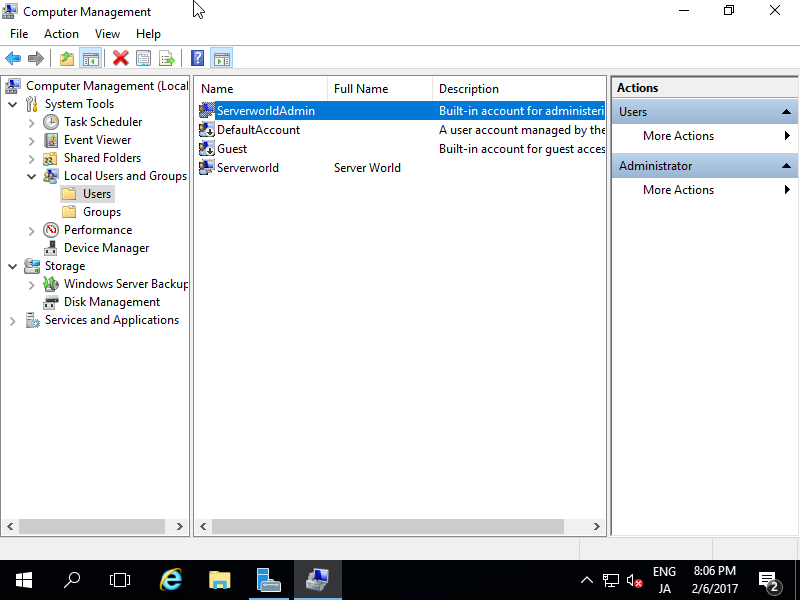
Open [Local Users and Groups] - [Users] on the left pane and and Right-click [Administrator] and select [Rename] on the right pane. Then, Change any name you like.
[3]
Administrator Name is just changed.
Change Computer Name
The Computer Name is assigned automatically by default, so change it.
[1]
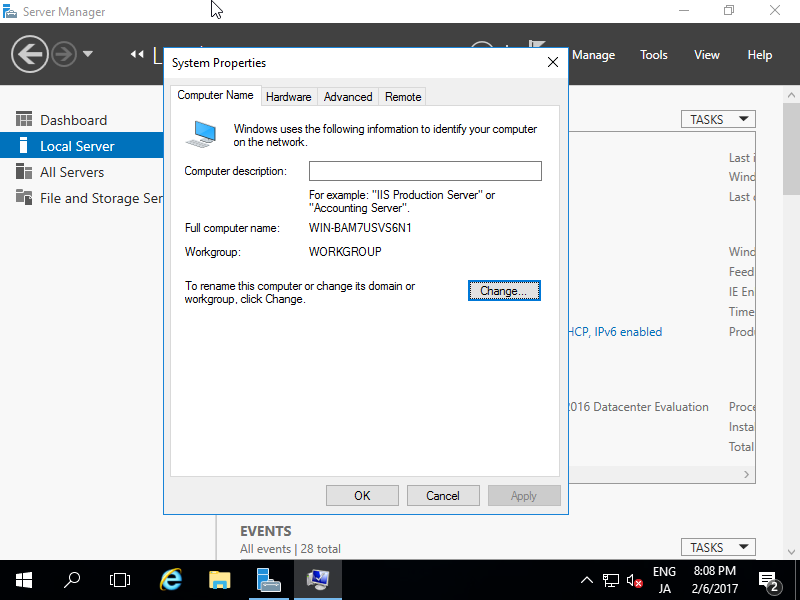
Run [Server Manager] and select [Local Server] on the left pane and click [Computer Name] section on the right pane.
[2]
Move to [Computer Name] tab and click [Change] button.
[3]
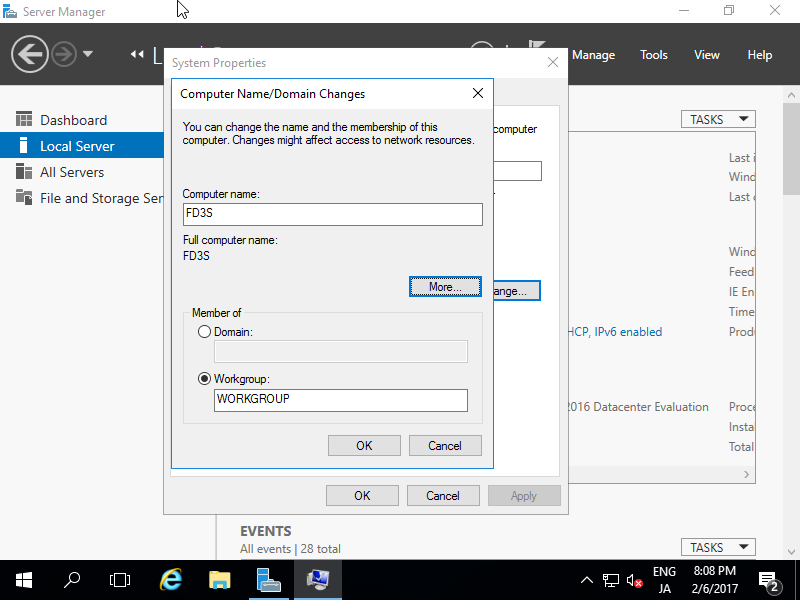
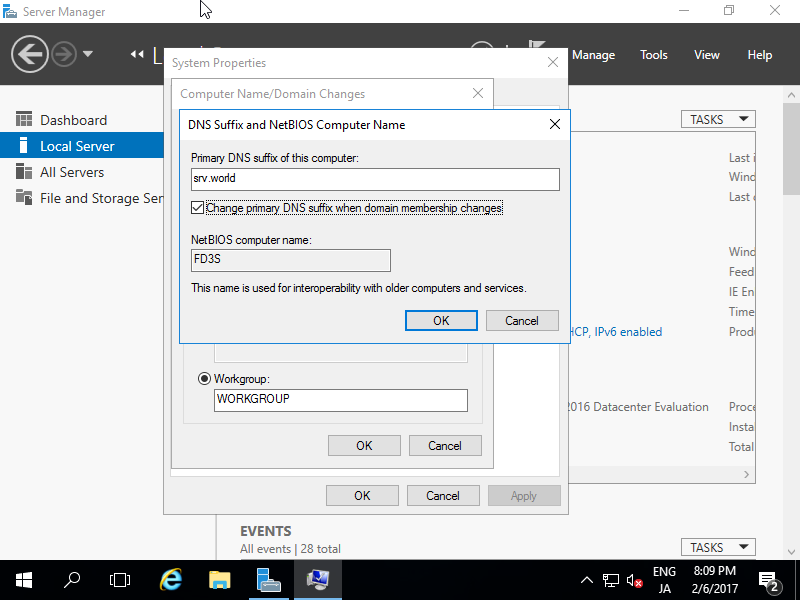
Input any Computer Name you like in [Computer Name] field and next, click [More...] button.
[4]
Input Domain name this Computer is in.
[5]
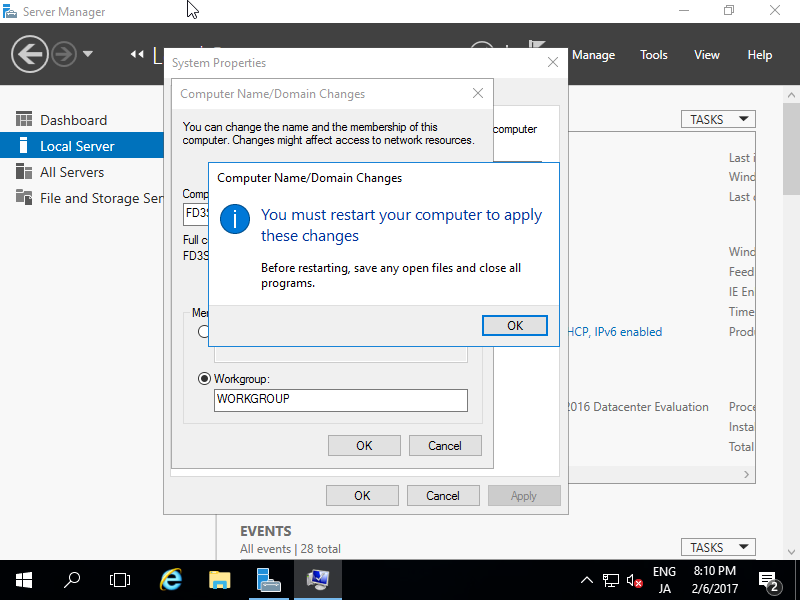
Restarting Computer is required for applying changes.
[6]
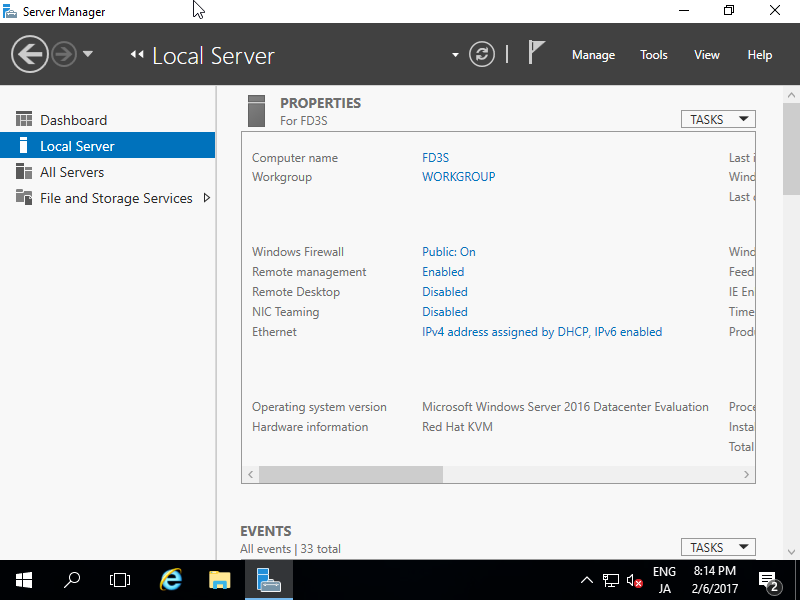
Computer Name is changed normally.
Set Static IP Address
IP address is assigned by DHCP by default, so set Static IP address for Server usage. This example shows to set only IPv4 address.
[1]
Run [Server Manager] and select [Local Server] on the left pane and click [Ethernet] section on the right pane.
[2]
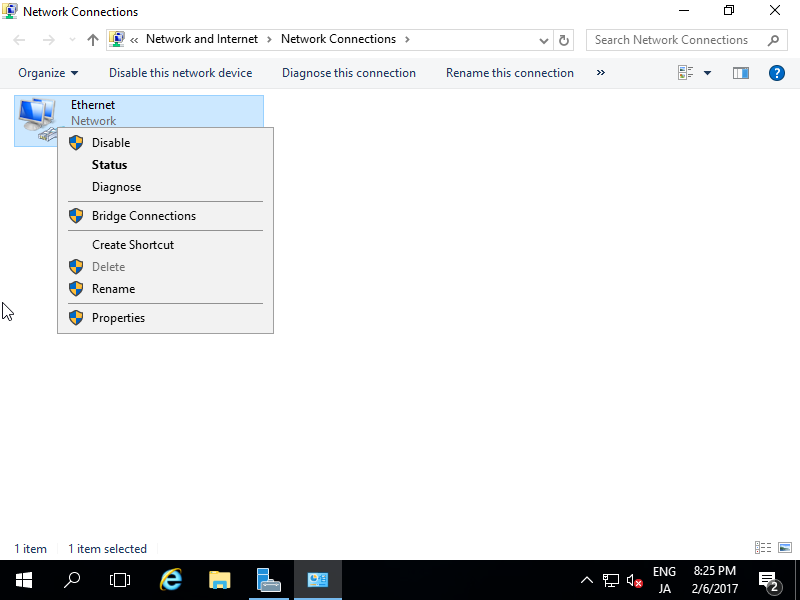
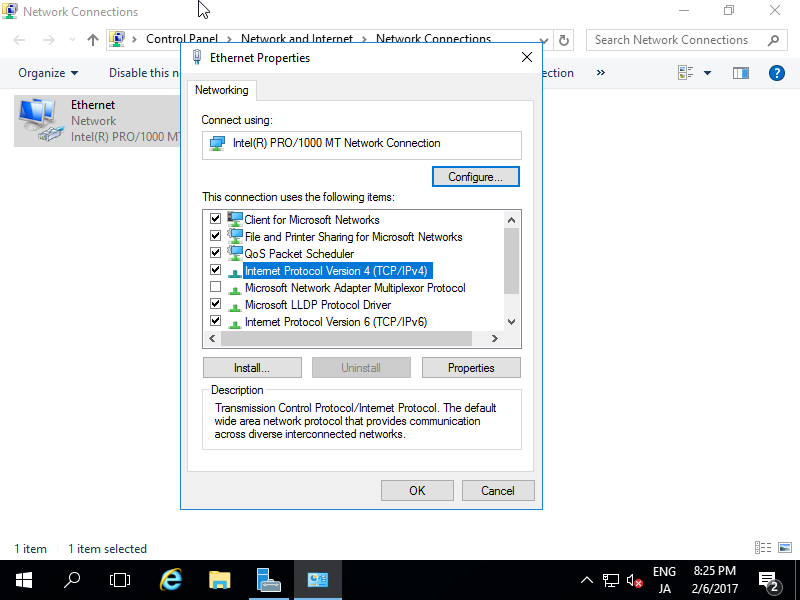
Right-Click [Ethernet] icon and open [Properties].
[3]
Select [Internet Protocol Version 4] and click [Properties] button.
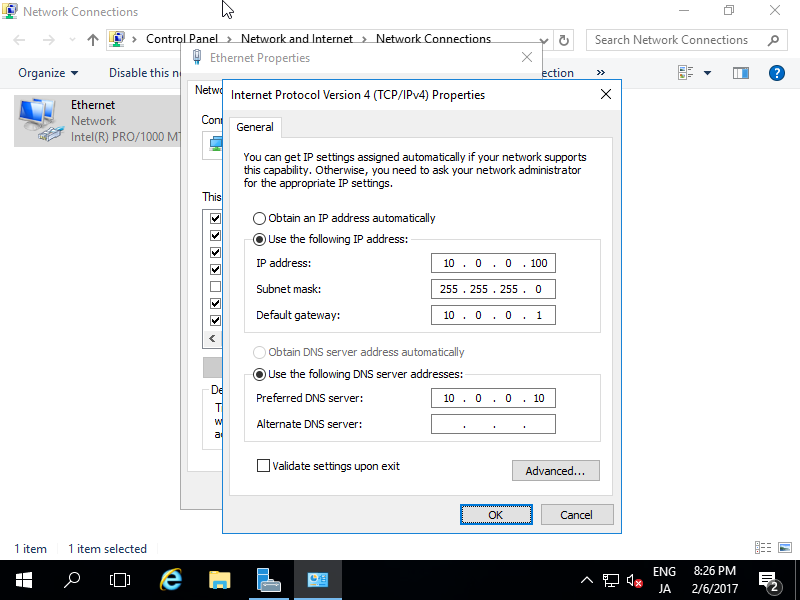
[4]
Set Static IP address and Gateway and others for your local network.
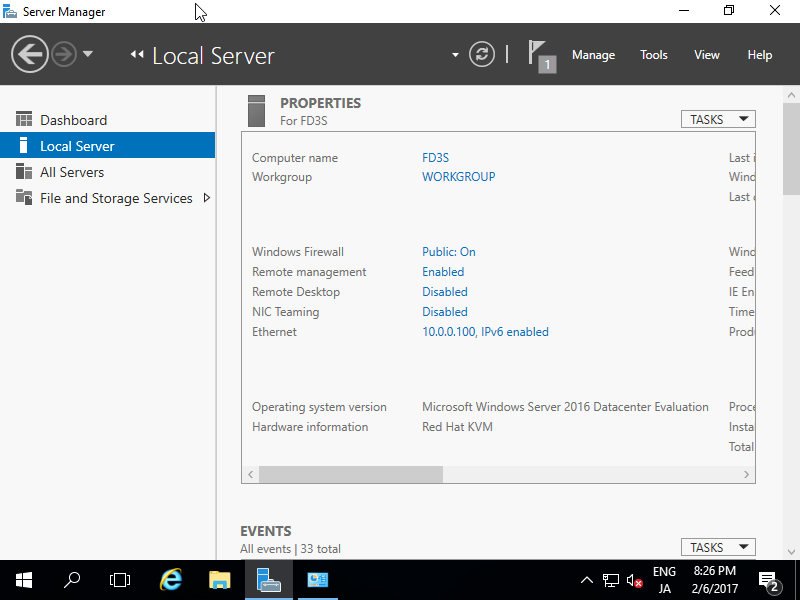
[5]
After setting static IP address, changes are enabled on Server Manager.
Windows Update Configure Windows Update.
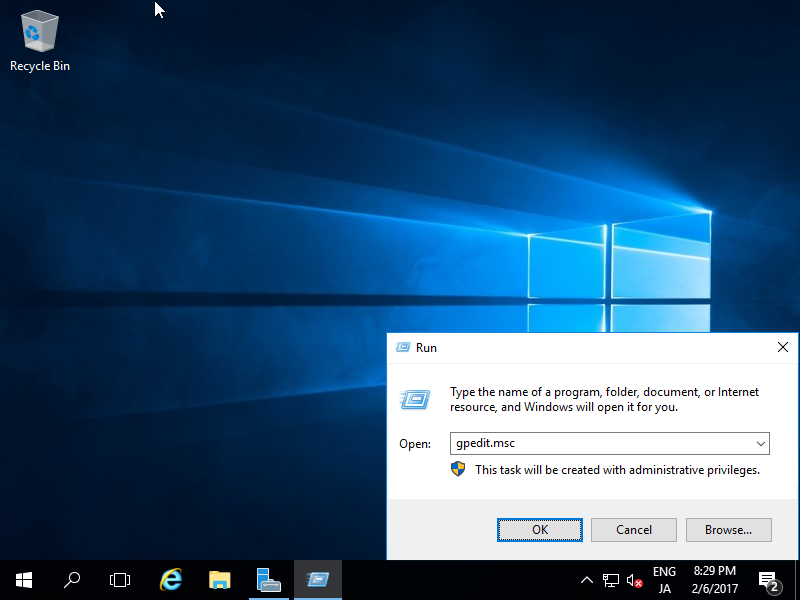
[1]
Open [Run] and run [gpedit.msc] like follows.
[2]
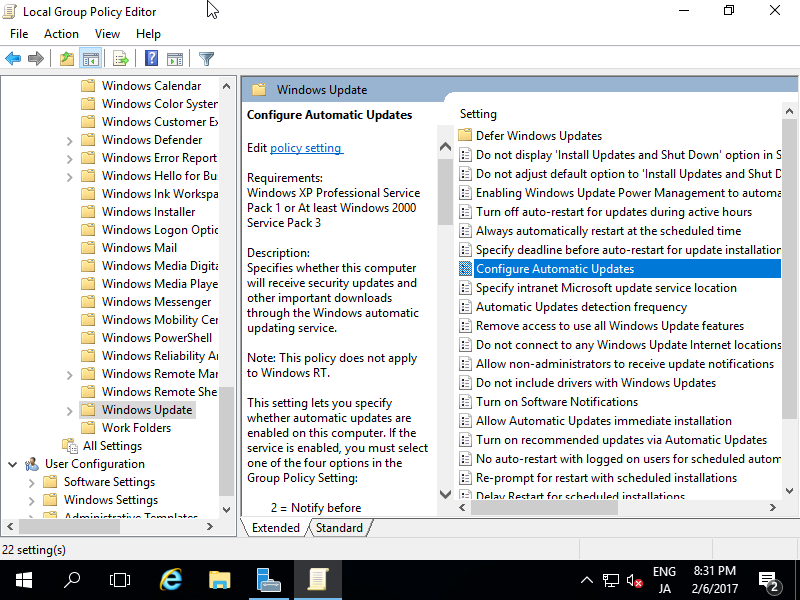
Select [Administrative Template] - [Windows Components] - [Windows Update] on the left pane and click [Configure Automatic Updates] to open on the right pane.
[3]
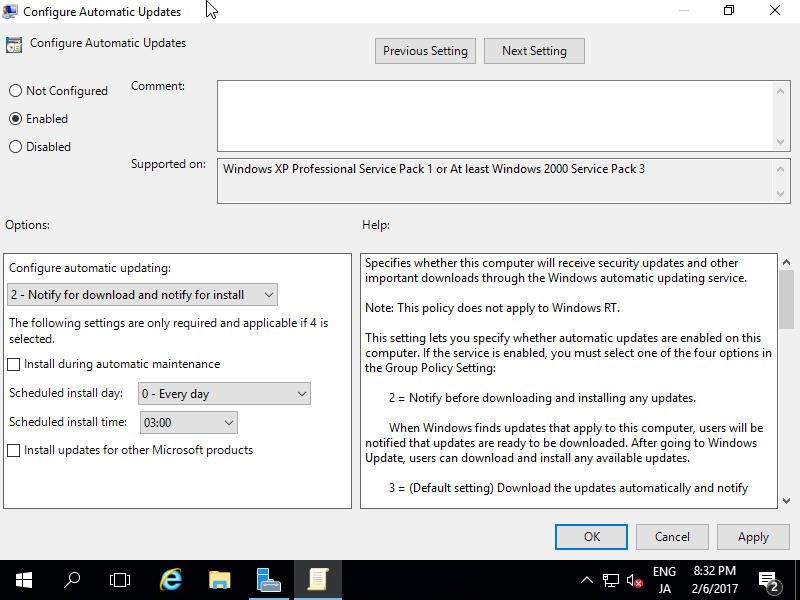
Configure Windows Update settings you'd like to.
Allow ICMP Echo Reply
The default setting of Windows Firewall blocks ICMP, so the Server will never reply from other Hosts with ping command. If you'd like to allow ICMP, Set like follows.
[1]
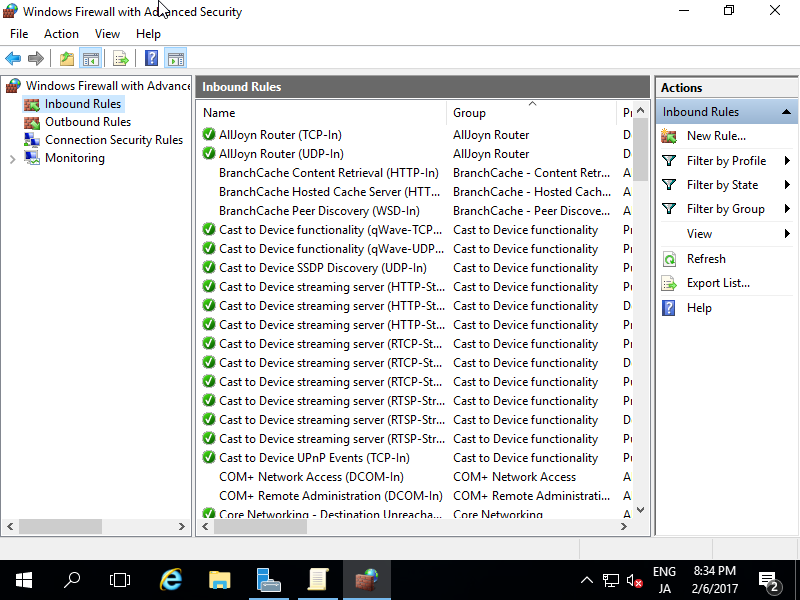
Run [Server Manager] and open [Tools] - [Windows Firewall with Advanced Security].
[2]
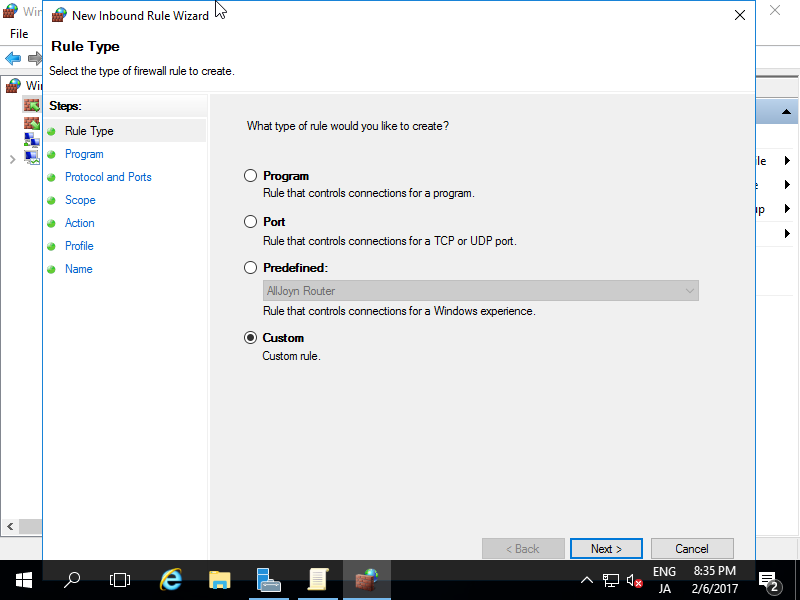
Select [Inbound Rules] on the left pane and click [New Rule] on the right pane.
[3]
Select [Custom].
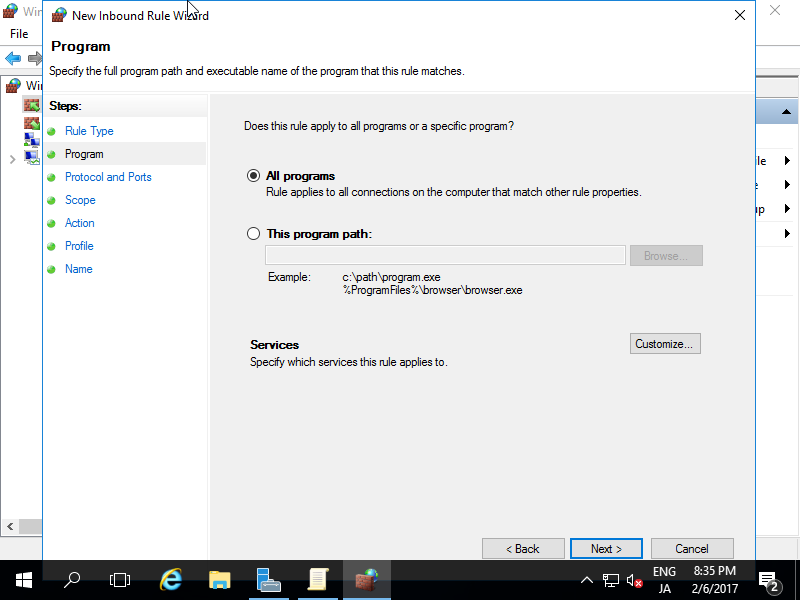
[4]
Select [All programs].
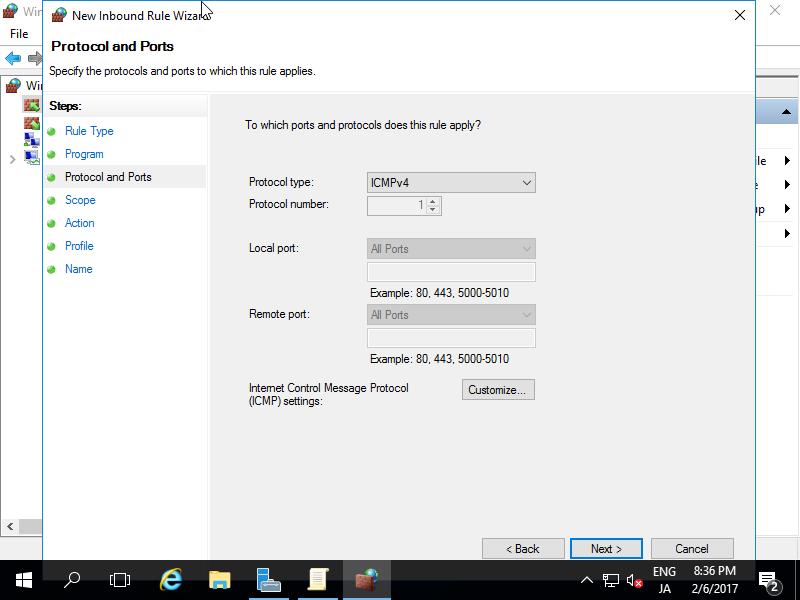
[5]
Select [ICMPv4] on the [Protocol Type].
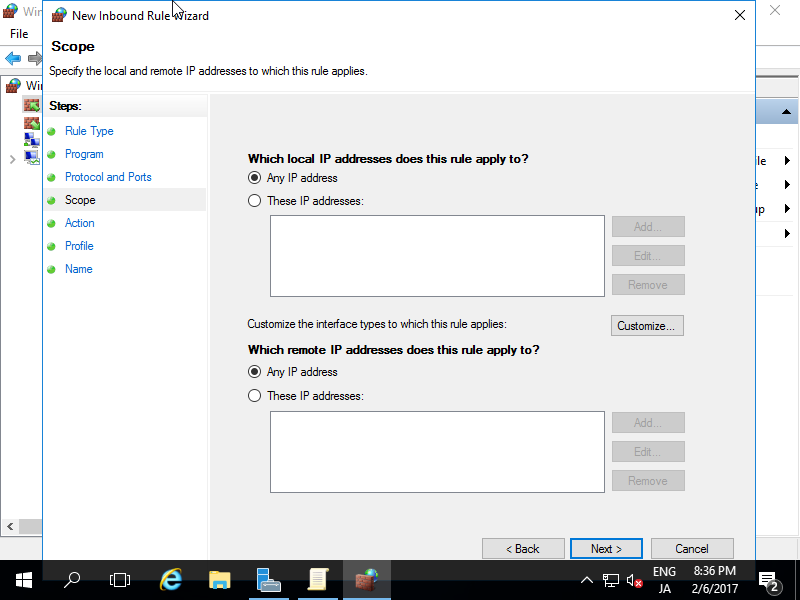
[6]
Specify the range of network for allow ICMP.
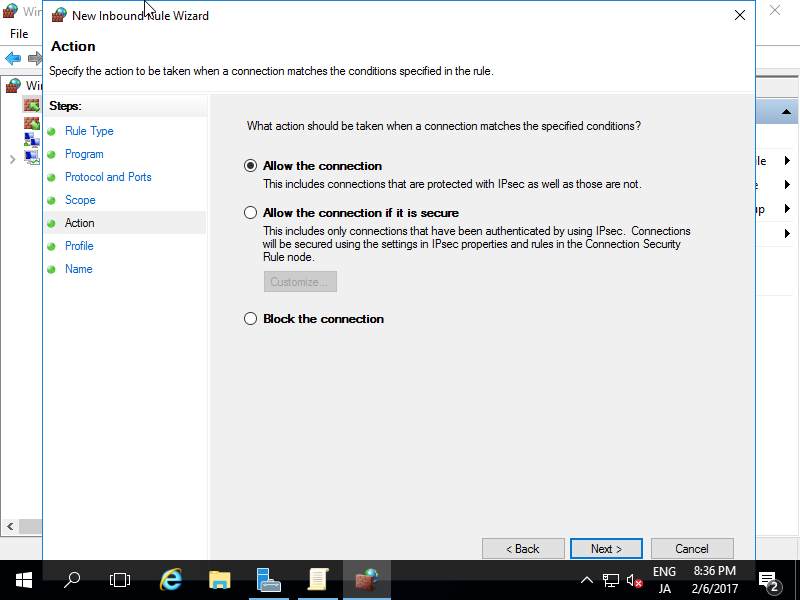
[7]
Select [Allow the connection].
[8]
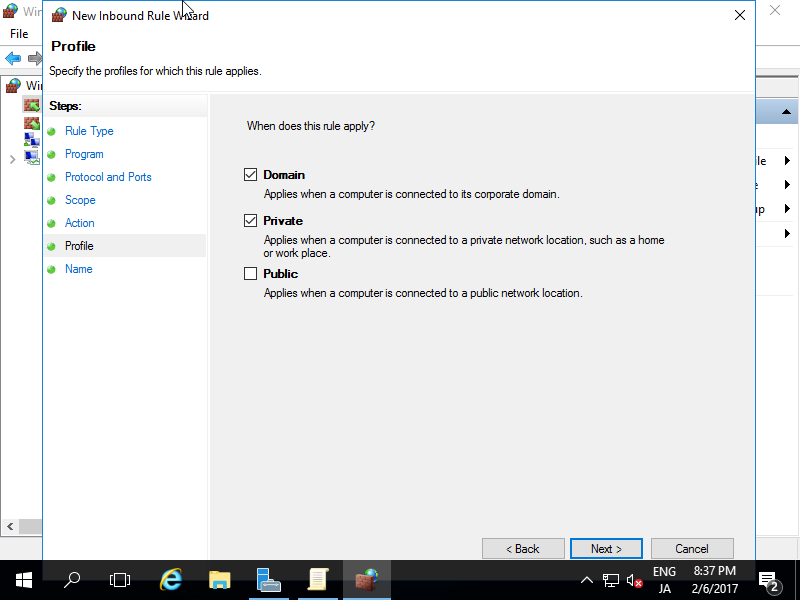
Select the network profiles which you'd like to allow ICMP.
[9]
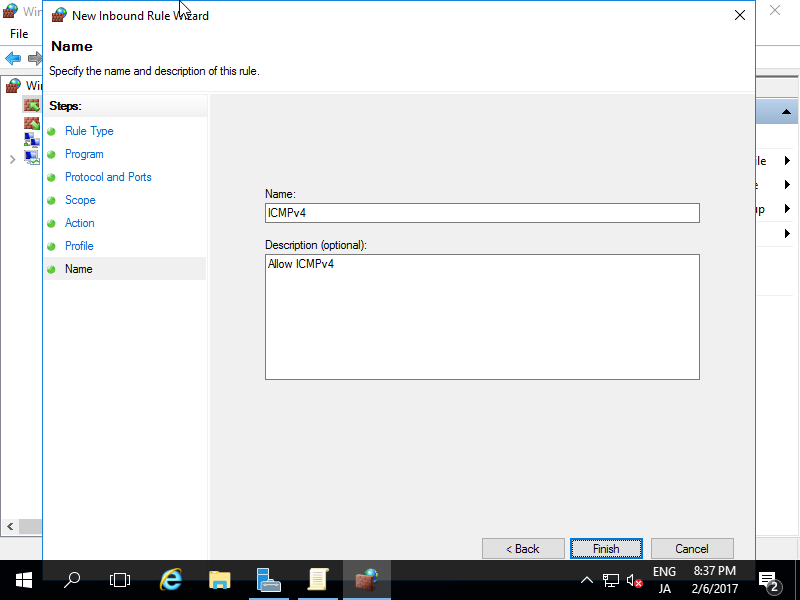
Input any name for [Name] field. It's OK all, your Server will reply to ping command from other Hosts.
Get Windows Server 2016[1]Refer to the description about Windows Server 2016 on Microsoft site below.⇒https://www.microsoft.com/en-us/cloud-platform/windows-server-b/To use Windows Server,...


 542
542


 被折叠的 条评论
为什么被折叠?
被折叠的 条评论
为什么被折叠?
 到【灌水乐园】发言


