


超酷的圆形按钮制作
2009-09-17
Start by drawing in a colored background. I've used dark brown/greys here and used a subtle radial gradient. Then in a new layer, draw a circle and fill it with a color. It doesn't matter what color you use; I've used green here.
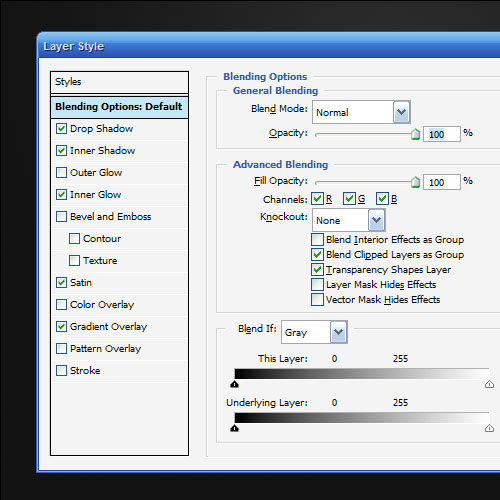
Next we are going to apply some layer styles. We're using two types of Inner Shadow (one using Inner shadow and one using Inner glow). Also we have a subtle Gradient Overlay and a Drop Shadow and a bit of Satin. I've chosen these to try to make the object look 3D by using shadows at the edges curving away and a radial gradient to make it look like light is hitting the middle. The satin is just to add a bit of extra something!
Anyhow, rather than going through the exact settings, just download the source and right-click the layer to Copy Layer Style.
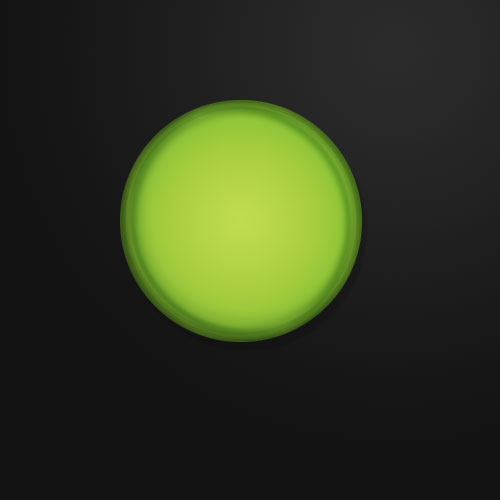
This is what the circle looks like with the layer style applied, kind of cool!
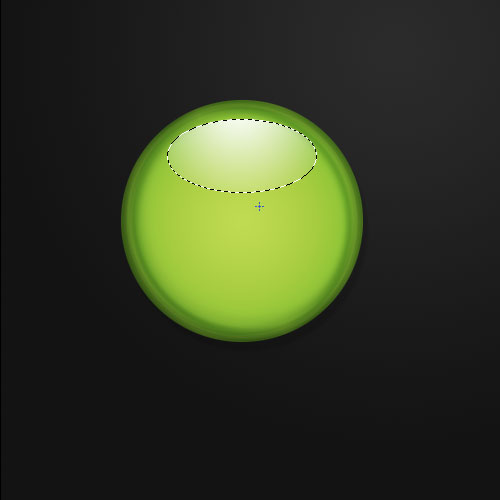
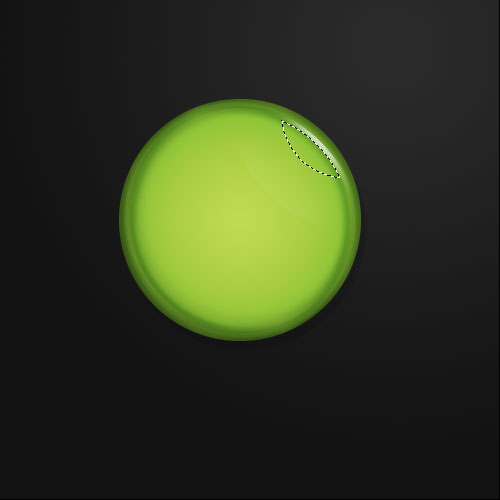
Next using the Circular Selection Tool, we draw an ellipse which is longer horizontally than it is vertically (as shown). Create a new layer and draw a radial gradient from white to transparent in it. Note that you want to drag the gradient so that total transparency occurs outside of the selection (i.e. the white part has a bit of a sharp cut off when the selection area ends).
When you're done, rotate the ellipse by about 30 degrees. This is our main highlight.
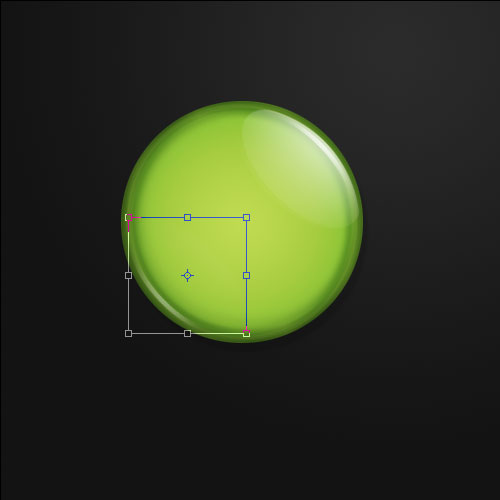
Now duplicate the highlight layer. Switch the first one's visibility off for a moment so you can see what you're doing, and then hold down Ctrl and click on the second highlight layer to select its pixels. Then hit the down and left arrows a few times and press delete. This should leave you with a thin bit of highlight (as shown).
Switch your first highlight layer back on. Then duplicate the second highlight and rotate it down the bottom left as shown. And now you have your button style!
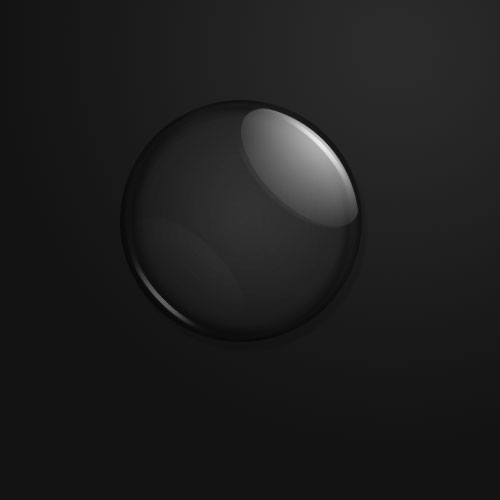
So next we want to make the button interchangeable. To do that, we simply get the main green layer and set the Fill to 0%
Fill is a bit like Opacity except that if you make something 0% Opacity then you make the layer styles transparent too, whereas if you make it 0% Fill, the layer styles are still visible. This is perfect for us because we get rid of the green, but still have everything we need to make our buttons. Now all we need to do is slot something underneath.
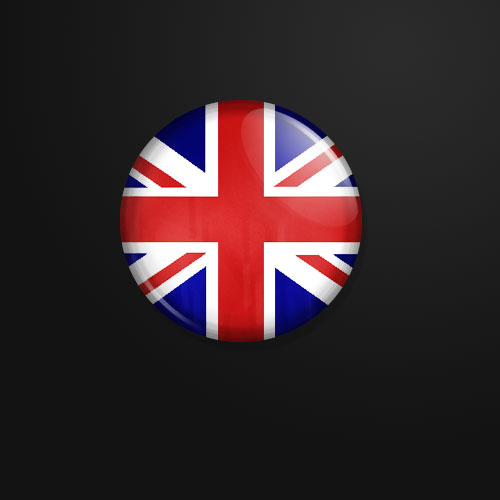
So I grabbed a British flag and you can see it here underneath the button and how the 0% Fill is working.
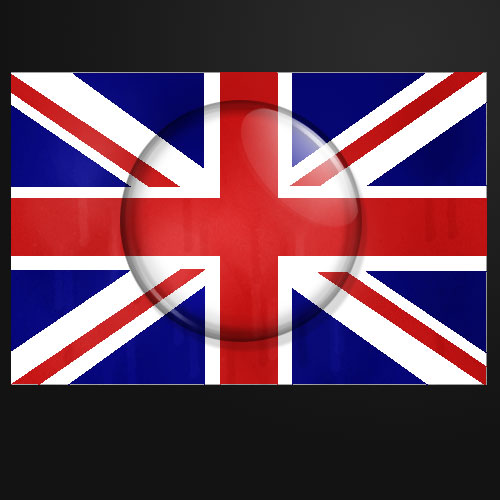
All you need to do is hit Ctrl and click on the circle layer to select that sized circle, then press Shift+Ctrl+I to invert the selection, go to the flag layer, and hit delete. And you're done! One button!


 1万+
1万+


 被折叠的 条评论
为什么被折叠?
被折叠的 条评论
为什么被折叠?
 到【灌水乐园】发言


