


简介
supervisor可以保证程序崩溃后,可以重新把程序启动起来等相关功能。
安装
yum install -y supervisor安装好后在/etc/会生成一个supervisord.conf文件及一个supervisord.d文件目录
查看supervisor是否安装成功
supervisord --version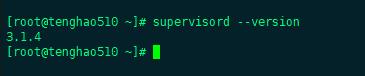
启动
supervisord -c /etc/supervisord.conf查看supervisor是否启动成功
ps -ef|grep supervisord
设置supervisor 开机启动
systemctl enable supervisord检查是否是开机启动
systemctl is-enabled supervisord
启动服务
systemctl start supervisord启动时可能会报错:Another program is already listening on a port that one of our HTTP servers is config...rvisord.

解决方案:
执行命令 find / -name supervisor.sock 然后 unlink /路径/supervisor.sock 最后再执行启动命令 systemctl start supervisord
查看状态
systemctl status supervisord.service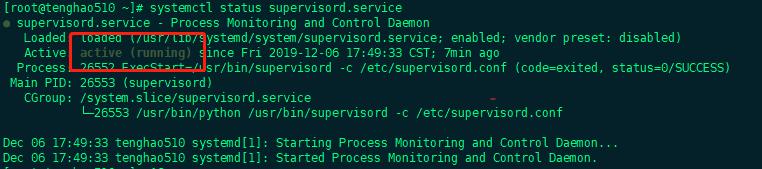
配置supervisor ,web管理页面
修改配置信息,supervisor 默认配置文件,放在 /etc/supervisord.conf 路径中:
[inet_http_server] ; HTTP 服务器,提供 web 管理界面port=*:9001 ; Web 管理后台运行的 IP 和端口username=user ; 登录管理后台的用户名password=1234 ; 登录管理后台的密码[include] files = supervisord.d/*.ini ;配置文件夹
修改完之后重启:
supervisorctl reload
然后通过http://ip:9001/访问web界面,账户名密码就是你配置的,效果如下:

创建配置文件
创建一个.ini文件,放在目录supervisord.d下
[program:demo] ;程序名称command=dotnet demo.dll ; 运行命令directory=/web/publish;目录environment=ASPNETCORE_ENVIRONMENT=Production;环境变量user=root;用户stopsignal=INTautostart=true;如果是true的话,子进程将在supervisord启动后被自动启动autorestart=true;进程死掉后自动重启的情况stderr_logfile=/var/log/demo/demo.err.log;错误日志文件stdout_logfile=/var/log/demo/demo.out.log;输出日志文件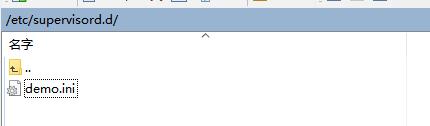
重启
systemctl restart supervisord查看是否生效
supervisorctl status
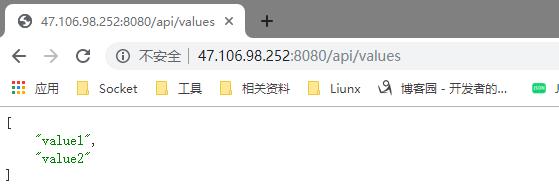
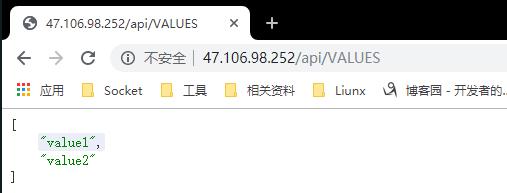
然后把Xshell关了,浏览器中输入:http://ip:8080/api/values,也能看到以下页面:
supervisorctl 常用命令
查看任务状态:supervisorctl status
启动任务:supervisorctl start
停止任务:supervisorctl stop
重启任务:supervisorctl restart
清除日志文件:supervisorctl clear
清除多个日志文件:supervisorctl clear
清除所有日志文件:supervisorctl clear all
移除任务:supervisorctl remove
Nginx代理配置
安裝nginx:Linux - CentOS 7 通过Yum源安装 Nginx
修改nginx.conf
添加一个服务
server { listen 80; server_name 47.106.98.252; location / { root html; index index.html index.htm; proxy_pass http://localhost:8080; } }检查配置文件是否成功
nginx -t
成功之后重启Nginx服务
systemctl restart nginx.service测试
浏览器输入http://ip:/api/values,效果是一样的:


 1234
1234


 被折叠的 条评论
为什么被折叠?
被折叠的 条评论
为什么被折叠?
 到【灌水乐园】发言


