


Spring Boot可以和大部分流行的测试框架协同工作:通过Spring JUnit创建单元测试;生成测试数据初始化数据库用于测试;Spring Boot可以跟BDD(Behavier Driven Development)工具、Cucumber和Spock协同工作,对应用程序进行测试。
在web应用程序中,我们主要是对Service层做单元测试,以前单元测试都是使用 junit4 ,对Controller层做集成测试或者接口测试,对Controller层的测试一般有两种方法:(1)发送http请求;(2)模拟http请求对象。
第一种方法需要配置回归环境,通过修改代码统计的策略来计算覆盖率;第二种方法是比较正规的思路。
Mockito网上相关的文档不是很多,基本都是入门性质的没有更深层次的使用案例,而且Mockito本身功能也在不断的完善,导致写起来比较费劲,好多地方完全靠猜。摸索之下算是完成了,把踩过的坑记录一下,万一有人需要呢。
下面我将演示如何用Mock对象测试Service、Controller层的代码。
引入相关jar
org.springframework.boot
spring-boot-starter-web
org.springframework.boot
spring-boot-starter-test
test
项目使用的是 springboot2.4.0。
spring-boot-starter-test 中包含 junit5 和Mockito 相关jar。无需额外引入。
如果想使用 junit4,可以将springboot版本降低,junit4 与 junit5 在一些注解和方法上有区别,比如注解的引入目录不同,一些方法进行了优化,有兴趣可以查阅相关资料,这里就不再赘述。
下面代码是 junit5 使用样式。
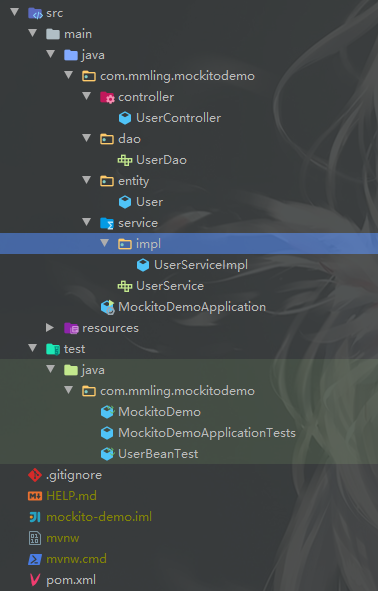
项目目录结构如下
Controller类
@RestController
@RequestMapping("/api/v1")
public class UserController {
@Autowired
 最低0.47元/天 解锁文章


 240
240


 被折叠的 条评论
为什么被折叠?
被折叠的 条评论
为什么被折叠?
 到【灌水乐园】发言


