


在了解tomcat的基本原理之前,首先要了解tomcatt最基本的运行原理。
1.如何启动?
main方法是程序的入口,tomcat也不例外,查看tomcat源码,发现main是在Bootstrap 类中的;
2.如何建立连接?
要通讯,必须要建议socket连接,我们需要使用哪种socket,是根据它使用的哪种协议进行判断的。tcp协议or udp协议?http协议本身属于tcp协议,因此我们选择的socket是基本tcp协议的socket。在tomcat中,StandardServer 中 await() 方法具体实现了 socket连接;
3.使用哪种io模式?
BIO方式适用于连接数目比较小且固定的架构,这种方式对服务器资源要求比较高;
NIO方式适用于连接数目多且连接比较短(轻操作)的架构,比如聊天服务器;
AIO方式使用于连接数目多且连接比较长(重操作)的架构,比如相册服务器
tomcat 使用了aio,bio、nio三种io模式,它们不同的应用各自发挥其优点。这里通过bio简单实现一个tomcat服务。
代码示例:
packagecom.io;importjava.io.IOException;importjava.net.InetSocketAddress;importjava.net.ServerSocket;importjava.nio.ByteBuffer;importjava.nio.channels.ServerSocketChannel;importjava.nio.channels.SocketChannel;public classChannelSocketTest {public void start() throwsIOException {//1.新建NIO通道
ServerSocketChannel ssc =ServerSocketChannel.open();
ssc.configureBlocking(false); //设置为非阻塞状态
ServerSocket socket =ssc.socket();
System.out.println("启动web服务");
socket.bind(new InetSocketAddress(8888));while (true) {
SocketChannel channel=ssc.accept();
if (channel!=null)
Thread thread= new Thread(newHttpServerThread(channel));
thread.start();
}
}
}//内部类
private class HttpServerThread implementsRunnable {
SocketChannel channel;
HttpServerThread(SocketChannel channel) {this.channel =channel;
}
@Overridepublic voidrun() {if (channel != null) {try{
ByteBuffer byteBuffer= ByteBuffer.allocate(1024);
InetSocketAddress remoteAddress=(InetSocketAddress) channel.getRemoteAddress();//System.out.println(remoteAddress.getAddress());//System.out.println(remoteAddress.getPort());
channel.read(byteBuffer);
byteBuffer.flip();while(byteBuffer.hasRemaining()) {char c = (char) byteBuffer.get();
System.out.print(c);
}//此处打印执行的线程名称,永远为 main 线程
System.out.println(Thread.currentThread().getName() + "开始向web返回消息。。。");
ByteBuffer byteBuffer2= ByteBuffer.allocate(1024);//给客户端一个响应,即向输出流写入信息
String reply = "HTTP/1.1\n"; //必须添加的响应头
reply += "Content-type:text/html\n\n"; //必须添加的响应头
reply += "服务器返回的消息";
byteBuffer2.put(newString(reply).getBytes());
byteBuffer2.flip();
channel.write(byteBuffer2);
channel.close();
}catch(IOException e) {//TODO Auto-generated catch block
e.printStackTrace();
}
}
}
}public static void main(String[] args) throwsIOException {newChannelSocketTest().start();
}
}
在浏览器上输入:http://localhost:8888/
控制台输出:
第0行信息:Host: localhost:8888第1行信息:Connection: keep-alive
第2行信息:Cache-Control: max-age=0第3行信息:User-Agent: Mozilla/5.0 (Windows NT 10.0; WOW64) AppleWebKit/537.36 (KHTML, like Gecko) Chrome/63.0.3239.132 Safari/537.36第4行信息:Upgrade-Insecure-Requests: 1第6行信息:Accept-Encoding: gzip, deflate, br
第5行信息:Accept: text/html,application/xhtml+xml,application/xml;q=0.9,image/webp,image/apng,*/*;q=0.8
第8行信息:Cookie: JSESSIONID=F373E4FD1D4E6E57AB618563B796B909;
第7行信息:Accept-Language: zh-CN,zh;q=0.9
第9行信息:
注意:控制台上的输出包含http请求头信息,socket接收的流格式为字符类型,每一行都代表一种类型的信息,因此解析时需要逐行解析。之前使用BufferedReader的readLine( )方法,但是此方法是阻塞线程的,如果读取不到,会一直处理等待状态,因此配合ready( )方法一起使用。
上面代码在浏览器请求时,后台会执行两次,我们可以打开浏览器F12调试模式查看
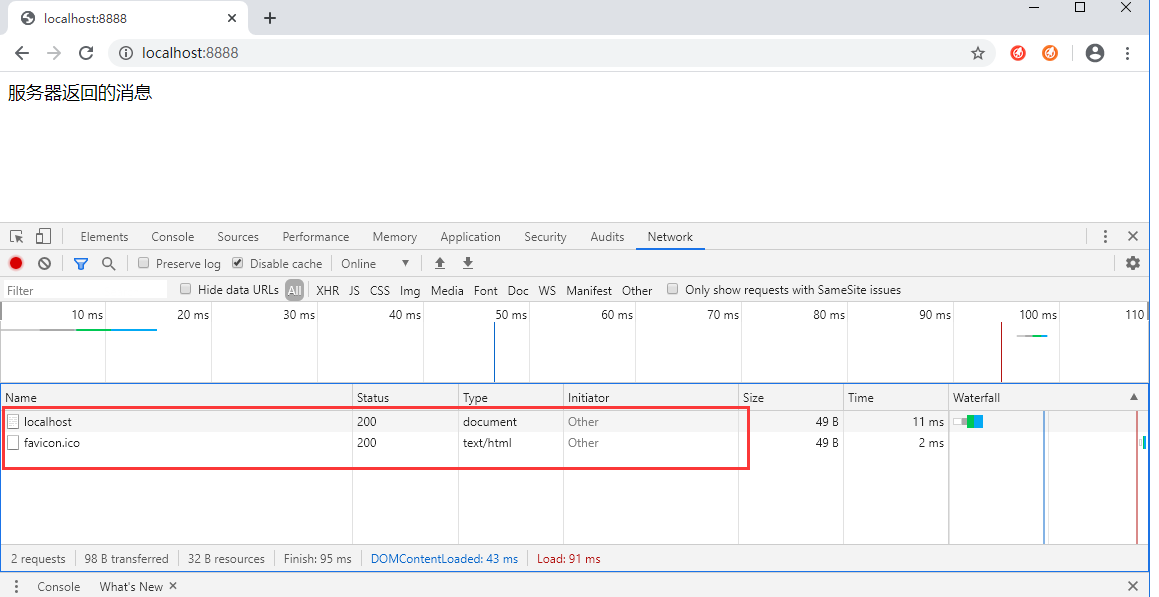
发现有一个http请求,还有一个favicon.ico 图片(浏览器窗口图标)的请求。


 391
391


 被折叠的 条评论
为什么被折叠?
被折叠的 条评论
为什么被折叠?
 到【灌水乐园】发言


