


 本文详细介绍了Python的安装过程,包括选择版本、使用Anaconda和直接下载安装Python的方法,并指导如何进行环境配置。同时,文章还提到了常用的代码编辑器,如Jupyter Notebook、IDLE和PyCharm,以及它们各自的优缺点。

本来所有的点击都有圈选,但没有想到,最后全都没有了。。。大家坚持看吧!!!

1.Python安装版本的选择
正如人的性格一样,Python也有不同的版本,包括2.X和3.X版本。但是现在2.X版本已经有许多库都不进行更新了,所以小编选择了3.X版本。最近已经更新到3.7.2版本,但是小编并没有选择3.7.2版本,小编Python选择的是3.5.4版本,pycharm中的Python版本为3.6,小伙伴们可以自行选择,只有些细微的差别,如果大家不放心的话,可以和小编选择一样的版本。
安装(大家看完两种安装手段,自行选择,不要着急安装,会踩坑。。。)
第一种、大家可以安装anaconda,这个就类似一个容器,你可以任意选择库去安装,包括以后爬虫遇到的scrapy。如果仅仅安装Python,以后再安装scrapy会遇到非常多的问题,踩到很多坑,不要问小编怎么知道的,小编已经哭晕在电脑边。。。。
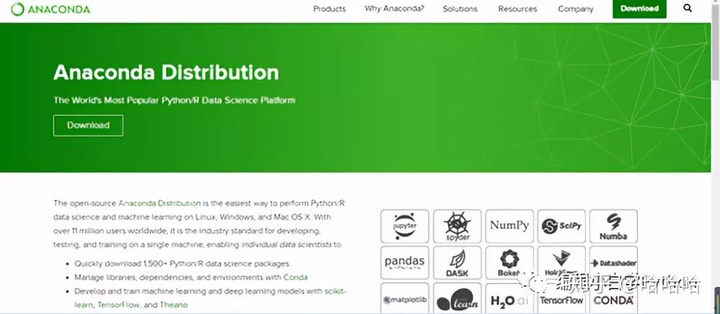
首先进入anaconda官网:https://www.anaconda.com/distribution/
界面为以下:
接下来点击download那个按钮,进入下一层页面
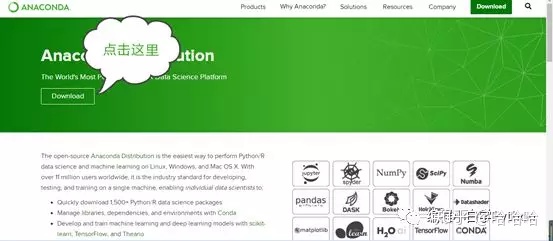
下一层页面显示:
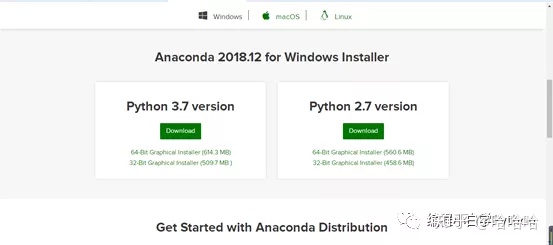
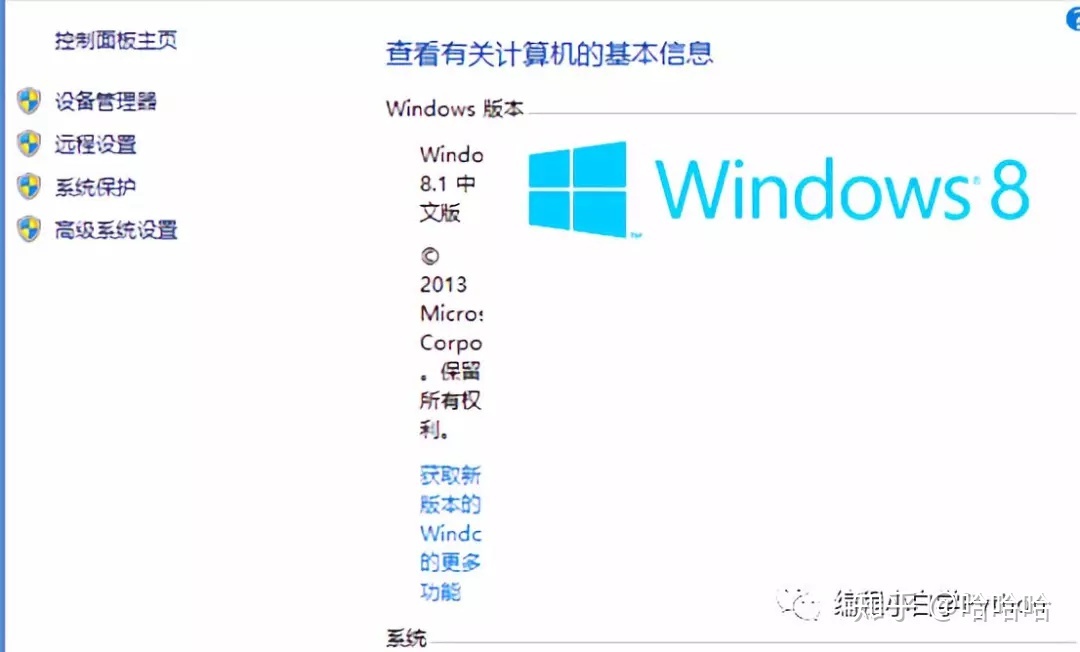
选择适合你电脑配置的版本,作为程序小白大家是否了解你电脑的,小编也是为你操碎了心,一定要记好你电脑的处理器啊。
首先找到桌面上的我的电脑--》点击右键 --》再点击最后一个属性,出现如下图片:
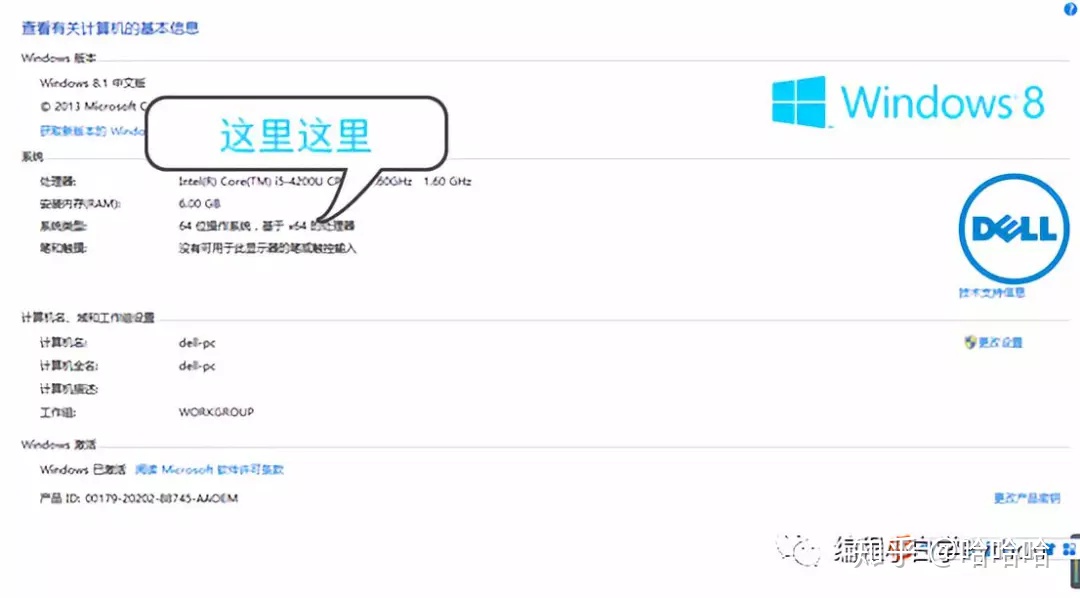
根据自己电脑的处理器选择选择相对应的版本。
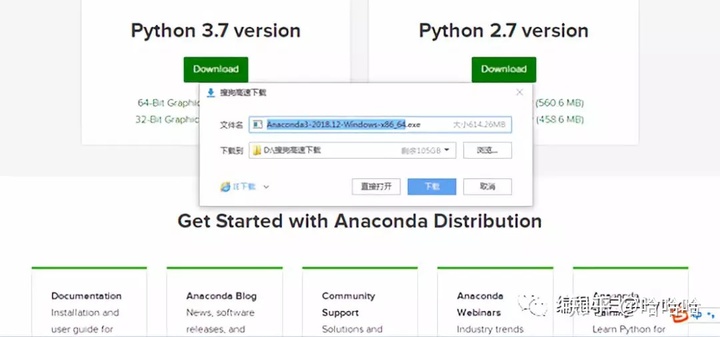
点击下载,存在你想存在的盘里面。温馨提示,不要存C盘,否则东西很多的话,会非常卡。。。
此时获得的是anaconda的安装包(为了大家小编还需重新安装),大家还需进行安装。
双击安装包,出现如下界面,版本不一样,确认是自己选的版本就好。
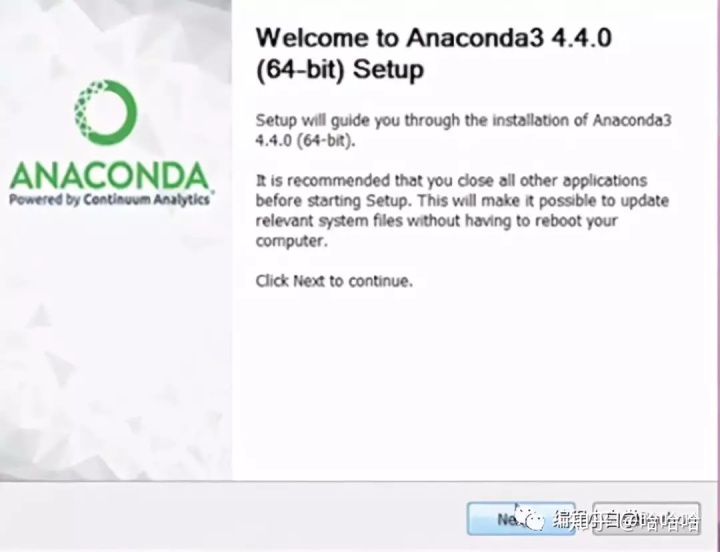
点击next之后,出现如下界面:
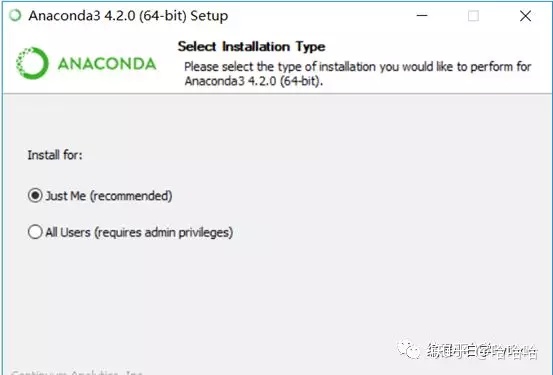
点中just me,之后点击next
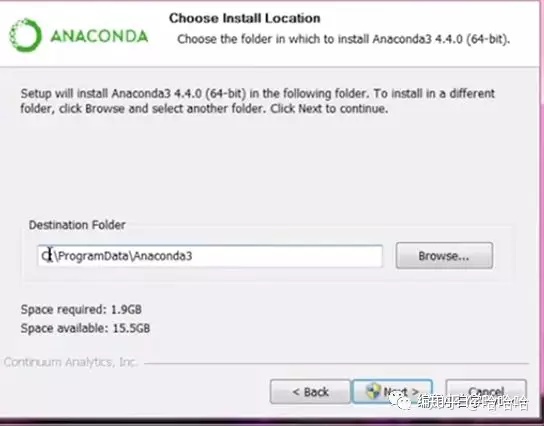
点击browse,选择你自己想安装的路径
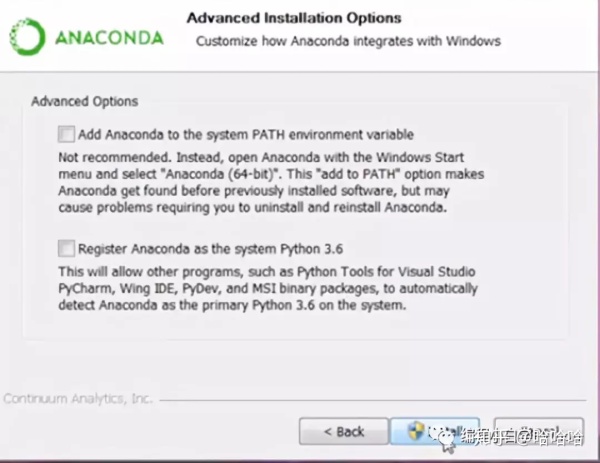
两个全选,一个是增加到环境变量,一个是默认使用Python3.6版本,最后点击install
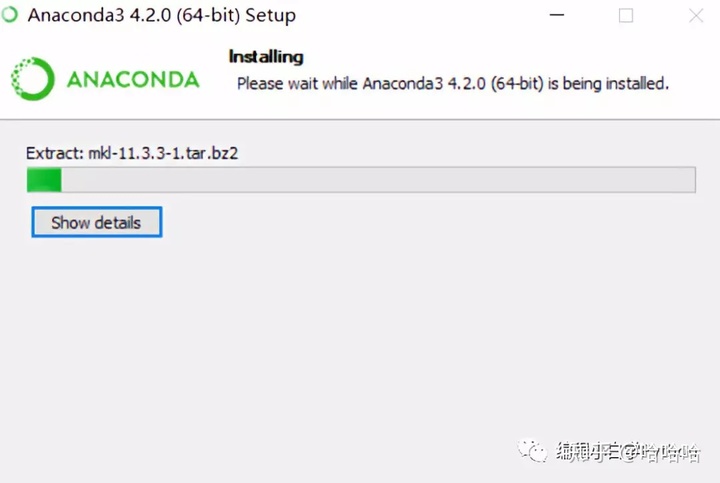
等待一会
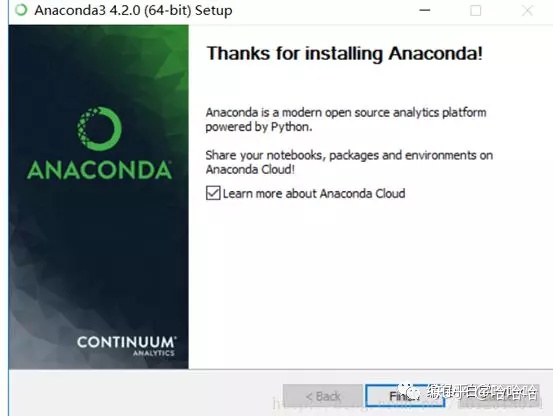
安装完成,点击finish就可以了
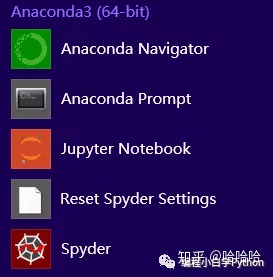
到菜单栏,出现一下图片证明安装成功
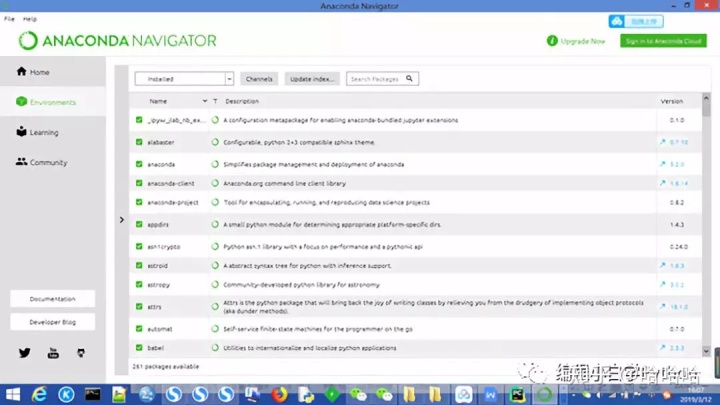
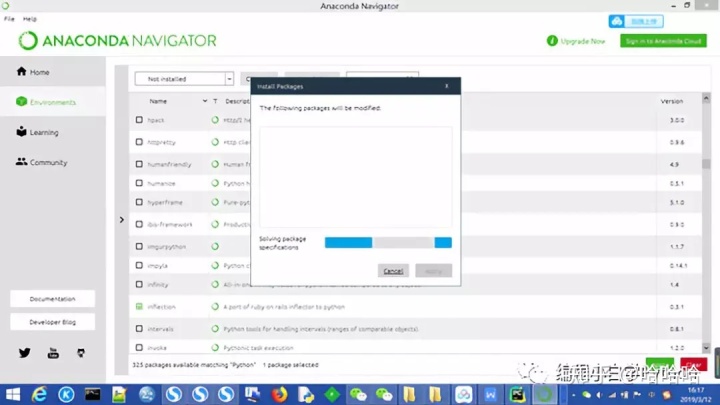
安装完打开,会出现以下界面
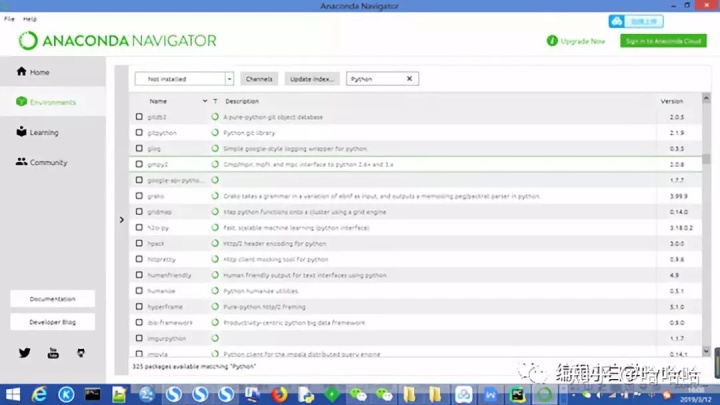
按照图中所显示的,点击environment--》not installed--》Python,找到之后点击安装
因为小编已经安装过了,所以小编以一个没有安装过为例,请注意,大家应该找到Python
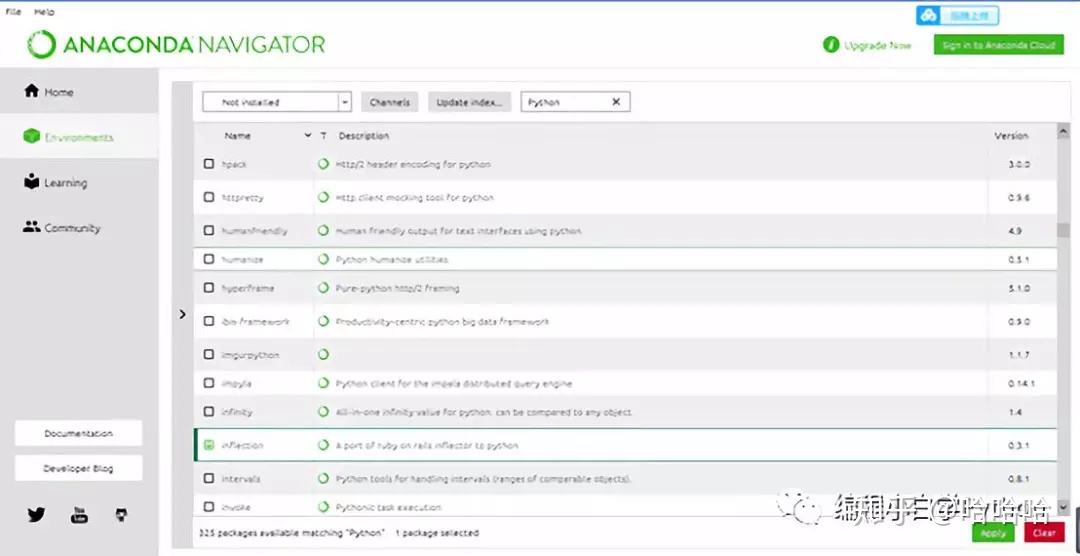
在前边的空方格打钩--》点击apply,接下来等待一会
安装完成之后就可以运行了,打开你安装的盘,找到Python的文件夹,打开它找到Python
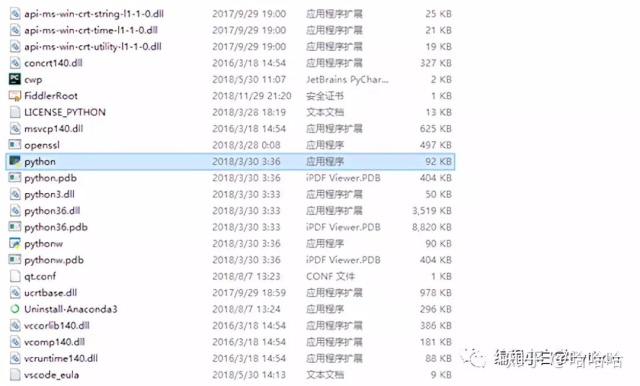
点击会出现如下图片
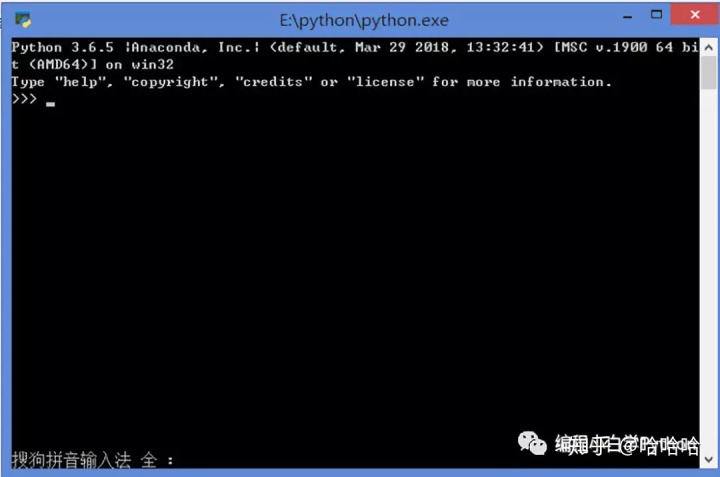
出现这个图片时,恭喜你,你已经安装完毕了。

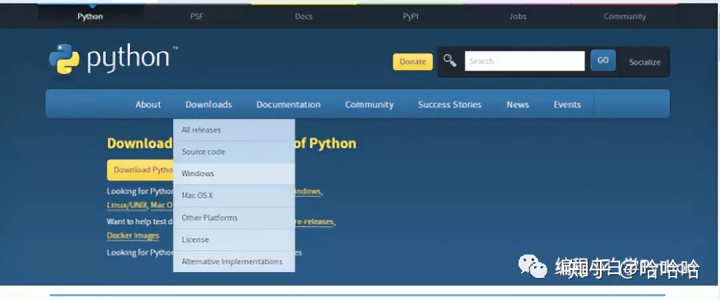
第二种、直接下载Python
网址:https://www.python.org/
打开网址,选择downloads--》选择适合自己系统版本,小编是Windows系统,所以选择Windows版本,大家自己选择适合自己的版本。
里面有各种版本,小编安装的是3.5.4,大家可以选择和小编安装一样的(32位的安装第二个)

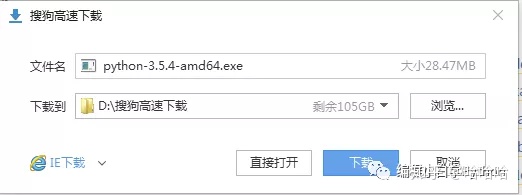
下载完成之后进行安装,进入安装主界面,下面的两个方框全部勾选
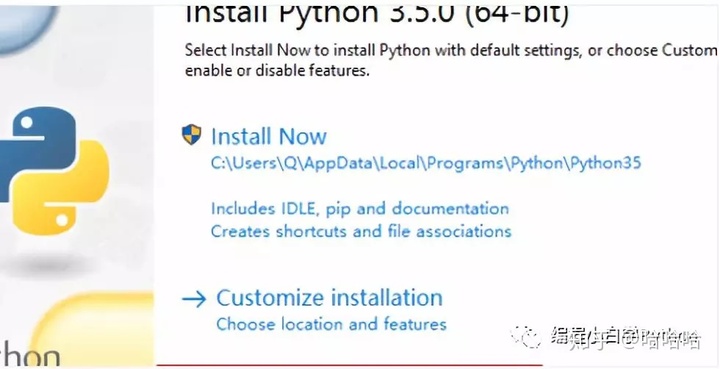
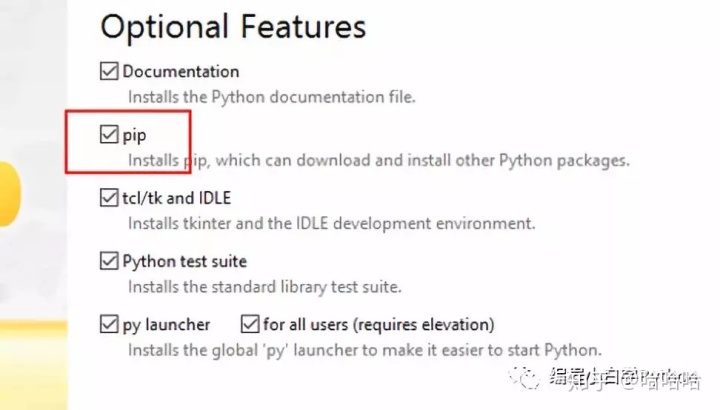
如果自定义安装路径,customize installation,前两个方框必须勾选,其余自便,如果内存大,也可以全选。
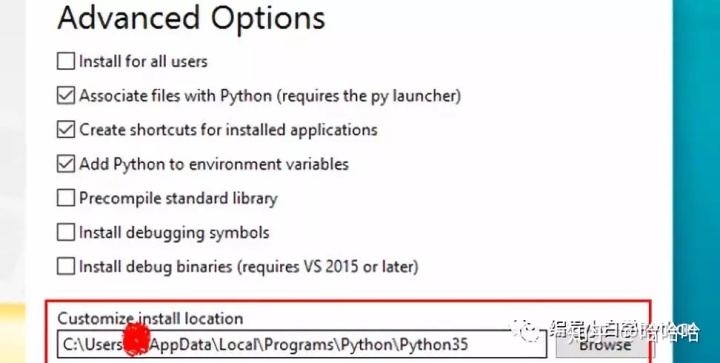
这个界面,只需要选择第2、3、4个即可,在底端选择自定义路径,然后点击install
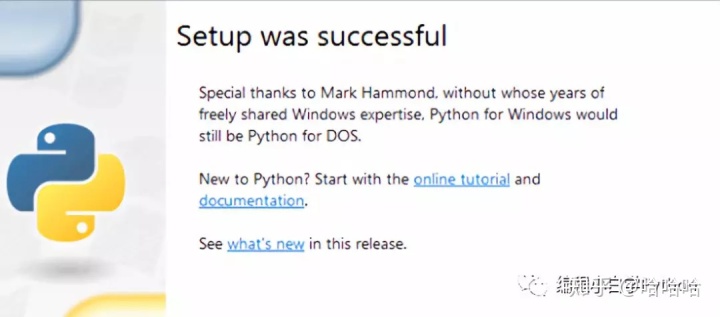
出现这个界面,证明安装完成。
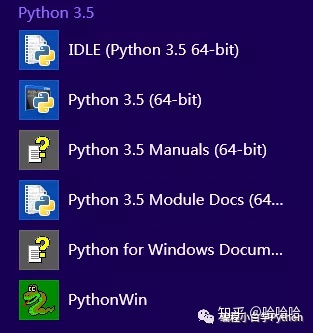
安装完成后打开菜单栏找到Python,出现如下图片,证明安装完成
2. 环境配置
打开你安装的Python路径

然后将路径选中复制,点击我的电脑--》点击右键进入属性--》点击高级系统设置

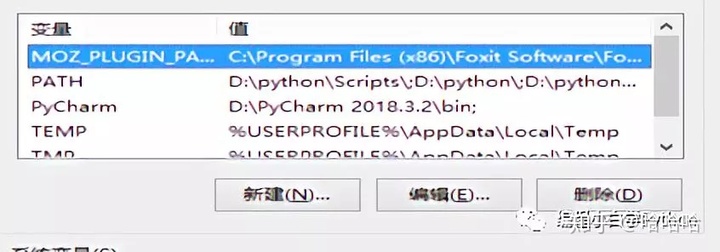
点击path,进行编辑,将复制的路径添加进去即可,不同的路径,使用英文状态下的分号,接下来一路点击确定就可以了。
判断环境变量是否安装成功:同时按住菜单键和R键出现如下界面,点击确定
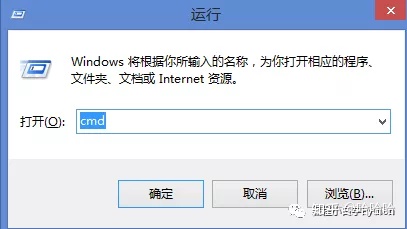
点击确定出现以下图片,直接输入Python
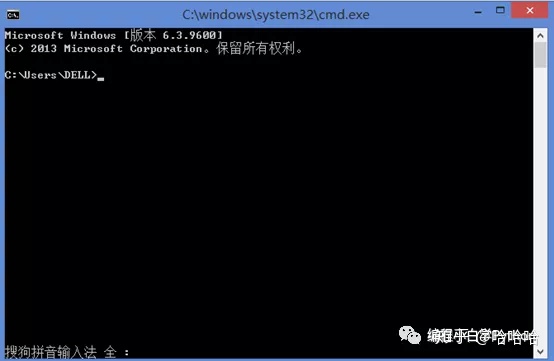
敲击回车,出现:
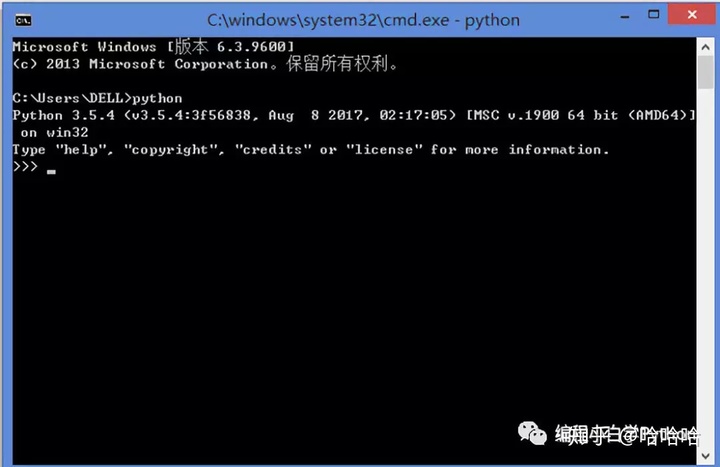
恭喜你(撒花撒花),你已经环境配置成功了。
3.代码编辑器
(本文介绍三种,不仅仅有三种,只不过小编只接触过这三种)
第一种,就是anaconda里面的jupyter notebook,直接使用就可以
第二种、Python自带的idle-shell
第三种、就是pycharm(小编自用款)
三种编辑器的比较:
Notebook:
在运行整体前可以运行并且修正局部代码(因为小编没有使用,所以了解的比较少)
Pycharm:
优点:支持全面Python开发,无论是小白还是大神都简单易用,同时可以提示错误以及提醒,还可以进行debug,小编最爱。
缺点:刚刚打开程序时,简直不要太慢,等得好捉急。。。
Shell
优点:刚开始使用看见前两个编辑器,一片茫然,但是这个编辑器,界面简洁干净,功能简单,非常适合新手。(小编刚开始接触Python,就是使用的这个)
缺点:那么小编为什么抛弃它呢?真心不是小编见异思迁,实在是随着代码的增多,找错真的是个大工程,在敲代码时不提示错误,在运行时就得不停地改错。当然,如果你是一个特别认真,记性超好的人,有耐心的人,也欢迎大家选择它。
以上的比较仅仅是小编个人的观点,如有错误或者不恰当的地方,欢迎大家批评指正。
本来小编想今天讲讲Python语法基础以及控制流,不过小编今天简直累到吐血!

所以今天就到这里,下课!!!(撒花,撒花,撒花)


 7934
7934

 被折叠的 条评论
为什么被折叠?
被折叠的 条评论
为什么被折叠?
 到【灌水乐园】发言


