


1.如何使用view实现常见的UI布局
(1)先来看view常见的属性
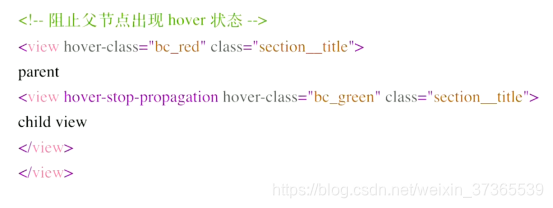
hover-class:按住元素会加一个bc_red的类样式
hover-stop-propagation:阻止父节点出现单击态,默认为false不阻止
这样点击子组件,父组件就不会触发了
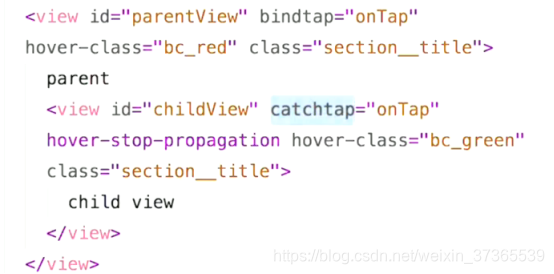
catchtap同bindtap事件一样,也是绑定事件,但是可以阻止冒泡事件,这样点击子元素就不会触发父元素的点击事件。
(2)接下来了解下flex布局
先来了解下主轴和辅轴,这两个概念是通过flex-direction设置的值来判断的,值为row(从左到右)或者row-reverse(从右到左)时,表示元素横向排列,主轴为X辅轴为Y。值为colum(从上到下)或者colum-reverse(从下到上)的时候,纵向排列,主轴为Y辅轴为X。
ps:接下来的例子默认主轴为X辅轴为Y
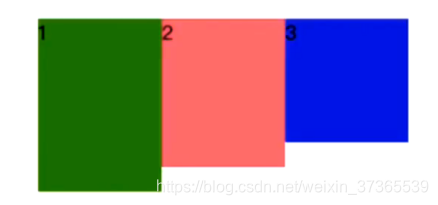
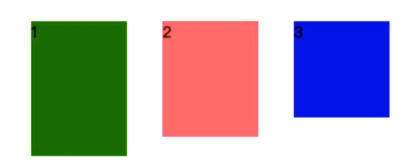
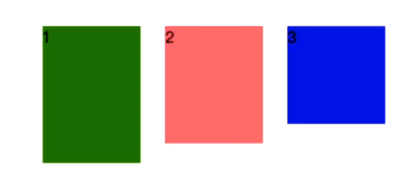
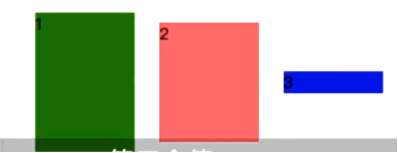
1.justify-content:调整内容在主轴方向的排列方式
- flex-start:元素向主轴的起点看齐
-
flex-end:元素向主轴的尾部看齐
-
center:居中对齐
-
space-between:向首尾对齐,子元素中间间隔相等,两端没有间隔,(如果发现两端有间隔,可以看看父元素有没有伪类)。
-
space-around:空白在周围均匀分布
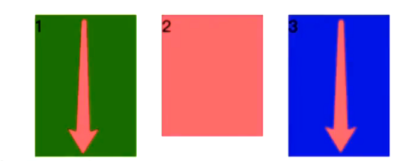
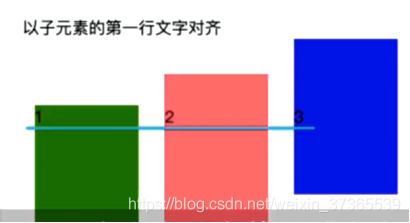
2.align-items:对齐元素在辅轴方向的对齐方式 -
stretch:拉伸填满整个容器(子元素不能有height和min-height的束缚)
-
flex-start:横向的时候就是顶部对齐
-
flex-end:横向的时候就是底部对齐
-
center:居中对齐
-
baseline:以子元素的第一行文字对齐的
3.align-content:对齐多行内容再辅轴方向上的排列方式 -
同justify-content的值作用相同
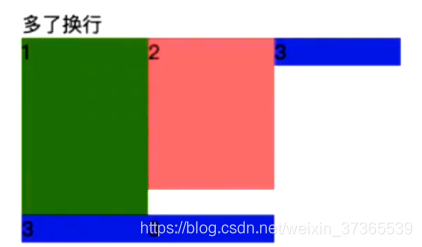
4.flex-wrap:主轴一行显示不了的时候的换行策略 -
no-wrap不换行(默认)
-
wrap:换行
-
wrap-reverse:反向换行,第一行在最下面
2.如何把view上的内容绘制到画布上,生成一张海报
1.先用wx.createCanvasContext创建一个画布,
2.在画布上绘制内容、文本或者是图片。
3.接着通过wx.canvasToTempFilePath保存到本地并获取一个临时图片路径
4.最后通过wx.saveImageToPhotosAlbum保存临时文件到本地相册里
这里只是一个简单的例子,如果想看内容丰富一点的例子,可以移步到这个链接[https://www.cnblogs.com/lingXie/p/10609530.html](https://www.cnblogs.com/lingXie/p/10609530.html)
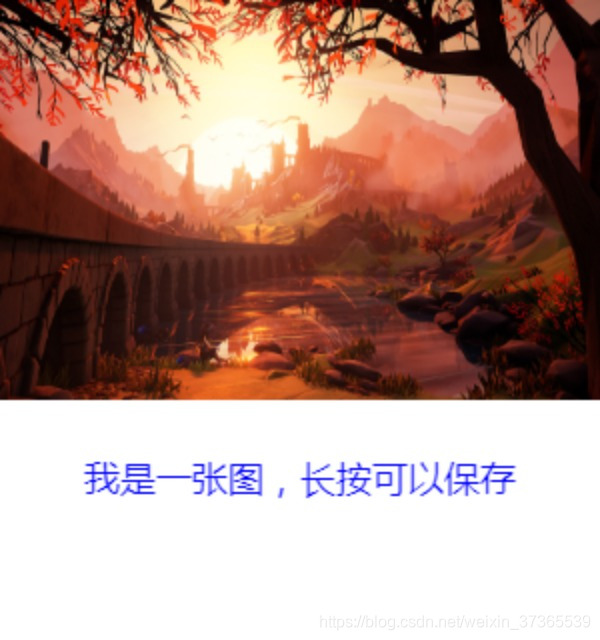
保存后的图片
具体代码:
<view class="container">
<!-- 画布 -->
<!-- canvas -->
<canvas bindlongpress='baocun' canvas-id="myCanvas" style="width:300px;height:320px;position:fixed;top:40px;"></canvas>
<!-- 要保存至相册的图片 -->
</view>
//index.js
const app = getApp()
Page({
data: {
imagePath:''
},
onLoad: function() {
// 调用画布
// this.createNewImg();
var that=this;
setTimeout(function(){
that.createNewImg();
},500);
},
/*
1.绘制画布
2.将canvas转换为图片保存到本地,然后将图片路径传给image图片的src
*/
createNewImg: function () {
var that = this;
var ctx = wx.createCanvasContext('myCanvas');
//绘制文本
//语法:fillText(text, x, y, [maxWidth]) strokeText(text, x, y, [maxWidth])
ctx.font = "normal 18px Arial";
ctx.textAlign = 'center';
ctx.textBaseline = 'bottom';
ctx.fillStyle = 'blue';
ctx.fillText("我是一张图,长按可以保存", 150, 250);
//图片绘制
var img='../../mock/images/test.jpg';
ctx.drawImage(img, 0, 0, 300, 200);
ctx.save(); // 保存当前ctx的状态 ctx.restore();
ctx.draw();
setTimeout(function () {
wx.canvasToTempFilePath({
x: 0,
y: 0,
width: 300,
height: 320,
destWidth: 300 * 2,//生成图片的大小设置成canvas大小的二倍解决模糊
destHeight: 320 * 2,
canvasId: 'myCanvas',
fileType: 'jpg',
success: function (res) {
var tempFilePath = res.tempFilePath;
that.setData({
imagePath: tempFilePath
});
wx.hideToast();
console.log('canvas图片地址:' + that.data.imagePath);
}
});
}, 600);
},
//点击保存到相册
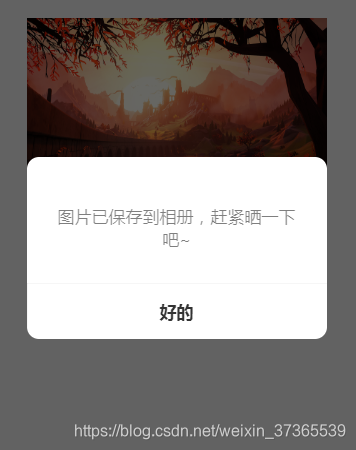
baocun: function () {
var that = this;
wx.saveImageToPhotosAlbum({
filePath: that.data.imagePath,
success(res) {
wx.showModal({
content: '图片已保存到相册,赶紧晒一下吧~',
showCancel: false,
confirmText: '好的',
confirmColor: '#333',
success: function (res) {
if (res.confirm) {
console.log('用户点击确定');
}
}, fail: function (res) {
console.log(res)
}
})
}
})
},
})


 2137
2137

 被折叠的 条评论
为什么被折叠?
被折叠的 条评论
为什么被折叠?
 到【灌水乐园】发言


