


官方文档:按钮 (Button)添加链接描述
官方文档:button开发指导
属性迭代完善
不含子组件的按钮
Column({ space: 10 }) {
  Row() {
    Button('添加子目标', { type: ButtonType.Normal, stateEffect: true }) // type用于设置Button类型,stateEffect属性设置Button是否开启点击效果。
      .width(160)// 宽度
      .height(60)// 高度
      .backgroundColor(Color.Yellow)// 背景色
      .margin({ top: 20, left: 20, right: 20, bottom: 20 })// 外边距
      .padding({ top: 20, left: 20, right: 20, bottom: 20 })// 内边距
      .borderRadius(1)// 四个角的圆弧度
      .fontSize(18)//字体大小
      .fontColor('#007DFF')//字体颜色
      .fontWeight(800) // 字体宽度
      .position({ x: '80%', y: 600 }) // 位置
      .shadow({ radius: 10 }) //重影强度
      .onClick(() => {
        // 某些操作
      }) // 点击事件
  }.width('90%').height(90).border({ width: 1, style: BorderStyle.Dashed })
}.width('100%').height(100).margin({ top: 30 })
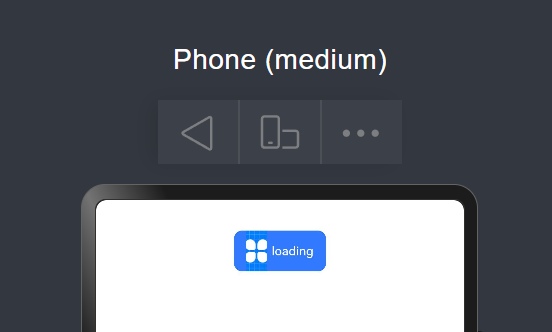
包含子组件的按钮
Column({ space: 10 }) {
  Button({ type: ButtonType.Normal, stateEffect: true }) {
    Row() {
      Image($r('app.media.icon')).width(20).height(40).margin({ left: 12 })
      Text('loading').fontSize(12).fontColor(0xffffff).margin({ left: 5, right: 12 })
    }.alignItems(VerticalAlign.Center)
  }.borderRadius(8).backgroundColor(0x317aff).width(90).height(40)
}.width('100%').height(100).margin({ top: 30 })
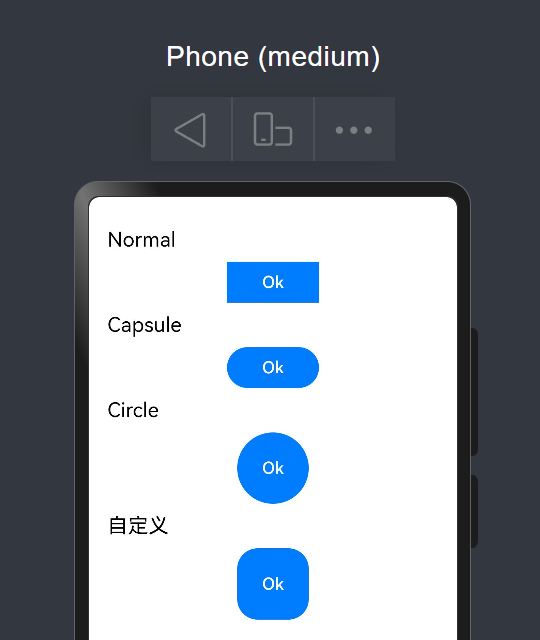
ButtonType
Column({ space: 10 }) {
  Text('Normal').fontSize(20).fontColor(Color.Black).width('90%')
  Button('Ok', { type: ButtonType.Normal, stateEffect: true }).width(90).height(40)
  Text('Capsule').fontSize(20).fontColor(Color.Black).width('90%')
  Button('Ok', { type: ButtonType.Capsule, stateEffect: false }).width(90).height(40)
  Text('Circle').fontSize(20).fontColor(Color.Black).width('90%')
  Button('Ok', { type: ButtonType.Circle, stateEffect: false }).width(70).height(70)
  Text('自定义').fontSize(20).fontColor(Color.Black).width('90%')
  Button('Ok', { type: ButtonType.Normal, stateEffect: false }).width(70).height(70).borderRadius(20)
}.width('100%').height(100).margin({ top: 30 })
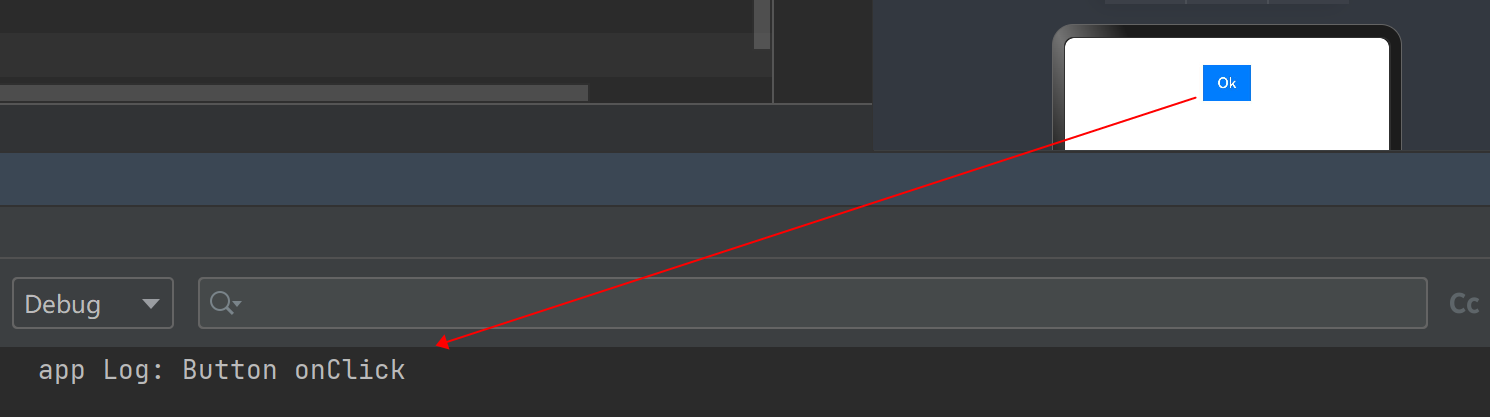
添加事件
Column({ space: 10 }) {
  Button('Ok', { type: ButtonType.Normal, stateEffect: true })
    .onClick(() => {
      console.info('Button onClick')
    })
}.width('100%').height(100).margin({ top: 30 })
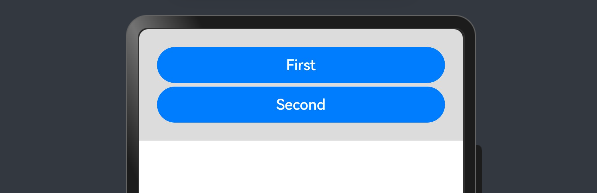
跳转超链接
import router from '@ohos.router';

@Entry
@Component
struct SizeExample {
  @State FurL: router.RouterOptions = { 'url': 'pages/FirstPage' }
  @State SurL: router.RouterOptions = { 'url': 'pages/SecondPage' }

  build() {
    List({ space: 4 }) {
      ListItem() {
        Button("First").onClick(() => {
          router.pushUrl(this.FurL)
        }).width('100%')
      }

      ListItem() {
        Button("Second").onClick(() => {
          router.pushUrl(this.SurL)
        }).width('100%')
      }
    }
    .listDirection(Axis.Vertical)
    .backgroundColor(0xDCDCDC).padding(20)
  }
}
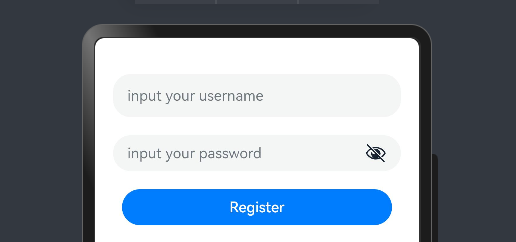
提交表单
  build() {
    Column() {
      TextInput({ placeholder: 'input your username' }).margin({ top: 20 })
      TextInput({ placeholder: 'input your password' }).type(InputType.Password).margin({ top: 20 })
      Button('Register').width(300).margin({ top: 20 })
        .onClick(() => {
          // 需要执行的操作
        })
    }.padding(20)
  }
}
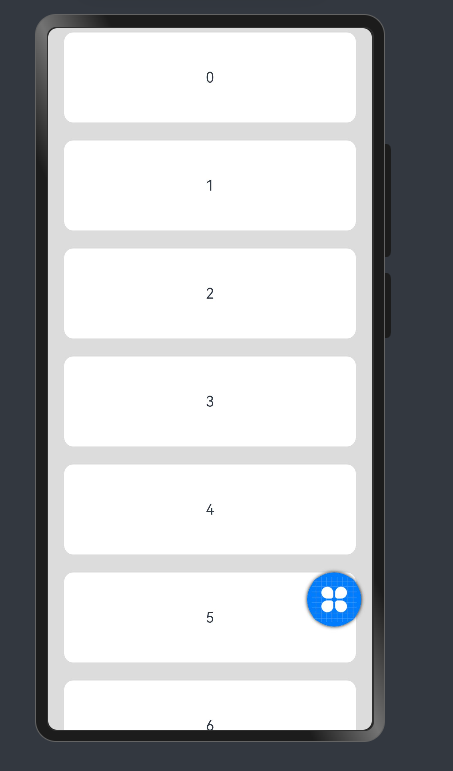
悬浮按钮
private arr: number[] = [0, 1, 2, 3, 4, 5, 6, 7, 8, 9]
build() {
  Stack() {
    List({ space: 20, initialIndex: 0 }) {
      ForEach(this.arr, (item: number) => {
        ListItem() {
          Text('' + item).width('100%').height(100).fontSize(16).textAlign(TextAlign.Center).borderRadius(10).backgroundColor(0xFFFFFF)
        }
      }, (item: number) => item.toString())
    }.width('90%')
    Button() {
      Image($r('app.media.icon')).width(50).height(50)
    }.width(60).height(60).position({ x: '80%', y: 600 }).shadow({ radius: 10 })
    .onClick(() => {
      // 需要执行的操作
    })
  }.width('100%').height('100%').backgroundColor(0xDCDCDC).padding({ top: 5 })
}


 976
976


 被折叠的 条评论
为什么被折叠?
被折叠的 条评论
为什么被折叠?
 到【灌水乐园】发言


