


1.
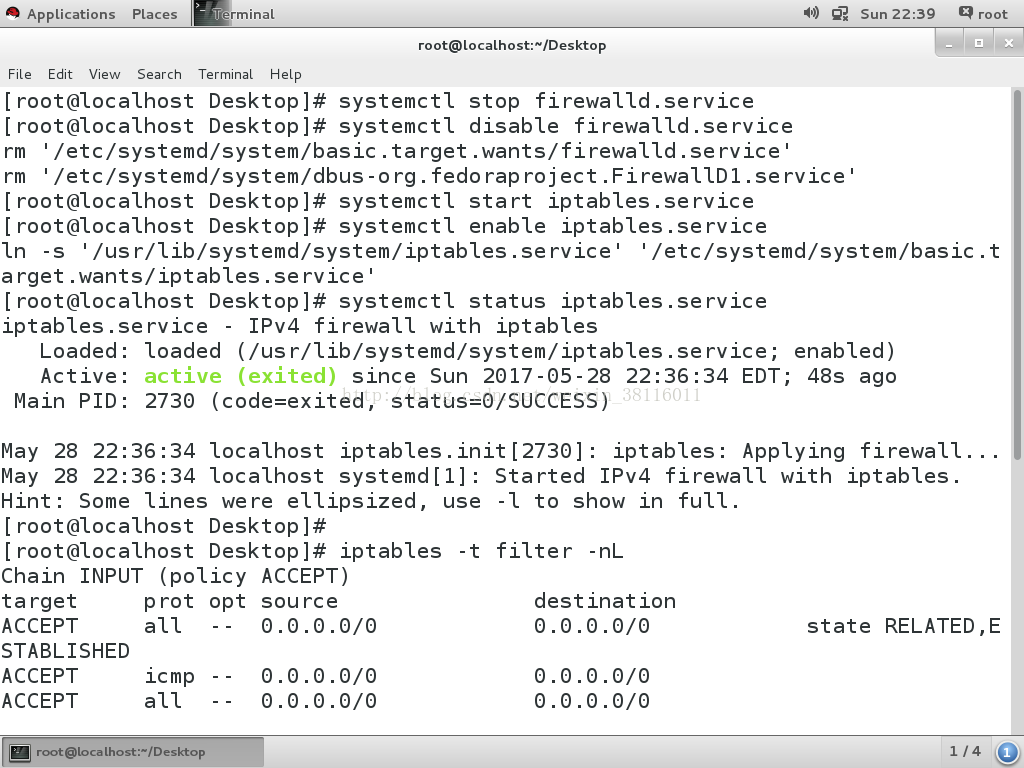
systemctl stop firewalld.service
systemctl disable firewalld.service
systemctl start iptables.service
systemctl enable iptables.service
systemctl status iptables.service
2.
iptables
-L ##**列出指定表的策略**
-A ##**添加策略**
-N ##**增加链**
-E ##**修改链名称**
-X ##**删除链**
-D ##**删除指定策略**
-I ##**(insert)插入策略**
-R ##**修改策略**
-P ##**修改默认策略**
-t ##**指定表名称**
-n ##**不做解析**
-p ##**网络协议**
--dport ##**端口**
-s ##**数据来源source**
-j ##**动作**
ACCEPT ##**允许**
REJECT ##**拒绝**
DROP ##**丢弃**
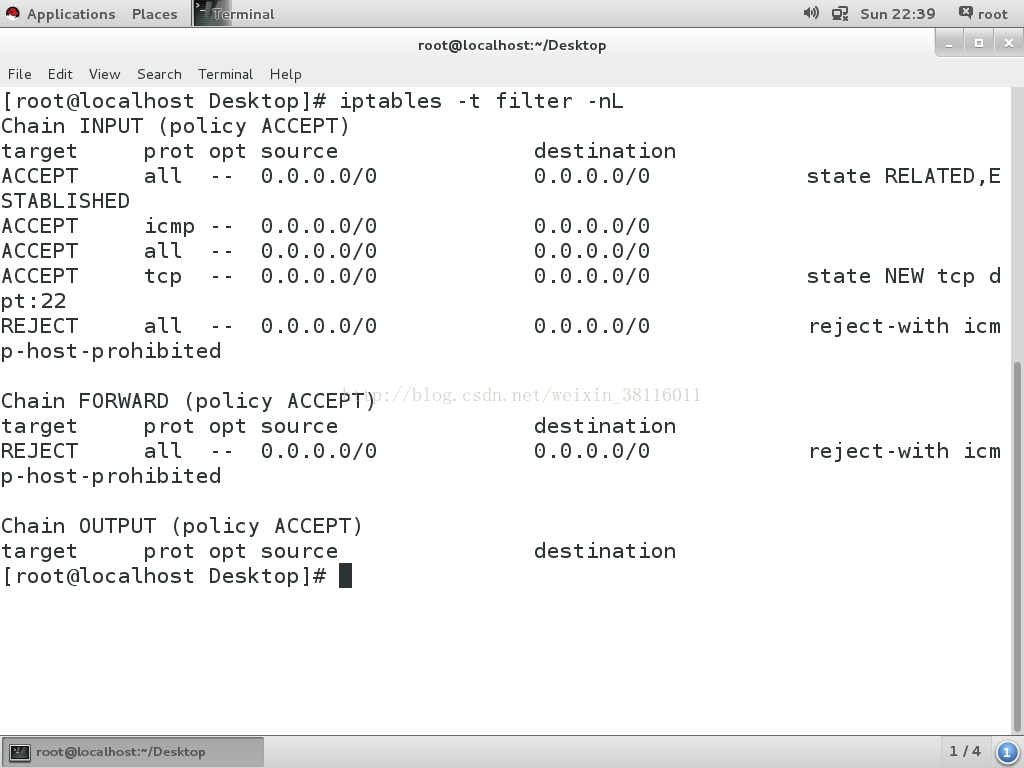
iptables -t filter -nL ##**查看filter表中策略**
iptables -F ##**刷掉filter表中所有策略,当没有-t指定表时,默认表为filter**
iptables -nL ##**查看filter表中的策略**
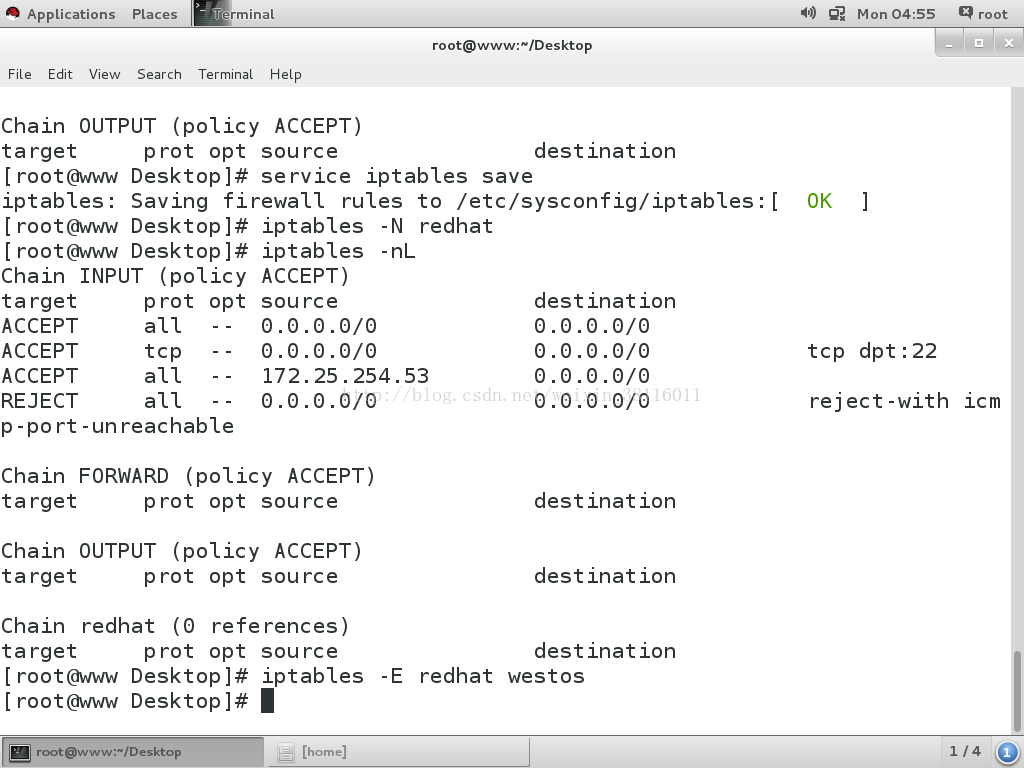
service iptables save
##**保存当前策略**
iptables -A INPUT -i lo -j ACCEPT ##**允许lo(回环)**
iptables -A INPUT -p tcp --dport 22 -j ACCEPT ##**允许访问22端口**
iptables -A INPUT -s 172.25.254.250 -j ACCEPT ##**允许250主机访问**
iptables -A INPUT -j REJECT ##**拒绝所有主机的数据来源
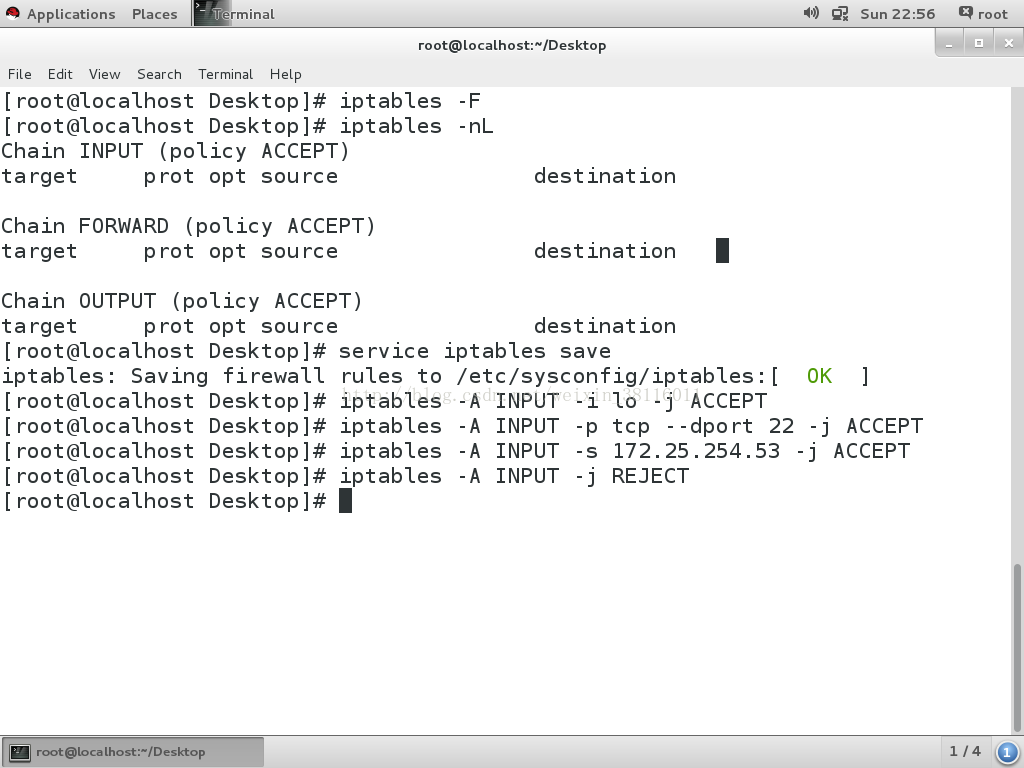

**
iptables -N redhat ##**增加链redhat**
iptables -E redhat westos ##**修改链名称**
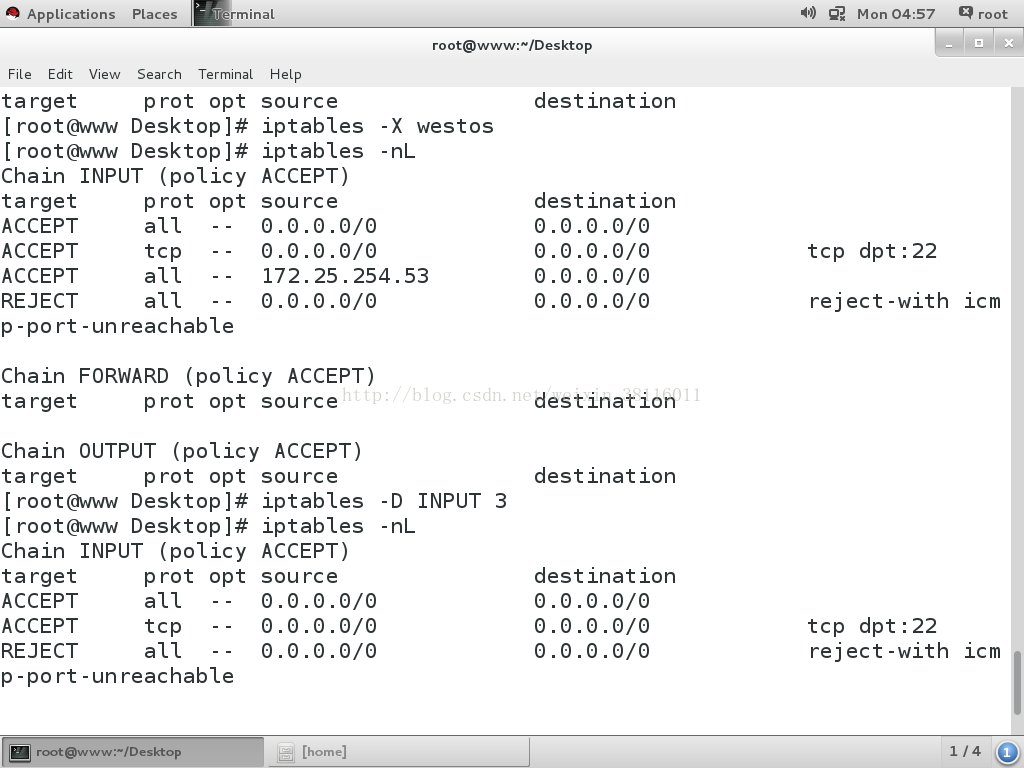
iptables -X westos ##**删除westos链**
iptables -D INPUT 3 ##**删除INPUT表中的第3条策略**
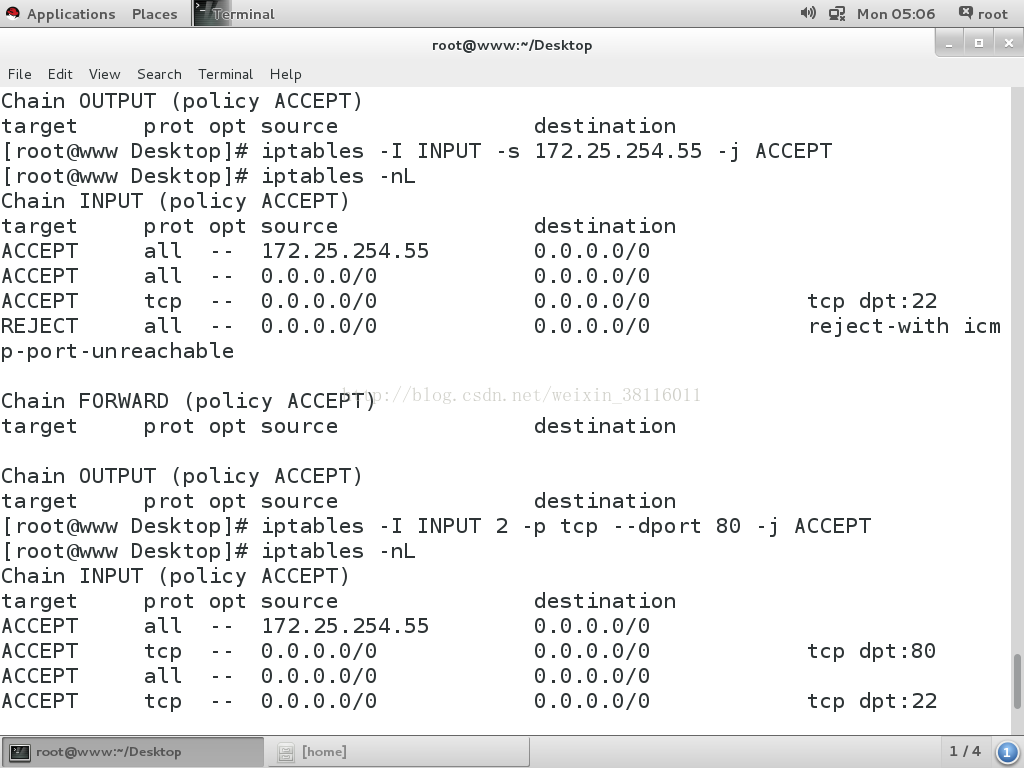
iptables -I INPUT -s 172.25.254.41 -j ACCEPT ##**插入策略到INPUT表中的第1条**
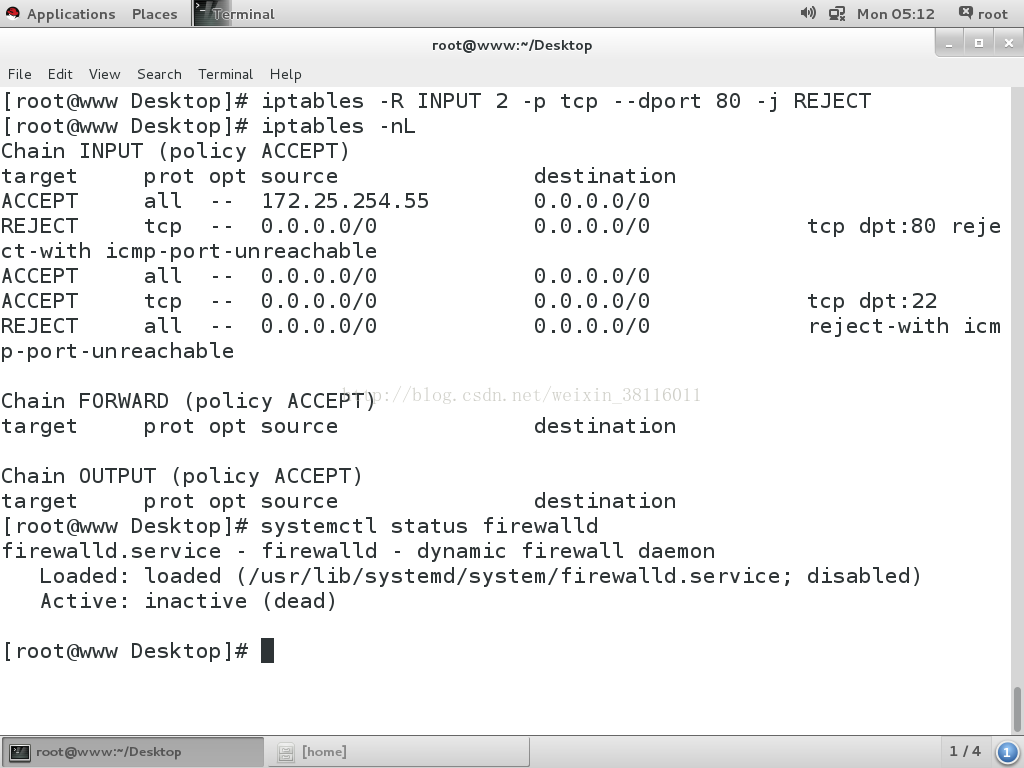
iptables -R INPUT 2 -p tcp --dport 80 -j ACCEPT ##**修改INPUT表的第2条策略**
iptables -P INPUT DROP
###**数据包状态**
RELATED
ESTABLISHED
NEW
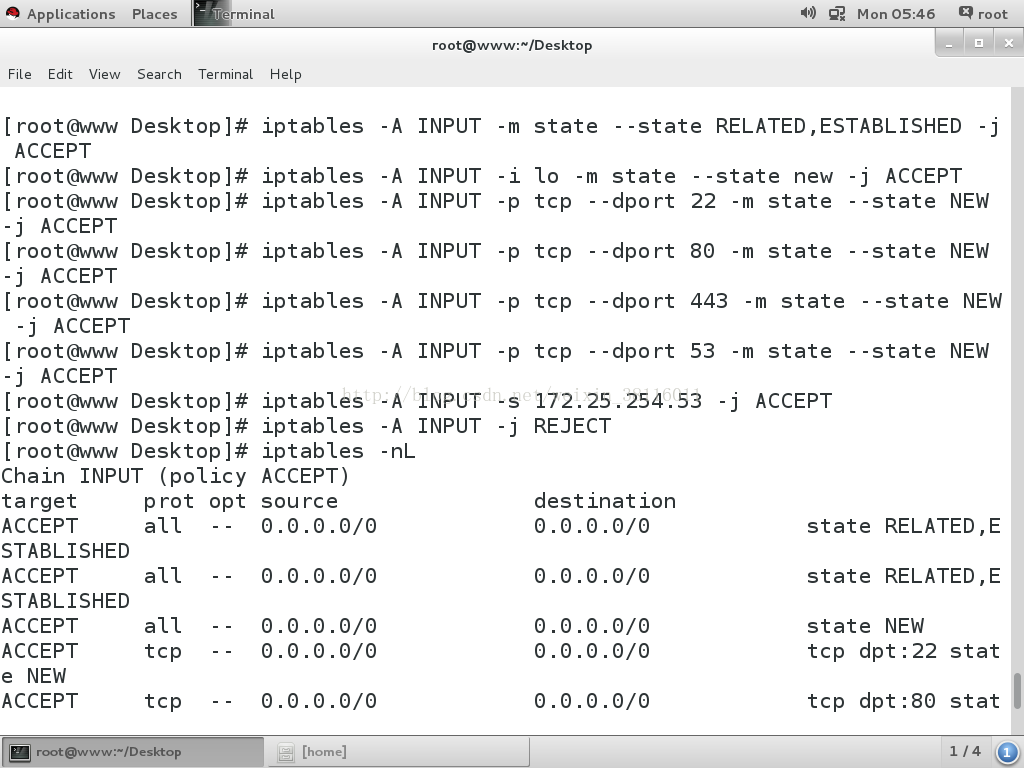
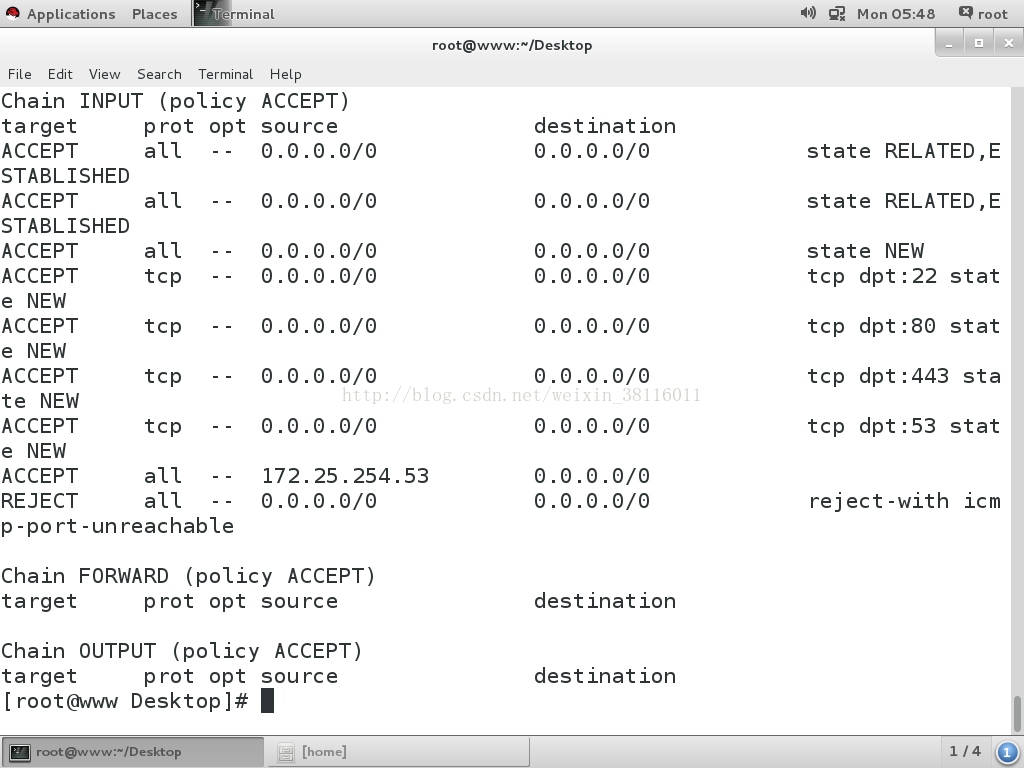
iptables -A INPUT -m state --state RELATED,ESTABLISHED -j ACCEPT ##****
iptables -A INPUT -i lo -m state --state NEW -j ACCEPT ##****
iptables -A INPUT -p tcp --dport 22 -m state --state NEW -j ACCEPT ##****
iptables -A INPUT -p tcp --dport 80 -m state --state NEW -j ACCEPT ##****
iptables -A INPUT -p tcp --dport 443 -m state --state NEW -j ACCEPT ##****
iptables -A INPUT -p tcp --dport 53 -m state --state NEW -j ACCEPT ##****
iptables -A INPUT -s 172.25.254.41 -j ACCEPT ##****
iptables -A INPUT -j REJECT ##****
###**数据包状态**
RELATED
ESTABLISHED
NEW
iptables -A INPUT -m state --state RELATED,ESTABLISHED -j ACCEPT ##****
iptables -A INPUT -i lo -m state --state NEW -j ACCEPT ##****
iptables -A INPUT -p tcp --dport 22 -m state --state NEW -j ACCEPT ##****
iptables -A INPUT -p tcp --dport 80 -m state --state NEW -j ACCEPT ##****
iptables -A INPUT -p tcp --dport 443 -m state --state NEW -j ACCEPT ##****
iptables -A INPUT -p tcp --dport 53 -m state --state NEW -j ACCEPT ##****
iptables -A INPUT -s 172.25.254.55 -j ACCEPT ##****
iptables -A INPUT -j REJECT ##****
————**desktop**————
eth0 172.25.254.54
eth1 172.25.55.10
————**server**————
eth0 172.25.55.11
GATEWAY=172.25.54.10
iptables -F
sysctl -a | grep forward
echo "net.ipv4.ip_forward = 1" >> /etc/sysctl.conf
sysctl -p
iptables -t nat -A PREROUTING -i eth0 -j DNAT --to-dest 172.25.55.11
iptables -t nat -A POSTROUTING -o eth0 -j SNAT --to-source 172.25.254.54
##########dovecot + mysql###############
[root@dns-desktop ~]# yum install dovecot dovecot-mysql -y ##dovecot-mysql dovecot软件的插件,让此软件可以识别sysql
Loaded plugins: langpacks
root@dns-desktop ~]# vim /etc/dovecot/dovecot.conf
24 protocols = imap pop3 lmtp支持收件协议
48 login_trusted_networks = 0.0.0.0/0信任网络
49 disable_plaintext_auth = no开启明文认证
50 # Space separated list of login access check sockets (e.g. t
[root@dns-desktop ~]# vim /etc/dovecot/conf.d/10-auth.conf
122 !include auth-system.conf.ext
123 !include auth-sql.conf.ext开启mysql的认证方式
124 #!include auth-ldap.conf.ext
生成dovecot读取mysql的配置
cp /usr/share/doc/dovecot-2.2.10/example-config/dovecot-sql.conf.ext /etc/dovecot/dovecot-sql.conf.ext
[root@dns-desktop ~]# vim /etc/dovecot/dovecot-sql.conf.ext
31 # Database driver: mysql, pgsql, sqlite
32 driver = mysql 数据库类型
69 # connect = /etc/dovecot/authdb.sqlite
70 #
71 connect = host=localhost dbname=email user=postuser passwd=postuser
72
76 # http://wiki2.dovecot.org/Authentication/PasswordSchemes
77 #
78 default_pass_scheme = PLAIN ##默认认证方式为明文
107 password_query = \ 查询密码匹配
108 SELECT username, domain, password \
109 FROM users WHERE username = '%U' AND domain = '%d'
125 user_query = SELECT home, 501 AS uid, 501 AS gid FROM users WHERE userid = '%u'查询邮件内容
[root@dns-desktop ~]# vim /etc/dovecot/conf.d/10-mail.conf
29 #
30 mail_location = maildir:/home/vmail/%d%n邮件文件查询用户身份
168 first_valid_uid = 666
175 first_valid_gid = 666
[root@dns-desktop ~]# systemctl restart dovecot.service
**********************************************************************************************


 1万+
1万+

 被折叠的 条评论
为什么被折叠?
被折叠的 条评论
为什么被折叠?
 到【灌水乐园】发言


