


任务描述
将经过批量抠图处理过的图片中所有目标逐一裁切保存。如下图:
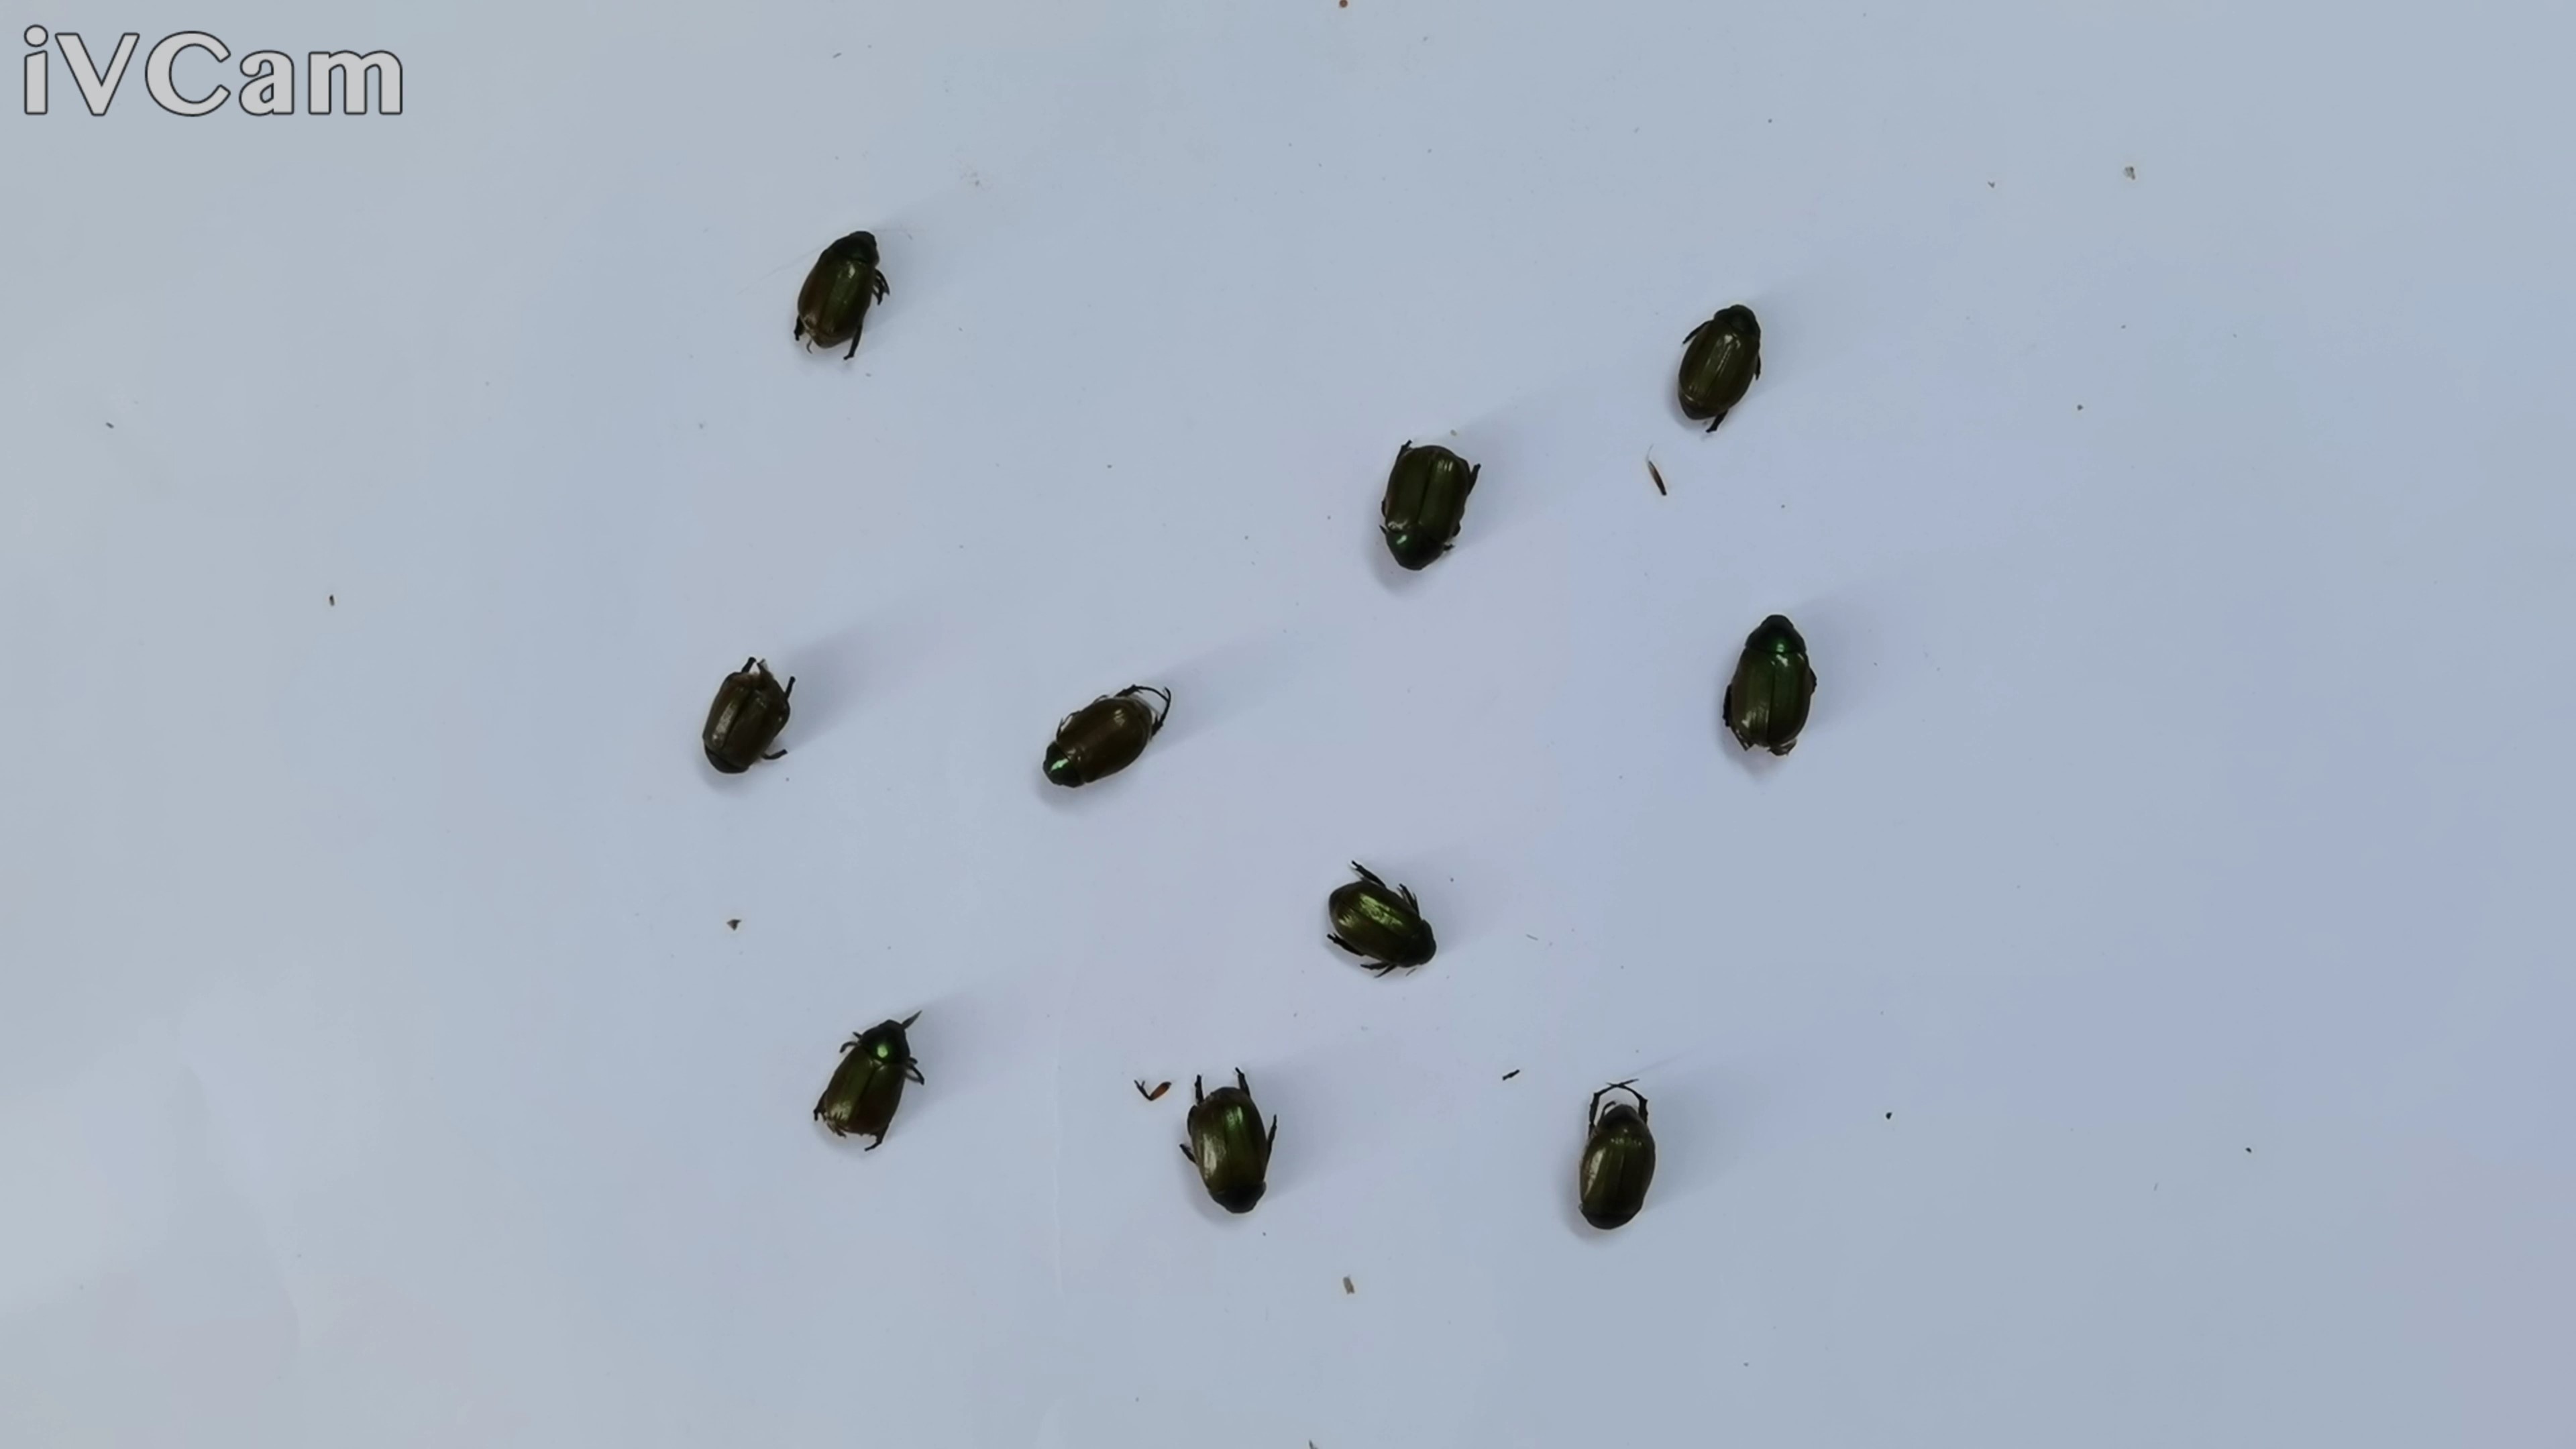
原图
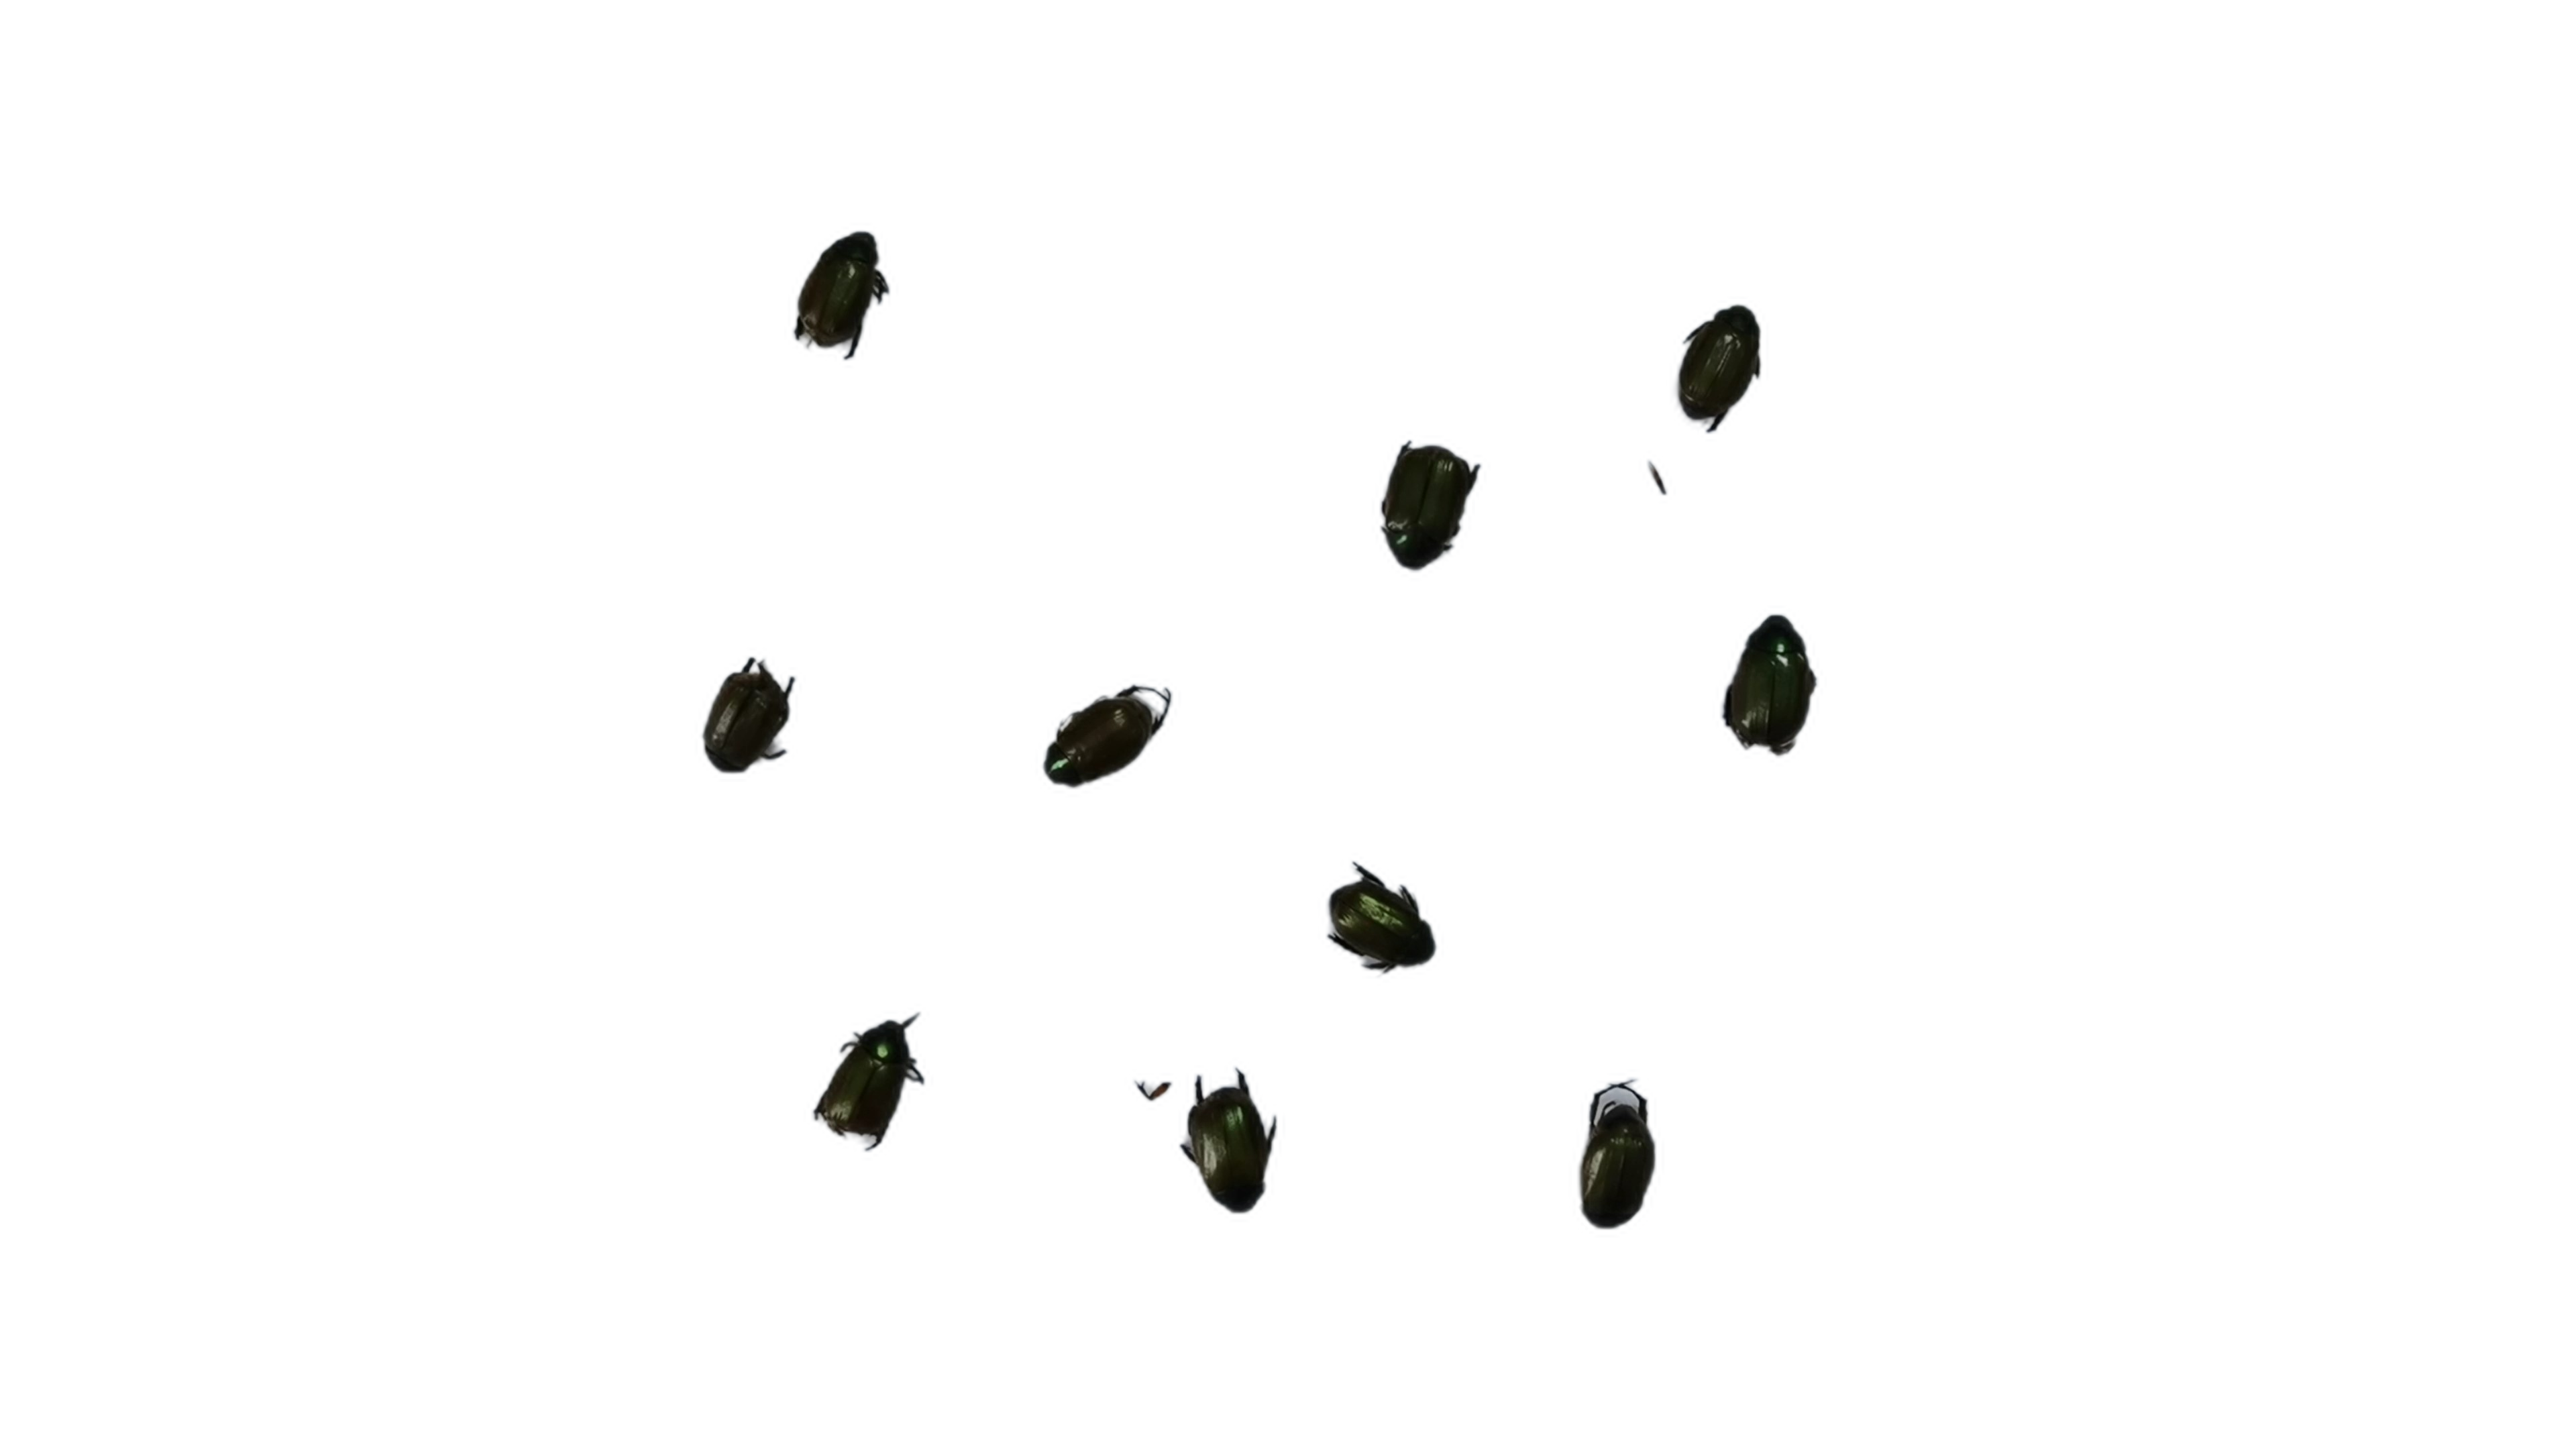
抠图处理图像
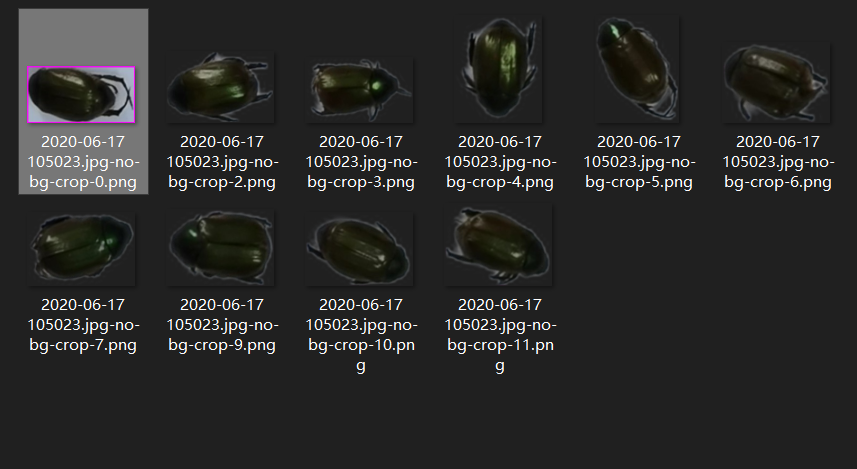
裁切结果
通过分析抠图后图片RGBA四个通道信息知道,相比于原图,图片的RGB通道值没有变化(即使变化了也没有影响),区别只在于alpha通道值。
透明部分的alpha=0,物体部分alpha=255,边缘部分alpha位于0-255之间。可以将alpha通道单独拿出来,当作gray图像处理。步骤包含:
- 去噪 medianBlur
- 获取边缘 findContours
- 计算各个目标的最小包围盒
- 原图放大(防止旋转后目标丢失)将目标框旋转正(裁切只能裁水平的矩形)
- 裁切
Notes
- 要读入包含透明通道的png图片,应该加入
cv2.IMREAD_UNCHANGED标识。imread默认读入只包含BGR三个通道。如img = cv2.imread(src_file, cv2.IMREAD_UNCHANGED) - 读/写图片的路径包含中文字段,不能用imread和imwrite。应该用imdecode和imencode.
- 图片根据面积和长宽比进行过滤。(这里需要根据自己数据情况进行设置)
- 原图路径可以包含子目录,但是生成路径中暂时不能自动生成对应子目录。
- 处理完的数据可能会包含一些不想要的裁切信息,自己再筛一遍,或者通过更改更大的阈值避免。
Code
主函数及参数处理
def parseargs():
    parser = argparse.ArgumentParser(description="crop objects.", add_help=True, allow_abbrev=True)
    parser.add_argument('-i', '--input',
                        help='picture directories input path.',
                        default='input',
                        # type=str,
                        )
    parser.add_argument("-o", '--output',
                        help='save resized pictures file path',
                        # type=str,
                        default='output',
                        )
    args = parser.parse_args()
    return args


def main():
    args = parseargs()
    source_path = args.input
    save_path = args.output
    if save_path[-1] == "/":
        save_path = save_path[:-1]
    dst_path = save_path + '/'
    ff = os.walk(source_path, followlinks=True)
    ext = ['.png', '.PNG']
    for root, dirs, files in ff:
        # if ':' in root:
        #     dst_path = save_path + "/"
        # else:
        #     dst_path = save_path + "/" + root + "/"
        # create save_path
        if not os.path.exists(dst_path):
            os.makedirs(dst_path)
        for file in files:
            if file.endswith(tuple(ext)):
                src_file = os.path.join(root, file)
                img = cv2.imdecode(np.fromfile(src_file, dtype=np.uint8), cv2.IMREAD_UNCHANGED)
                # img = cv2.imread(src_file, cv2.IMREAD_UNCHANGED) # 不能包含中文路径
                getcontours(img, file, dst_path)
轮廓提取
def getcontours(img, filename, dst_path):
    (filename, extension) = os.path.splitext(filename)
    b_channel, g_channel, r_channel, a_channel = cv2.split(img)
    blurred = cv2.medianBlur(a_channel, 3)  # 中值滤波
    # edged = cv2.Canny(blurred, 30, 150)
    contours, hieratchy = cv2.findContours(blurred, cv2.RETR_TREE, cv2.CHAIN_APPROX_SIMPLE)

    index = 0
    for contour in contours:
        # 计算一个简单的边界框
        # x, y, w, h = cv2.boundingRect(contour)
        # cv2.rectangle(img, (x, y), (x + w, y + h), (0, 0, 255), 3)
        # 计算包围目标的最小矩形区域
        ares = cv2.contourArea(contour)  # 计算包围形状的面积
        if ares < 800:  # 过滤面积小于800的形状
            continue
        rect = cv2.minAreaRect(contour) # rect[0]旋转中心,rect[2]旋转角度,rect[1]图片宽高
        if ((rect[1][0]/rect[1][1]) > 5) or ((rect[1][1]/rect[1][0]) > 5):  # 过滤宽高比大于5的图像
            continue

        box_origin = cv2.boxPoints(rect)
        box_origin = np.int0(box_origin)
        cv2.drawContours(img, [box_origin], -1, (255, 0, 255), 3)
        M = cv2.getRotationMatrix2D(rect[0], rect[2], 1)
        dst = cv2.warpAffine(img, M, (2 * img.shape[0], 2 * img.shape[1])) # 扩大两倍,防止旋转出目标
        box = rotatecordiate(rect[2], box_origin, rect[0][0], rect[0][1]) # 旋转
        cropfilename = dst_path + filename + "-crop-" + str(index) + ".png"
        imagecrop(dst, np.int0(box), cropfilename) # 裁切
        index += 1

    print("file {} contains {} objects".format(filename, index))
图像旋转
# 逆时针旋转
def Nrotate(angle, valuex, valuey, pointx, pointy):
    angle = (angle / 180) * np.math.pi
    valuex = np.array(valuex)
    valuey = np.array(valuey)
    nRotatex = (valuex - pointx) * np.math.cos(angle) - (valuey - pointy) * np.math.sin(angle) + pointx
    nRotatey = (valuex - pointx) * np.math.sin(angle) + (valuey - pointy) * np.math.cos(angle) + pointy
    return (nRotatex, nRotatey)


# 顺时针旋转
def Srotate(angle, valuex, valuey, pointx, pointy):
    angle = (angle / 180) * np.math.pi
    valuex = np.array(valuex)
    valuey = np.array(valuey)
    sRotatex = (valuex - pointx) * np.math.cos(angle) + (valuey - pointy) * np.math.sin(angle) + pointx
    sRotatey = (valuey - pointy) * np.math.cos(angle) - (valuex - pointx) * np.math.sin(angle) + pointy
    return (sRotatex, sRotatey)


# 将四个点做映射
def rotatecordiate(angle, rectboxs, pointx, pointy):
    output = []
    for rectbox in rectboxs:
        if angle > 0:
            output.append(Srotate(angle, rectbox[0], rectbox[1], pointx, pointy))
        else:
            output.append(Nrotate(-angle, rectbox[0], rectbox[1], pointx, pointy))
    return output
图像裁切
# 图片裁切
def imagecrop(image, box, cropfile):
    xs = [x[1] for x in box]
    ys = [x[0] for x in box]
    # print(xs)
    # print(min(xs), max(xs), min(ys), max(ys))
    cropimage = image[min(xs):max(xs), min(ys):max(ys)]
    # print(cropimage.shape)
    if (cropimage.shape[0] > 0) & (cropimage.shape[1] > 0):
        # cv2.imwrite(cropfile, cropimage)
        cv2.imencode('.png', cropimage)[1].tofile(cropfile)
    return cropimage
Usage
$ python minbbox.py -i input -o output

file 2020-06-17 105023.jpg-no-bg contains 12 objects


 976
976

 被折叠的 条评论
为什么被折叠?
被折叠的 条评论
为什么被折叠?
 到【灌水乐园】发言


