


前置准备
本章主要是通过 rollup-plugin-vue 并且编写我们第一个组件
安装
rollup-plugin-vue和rollup-plugin-postcss以及autoprefixer
rollup-plugin-vue 包含着 scss ,所以我们可以自由使用 scss
rollup-plugin-postcss 和 autoprefixer 主要是一些 scss 语法的兼容,不安装打包会报错
rollup-plugin-copy 主要负责资源的 复制,将静态资源直接复制到 assets 中去
npm install rollup-plugin-vue@5.1.9 rollup-plugin-postcss rollup-plugin-copy autoprefixer
更改 rollup.config.js
import resolve from 'rollup-plugin-node-resolve';
import commonjs from 'rollup-plugin-commonjs';
import replace from 'rollup-plugin-replace';
import vue from 'rollup-plugin-vue'
import copy from 'rollup-plugin-copy';
import postcss from 'rollup-plugin-postcss';
import autoprefixer from 'autoprefixer'

export default {
  input: './src/index.js',
  output: [
    {
      file: './dist/lib-es.js',
      format: 'es',
    },
  ],
  plugins: [
    commonjs(),
    resolve(),
    replace({
      'process.env.NODE_ENV': JSON.stringify('development'),
      'process.env.VUE_ENV': JSON.stringify('browser'),
    }),
    vue(),
    postcss({
      plugins: [
        // 前缀
        autoprefixer(),
      ],
      // 把 css 拎出来
      extract: "assets/css/index.css",
    }),
    copy({
      targets: [
        {
          src: './src/package/theme-chalk/fonts/**',
          dest: 'dist/assets/fonts',
        },
      ],
    }),
  ],
};
编写我们第一个组件
先看看我们的目录
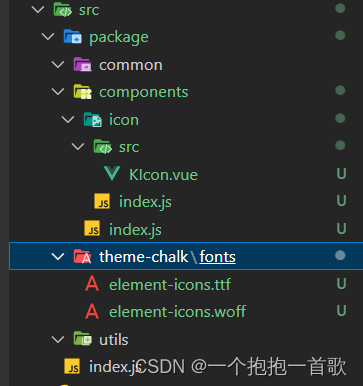
src => package => commom 主要存放公共 scss
src => package => components 存放我们的组件,主要是 vue 文件
src => package => theme-chalk 主要是存放独立样式文件
src => package => utils 主要存放公共方法
编写我们第一个组件 Icon
更改
components => icon => src => KIcon.vue
// KIcon.vue
<template>
  <i :class="'k-icon-' + name"></i>
</template>

<script>
export default {
  name: 'k-icon',
  props: {
    name: String,
  },
};
</script>
更改
components => icon => index.js
import KIcon from "./src/KIcon.vue";
KIcon.install = function (Vue) {
  Vue.component(KIcon.name, KIcon);
};
export default KIcon;
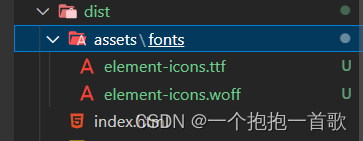
这时候我们得引入一个 fonts 文件 , 这里使用的是 element-ui 的 fonts , 而静态资源的复制就是我们上面所说的 rollup-plugin-copy 这个插件
运行下 npm run dev
接下来继续编写我们的代码
新建
theme-chalk => k-icon.scss
@font-face {
  font-family: "element-icons";
  src: url("../fonts/element-icons.woff") format("woff"),
    url("../fonts/element-icons.ttf") format("truetype");
  font-weight: normal;
  font-style: normal;
}

[class^="k-icon-"]{
  font-family: 'element-icons' !important;
  font-style: normal;
  font-weight: normal;
  font-variant: normal;
  text-transform: none;
  line-height: 1;
  vertical-align: baseline;
  display: inline-block;
}

.k-icon-success:before {
  content: "\e79c";
}
新建
theme-chalk => index.scss
@import './k-icon.scss';
更改
src => index.js文件
import './package/theme-chalk/index.scss';
import KIcon from './package/components/icon/index';

function install(Vue) {
  Vue.component(KIcon.name, KIcon);
}
export { KIcon };
export default {
  install,
};
打包后的结构
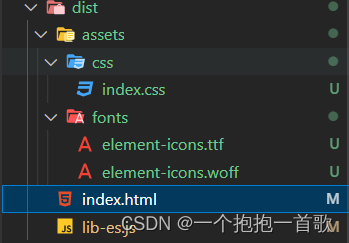
更改
dist => index.html
<body>
  <head>
    <link rel="stylesheet" href="./assets/css/index.css" />
  </head>
  <div id="app">
      <k-icon name="success"></k-icon>
  </div>
</body>
<script src="https://cdn.jsdelivr.net/npm/vue@2.7.10"></script>
<script type="module" src="./lib-es.js"></script>
<script type="module">
  import {
   KIcon
  } from "./lib-es.js";
  Vue.component(KIcon.name, KIcon);
  new Vue({
    el: "#app",
  })
</script>
<style>
  body {
    padding: 20px;
  }
</style>
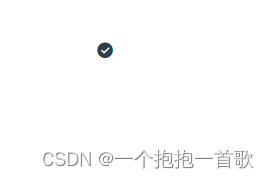
打开浏览器
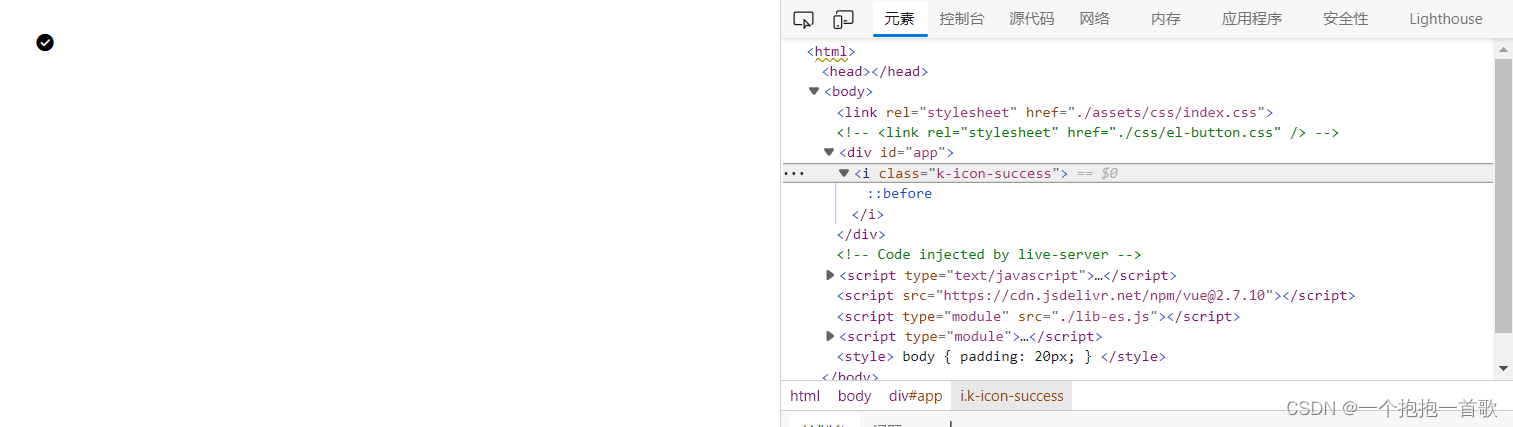
效果已经实现
发布
发布我们主要是发布 dist 中的文件,现在 dist 中执行 npm init
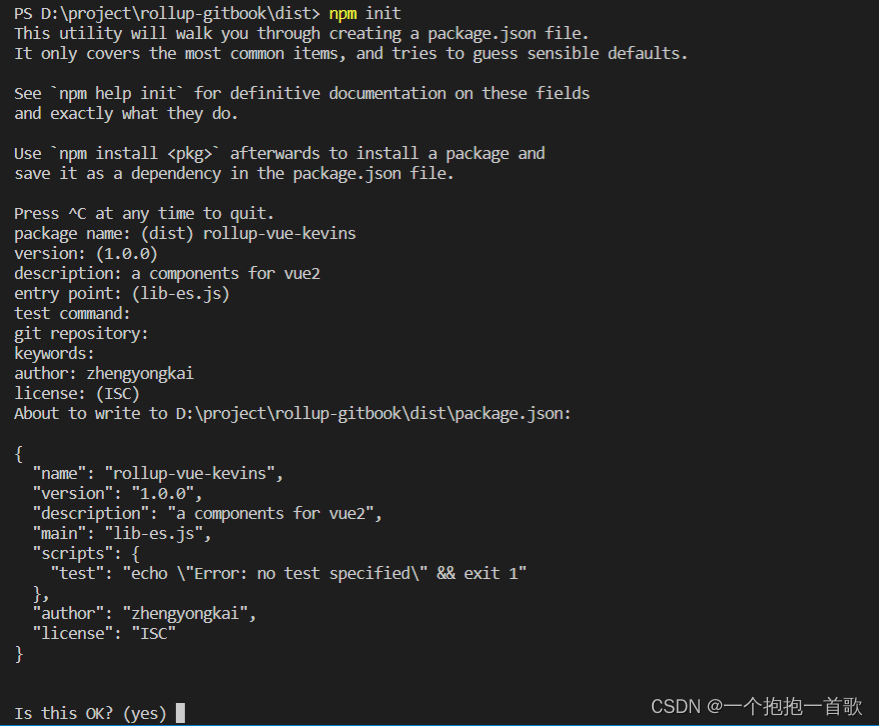
现在我们要做的是把我们组件发到 npm 上去
在这里插入图片描述
发布完成后,打开我们的 vue 项目
然后安装我们的包 npm install rollup-vue-kevins ,然后再 main.js 中引入
import "rollup-vue-kevins/assets/css/index.css";
import { KIcon } from "rollup-vue-kevins";

Vue.component(KIcon.name, KIcon);
在页面使用该组件
<k-icon name="success"></k-icon>
这里支持另外一种引入方式,就是全部引入 , 再 main.js 中
import "rollup-vue-kevins/assets/css/index.css";
import KComponents from "rollup-vue-kevins";
Vue.use(KComponents)
总结
一个大体的组件开发就是这个流程,我这个组件大部分还是跟着 element-ui 的样式和结构来完成的,如果有什么疏漏或者建议欢迎提出
Github 地址
未完善
- 之前看到说可以打包独立样式引入,但是使用
gulp来实现的


 1675
1675

 被折叠的 条评论
为什么被折叠?
被折叠的 条评论
为什么被折叠?
 到【灌水乐园】发言


