


如果你只知道传统的ssh操作,或者sftp/ftp上传下载操作,那可能有点太low了。强烈推荐你使用 vscode remote ssh。举个栗子来形象比喻一下:钥匙开门 和 指纹开门 的区别。
已经用 vscode remote ssh 功能有很久了,这种体验真的太棒了,效率提高太多,用了估计就回不去了。正好我今天在网上搜关于vscode remote ssh免登录文章的时候,发现很多都讲的有些乱,很容易给人误导操作,我自己在此过程中也遇到了一些坑。所以今天在这里整理分享下自己实际操作的一些经验,希望能帮到一些小伙伴。
【注意】 下面的操作都是在mac环境,win环境可能有点不一样。
如果你已经安装好 vscode remote ssh插件套装了,但是你还没有做好免登录, 可以直接去看 第二步操作。
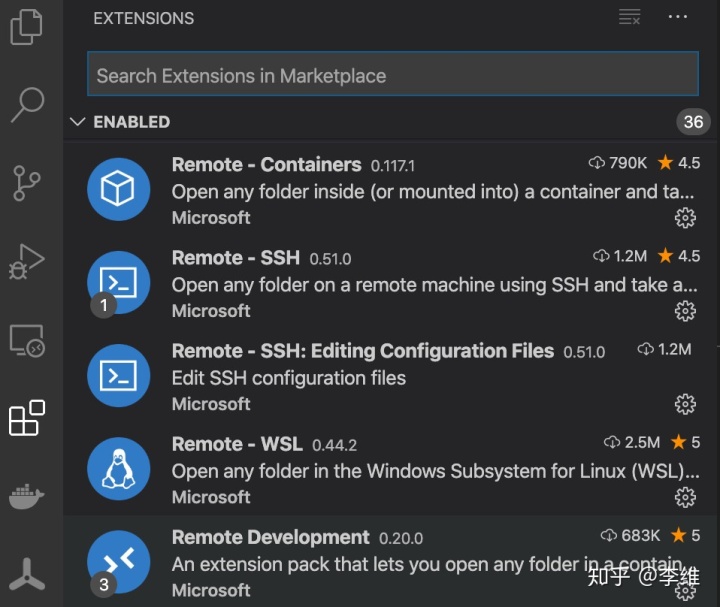
第一步:首先安装好vscode remote ssh 插件套装,如下所示:
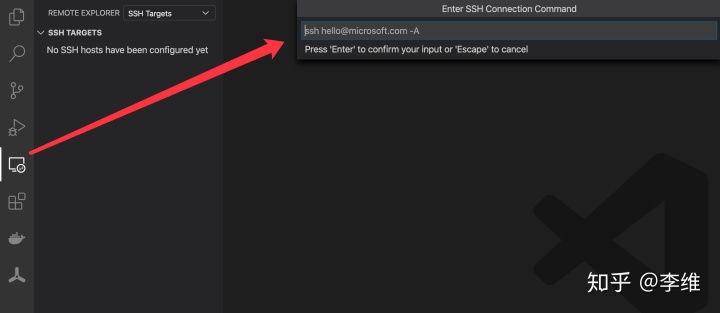
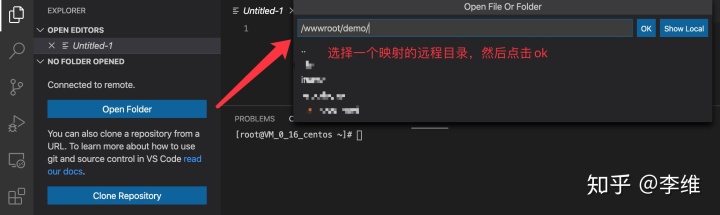
ssh连接到自己的云服务器,如下操作:
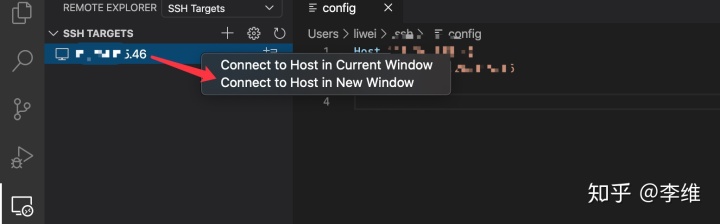
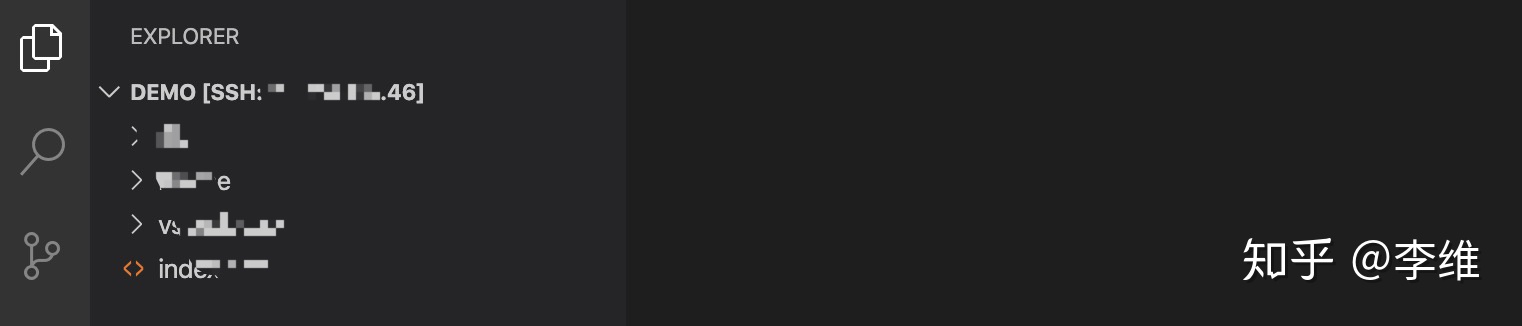
到这里,目录映射成功如下:
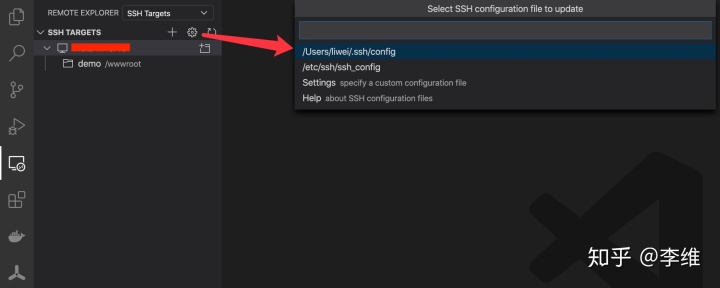
下面,我们其实可以去修改下host的命名,以便我们更好的去做区分:

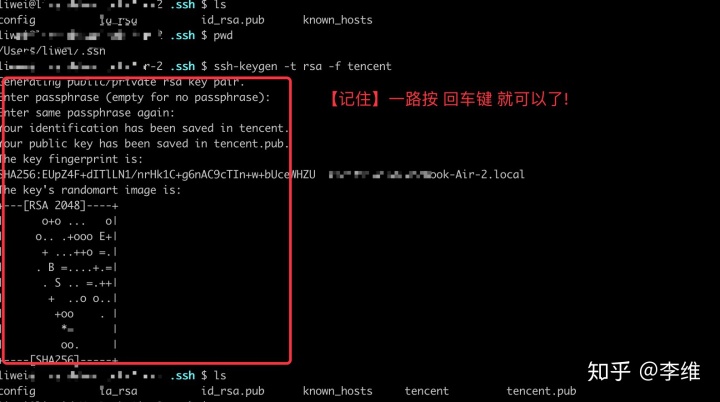
第二步:通过ssh-keygen生成私钥 和 公钥,然后 ssh-copy-id 命令自动拷贝到远程 ~/.ssh/authorized_key 里
执行命令:ssh-keygen -t rsa -f '密钥串命名'
执行命令:ssh-copy-id -i tencent.pub root@远程服务器,该操作会把公钥自动拷贝到远程 ~/.ssh/authorized_key 里。

第三步:最后一步,再次点击设置进入 /.ssh/config,给 tencent_centos ,增加 IdentityFile(本地私钥地址),【提醒】然后记得重启下vscode。重启后第一次也是需要输入密码,后面就不需要了。

如果完成以上操作,恭喜你,vscode remote ssh 免登录已经大功告成了!!!
如果你觉得可以,麻烦点赞 支持一下!
参考文章:
https://code.visualstudio.com/docs/remote/troubleshooting#_configuring-key-based-authentication


 212
212

 被折叠的 条评论
为什么被折叠?
被折叠的 条评论
为什么被折叠?
 到【灌水乐园】发言


