


Docker Explorer


Features
Manage Docker Containers, Docker Images, Docker Hub and Azure Container Registry
Prerequisites
Docker is installed
For Linux user, make sure you could manage Docker as a non-root user without sudo
Usage
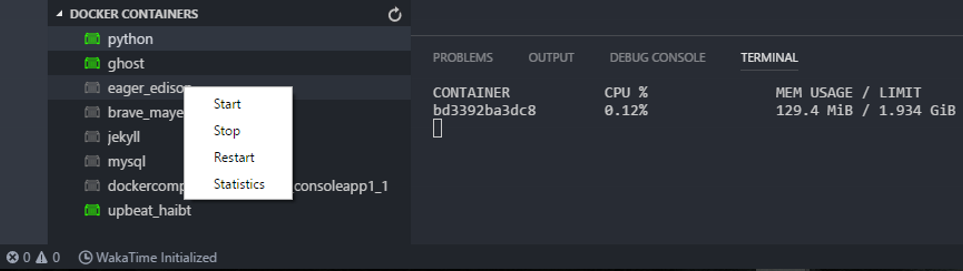
Manage Docker Containers in Explorer
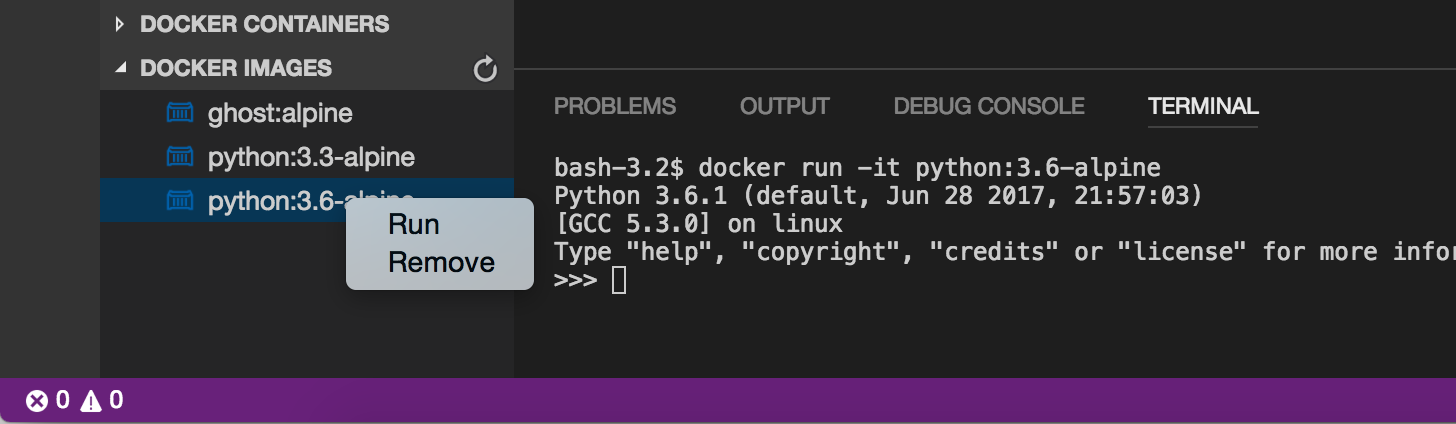
Manage Docker Images in Explorer
Manage Docker Hub in Explorer
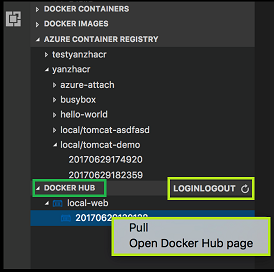
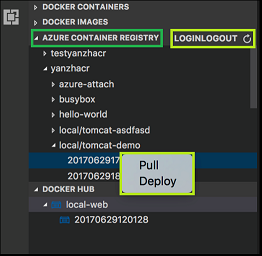
Manage Azure Container Registry in Explorer
Suggested Docker Images

Settings
docker-explorer.autoRefreshInterval: Interval (in milliseconds) to auto-refresh containers list. Set 0 to disable auto-refresh. (Default is 1000)
docker-explorer.executionCommand: Command to execute in container.
docker-explorer.containerLogsOptions: Options to show container logs. (Default is "--tail 50 -f")
Visibility of Docker Explorer
You could use below settings to show or hide different explorers:
docker-explorer.showDockerContainers: Docker Containers
docker-explorer.showDockerImages: Docker Images
docker-explorer.showAzureRegistries: Azure Container Registry
docker-explorer.showDockerHubTreeView: Docker Hub
docker-explorer.showSuggestedDockerImages: Suggested Docker Hub Images
Telemetry data
By default, anonymous telemetry data collection is turned on to understand user behavior to improve this extension. To disable it, update the settings.json as below:
{
"docker-explorer.enableTelemetry":false
}
Change Log
See Change Log here
Issues
Currently, the extension is in the very initial phase. If you find any bug or have any suggestion/feature request, please join the chat on Gitter or submit the issues to the GitHub Repo.


 903
903

 被折叠的 条评论
为什么被折叠?
被折叠的 条评论
为什么被折叠?
 到【灌水乐园】发言


