


一、使用之前,我们先来掌握3个东西是用来干什么的。
npm: Nodejs下的包管理器。
webpack: 它主要的用途是通过CommonJS的语法把所有浏览器端需要发布的静态资源做相应的准备,比如资源的合并和打包。
vue-cli: 用户生成Vue工程模板。(帮你快速开始一个vue的项目,也就是给你一套vue的结构,包含基础的依赖库,只需要 npm install就可以安装)
开始:
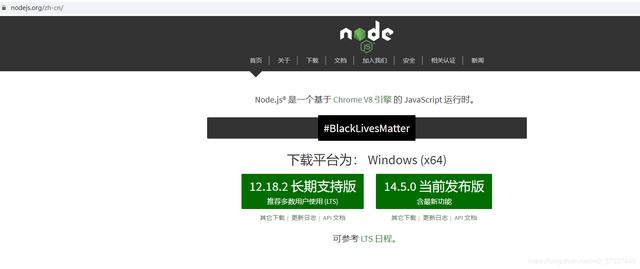

下载好就下一步,下一步,这里就不多介绍了。
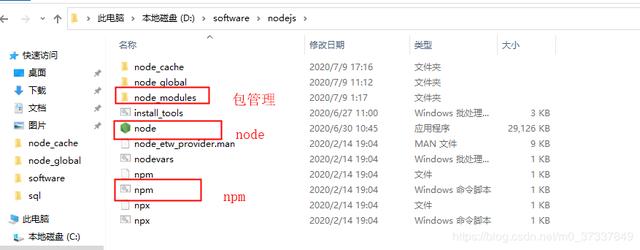
下载好,我们就可以看见一下内容。
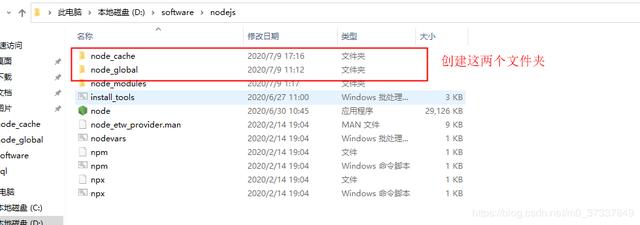
然后运行以下2条命令
npm config set prefix "D:softwareodejsode_global"
npm config set cache "D:softwareodejsode_cache"
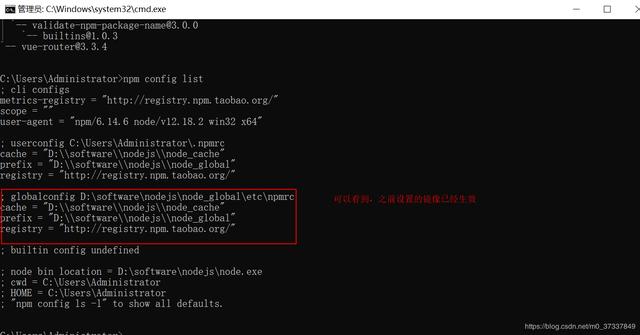
输入命令npm config set registry=http://registry.npm.taobao.org 配置镜像站
如果直接运行npm install等命令会报错的。
我们需要做1件事情:
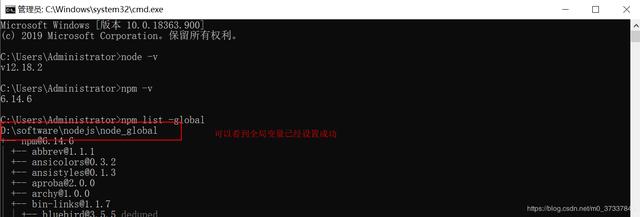
1、增加环境变量NODE_PATH 内容是:D:softwareodejsode_globalode_modules
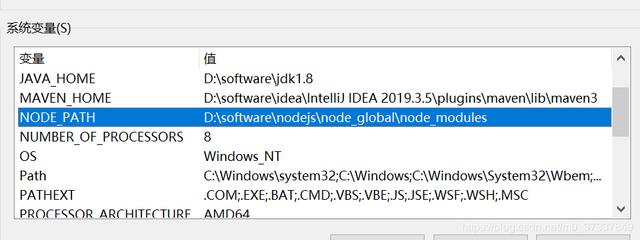
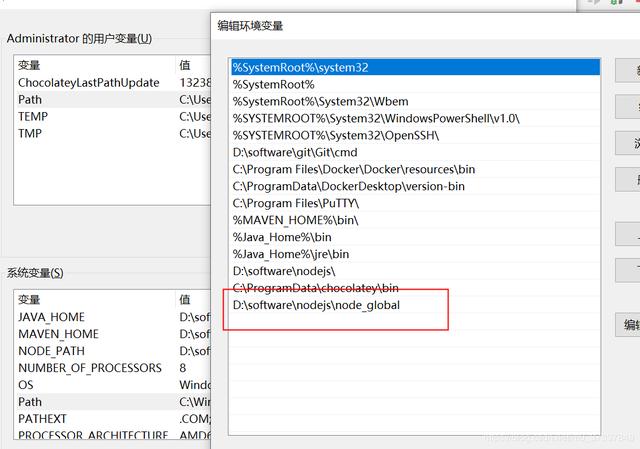
(注意,以下操作需要重新打开CMD让上面的环境变量生效)
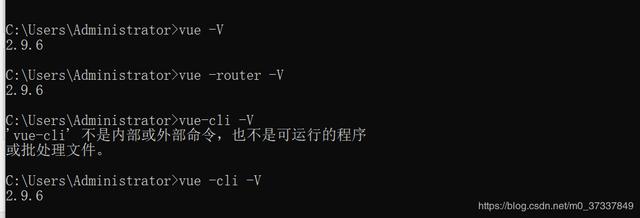
一、测试NPM安装vue.js
命令:npm install vue -g
这里的-g是指安装到global全局目录去
二、测试NPM安装vue-router
命令:npm install vue-router -g
三、安装vue脚手架
运行npm install vue-cli -g安装vue脚手架
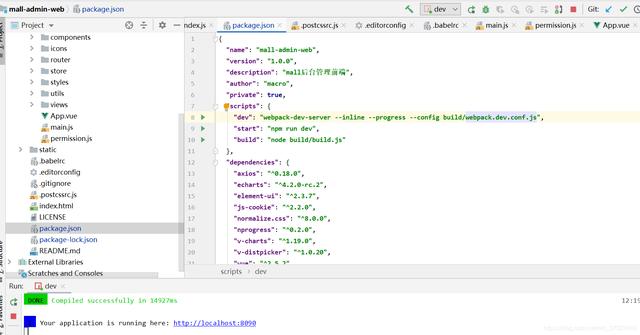
最后在idea中,npm install ,npm run start 就可以启动vue项目了
喜欢点下关注,你的关注是我写作的最大支持


 9519
9519


 被折叠的 条评论
为什么被折叠?
被折叠的 条评论
为什么被折叠?
 到【灌水乐园】发言


