


在软件测试过程中,有时候我们需要在Windows上搭建一个MySQL测试数据库,那么我们该如何搭建呢?通常Windows搭建MySQL数据库有两种方式,一种是界面安装,另一种是解压安装,今天我们只讲讲如何解压安装,具体操作步骤如下:
1.下载mysql的安装包
https://pan.baidu.com/s/1Wk9Y96UYx53gMWsr9-Y5Gw 提取码:rc94
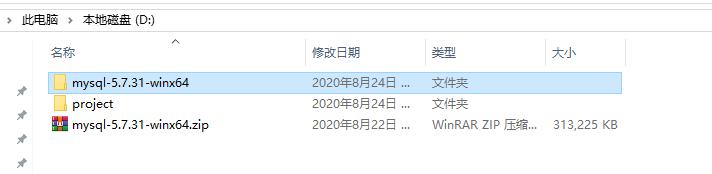
2.解压压缩包
3.解压后在安装目录下 新增 my.ini文件
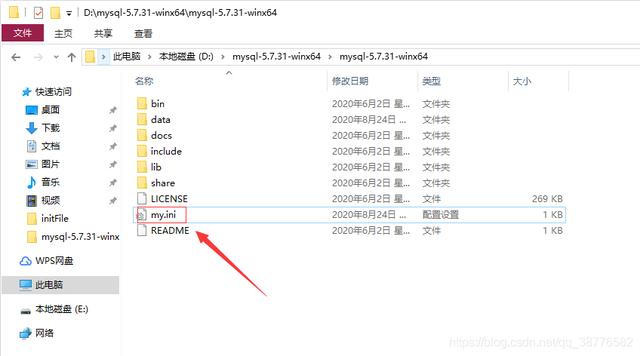
具体内容为:
[mysql]
# 设置mysql客户端默认字符集
default-character-set=utf8
[mysqld]
explicit_defaults_for_timestamp=true
#设置3306端口
port = 3306
# 设置mysql的安装目录
basedir=D:mysql-5.7.31-winx64mysql-5.7.31-winx64
# 设置mysql数据库的数据的存放目录
datadir=D:mysql-5.7.31-winx64mysql-5.7.31-winx64data
# 允许最大连接数
max_connections=200
# 服务端使用的字符集默认为8比特编码的latin1字符集
character-set-server=utf8
# 创建新表时将使用的默认存储引擎
default-storage-engine=INNODB
sql_mode=STRICT_TRANS_TABLES,NO_ZERO_IN_DATE,NO_ZERO_DATE,ERROR_FOR_DIVISION_BY_ZERO,NO_ENGINE_SUBSTITUTION
备注:端口、 mysql的安装目录请根据实际情况更改,data目录不用新建
4.导入mysql服务
mysqld --install


5.启动mysql服务
net start mysql

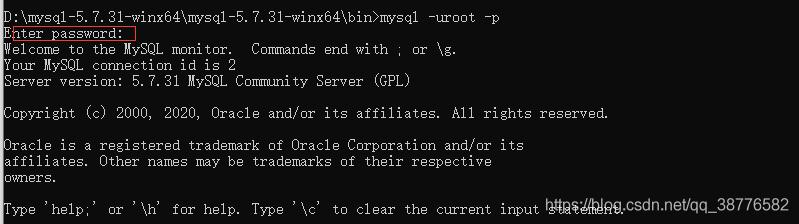
6.修改mysql密码:
mysql -uroot -p(连续点击,无密码进入)
执行
use mysql;
(root本地登录)
update user set authentication_string=password('新密码') where user='root' and Host='localhost';
flush privileges;

(root远程登录)
update user set authentication_string=password('123456'),Host='%' where user='root' and Host='localhost';

flush privileges;

OK,至此MySQL数据库就安装成功了,如果帮助到你,就点个赞吧。


 884
884


 被折叠的 条评论
为什么被折叠?
被折叠的 条评论
为什么被折叠?
 到【灌水乐园】发言


