


本节内容我们来学习Python的安装。Python是一门跨平台的语言,可以安装在Windows,Linux/Unix,Mac系统上,今天我们主要介绍Windows系统下的Python3.7.3版本的安装。
下载
首先我们到Python的官网下载Python安装程序:
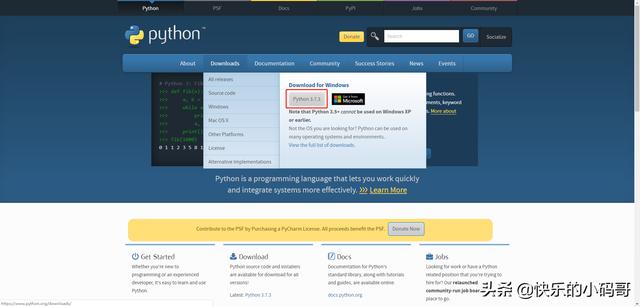
下载python3.7.3
点击红框内容,将python-3.7.3.exe安装程序下载到本地。双击执行:

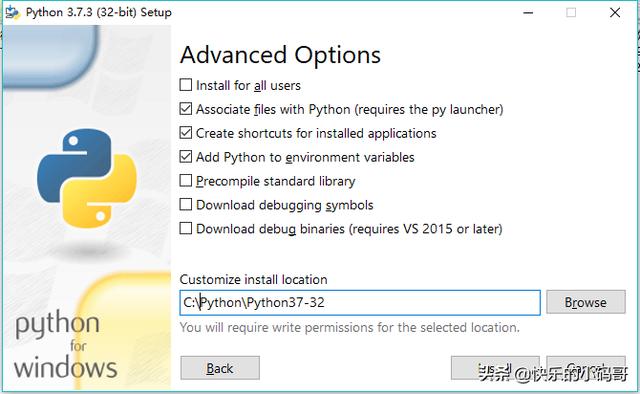
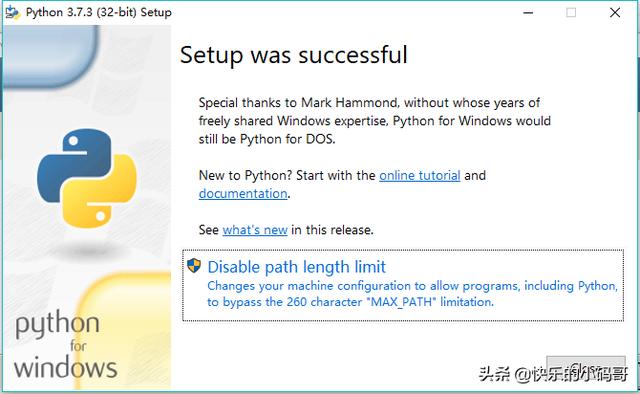
注意第一步红框里面需要选中Add Python3.7 to PATH,否则需要自己手动添加到系统环境变量中,然后我们打开终端,输入python,出现以下界面,则Python就安装成功了。

需要手动设置环境变量的话,需要右键单击“我的电脑”,然后转到属性→高级→环境变量。将Python的路径添加到PATH里就可以了。
使用Python解释器
我们在终端下执行python就可以启动Python的解释器了,实际调用的是C:PythonPython37-32python.exe这个文件。解释器运行的时候可以交互式的读取和执行命令,也可以回看历史命令。
另一种启动解释器的方式是执行代码:
# python -c command [arg]...# 比如C:>python -c "print('hello world')"hello worldpython模块也可以作为脚本执行:python -m module [arg]...。比如启动一个http server:
C:>python -m http.serverServing HTTP on 0.0.0.0 port 8000 (http://0.0.0.0:8000/) ...编码
源文件的编码默认是UTF-8,这种编码方式使Python支持世界上大多数的语言的字符作为字符串的值、变量或函数名称以及注释。比如我们可以定义一个中文的变量名:
Python 3.7.3 (v3.7.3:ef4ec6ed12, Mar 25 2019, 21:26:53) [MSC v.1916 32 bit (Intel)] on win32Type "help


 1992
1992


 被折叠的 条评论
为什么被折叠?
被折叠的 条评论
为什么被折叠?
 到【灌水乐园】发言


