


Anaconda的安装,PyCharm的安装
第一步:下载
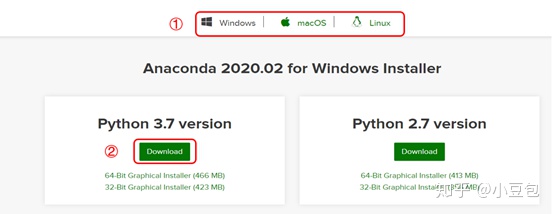
下载地址:https://www.anaconda.com/download/
点击链接跳转如图所示网址,然后点击Download

选择相应得电脑对应版本(这里以Windows系统下载Python3.7版本为例)
第二步:安装
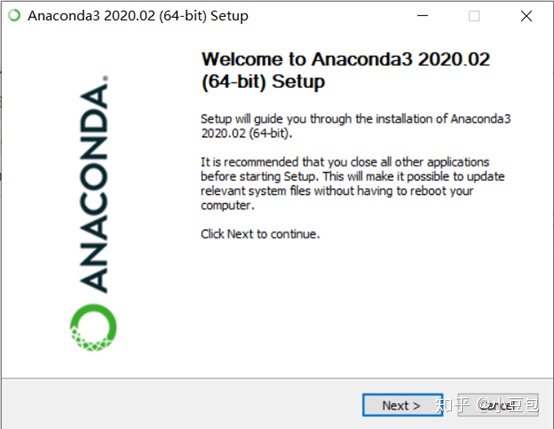
下载完成后的安装包如图所示:

双击安装包后点击Next
选择Agree:

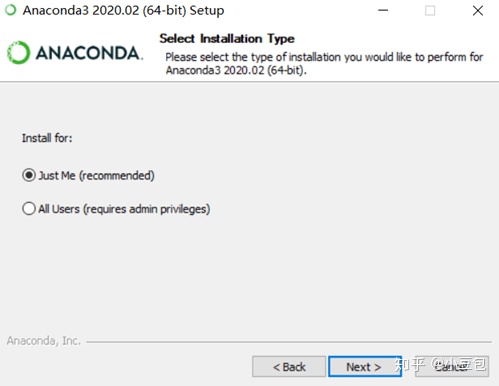
Install for: Just me还是All Users,假如你的电脑有好几个 Users ,才需要考虑这个问题.其实我们电脑一般就一个 User,就我们一个人使用,如果你的电脑有多个用户,选择All Users,我这里直接 All User,继续点击 Next 。可以选择All User!
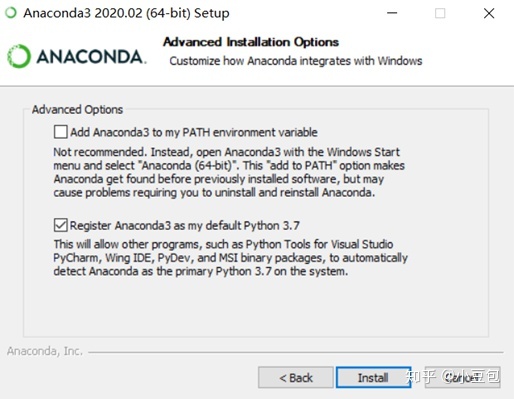
第一个是加入环境变量,第二个是默认使用 Python 2.7,点击“Install”(两个都选择即可)
第一个勾选后出现红色字体,可不用管没事的
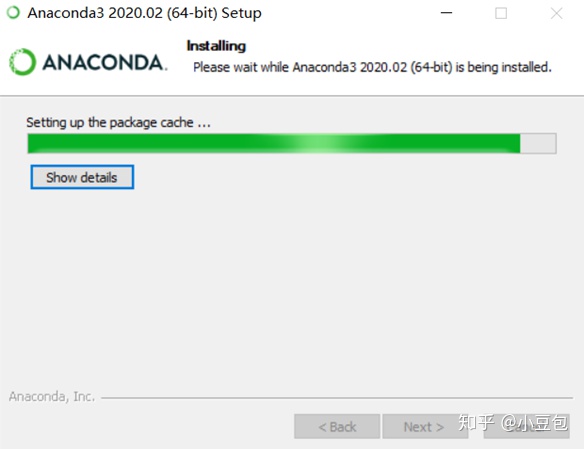
安装时间会有一点长
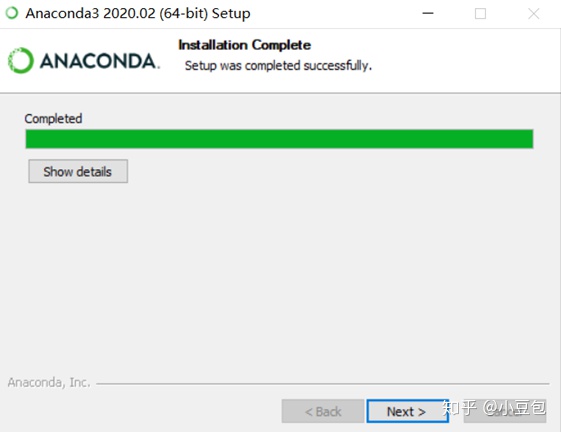
出现如下页面就安装完成了
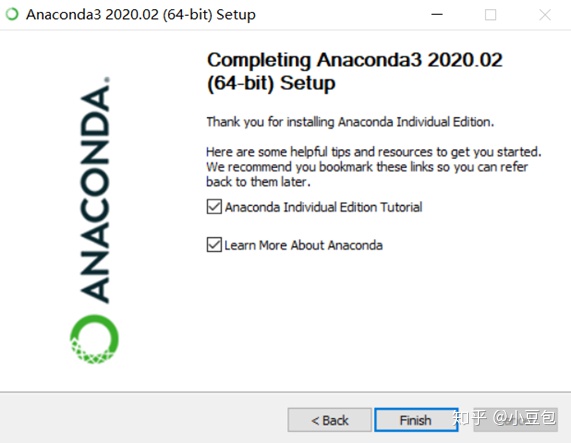
这两个勾选可以都取消,不然点击Finish就会弹出网页页面,是没有用的!
第三步:检查
快捷键:Windows+R
命令:conda --version
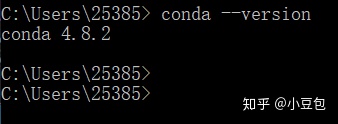
如果输出conda 4.5.4之类的就说明环境变量设置成功了.,到这里Anaconda已经安装成功了
是PyCharm的下载安装

这是 PyCharm 的下载地址:
http://www.jetbrains.com/pycharm/download/#section=windows
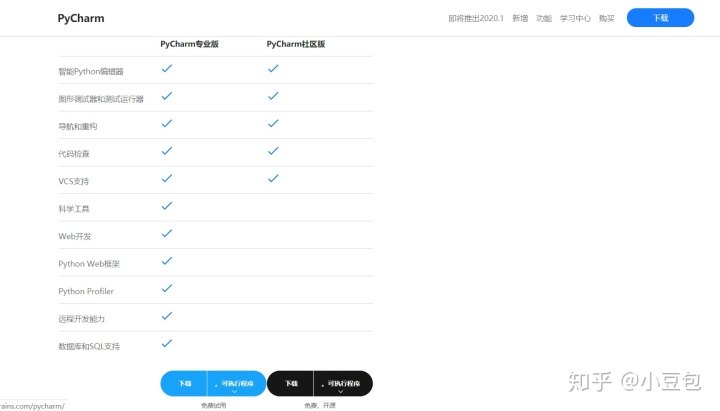
professional 表示专业版,community 是社区版,推荐安装社区版,因为是免费使用的。
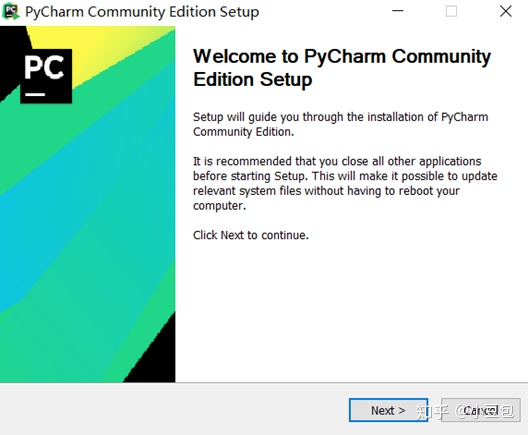
下载后的安装包如图所示

点击进行安装
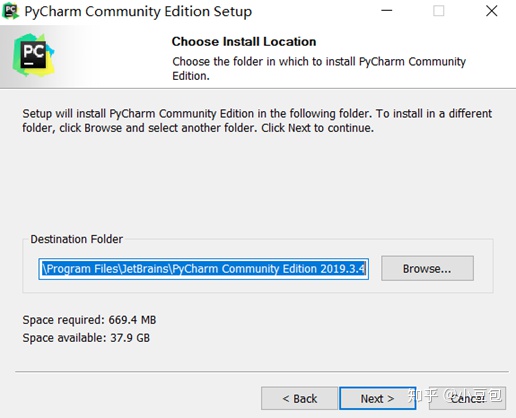
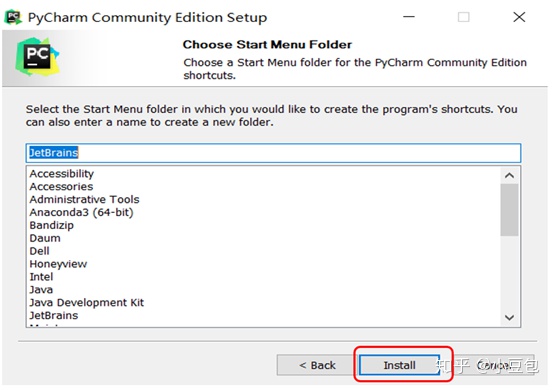
选择安装位置
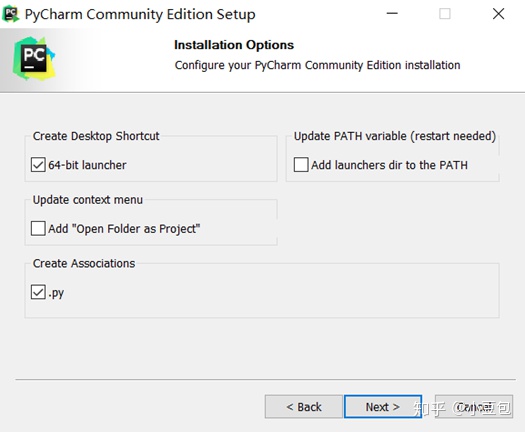
截图后,我把这些都选择上了(没有什么问题)
直接默认下一步
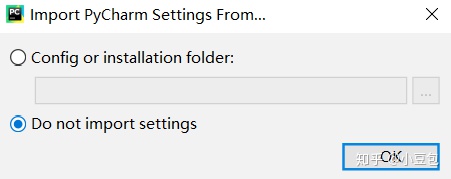
选择第二个,点击ok
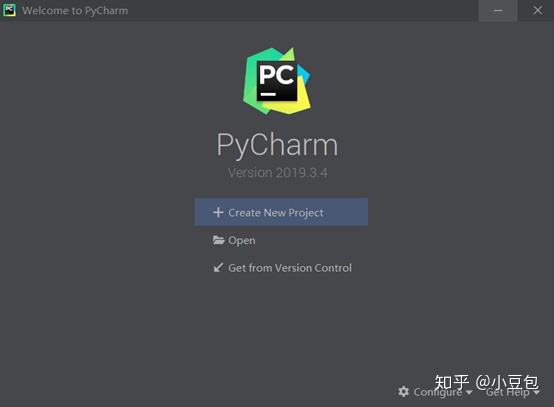
安装完成后桌面会出现图标,双击打开,第一个选项是根据你的需要选择导入配置信息(如果你之前有安装过的话)。如果第一次安装默认选择第二个
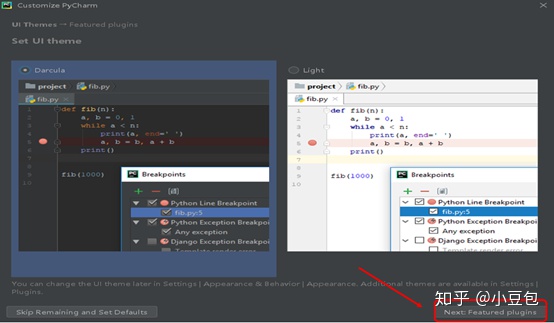
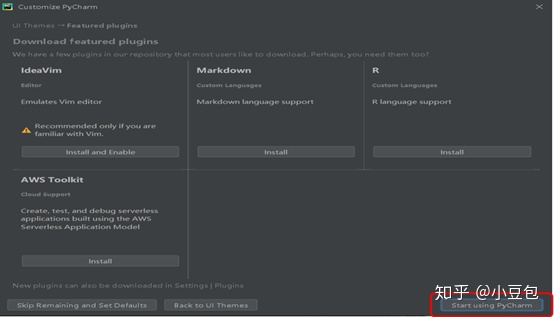

到这里PyCharm的安装就是完成了!
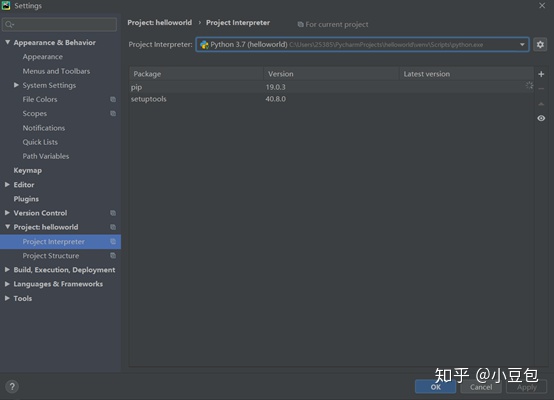
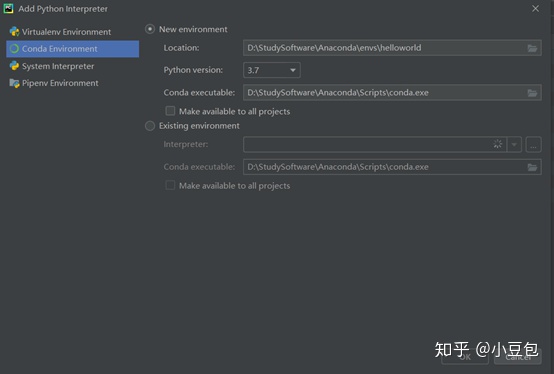
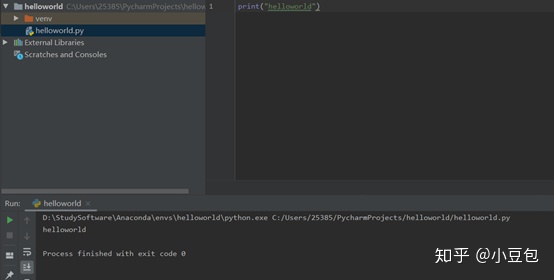
新建一个项目进行实践

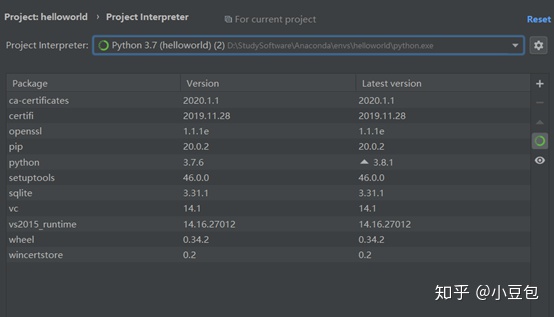
最后进行helloworld代码的测试,这样环境就安装成功啦!
关于安装过程中遇到的问题随时留言私聊,看到后会第一时间为您解答!稍后会更新关于专业版本大PyCharm的安装教程(需要破解)。有人可能会问专业版本与社区版本的区别在哪里?看下图为您解答:


 405
405


 被折叠的 条评论
为什么被折叠?
被折叠的 条评论
为什么被折叠?
 到【灌水乐园】发言


