


 本教程介绍了如何利用 astilectron 工具为 Go 语言应用创建 GUI,包括项目结构组织、基础架构搭建、Go 与 JavaScript 之间的通信,以及最终的打包步骤。通过这个过程,你可以为你的 Golang 程序添加一个能打开文件夹并展示内容的界面。
创建一个 Golang app 是一件简单又轻松的事情,但是有时候你想给你的应用锦上添花:创建一个 GUI!
在本篇文章中,我将通过使用 astilectron 工具中的 bootstrap 以及 bundler 给一个简单的 Golang 程序添加 GUI。
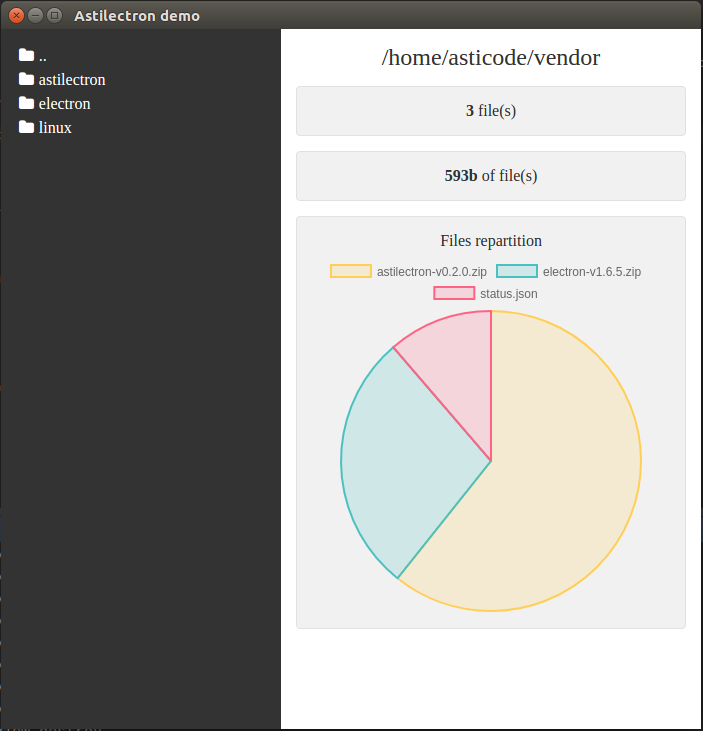
我们的带有 GUI 的 Golang app 能够打开一个文件夹并且展示其中的内容。
你可以在这里找到完成后的 [代码](https://github.com/asticode/go-astilectron-demo) :
## 第一步:组织项目结构
文件夹结构如下:
```
|--+ resources
|--+ app
|--+ static
|--+ css
|--+ base.css
|--+ js
|--+ index.js
|--+ lib
|--+ ... (all the css/js libs we need)
|--+ index.html
|--+ icon.icns
|--+ icon.ico
|--+ icon.png
|--+ bundler.json
|--+ main.go
|--+ message.go
```
你将看到,我们需要 3 种不同格式的图标以完成不同平台的编译:`.icns` 用于 `darwin` 平台、`.ico` 用于 `windows` 平台、`.png` 用于 `linux` 平台。
我们将使用以下 CSS/JS 库:
- [ astiloader ](https://github.com/asticode/js-toolbox)
- [astimodaler](https://github.com/asticode/js-toolbox)
- [astinotifier](https://github.com/asticode/js-toolbox)
- [chartjs](http://www.chartjs.org/)
- [fontAwesome](http://fontawesome.io/)
## 第二步:搭建基础架构
### Go
首先我们需要在 `main.go` 中导入 [astilectron](https://github.com/asticode/go-astilectron) 的 bootstrap 源码包 :
```go
package main
import (
"flag"
"github.com/asticode/go-astilectron"
"github.com/asticode/go-astilectron-bootstrap"
"github.com/asticode/go-astilog"
"github.com/pkg/errors"
)
// Vars
var (
AppName string
BuiltAt string
debug = flag.Bool("d", false, "enables the debug mode")
w *astilectron.Window
)
func main() {
// Init
flag.Parse()
astilog.FlagInit()
// Run bootstrap
astilog.Debugf("Running app built at %s", BuiltAt)
if err := bootstrap.Run(bootstrap.Options{
AstilectronOptions: astilectron.Options{
AppName: AppName,
AppIconDarwinPath: "resources/icon.icns",
AppIconDefaultPath: "resources/icon.png",
},
Debug: *debug,
Homepage: "index.html",
MenuOptions: []*astilectron.MenuItemOptions{ {
Label: astilectron.PtrStr("File"),
SubMenu: []*astilectron.MenuItemOptions{
{Label: astilectron.PtrStr("About")},
{Role: astilectron.MenuItemRoleClose},
},
}},
OnWait: func(_ *astilectron.Astilectron, iw *astilectron.Window, _ *astilectron.Menu, _ *astilectron.Tray, _ *astilectron.Menu) error {
w = iw
return nil
},
WindowOptions: &astilectron.WindowOptions{
BackgroundColor: astilectron.PtrStr("#333"),
Center: astilectron.PtrBool(true),
Height: astilectron.PtrInt(700),
Width: astilectron.PtrInt(700),
},
}); err != nil {
astilog.Fatal(errors.Wrap(err, "running bootstrap failed"))
}
}
```
2 个全局变量 `AppName` 和 `BuiltAt` 将会通过 [bundler](https://github.com/asticode/go-astilectron-bundler) 打包自动添加进去。
随后我们将发现我们的主页变成了 `index.html` ,我们将有一个含有 2 个项目( `about` 和 `close` )的菜单并且会出现一个 `700x700` , `中心对齐的` , `#333` 背景色的窗口。
我们要在 go 上添加 `debug` 选项,因为我们需要使用 HTML/JS/CSS 调试工具。
最后我们将指向 `astilectron.Window` 的指针存入全局变量 `w`,以备后续在使用 `OnWait` 选项时,它包含一个在窗口、菜单及其他所有对象被创建时立即执行的回调函数。
### HTML
现在我们需要在 `resources/app/index.html` 中创建我们的 HTML 主页:
```html
index.init();
`&
 最低0.47元/天 解锁文章


 837
837

 被折叠的 条评论
为什么被折叠?
被折叠的 条评论
为什么被折叠?
 到【灌水乐园】发言


